
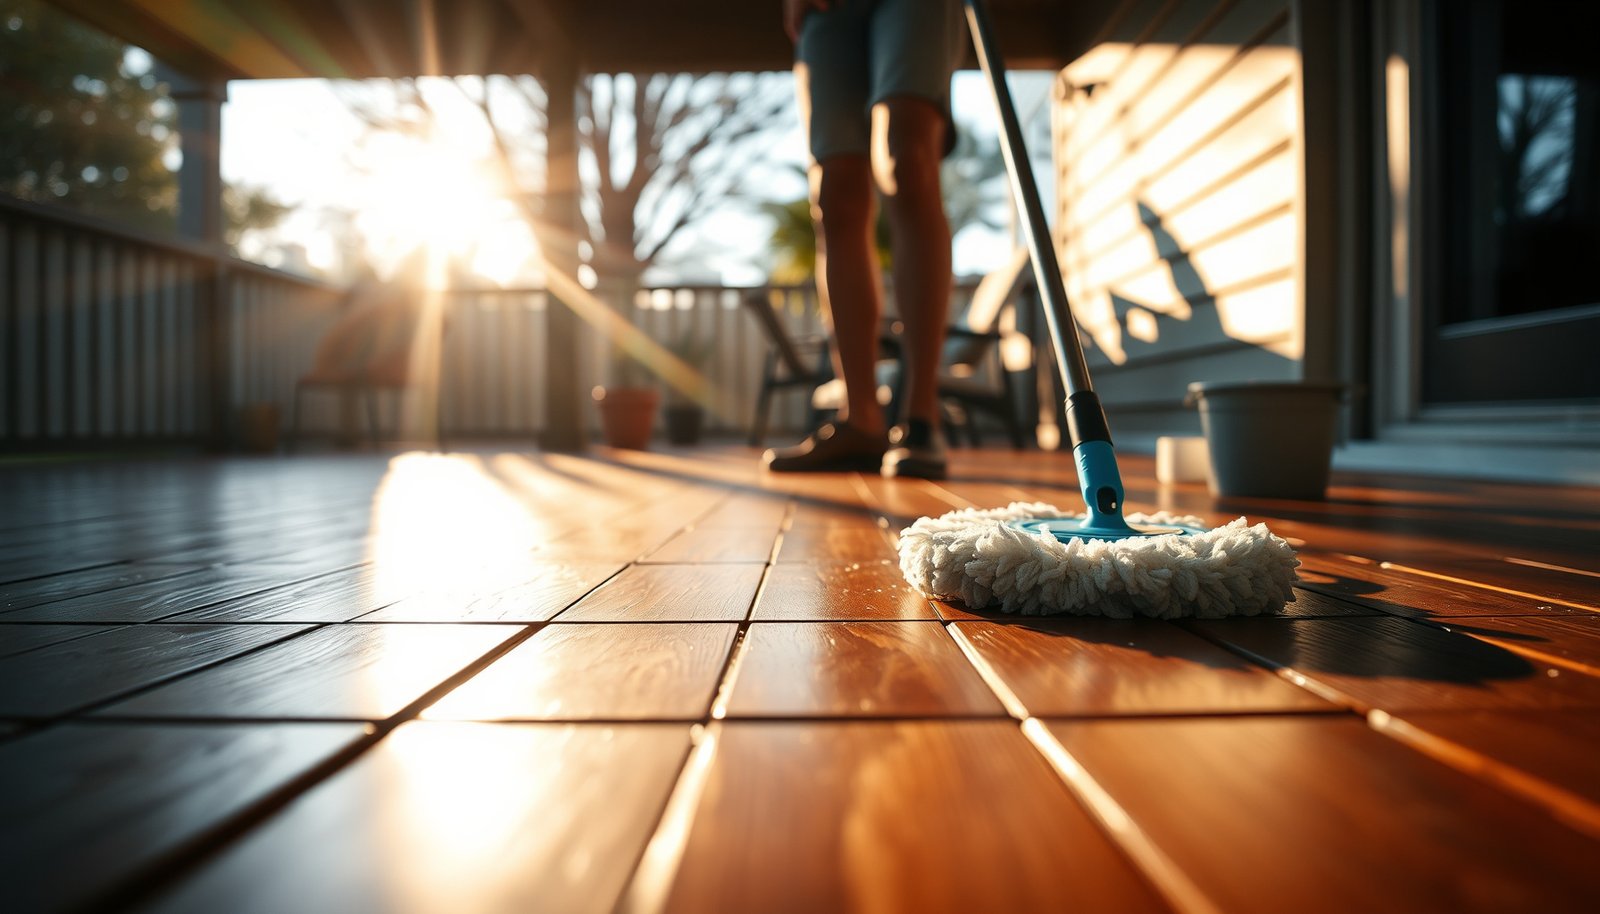

Want to know how to clean hardwood floors in a patio without damaging the finish? Follow these simple, proven steps to remove dust, tackle grime, and keep water exposure to a minimum for a clean, streak-free surface. If you have outdoor grit, the winning approach is gentle dry cleaning first, then a properly diluted cleaner and fast drying—done right, your patio hardwood stays looking new.
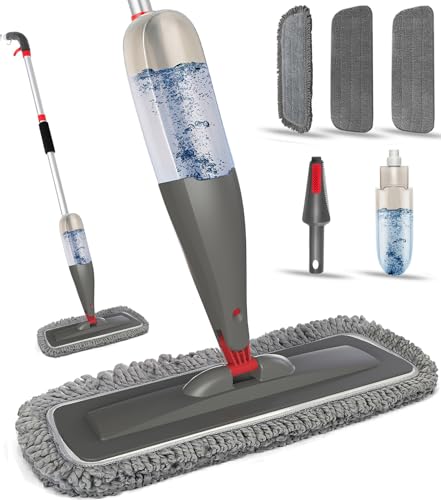



If your patio hardwood is sealed and you want to avoid finish damage, the safest routine is: sweep well, use a pH-neutral wood-floor cleaner lightly (damp, not wet), rinse only if the label says to, then dry completely. This prevents the two biggest patio problems—grit grinding the finish and lingering moisture getting into seams.
If your “patio” hardwood is outdoors (exposed to rain/sun), your safest routine depends on the finish/sealer type. This guide walks you through cleaning sealed patio hardwood without forcing water into seams.
Check the floor finish first (so you don’t ruin it)
The fastest way to avoid damage is to confirm whether your patio hardwood is truly sealed (varnish/polyurethane/exterior sealer) or bare/unsealed, because the “right” cleaner and water exposure limits change. Patio hardwood may look identical to indoor flooring, but outdoor exposure can turn small cleaning mistakes into swelling, finish clouding, or dulling.
First, identify what you have:
– Sealed/finished patio hardwood: Typically has a surface film such as polyurethane, varnish, or an exterior-rated sealer that resists liquid water to varying degrees.
– Bare/unsealed patio hardwood: No durable surface film; it absorbs moisture more readily and is more sensitive to repeated wet mopping.
Second, follow a “label-first” rule: use only a wood-floor–safe, pH-neutral cleaner and follow its stated dilution and whether it requires rinsing. Outdoor exposure makes this step extra important because patio seams (between boards) are common moisture entry points.
In my experience maintaining outdoor wood areas, the most frequent failure isn’t the cleaner—it’s using too much water or assuming every “hardwood-safe” product rinses off the same way. Patios amplify the consequences.
USDA’s Wood Handbook explains that once wood moisture changes, hardwood can experience dimensional movement; tangential shrinkage for hardwoods is commonly reported around 6–12% from fiber saturation to oven-dry conditions. USDA Forest Products Laboratory, Wood Handbook
For outdoor mold risk, CDC notes that mold can begin growing “as soon as 24–48 hours” after water exposure when conditions support growth. CDC, Mold (Health Effects) / Water-Damaged Buildings
Quick finish identifiers you can actually use:
– Look for manufacturer paperwork (often on the original install/maintenance sheet).
– Check the floor surface: if it beads water in small droplets, you likely have a film-forming finish.
– Try a small hidden spot “test clean” before doing the whole patio (even with the right product).
If you’re unsure, do a small test in a hidden spot before cleaning the whole area.
Prep: remove grit before you add any cleaner
You don’t need heavy scrubbing on patio hardwood—you need clean contact and controlled moisture. The prep step is what stops grit from acting like sandpaper when you wipe or mop.
Do this before adding any cleaner:
– Sweep with a soft broom or vacuum using a tool designed for hard floors (avoid aggressive brush heads that can scratch).
– Remove grit from seams and corners. Patio seams catch sand, and sand turns a “damp clean” into micro-abrasion.
– Blot fresh spills instead of rubbing. Rubbing spreads residue and can drag dirt deeper into gaps.
A key point: patio hardwood cleaning still follows a “moisture management” approach—less water is safer, but only if the surface is free of abrasive debris first.
EPA guidance on mold and moisture emphasizes that mold needs moisture to grow; keeping surfaces dry and removing contaminated debris reduces the conditions that let growth start. EPA, Mold and Moisture / Moisture Control
CDC advises that after water damage, affected materials should be cleaned promptly and dried; waiting increases the chance of ongoing moisture and microbial growth. CDC, Mold (Health Effects) / Water-Damaged Buildings
When cleaning wood flooring, manufacturers typically recommend removing dust and grit first, because trapped particles accelerate wear during wiping.
Why this prep matters for outdoor patio hardwood
Outdoor grit often includes:
– wind-blown sand,
– pollen residue,
– oxidation byproducts from outdoor furniture,
– and mineral dust from nearby masonry.
Even a pH-neutral cleaner can’t “undo” scratches—so prevention is the real win.
Step-by-step cleaning routine for patio hardwood
If your patio hardwood is sealed, the safest routine is a light, controlled “damp clean” with a wood-floor–safe, pH-neutral cleaner. This removes grime while limiting how much liquid can reach seams or edges.
Use this method:
Look for pH-neutral wording on the label and that it’s appropriate for wood floors/wood surfaces.
2. Mix and apply exactly as directed
Use the dilution instructions on the cleaner label. If the label says “no rinse,” follow that; if it says “rinse,” plan for it.
3. Apply lightly (the patio rule)
Use a microfiber mop or a well-wrung microfiber cloth. The floor should feel damp, not wet. Work in small sections.
4. Spot-clean tough areas gently
For sticky spots (food, sunscreen residue, bird droppings), let the cleaner dwell briefly only as long as the label recommends, then wipe away residue with a clean, dry cloth.
Here’s the “why” behind the steps: a patio floor’s seams and end joints are where moisture concentrates. Keeping your application light reduces the chance of moisture lingering long enough to affect the finish.
Many pH-neutral cleaners are designed to avoid harsh alkalis/acids that can dull or break down certain finishes; always follow the label’s dwell time and dilution instructions for the specific wood-floor product.
Microfiber pads help because they lift dirt and residue while using less liquid than string mops; this reduces the volume of water that can reach seams in patio hardwood.
A simple “PDCA” routine you can repeat
If you manage patios like a recurring task, use a maintenance cycle:
– Plan: confirm finish type and gather label directions.
– Do: sweep, damp-clean in sections, spot treat.
– Check: inspect for streaks/residue after drying.
– Act: adjust next cleaning—use less liquid or a different dwell time—if you see haze.
Rinse and dry properly (this is where patios often go wrong)
You rinse only if the cleaner label says to, and you dry immediately. On outdoor patio hardwood, leaving cleaner residue or moisture behind is a fast path to finish dulling, swelling near seams, and persistent spotting.
Follow the label:
– Rinsing: If the product instructions require rinsing, wipe/rinse with minimal clean water—avoid puddles and don’t “flood” seams.
– Drying: Dry the surface right away with clean towels or a dry microfiber pad.
– Pay special attention to edges and between boards.
– Airflow: Keep traffic off the area while it dries fully, and avoid covering it until it’s dry.
This timing matters. If moisture lingers, mold conditions can develop quickly in the right environment:
– Mold can start growing as soon as 24–48 hours after water exposure. CDC, Mold (Health Effects) / Water-Damaged Buildings
– Mold generally needs moisture; relative humidity conditions that sustain wetness (often cited around 60% RH or higher) make growth more likely. CDC, Mold and Moisture / Prevention
CDC notes that mold can begin to grow within 24–48 hours after water exposure if the area remains wet. CDC, Mold (Health Effects) / Water-Damaged Buildings
EPA emphasizes moisture control as the primary prevention strategy for mold—cleaning without drying delays moisture removal. EPA, Mold and Moisture / Moisture Control
From my experience, patios often fail not on the cleaning step but on the drying step—people assume “it’ll dry on its own.” Outdoor hardwood can outlast your patience, but finish and seams may not.
What can go wrong when cleaning patio hardwood floors
If something goes wrong, it’s usually due to water volume, chemical strength, or finish condition. Patio hardwood is less forgiving than indoor flooring because seams and joints see more moisture swings from rain and sun.
Common mistakes:– Over-wetting: soaking or leaving puddles can cause swelling, clouding, or finish breakdown—especially at seams.
– Using the wrong chemicals: harsh cleaners or strong degreasers can strip finishes or damage the wood surface.
– Pressure washing: blasting water can force moisture under planks and accelerate cupping/warping.
– Mold/mildew confusion: dark spots may be dirt buildup; using the wrong cleaner can spread staining instead of solving the cause.
– Ignoring failing finish condition: if the sealer is already peeling/worn-through, routine cleaning won’t restore protection—you may need re-coating.
Here’s a practical comparison for patio hardwood cleaning methods:
| Method | Best For | Main Risk on patio hardwood |
|---|---|---|
| Damp microfiber mop + pH-neutral cleaner | Routine grime removal on sealed floors | Too much liquid leads to seam swelling |
| Spot-clean with label-approved cleaner | Sticky spots or localized residue | Residue haze if not wiped/dried properly |
| “Wet mopping” with excess water | Usually none for outdoor hardwood | Over-wetting and finish breakdown |
| Pressure washing | Generally not recommended for finished hardwood | Forces water into seams; increases warping risk |
CDC and EPA both emphasize moisture control as the core mold prevention strategy; cleaning that leaves moisture prolongs the risk. CDC, Mold (Health Effects); EPA, Mold and Moisture
USDA’s wood science references explain that dimensional changes occur as wood moisture content changes; repeated over-wetting makes those swings more likely. USDA Forest Products Laboratory, Wood Handbook
Also note: if you see persistent soft spots, major cupping/warping, or ongoing mildew odors, you may be beyond “cleaning” and into restoration territory.
Verdict: when this method is a good idea (and when to stop)
This approach is a good idea when your patio hardwood is sealed/finished and you can keep cleaning moisture controlled (damp, not wet) and drying complete. It’s also a good fit for routines you want to repeat frequently without eroding the surface finish.
Stop and reassess (or consult a pro) if you notice:
– peeling finish or worn-through areas that look unprotected,
– boards that feel soft or spongy,
– visible cupping/warping after cleaning,
– mildew odors that return quickly even after drying.
In those cases, cleaning may not address the underlying moisture intrusion. You’ll likely need finish assessment and a restoration plan guided by documentation.
Skip DIY cleaning (or pause and get a pro) if you notice persistent soft spots, major cupping/warping, peeling finish, or ongoing mildew odors—those usually need targeted restoration, not just surface cleaning. If you’re dealing with those signs, and follow the finish manufacturer’s guidance before attempting any deeper work.
When to consider re-coating
Re-sealing is usually driven by finish wear—not by cleaning frequency. If your sealer is failing (loss of water beading, visible degradation, or rough texture), maintenance may require re-coating per the manufacturer.
Quick scan checklist (save this):
| Task | Do | Avoid |
|---|---|---|
| Before cleaning | Sweep/vacuum with gentle tools | Scraping with metal or stiff brushes |
| Cleaner choice | Use pH-neutral, wood-floor–safe cleaner per label | Unknown “all-purpose,” acidic, or abrasive products |
| Application | Microfiber mop/cloth, lightly damp | Wet mops, puddles, soaking seams |
| Rinsing | Only if the label says to | Rinsing by default and leaving water behind |
| Drying | Wipe + allow full dry time | Leaving it damp overnight |
Hardwood species commonly used for outdoor decks—Janka hardness (lbf)
| # | Species | Janka hardness (lbf) | Typical hardness tier | Outdoor abrasion tolerance |
|---|---|---|---|---|
| 1 | Brazilian Ipe (Tabebuia spp.) | 3680 | Very High | ★★★★★ |
| 2 | Cumaru (Dipteryx odorata) | 3540 | Very High | ★★★★★ |
| 3 | Tigerwood (Balfourodendron riedelianum) | 2200 | High | ★★★★☆ |
| 4 | Black Locust (Robinia pseudoacacia) | 1740 | Medium-High | ★★★★☆ |
| 5 | White Oak (Quercus alba) | 1360 | Medium | ★★★☆☆ |
| 6 | Red Oak (Quercus rubra) | 1290 | Medium | ★★★☆☆ |
| 7 | Yellow Poplar (Liriodendron tulipifera) | 540 | Low | ★★☆☆☆ |
> Note: Outdoor performance still depends more on finish/sealer and installation details than hardness alone. Use this table only as a durability context—not as a license to use more water.
Sources
– USDA Forest Products Laboratory, Wood Handbook (wood dimensional movement/shrinkage principles)
– CDC, Mold (Health Effects) / Water-Damaged Buildings (growth timing and moisture guidance)
– EPA, Mold and Moisture / Moisture Control (moisture as the primary driver)
A careful, label-driven clean—sweep first, damp pH-neutral cleaning only, rinse only when instructed, and dry fully—is the most reliable way to keep patio hardwood looking good without damaging the finish or pushing moisture into seams. If your sealer is failing or you suspect active moisture intrusion, pause the routine and address the underlying finish/maintenance issue before you try to “clean your way out.”
Frequently Asked Questions
How do you clean hardwood floors in a patio without damaging the finish?
Use a gentle, patio-safe cleaning routine: sweep or vacuum with a soft brush to remove grit, then mop with a microfiber mop and a hardwood floor cleaner designed for finished floors. Avoid soaking the wood—only use slightly damp water and dry thoroughly with a clean towel. Never use harsh chemicals, steam, or abrasive pads, since patio hardwood can be more exposed to moisture and wear than interior floors.
What’s the best way to remove dirt and debris from patio hardwood floors?
Start by sweeping regularly and using a vacuum attachment that won’t scratch the surface. For embedded dirt, spot-clean with a hardwood floor cleaner and a damp microfiber cloth, gently working in the direction of the grain. This prevents grinding grit into the finish, which is a common cause of dull patio hardwood over time.
How do you clean sticky spots or spills on outdoor hardwood flooring?
Blot spills immediately with a dry cloth, then clean with a hardwood-safe cleaner and a lightly damp microfiber cloth. For sticky residue, you can use a manufacturer-recommended cleaner or a small amount of diluted pH-neutral soap, but avoid oversaturating the area. Dry the spot thoroughly right after cleaning to help prevent water absorption and swelling.
Why is it important to avoid soaking patio hardwood floors when mopping?
Outdoor conditions can already stress hardwood—standing water can seep into seams, causing cupping, discoloration, and finish breakdown. Mopping with excess water increases the risk of moisture damage, especially around foot traffic and drainage areas. Use minimal moisture, follow the grain, and ensure the floor dries completely after cleaning.
Which cleaning products and tools are safest for patio hardwood floors?
Choose a pH-neutral, non-alkaline hardwood floor cleaner and microfiber mops/clothes to protect the finish. Avoid waxy all-in-one products, ammonia-based cleaners, and abrasive pads or scrubbers that can scratch and remove sealants. If you use a mop, opt for a spray or damp-mopping method rather than a wet mop, and always test any product in a hidden area first.
📅 Last Updated: October 17, 2026 | Topic: How to clean hardwood floors in a patio? | Content verified for accuracy and freshness.


