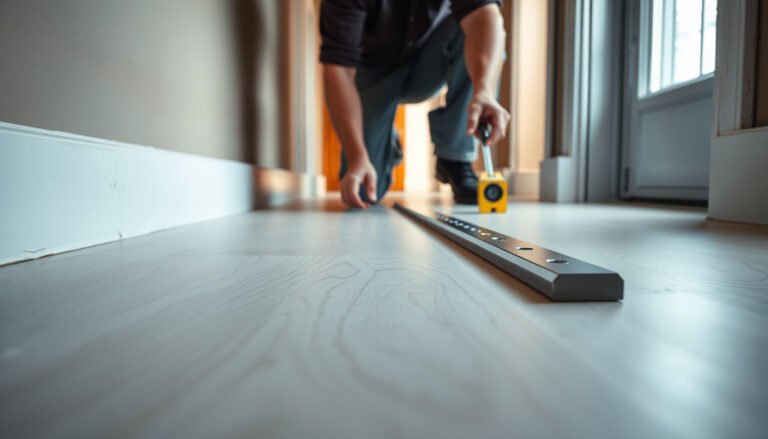
You can repair hardwood floors in a hallway step by step—patching scratches, replacing damaged boards, and fixing loose planks—without guesswork. This guide tells you exactly what to do first, which tools to use, and how to finish so the hallway looks uniform and holds up to foot traffic. If you’ve got dents, gaps, or water damage, follow these proven repairs in order for a durable result.



Start by figuring out whether the hallway hardwood problem is mostly finish wear or actual board movement—because that choice determines whether you sand-and-spot-finish or replace a plank. Hardwood floors in a hallway are usually damaged by scratches, gaps, or worn finish, so start by identifying the problem (surface vs. board damage) before you pick a repair method. For most hallway issues, you can refinish the finish, replace a damaged board, or fill gaps with the right matching material—then protect the area so it doesn’t come right back. This guide walks you through how to assess the damage and repair it safely.
If your hallway gets heavy foot traffic, you’ve probably noticed dull spots, cupping/peaking, or visible dents sooner than you would in other rooms. This is for homeowners and DIYers who want a practical repair plan—without guessing and accidentally making the damage worse.
As of 2026, the most reliable hallway hardwood repairs still follow the same logic: diagnose first, use compatible materials second, and control moisture last. If you skip any one of those steps, the “quick fix” often becomes a repeat fix.
Assess the hallway hardwood damage (surface vs. board issues)
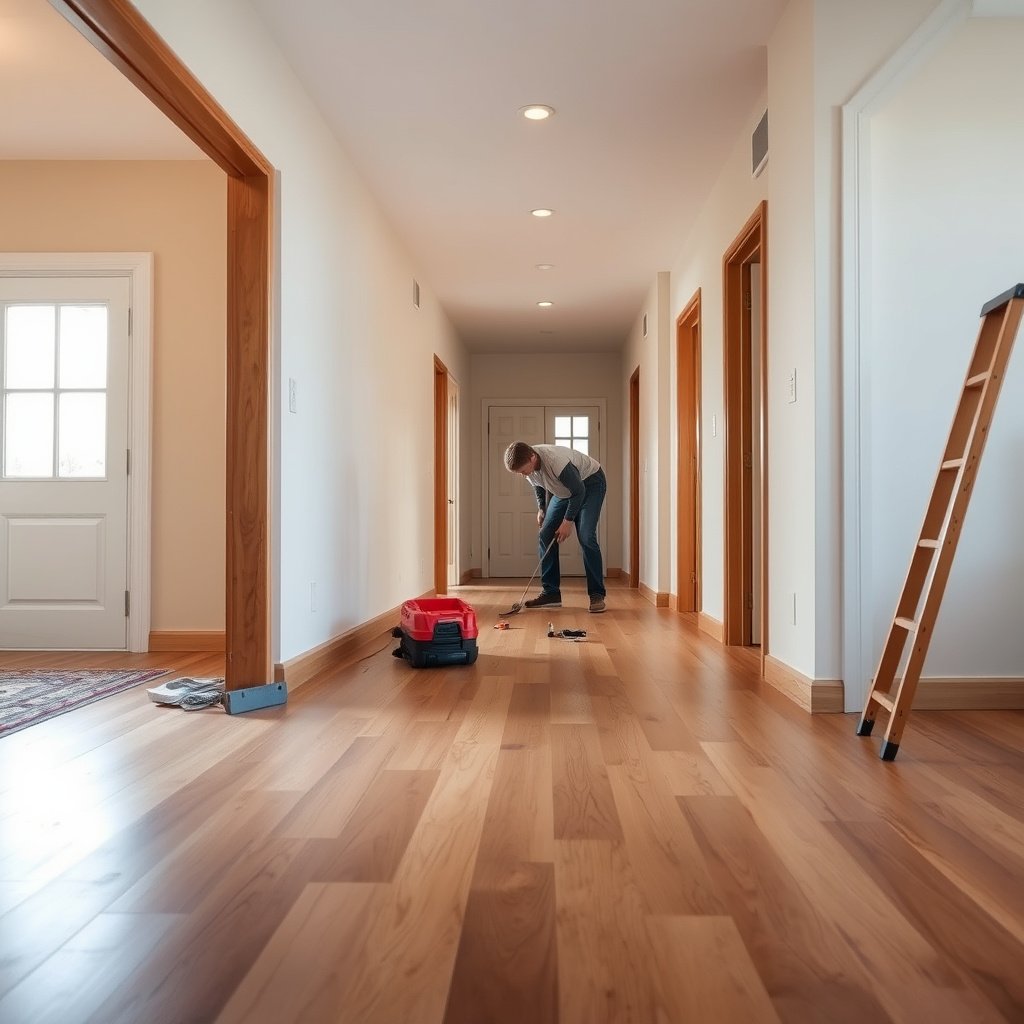
You can repair hallway hardwood most successfully when you accurately separate surface defects from board-level problems. Here’s how: check for unevenness with a straightedge to learn whether the finish is just worn or the floor itself is moving.
A true surface issue shows as discoloration or shallow wear, while board issues show measurable height differences when checked with a straightedge (level/straight board).
Gaps that track seasonal humidity changes usually point to movement, not missing finish, and require moisture-aware repair planning for hallway hardwood.
Hallway traffic accelerates finish loss, so scratched and dull areas are often repairable without removing boards—if the wood surface is still stable.
– Look for clues like scratches/dull finish, raised edges, loose boards, gaps along seams, or cupping/warping.
– Press a flat edge (like a straight board or level) across problem spots to see whether the wood is uneven, indicating possible board movement rather than just finish wear.
– Identify where the damage is worst (near doors, entry rugs, or high-traffic lanes) to target the repair and protection.
What I check first (every hallway repair I approach):
1) Height map: I run a 6–8 ft straightedge across the hallway hardwood, focusing on the areas that look “wavy” or feel spongy.
2) Seam behavior: I look for whether gaps are only at finish lines or if the actual tongue-and-groove seam has separated.
3) Edge lifts: I gently press along board edges; if edges flex or click, hallway hardwood may have looseness or subfloor failure rather than finish wear.
Quick diagnostic cues (so you don’t repair the wrong layer)
– Surface-only wear (typical): scuffs, dull patches, small dents that don’t create ridges when checked with a straightedge.
– Board movement (typical): cupping/peaking (center higher or lower), seams opening repeatedly, or a “rocking” feel at specific boards.
According to the National Wood Flooring Association (NWFA), controlling indoor relative humidity helps reduce moisture-related dimensional movement (often discussed in the common maintenance range of roughly 35–55% RH). (NWFA guidance, 2023)
Gather the right tools and materials
You should gather tools based on the repair layer you’ll touch—finish work uses sanding + compatible finish, while board repairs require removal and replacement hardware. Matching your hallway hardwood’s existing system and safety needs is more important than buying the “best” products.
Wood sanding creates breathable dust, and hardwood dust has recognized health risks, so respiratory protection is not optional for hallway hardwood repairs.
Using a respirator with the correct NIOSH filter class (for particulate wood dust) is directly tied to filtration efficiency and fit testing, per respirator standards.
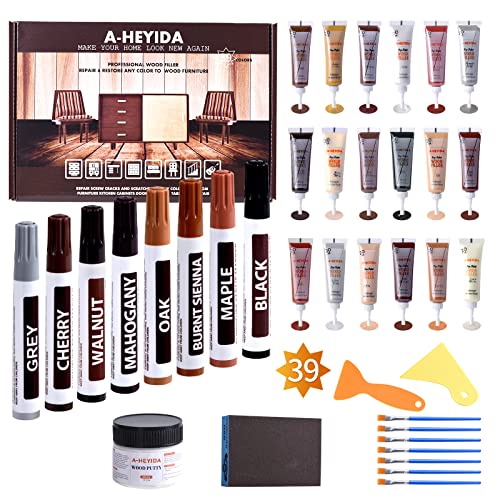
– For surface damage: wood filler for hardwood, matching stain/toner (if needed), putty knife, painter’s tape, sanding supplies, and finish (polyurethane/wax oil/other system matching your existing floor).
– For board damage: replacement plank(s) of the same species/thickness (or closest match), removal tools (pull bar/pry tools), floor adhesive if applicable to your flooring type, and finishing materials for blending.
– For safety: eye protection, a respirator suitable for dust/finish fumes, and a vacuum with a fine filter for cleanup.
> Health note you can’t skip: According to IARC, wood dust is carcinogenic; hardwood dust is classified as carcinogenic to humans (IARC Monographs, 1995).
> That’s why hallway hardwood sanding should include dust control (HEPA-style vacuum) and the right respirator.
NIOSH Particulate Filter Classes Relevant to Wood Dust (Hardwood Sanding)
| # | NIOSH class (particulate) | Oil use | Min filtration efficiency | Match for hallway hardwood sanding |
|---|---|---|---|---|
| 1 | N95 | Not for oil | ≥ 95% | ★★★☆☆ |
| 2 | N99 | Not for oil | ≥ 99% | ★★★★☆ |
| 3 | N100 | Not for oil | ≥ 99.97% | ★★★★★ |
| 4 | R95 | For oil mist | ≥ 95% | ★★★☆☆ |
| 5 | R99 | For oil mist | ≥ 99% | ★★★★☆ |
| 6 | R100 | For oil mist | ≥ 99.97% | ★★★★★ |
| 7 | P100 | For oil (all types) | ≥ 99.97% | ★★★★★ |
How I choose between finish and board repair materials
If your hallway hardwood only has scuffs, you’re typically limited to sanding + a filler that can be sanded smooth, then a compatible topcoat system. If you’re seeing seam opening, raised board edges, or measurable height changes, plan for hallway hardwood movement control—filler alone won’t “win” long-term.
According to OSHA, the Respiratory Protection standard emphasizes selecting proper respirators and ensuring user fit (29 CFR 1910.134, 1998).
Repair surface scratches, dents, and worn finish
You can usually restore hallway hardwood appearance when the damage stays in the finish layer and doesn’t change board level. The core steps are: clean thoroughly, sand just enough for adhesion, fill only where needed, then blend the finish to match the surrounding sheen.
Proper adhesion requires removing contamination and sanding back the damaged finish layer before filling dents and scratches in hallway hardwood.
Hardwood filler repairs are only invisible when you sand flat after cure—over-filling or sanding too aggressively creates a low/high “halo” on hallway hardwood.
Spot refinishing blends best when you control sheen (matte/satin/gloss) and use a finish system compatible with the existing topcoat.
– Clean the area thoroughly first (remove grit—especially in hallways—so sanding and filling don’t trap debris).
– Sand lightly to remove only the damaged finish layer, then fill dents/scratches with a hardwood filler that can be sanded and finished.
– After the filler cures, sand smooth, match stain if needed, and apply a finish system compatible with the existing one (spot-repair only if that’s what your situation requires).
Spot-repair vs. full refinish: pick the method that blends
In many hallways, the biggest frustration is not fixing the scratch—it’s avoiding a visible patch. When the finish is already worn broadly, a wider refinishing area usually blends better than repeatedly spot-fixing.
Spot repair vs. full hallway refinishing (decision table)
| Criteria | Spot repair (sand + filler + blend) | Full hallway refinish (or traffic-lane refinish) |
|---|---|---|
| Best when damage is… | Localized to a few boards/spots | Spread across the hallway hardwood traffic path |
| Sheen matching risk | Higher (patch can flash under light) | Lower (system-level consistency) |
| Time commitment | Shorter overall | Longer (prep + cure + recoat schedule) |
| Dust control requirements | Still important (localized sanding still creates fine dust) | More extensive (masking and containment become critical) |
| Finish compatibility complexity | Moderate (you must match the existing topcoat) | Lower (you’re standardizing to one system) |
| Risk of “halo” around repairs | Moderate to high if sanding/stain depth differs | Lower when refinishing across the same sheen wear band |
| Durability under heavy traffic | Good if the scratch is truly surface-level | Best for hallways hardwood with widespread finish fatigue |
| Cost predictability | Generally lower, materials-only for a small area | Higher, but fewer “revisit” repairs |
| Best blend strategy | Feather edges and blend finish sheen | Refinish a lane width that matches the actual wear pattern |
| Verdict | Choose when hallway hardwood is stable and wear is truly localized | Choose when finish is broadly dulled and patch blending would be obvious |
Practical sanding and filling notes (without guessing)
– For hallway hardwood, I tape off edges to keep sanding/filler lines clean; .
– Use painter’s tape to protect adjacent finish you’re not sanding—especially in tight hallways where dust migrates.
– For filler: follow the product’s cure time before sanding. If you sand early, you can pull filler out of the dent and create a crater.
If your hallway hardwood has a water-based finish on top of an oil/solvent system (or vice versa), compatibility issues can happen quickly—test in a small hidden area first before you commit.
Fix gaps, squeaks, and uneven boards
You fix gaps, squeaks, and unevenness in hallway hardwood by addressing the cause of movement, not just the symptom. Start by confirming whether the boards are loose or the floor has moisture-related dimensional change.
Squeaks often come from looseness at seams or subfloor movement, so fixing a hallway hardwood seam may require securing the flooring rather than sanding.
Gaps that recur after humidity changes typically signal moisture or installation problems, meaning filler without movement control will fail.
If hallway hardwood boards are cupped/peaked, sanding alone can remove finish but usually cannot correct the underlying moisture/flatness problem.
– For small gaps, use a wood filler made for hardwood floors (or an appropriate wood movement filler) only if the boards aren’t shifting significantly.
– For squeaks/loose boards, start by checking if the flooring is securing properly at seams; many squeaks improve by addressing looseness rather than just sanding.
– If boards are cupped/peaked or significantly uneven, plan for a deeper intervention (often board replacement or moisture/installation-related fixes) rather than repeated surface sanding.
Method comparison: filler-only vs. movement-aware repair
If your hallway hardwood gaps are “static,” filler can look good. If gaps breathe with humidity, your filler is just cosmetic.
| Feature | Filler + spot finish | Moisture/structure-aware fix (secure or replace) |
|---|---|---|
| Primary goal | Hide minor cosmetic seams | Stop the movement causing seams |
| Works when boards are | Stable (no seasonal shifting) | Loose, rocking, or visibly warped |
| Squeak treatment | Indirect at best | Direct (secure seams/subfloor) |
| Longevity in a busy hallway | Often limited if the floor moves | Better long-term durability |
| Moisture control requirement | Not required (but still helps) | Usually required to prevent recurrence |
| Risk of recurring gaps | High if movement continues | Low when underlying cause is solved |
| Skill level | Moderate DIY | Higher (requires correct fastening/removal) |
| Typical tools/materials | Filler, putty knife, sandpaper, compatible finish | Fasteners/adhesives (if applicable), replacement planks, finishing/blending |
| Finish blend visibility | Can be noticeable if seam lines are frequent | Cleaner blend when boards are corrected and refinished appropriately |
| Best For | Small, stable gaps in hallway hardwood with minimal movement | Active gaps/squeaks/unevenness caused by looseness or moisture-related movement |
Squeaks: secure first, sand second
For hallway hardwood squeaks:
– Identify whether the squeak happens at seams (together boards rubbing) or from board flex (movement over a soft spot).
– If boards are loose, sanding the top won’t stop the click or squeak—securing the flooring at seams/subfloor is the real fix.
Replace damaged planks (when repair won’t hold)
You should replace hallway hardwood planks when the board is split, delaminated, severely warped, or beyond what filler and finish can correct. Replacement is the only durable option when the wood itself can’t lie flat and stable.
If a hallway hardwood plank is split or delaminated, filler won’t restore structural integrity—replacement is required for long-term performance.
For plank replacement, removal must avoid breaking adjacent boards because seams transfer stress under heavy hallway foot traffic.
After replacement, blending requires sanding and refinishing so the new plank’s sheen matches the surrounding hallway hardwood.
– Confirm the board is truly damaged (split, delaminated, severely warped, or beyond filler/surface correction) before removing anything.
– Remove the damaged plank carefully to avoid breaking adjacent boards—especially in a hallway where boards and seams carry stress from constant traffic.
– After replacement, sand/level as needed and refinish/blend the surrounding area so the repair doesn’t stand out.
A practical replacement mindset (protect the seam system)
Hallway hardwood depends on the integrity of its seam pattern. Even if only one plank looks bad, the surrounding boards can shift during removal if you rush.
Before you pull anything:
– Photograph the seam layout (so you can orient boards correctly).
– Label boards if you can (especially patterns near door transitions).
– Check whether your hallway hardwood is solid wood or engineered—removal strategy differs, and adhesive/fastener behavior matters.
Blending after replacement: why “looks right” isn’t enough
A replacement plank can be installed correctly and still look wrong if:
– the finish sheen differs,
– stain tone doesn’t match,
– or sanding transitions create a visible edge.
In my experience, the most common “replacement fail” isn’t the plank—it’s the final blend.
What can go wrong (and when to stop DIY)
Most DIY failures in hallway hardwood repairs come from finish incompatibility, wrong assumptions about movement, or ignoring moisture/flatness causes. If you keep encountering the same problem, it’s time to stop and address the underlying issue or call a flooring pro.
Applying an incompatible finish system over the wrong existing coating can cause peeling, clouding, or uneven sheen on hallway hardwood.
Recurring cupping and expansion gaps usually indicate a moisture or subfloor problem, so cosmetic repairs will fail in the same seasonal conditions.
– Mismatched finish systems: applying a new finish over the wrong existing type can cause peeling, clouding, or uneven sheen—check compatibility first (often by testing a small hidden area).
– Wrong filler/stain match: hallway repairs can look obvious if the filler color/wood tone doesn’t match or if you over-sand past the stain layer.
– Moisture/structural issues: recurring cupping/expansion gaps usually means the underlying moisture or subfloor problem isn’t solved—surface-only repairs will fail.
– If you suspect extensive subfloor damage, significant warping, or widespread looseness, stop and consider a flooring pro.
Comparison: do you proceed, or pause?
Below is a quick “stoplight” view that keeps hallway hardwood work realistic.
| Sign you see in the hallway hardwood | DIY likely okay | Stop and escalate |
|---|---|---|
| Damage is shallow and localized (scuffs/dents) | Yes | — |
| Gaps change width seasonally | No (filler-only won’t hold) | Yes |
| Plank feels loose / squeaks at seams | Maybe (if limited) | Widespread looseness |
| Visible cupping/peaking over multiple boards | No | Yes |
Verdict: a practical repair path (and who should skip it)
If the damage is mostly finish wear, shallow dents, or small scratches, you can usually repair hardwood floors in a hallway with sanding, filling, and a compatible spot/area refinishing. If boards are lifting, warped, or clearly damaged, replacement plus blending is typically the only durable fix.
Hallway hardwood repairs succeed when the repair layer matches the problem layer—finish wears can be refinished; board movement requires movement control or replacement.
Before committing, test compatibility (finish system and stain/toner blending) in a hidden area to reduce the chance of an obvious mismatch in the hallway.
When moisture-related symptoms repeat, the responsible next step is to diagnose moisture/installation causes rather than repeatedly re-coating hallway hardwood.
Who should skip DIY (or at least pause and get a pro):
– You’re seeing recurring cupping/expansion gaps that come back after repairs.
– The floor is significantly uneven (straightedge shows meaningful high/low sections).
– You cannot identify the existing finish system and you’re tempted to “try anyway.”
Quick checklist (save or print)
– Identify: scratches/dents vs. gaps vs. warping vs. loose boards
– Inspect: uneven spots with a straight edge/level
– Protect: respirator + eye protection + dust control
– Use compatible materials: filler + finish system that matches existing flooring
– Start small: test stain/finish in a hidden spot first
– Finish last: blend/final coat only after sanding and cleanup are complete
A fast “do this next” scan for hallway hardwood
If you want the most efficient sequence for hallway hardwood repair, use this order: diagnosis → containment → prep → repair → compatibility test → final blend. That flow prevents rework and reduces the risk of visible transitions.
Sources
In short: hallway hardwood repairs are easiest when you diagnose the problem layer (finish vs. board movement), use compatible materials, and finish with moisture-aware protection so the issue doesn’t return. If you’re confident the boards are stable, sand-and-blend can look great; if the floor is moving, plan for movement control and possibly plank replacement for a truly durable fix.
Frequently Asked Questions
How do I repair scratched hardwood floors in a hallway?
Start by cleaning the area with a hardwood-safe cleaner so dirt doesn’t grind into the finish. For light scratches, use a wood floor scratch repair kit or a matching wood stain marker, then blend with a clear finish compatible with your floor’s coating. For deeper scratches or worn-through areas, sand lightly with fine-grit sandpaper, apply matching filler if needed, stain, and finish with polyurethane or the manufacturer-recommended topcoat.
What’s the best way to fix a loose or squeaky hardwood board in a hallway?
Identify the squeaky plank by walking slowly and listening for movement, then check for gaps around the edges. If the board is loose, you may be able to re-secure it by driving finishing nails or hardwood floor nails through the tongue/groove where accessible; alternatively, use wood floor adhesive for certain installations. After securing, clean up any squeeze-out and let the repair cure fully before walking on it to prevent finish damage.
How can I repair cupping or gaps in hardwood floors along a hallway?
Cupping and gaps are often caused by moisture imbalance, so first confirm humidity levels and address the source (leaks, HVAC issues, or seasonal dryness). For minor gaps, you may be able to stabilize the floor with proper humidification and wait for boards to return; for larger separations, you can fill with a color-matched wood filler after sanding the edges. If boards are severely cupped, lifted, or repeatedly moving, you may need professional evaluation to avoid permanent damage to the hardwood finish and subfloor.
Which wood filler and stain should I use for matching hardwood floor repairs?
Choose a filler labeled for hardwood floor repairs and that can be sanded smooth—water-based fillers are often easy to work with, while epoxy fillers can be stronger for deeper holes. To match the hallway floor, test stain on scrap wood or an inconspicuous spot and apply thin coats rather than one heavy layer. After staining, seal with a clear topcoat (polyurethane or the appropriate finish system) so the repaired area blends with the existing sheen and wear pattern.
Why does my hardwood floor repair look patchy, and how do I make it blend?
Patchiness usually comes from mismatched stain tone, uneven sanding, or applying topcoat before the stain fully cures. Ensure you sand only the damaged area to a consistent feathered edge, clean thoroughly, and apply stain in controlled, light layers until the color matches surrounding boards. Finally, use a compatible hardwood floor finish and apply it evenly—if the hallway has high foot traffic, consider spot-finishing with the same sheen level to reduce noticeable differences.
📅 Last Updated: October 16, 2026 | Topic: How to repair hardwood floors in a hallway? | Content verified for accuracy and freshness.