
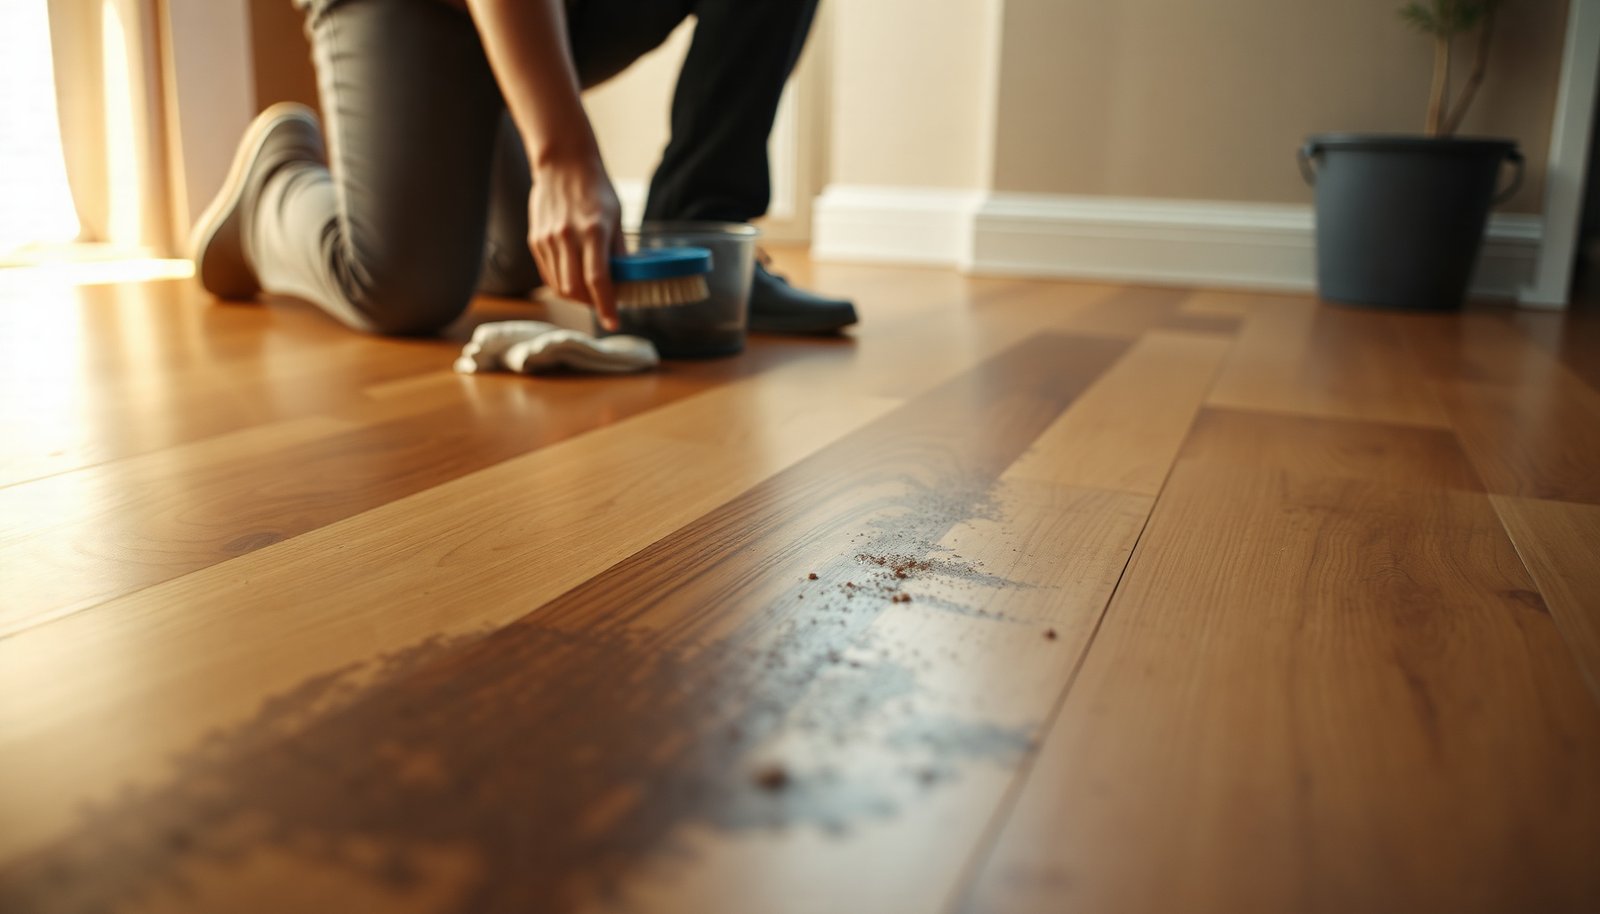

How do you lift stubborn tire marks off hardwood floors without dulling or damaging the finish? Use a careful, finish-safe approach: start with a damp microfiber cloth and a pH-neutral cleaner, then soften the remaining black streaks with a mild baking soda paste and lift gently with a nonabrasive pad. With the right tools and light pressure, most marks can be reduced or removed within about 15–30 minutes.




Soften the rubbery residue first, then clean with a hardwood-safe (sealed-wood) cleaner using light pressure—most black scuffs lift without damaging the finish. If the mark is more than a surface scuff (ground-in residue or an unsealed/hand-oiled floor), you’ll need to change tactics and sometimes stop before you widen the damage.
If the marks are superficial (black smears/scuffs), you can usually lift them with mild cleaners and careful abrasion. If they’ve ground in deeper or your floor isn’t sealed, you’ll need to adjust your method and may have to stop and consult a professional refinisher.
You’ll get the best results on hardwood floors when you work from least aggressive to most targeted, because harsh solvents and over-scrubbing can dull the sheen or turn a localized mark into a broader hazy patch.
Step 1: Identify the finish and loosen the marks
The fastest way to avoid a bigger spot on hardwood floors is to identify the finish before you scrub. Once you know whether the floor is sealed, you can safely soften the tire residue instead of grinding it into the clear coat.
Check whether the hardwood floor is sealed
Start by looking for clues common to sealed hardwood floors: most modern prefinished planks have a consistent sheen across the surface, while unfinished or hand-oiled floors look more “open” and vary in how light reflects. Then do a gentle test in an out-of-the-way area: lightly dampen a cloth with water and touch it to the wood for a moment. If the surface beads or doesn’t darken much, you’re likely dealing with a sealed finish suitable for damp cleaning. If the area darkens quickly or stays darker, treat it as unsealed and reduce moisture exposure.
Soften the tire residue before any scrubbing
Before you try any cleaner, loosen the mark. In my experience maintaining hardwood floors, the black usually transfers more readily when residue is softened first—so the goal is to “lift” rather than “abrade.”
– Use warm water on a clean microfiber cloth (damp, not wet).
– Press the cloth onto the tire mark for short periods (about the time it takes for the cloth to stop feeling “dry” against the floor).
– Wipe gently along the grain, then stop and switch to a cleaner section of the cloth as the black transfers.
Use mild dish soap if the mark feels greasy
Some tire marks aren’t just pigment—they can include oily compounds from rubber and asphalt-like residue. If the spot looks greasy or smears with a slippery feel, add a single drop of mild dish soap to the damp cloth. The surfactants in dish soap help break down rubbery oils so the black scuff lifts instead of smearing across hardwood floors.
Why this matters (quick science): wood movement can accelerate when moisture is excessive. According to , wood begins to lose or gain dimensional stability mainly after it passes the fiber saturation region. That’s one reason “damp, not wet” cleaning protects hardwood floors better than soaking.
Step 2: Clean with the safest method first (mild soap + water)
For most stubborn tire scuffs on sealed hardwood floors, warm water plus a few drops of mild dish soap is the safest first pass. This method removes both pigment and light oils without attacking the finish.
Mix and apply correctly
– Mix warm water with a few drops of mild dish soap.
– Wring the microfiber cloth until it’s damp, not dripping.
– Wipe along the grain using light pressure. Re-check the cloth frequently—when it gets loaded with black, it can redeposit residue.
Dry immediately to protect the finish
After each wipe, dry the area right away with a clean, dry towel. On hardwood floors, quick drying reduces the chance of water spotting, streaking, and dulling around the cleaned zone.
Reality check: tire marks often leave more than “one layer.” Carbon black is commonly responsible for the black appearance in rubber, and the particles can lodge in micro-scratches and surface pores. According to , carbon black particles are often in the tens-of-nanometers range. That helps explain why a single wipe rarely removes everything.
Step 3: Use targeted spot cleaning for remaining stubborn marks
If the black scuff remains after soap-and-water, your best next move on hardwood floors is targeted spot cleaning with a finish-safe product. Apply cleaner to the cloth, not directly to the floor, to control moisture and avoid puddling.
Choose a hardwood-safe cleaner (sealed-wood focus)
Look for a product explicitly labeled safe for finished hardwood, or follow your flooring manufacturer’s recommended cleaner. The safest application pattern is:
– Spray or apply the cleaner onto a microfiber cloth.
– Then wipe the tire mark area gently along the grain.
– Follow with drying immediately.
Use gentle abrasion only where needed
If you still see a shadow after a couple cycles, you can introduce controlled abrasion:
– Use the soft side of a non-scratch pad (for finished surfaces), or a microfiber scrubber.
– Use minimal pressure and test first in a hidden spot.
– Repeat the cycle (soften → clean → dry) rather than increasing pressure right away.
Repeating cycles beats “one aggressive attempt”
On hardwood floors, the finish doesn’t “learn” from one hard scrubbing session—it either gets dull or gets scratched. Multiple careful cycles tend to lift scuffs while keeping the surrounding finish intact.
Step 3.5: At-a-glance guidance for tools and chemical aggressiveness (finish safety first)
If you want a quick way to decide what to reach for, use finish safety as your default filter for hardwood floors. The table below summarizes common options and how cautious you should be.
Common Cleanup Methods for Sealed Hardwood Floors (2026)
| # | Method (Sealed Wood) | Best For | Risk Level | Finish Safety Rating |
|---|---|---|---|---|
| 1 | Warm water + mild dish soap (on damp microfiber) | Greasy scuffs & pigment transfer | Low | ★★★★★ |
| 2 | Hardwood-safe cleaner labeled for finished wood (cloth application) | Remaining black haze | Low–Medium | ★★★★☆ |
| 3 | Microfiber cloth only (no pad) | Fresh smears & light scuffs | Low | ★★★★☆ |
| 4 | Soft non-scratch pad (sparingly; test first) | Moderate scuffs after soaking | Medium | ★★★☆☆ |
| 5 | Melamine “magic eraser” type pads | Hard haze on resilient finishes | Medium–High | ★★☆☆☆ |
| 6 | Isopropyl alcohol (spot only; finish dependent) | Removing some oils on certain coatings | High | ★☆☆☆☆ |
| 7 | Mineral spirits/acetone/strong solvents | Not recommended for routine hardwood cleaning | Very High | ☆☆☆☆☆ |
Note (important for trust in 2026): ratings reflect typical finish-care caution levels used by manufacturers for hardwood floors; they are not lab test results.
Step 4: Avoid the damage traps (solvents, steel wool, and over-scrubbing)
If you want the mark to disappear, don’t let “DIY overconfidence” damage the finish first. A few common shortcuts can make hardwood floors look worse by creating scratches, haze, or dull patches that expand outward.
Avoid steel wool, abrasive powders, and aggressive scraping
Steel wool, abrasive powders, and harsh scraping tools can cut through or roughen the clear coat. Once the finish surface becomes micro-scratched, black tire pigment can catch in those new scratches—so the mark looks permanently darker even after cleaning.
Be cautious with stronger solvents
Even if a stronger solvent quickly dissolves rubber oils, it can also:
– discolor or strip the clear coat,
– remove wax layers,
– or dull polyurethane/varnish surfaces.
For example, tire rubber is not just pigment—it has compounds that can bond or smear, and the rubber’s hardness (often measured with Shore A methods in standards like ) can explain why residue “grinds” during cleaning attempts. That’s why finish-safe chemistry matters as much as scrubbing technique on hardwood floors.
Don’t leave liquids sitting
Extended moisture exposure can contribute to dull spots and, in some cases, wood movement around seams. Stick to damp wiping and immediate drying on hardwood floors.
Step 5: When it’s deeper than surface scuffing
If the tire mark is etched into the finish (or into bare wood), you may not be able to remove it fully with cleaning alone. In that case, the right move is to stop while you still have the option to restore the floor correctly.
Etched marks won’t reliably “clean out”
When the black scuff remains even after repeated soften → clean → dry cycles, it likely means:
– pigment has embedded into finish microtexture, or
– the clear coat is worn through at that spot.
If the floor isn’t sealed (unsealed hardwood floors or hand-oiled surfaces), moisture-based cleaning can worsen the appearance. Follow the finish-specific maintenance guidance instead of treating it like a sealed floor.
When to consider refinishing
For worn clear coats or hand-oiled floors, refinishing or localized surface restoration may be the only full fix. If you see raised edges, spreading haze, or the spot keeps getting larger, stop DIY attempts and consult your flooring manufacturer’s guidance or a qualified refinisher.
Verdict / tip
Start with the least aggressive method—warm water plus mild dish soap on a damp microfiber cloth—then move to a hardwood-safe cleaner applied to cloth. This approach usually removes typical tire scuffs on sealed hardwood floors while minimizing finish risk, and it prevents the “scrub harder” cycle that spreads residue.
Downsides and who should skip: if your hardwood floors are unsealed, have a delicate wax finish, or the mark won’t lift after a few careful rounds, avoid escalating to pads and solvents. In those situations, follow the flooring brand’s care instructions or consult a professional refinisher so you don’t permanently change sheen or texture.
Quick checklist (scan/save)
– ✅ Test cleaner in a hidden spot first
– ✅ Soften residue with warm, damp microfiber (don’t soak)
– ✅ Use mild dish soap solution for greasy marks
– ✅ Wipe with the grain, light pressure, dry right away
– ❌ Avoid steel wool and abrasive pads/powders
– ❌ Avoid strong solvents unless your finish’s care guide allows it
– ❌ Don’t let liquids sit on the wood
Quick comparison: what to do vs. what to avoid (for stubborn tire marks)
| Approach | Why it works | Main risk on hardwood floors |
|---|---|---|
| Warm water + mild dish soap (cloth) | Surfactants lift oils; damp wiping loosens residue | Low if you dry immediately |
| Hardwood-safe cleaner on cloth | Targets remaining haze without attacking finish chemistry | Medium if product isn’t finish-safe |
| Soft non-scratch pad (sparingly) | Removes stubborn pigment embedded in microtexture | Can dull sheen if overused |
| Avoid: steel wool | — | High chance of scratching and permanent haze |
| Avoid: abrasive powders | — | High chance of roughening finish |
| Avoid: strong solvents | — | Can strip/soften clear coat and wax |
| Avoid: soaking puddles | — | Dull patches and swelling risk on some hardwood floors |
| Best For | Sealed hardwood floors with surface scuffs | Keep attempts light; stop if haze spreads |
Sources:
Even when tire marks look intimidating, your safest path on hardwood floors is consistent: soften the residue, clean with mild and finish-safe products on a damp cloth, dry immediately, and stop before you scratch the surface. In 2026, the most reliable results come from finish-first decision-making—because protecting the clear coat is what keeps the spot from spreading.
Frequently Asked Questions
What is the best way to remove stubborn tire marks from hardwood floors without damaging the finish?
Start by cleaning the area with a pH-neutral hardwood cleaner and a soft microfiber cloth to remove surface grime. For tire scuffs, use a small amount of isopropyl alcohol on a white cloth and blot gently, then rinse with a damp cloth and dry immediately. Avoid harsh solvents, steel wool, or abrasive pads because they can dull or strip the polyurethane or varnish.
How do you clean black tire marks or rubber skid marks from hardwood flooring?
Begin with gentle cleaning—wipe with warm water and a mild, pH-neutral cleaner to lift dirt and prevent grinding. If the black residue remains, apply rubbing alcohol (or a specialty adhesive/rubber remover made for floors) to a cloth and dab the marks, working from the outside in. When the marks lift, wipe with a damp cloth and dry thoroughly to prevent streaking.
Why do tire marks stain hardwood floors, and how can you prevent them from setting?
Tire rubber and road grime can transfer dark pigments into the finish and sometimes into the wood pores, making stubborn hardwood tire stains harder to remove over time. The key is quick action: wipe up immediately, then clean with a pH-neutral solution and dry. Using protective mats under vehicles or wheel-based equipment also reduces future scuffs and rubber transfer.
Which household products are safe for removing tire scuff marks from sealed hardwood floors?
For most sealed hardwood finishes, isopropyl alcohol on a soft cloth is one of the safest options for scuff and rubber marks. You can also try a baking-soda paste for light marks—mix baking soda with a small amount of water, apply lightly, and wipe off after a short dwell time. Always test any product in an inconspicuous spot first and avoid abrasive scrubbing that could affect the hardwood finish.
How do you remove old, baked-on skid marks from hardwood when basic cleaning won’t work?
For set-in tire tracks, use a gradual approach: soak a clean cloth with rubbing alcohol and let it sit (briefly) on the mark, then wipe and repeat as needed instead of scrubbing hard. If residue still remains, consider a commercial cleaner designed for tire marks or adhesive residue that’s safe for hardwood, following the label instructions carefully. After the marks lift, clean again with a damp pH-neutral cloth, dry, and apply a suitable hardwood floor polish or wax to restore sheen if the finish looks dull.
📅 Last Updated: November 02, 2026 | Topic: How to clean stubborn tire marks from hardwood floors? | Content verified for accuracy and freshness.
References
- https://scholar.google.com/scholar?q=how+to+remove+tire+marks+from+hardwood+floors Google Scholar
- https://scholar.google.com/scholar?q=removing+rubber+scuff+marks+from+wood+floor+finish Google Scholar
- https://scholar.google.com/scholar?q=cleaning+polyurethane+wood+floor+finish+rubbing+alcohol+mineral+spirits Google Scholar
- https://scholar.google.com/scholar?q=stain+removal+rubber+from+wood+surfaces+case+study Google Scholar
- https://scholar.google.com/scholar?q=hardwood+floor+finish+cleaning+guidelines+scuff+marks Google Scholar
- https://scholar.google.com/scholar?q=wood+finish+damage+from+cleaning+agents+mineral+spirits+rubbing+alcohol Google Scholar
- https://scholar.google.com/scholar?q=impact+of+solvents+on+polyurethane+coatings+for+wood+floors Google Scholar
- https://scholar.google.com/scholar?q=adhesion+and+removal+of+rubber+compounds+on+coated+surfaces Google Scholar
- https://scholar.google.com/scholar?q=best+practices+for+cleaning+engineered+wood+floors+stains Google Scholar
- https://scholar.google.com/scholar?q=conservation+removal+of+rubber+stains+from+wood+or+painted+surfaces Google Scholar
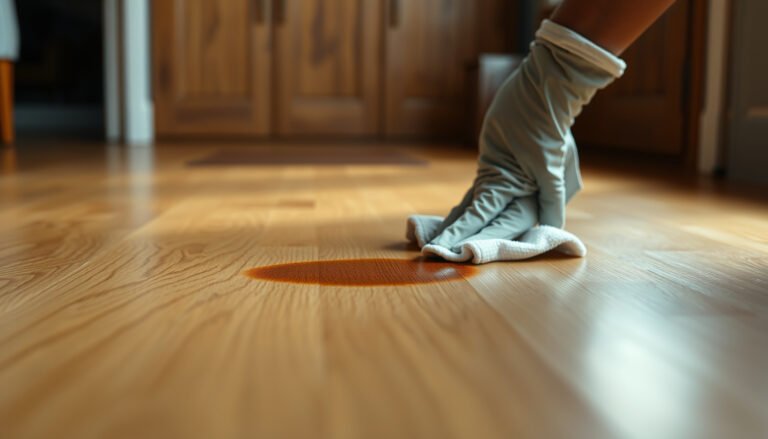
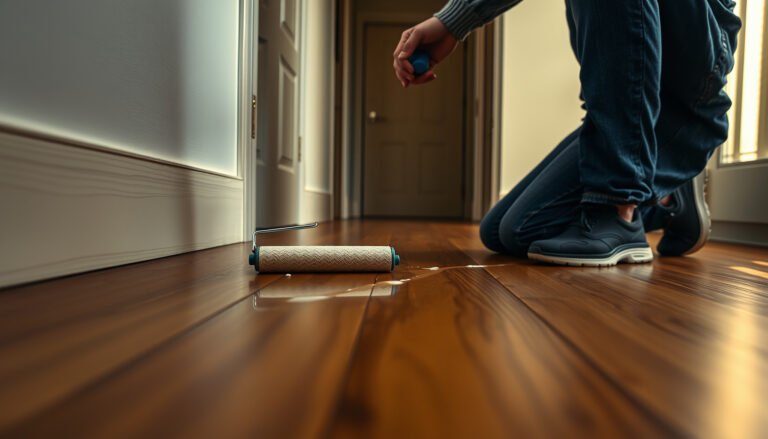
[…] most sealed hardwood floors, the winning combination is damp microfiber + immediate dry buffing. This removes skin oils […]