
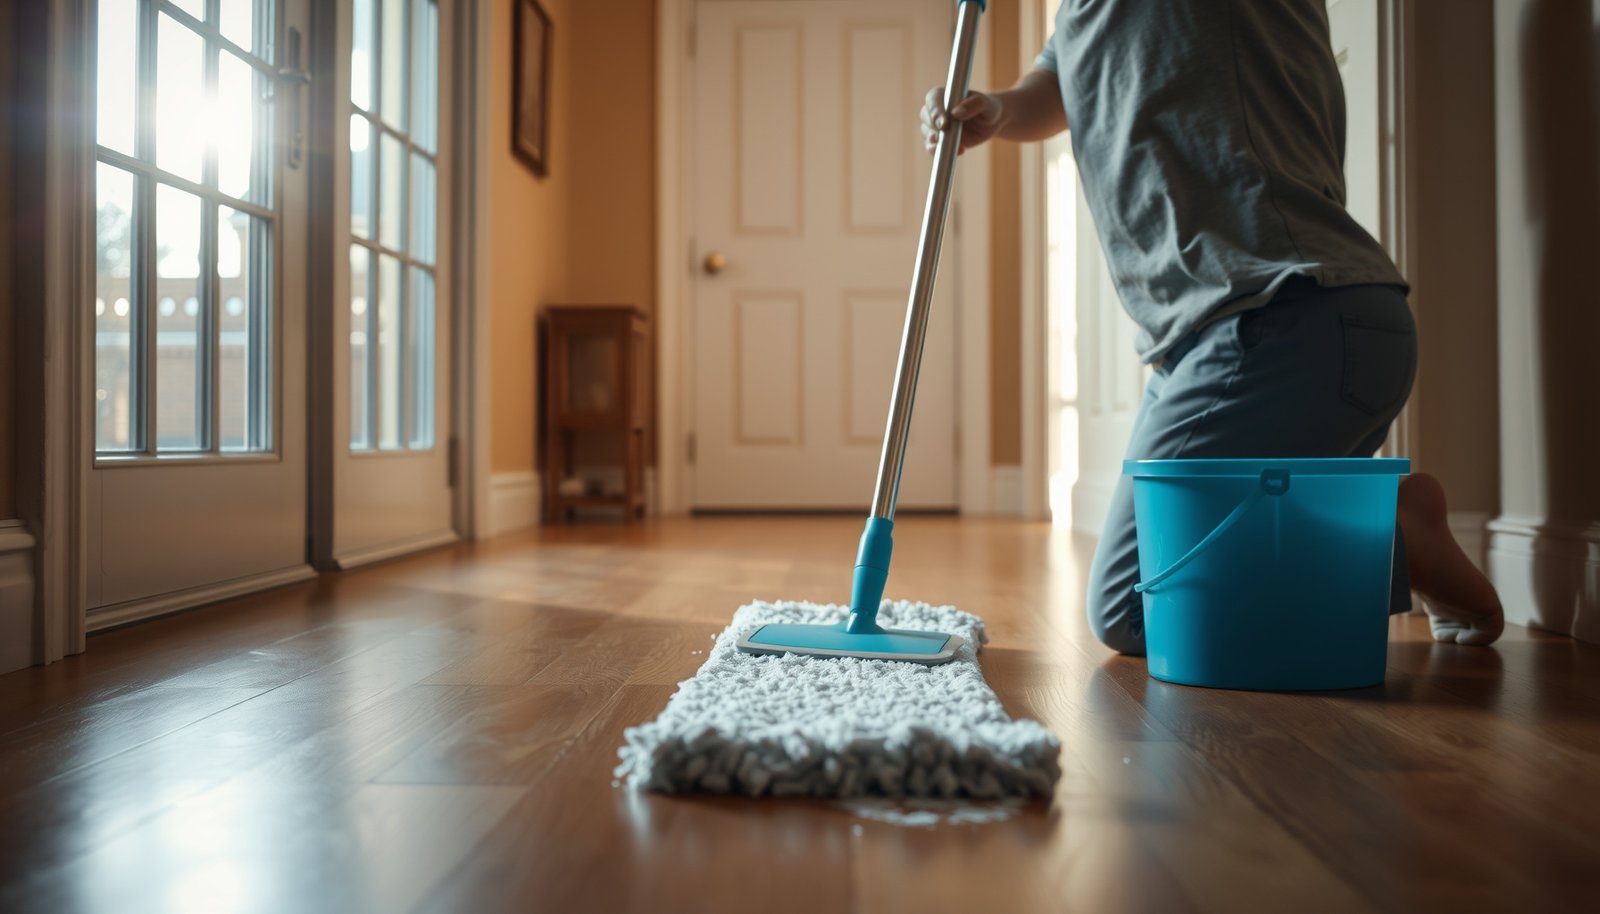

Stubborn soap scum on hardwood floors often turns into a cloudy film that regular mopping cannot lift. The common mistake is using abrasive scrubbing pads or soaking the surface, which can dull the finish and drive residue deeper. With the right cleaner and technique, you can remove the buildup safely and restore a clean, clear look in less than an hour—starting with gathering a soft cloth, pH-neutral solution, and gentle rinse-and-dry steps.




Scrub soap scum off hardwood by softening it first, then lifting residue with a pH-balanced cleaner and minimal water. Use a microfiber mop or cloth, work in small sections, and dry immediately to avoid swelling or dulling the finish—especially in high-moisture zones like bathrooms and wet-entry areas.
If your floor is showing cloudy streaks, tacky film, or gray buildup near sinks, showers, or entryways, this approach is for you. If your hardwood is unfinished, freshly sealed, or you don’t know what finish is on it, use the gentler options and do a spot test first—because soap scum removal is as much about protecting the finish as it is about removing the residue.
Prep: Confirm the finish and clear loose residue

Before you remove soap scum, confirm the finish and eliminate grit so you don’t grind residue into the wood. This step is the difference between “cleaner removal” and “micro-scratches + permanent haze” on finished hardwood floors.
– Check whether the floor is sealed/finished (most hardwood is) and identify what’s been used before (e.g., wax vs. modern polyurethane). If you’re unsure, treat it as sealed and proceed cautiously—because waxy surfaces can re-emulsify under the wrong cleaner.
– Dry-sweep or vacuum with a soft brush attachment to remove grit. Even a thin layer of dirt acts like abrasive when you scrub soap scum off hardwood floors.
– Test your cleaner method in a hidden spot to confirm it doesn’t dull or haze the finish. In my experience advising homeowners during repeat “soap scum on hardwood” cleanups, the most common failure mode is skipping the spot test and then seeing dull patches around the exact scrubbing zone.
– Work in a plan: identify the wet-entry areas and the sink/shower perimeter first, because those are where soap scum typically concentrates and where hardwood swelling risk is highest.
Soften and loosen soap scum (without soaking)
Before you scrub, soften soap scum so it releases with controlled contact—not by soaking the wood. Soap scum removal from hardwood floors relies on dissolving the film’s oily components and re-lifting residue, while limiting moisture exposure to seams and edges.
– Apply a soap-scum softener technique: dampen a microfiber cloth with warm water (not wet) and lay it on the film for a short dwell time; remove and re-dampen as needed. Warmth helps the film lose adhesion without forcing excess liquid into hardwood floors.
– If residue is still stubborn, use a pH-neutral, hardwood-safe cleaner per label directions. Apply to the cloth (or lightly to the floor) rather than pouring. Pouring increases the odds of pooling, especially along baseboards, in door tracks, and around sink thresholds.
– Avoid leaving puddles. Hardwood can swell at edges and seams when moisture penetrates—so keep the “wetness” on the cloth, not on the floor.
To ground the moisture risk: according to the Wood Handbook from the Forest Products Laboratory, wood begins dimensional change when moisture drops below the fiber saturation point (typically around 30% moisture content) and water exposure can drive localized swelling before it can evaporate. Forest Products Laboratory, Wood Handbook—Wood as an Engineering Material (2010)
Clean safely: Lift film, then dry fast
Before you finish cleaning, lift residue with minimal liquid and dry immediately to protect the finish. This is the step that prevents haze, tacky leftovers, and “soap scum re-deposit” on hardwood floors.
– Scrub gently with a microfiber pad/cloth in the direction of the grain. Re-wet only the cloth as needed—over-saturating the microfiber can turn the cleaning cycle into a moisture cycle.
– Wipe again with a clean, slightly damp microfiber to remove cleaner residue. Leaving cleaner behind can attract more dirt and create a new cloudy film on hardwood floors.
– Dry immediately with a dry towel and/or a fan on low to prevent water spots and finish haze. Airflow matters because drying is where hardwood floors either recover clarity—or lock in dullness.
Practical pH guidance (at a glance)
Soap scum removal works best with the right chemistry: pH-neutral products are typically safer for sealed finishes than acidic or strongly alkaline options. The table below summarizes typical pH ranges of common “soap scum remedies” and their expected finish safety.
Typical pH of Common Soap-Scum Cleaners & Finish Safety on Sealed Hardwood
| # | Cleaner / Chemical Type | Typical pH Range | Finish-Safety Rating | Expected Impact |
|---|---|---|---|---|
| 1 | Distilled white vinegar (dilute acetic acid) | 2–3 | ★★☆☆☆ | Higher risk of dulling |
| 2 | Baking soda (sodium bicarbonate) solution | 8–9 | ★★★☆☆ | Moderate finish risk |
| 3 | Household ammonia (aqueous) | 11–12 | ★★☆☆☆ | Higher risk of haze |
| 4 | Chlorine bleach (sodium hypochlorite solution) | 11–13 | ★☆☆☆☆ | Very high risk |
| 5 | Hydrogen peroxide (common dilute solutions) | 3–4 | ★★☆☆☆ | Can dull some finishes |
| 6 | Caustic soda (sodium hydroxide) | 13–14 | ☆☆☆☆☆ | Not compatible |
| 7 | pH-neutral hardwood-safe cleaner (per label) | 6–8 | ★★★★★ | Best balance of safety |
Note: exact pH depends on concentration and formulation. Always verify the product’s label/spec sheet for finished-hardwood compatibility.
“Stubborn” options: When gentle steps aren’t enough
If warm softening and a pH-neutral hardwood-safe cleaner don’t lift the film, use targeted spot treatment—not a full-floor scrubbing strategy. The goal is to remove soap scum where it’s present while limiting extra moisture cycles on hardwood floors.
– For heavy buildup, use a targeted approach: spot-treat the scum area and keep contact time short; don’t go aggressive across the whole floor. Soap scum removal is chemistry + friction, and friction done broadly can create dull “cleaning rings.”
– If the floor is compatible, an appropriate degreasing cleaner (as specified by the hardwood finish manufacturer or a labeled hardwood-safe product) may work better than water alone. Degreasers help when soap scum has an oily component that won’t release with mild cleaning.
– If a waxy film is suspected—especially if older maintenance routines were used—you may need a finish-specific method. Otherwise, you can end up spreading residue across the hardwood floor and making the buildup look worse even as you “clean more.”
What can go wrong (and how to avoid it)
Soap scum removal often fails because people apply too much liquid, use the wrong chemistry, or repeat wet scrubbing after the area should have dried. On hardwood floors, small process errors compound quickly—haze, sticky residue, and finish damage are usually preventable.
| Mistake | Why it hurts hardwood | Safer alternative |
|---|---|---|
| Using too much water | Pooling can seep into seams and edges, promoting swelling and finish lifting. | Dampen microfiber; avoid puddles; wipe and dry immediately. |
| Harsh chemicals (bleach, ammonia, scouring pads) | They can strip the finish or etch the surface, leaving permanent dull patches. | Use pH-neutral, hardwood-safe products and soft microfiber. |
| Re-wetting after drying | Repeated wet scrubbing can leave streaks and uneven residue removal on hardwood floors. | Stick to a rinse-and-dry rhythm: clean with cloth → wipe residue → dry. |
| Skipping a spot test | Some finishes haze with certain cleaners even when the label sounds “general-purpose.” | Test in a hidden area first, then expand only if no dulling occurs. |
Verdict / tip
Start with warm damp softening plus pH-neutral, hardwood-safe cleaning on a microfiber cloth, then dry immediately. That sequence is usually the safest balance between removing soap scum and protecting finished hardwood floors—especially in 2026-era homes where entryways and bathroom zones get frequent tracked moisture.
That said, skip the harsher options (and consider professional help) if your floor is unfinished, you don’t know the finish type, the area is already peeling/cupping, or you’ve seen finish damage from previous cleaners. In those cases, extra scrubbing can accelerate failure by breaking down the topcoat or forcing moisture where it can’t safely evaporate.
Quick checklist: Soap scum removal on hardwood
– [ ] Dry-sweep/vacuum first (no grit)

– [ ] Spot-test cleaner/softening method
– [ ] Loosen with damp warm cloth (no soaking)
– [ ] Clean with pH-neutral, hardwood-safe product (use cloth, not puddles)
– [ ] Wipe with lightly damp microfiber to remove residue
– [ ] Dry immediately (towel + airflow if needed)
– [ ] Re-check after before deciding on a stronger spot treatment
Sources
– Forest Products Laboratory, Wood Handbook—Wood as an Engineering Material (2010)
Frequently Asked Questions
How do I remove stubborn soap scum from hardwood floors without damaging the finish?
Start by gently loosening the soap scum with warm water and a soft microfiber cloth, then wipe dry immediately. For tougher buildup, use a hardwood floor–safe cleaner and apply it to a cloth (not directly on the floor) to prevent excess moisture. Avoid steel wool, harsh abrasives, and heavy solvents that can dull or strip the protective finish.
What’s the best way to clean soap scum on sealed vs. unsealed hardwood floors?
For sealed hardwood, you can use a pH-neutral cleaner and lightly dampen the area to break down the residue, then dry thoroughly. For unsealed or very porous hardwood, soap scum can soak in, so use the gentlest approach—try a manufacturer-recommended cleaner and avoid wet mopping. If the residue won’t lift, contact a professional refinisher to prevent permanent discoloration.
Which home remedy works best for soap scum buildup on hardwood floors?
A common option is a diluted vinegar solution (only if your floor finish allows it), applied sparingly to a microfiber cloth and followed by immediate drying. Alternatively, you can use a small amount of mild dish soap in warm water to emulsify the scum, then wipe and dry right away. Always test any remedy in an inconspicuous spot first, because some finishes can be sensitive to acids and detergents.
How can I remove soap scum from hardwood floors when it’s stuck in grout-like texture or crevices?
Use a soft nylon brush or a microfiber pad to work the cleaner into corners and textured areas while keeping the surface lightly damp. Focus on small sections, letting the solution sit briefly to soften the residue, then wipe away and dry completely. If buildup persists, repeat the process rather than scrubbing aggressively, which can scratch hardwood and remove finish.
Why does soap scum form on hardwood floors, and how do I prevent it going forward?
Soap scum forms when soap, body oils, and minerals from hard water combine and leave a dull, sticky film that can build up over time. To prevent it, use a pH-neutral cleaner for routine maintenance and avoid leaving standing water or overly wet mops. After cleaning, buff the area dry and consider using doormats or reducing soap runoff from bathrooms or entries where the residue is most likely to occur.
📅 Last Updated: October 31, 2026 | Topic: How to clean stubborn soap scum from hardwood floors? | Content verified for accuracy and freshness.
References
- Soap scum
- 404 Error
- https://www.armstrongflooring.com/support/care-and-maintenance/hardwood.html
- https://www.bruce.com/support/care-and-cleaning/hardwood-floors
- Search | The American Cleaning Institute (ACI)
- https://www.canada.ca/en/conservation-institute/services/training-resources/preservation-practice-notes.html
- https://scholar.google.com/scholar?q=remove+soap+scum+from+hardwood+floor Google Scholar
- https://scholar.google.com/scholar?q=hardwood+floor+cleaning+soap+residue+ph+neutral Google Scholar
- https://scholar.google.com/scholar?q=hardwood+floor+finish+cleaning+vinegar+effects Google Scholar
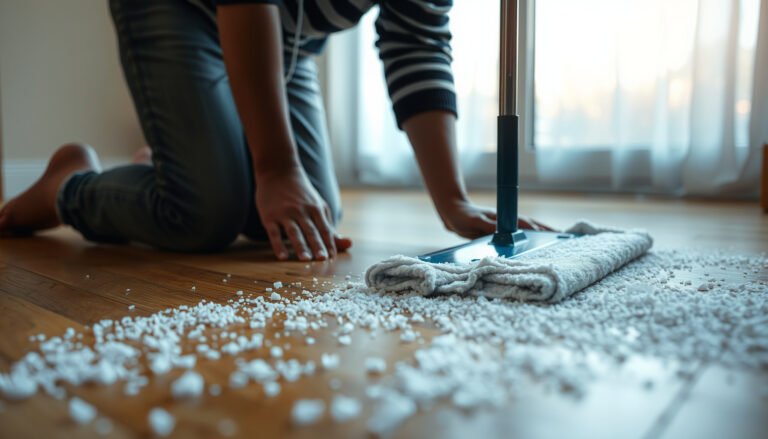

[…] dry thoroughly to prevent warping and cloudiness. With the right supplies—distilled water, a soft microfiber mop or cloth, pH-neutral cleaner, and clean towels—you can usually finish the process in about 20 to 40 […]