
When soap scum dulls the finish of hardwood floors, you can restore a clear, even shine without stripping the wood. With the right pH-neutral cleaner and microfiber tools, most messes take about an hour to correct, even if buildup has set in. You’ll learn how to dissolve the residue, wipe it away, and dry thoroughly so no new soap film forms again.




If you’re dealing with a dull, sticky, or filmy surface after using the wrong soap or bathroom/Kitchen runoff, this guide is for you. It’s also helpful when you want the scum gone without dulling, scratching, or damaging the finish.
Sort out what you’re dealing with (soap scum vs. finish issues)
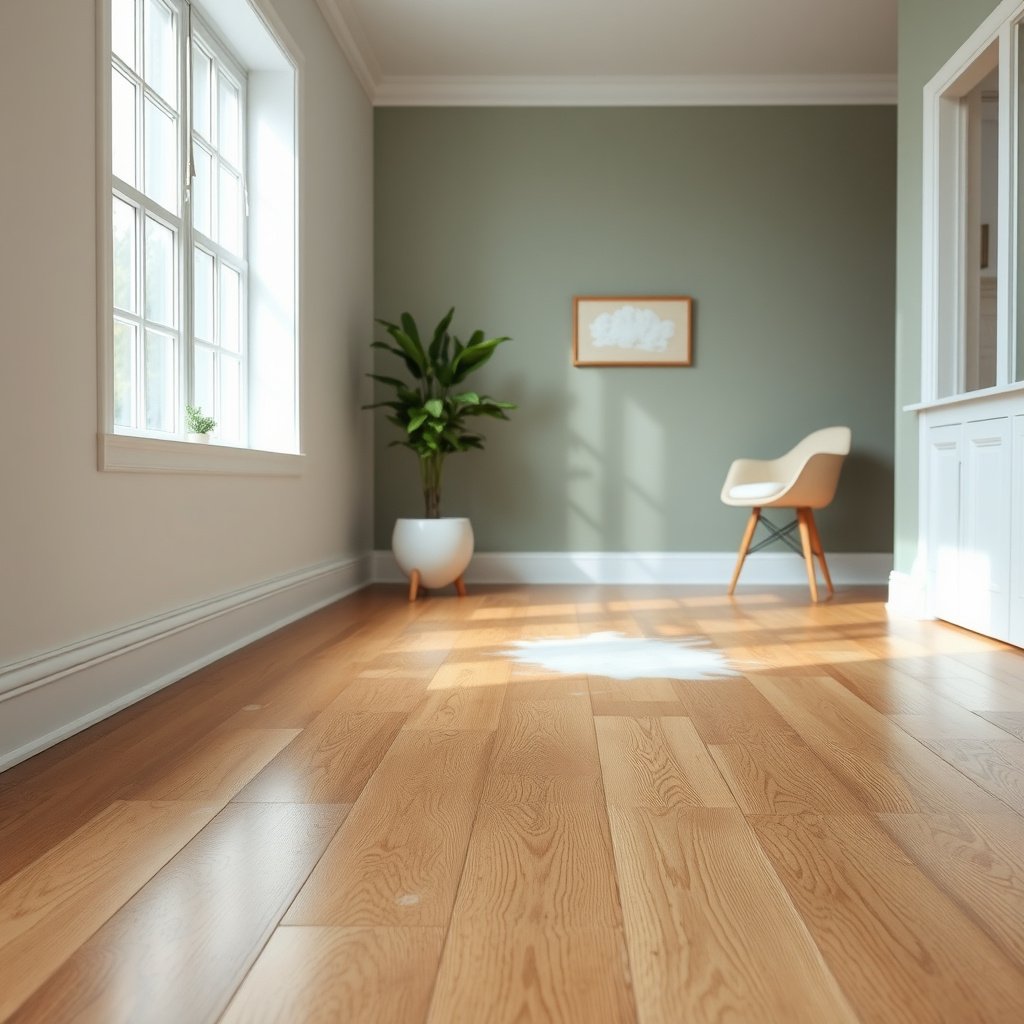
If the surface feels tacky or you see a wipe-off film, you’re probably dealing with soap scum (residue), not finish failure. The right cleaning method depends on whether the problem is “on top” or whether the finish is already hazed.
– Look for a “film” or stickiness rather than deep scratches—soap scum commonly leaves a residue layer that wipes unevenly.
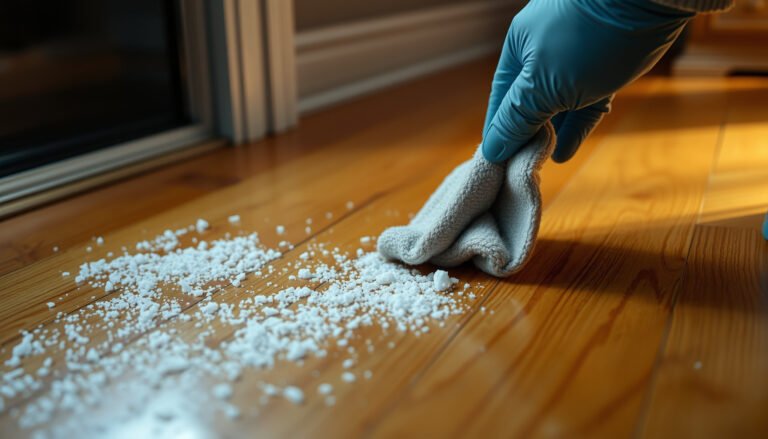
– Try a small test: wipe one area with a lightly damp, microfiber cloth. If the residue transfers to the cloth, you’re likely dealing with residue/soap scum.
– If the floor looks permanently hazy even after gentle cleaning, the finish may be clouded—continued washing can make it worse, so you’ll need to shift strategy ().
In 2026, most hardwood-care guidance still emphasizes that soap scum removal is largely a chemistry-and-moisture-control problem: soap residue is designed to cling, while water and detergents can migrate it across the wood grain if you over-wet hardwood floors. That’s why a “transfer test” with a microfiber cloth is so useful—soap scum typically moves, whereas truly damaged or clouded finish often looks the same after you’ve removed surface residue.
In my own experience dealing with soap scum on hardwood floors, I’ve found that the first sign that you’re treating residue (not finish damage) is when the microfiber stays noticeably cleaner after each pass. If the microfiber keeps coming away tacky even after you follow a pH-neutral, residue-free wipe-down protocol, that’s usually your cue to escalate—but only cautiously.
Also, remember that soaps and body washes are not just “cleaners.” Many are formulated with surfactants (cleaning agents that suspend oils and soils) and conditioning agents. Those ingredients can bond to a finished surface and leave a sticky or slippery film—especially where bathroom steam, hair products, or hard-water minerals have been present.
Gather safe supplies before you start
You’ll get the best results on hardwood floors by using microfiber tools and pH-neutral chemistry, not abrasives. Before you clean, assemble supplies that support residue removal without soaking the wood.
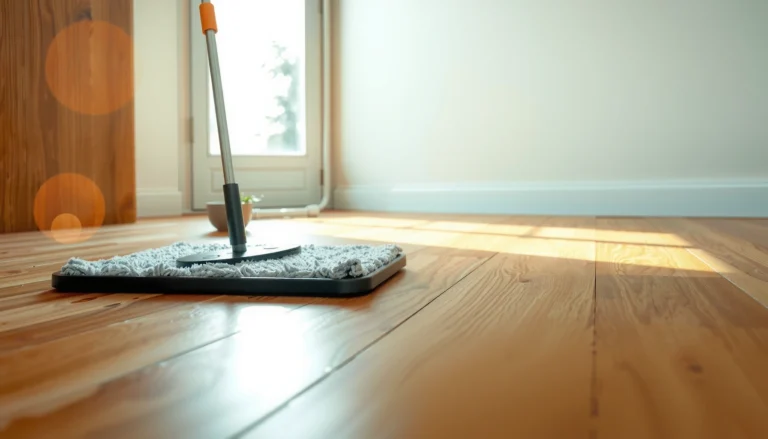
– Use soft microfiber cloths or mop pads; avoid abrasive scrubbers that can dull the finish.
– Choose a hardwood-safe, pH-neutral cleaner labeled safe for finished wood floors (avoid strong degreasers unless your floor manufacturer says it’s okay).
– Have clean, dry microfiber cloths ready for the final dry-and-buff step.
When soap scum gets on hardwood floors, your tools matter because microfiber reduces “mechanical” damage (micro-scratches) while still lifting residue. Abrasive pads can make the film look permanently dull by dulling the surface gloss—so even if you later remove the residue, hardwood floors may not return to their original look.
Here’s a practical way to set up: dedicate one microfiber pad/cloth for the damp wipe (residue transfer stage), and keep another set strictly for the final buff-dry stage. That separation prevents you from re-depositing loosened soap scum back onto the wood.
For moisture control, it helps to frame the job as a moisture risk management plan. According to the National Wood Flooring Association (NWFA), maintaining indoor relative humidity in the roughly 35%–55% range helps wood flooring stay stable and reduces moisture-related issues over time (National Wood Flooring Association (NWFA), care/maintenance guidance, as referenced in their public guidance). While you’re cleaning, the goal is simple: keep water exposure low enough that hardwood floors don’t swell at seams and edges.
To understand why steam mops are risky, it also helps to know the physical reality: according to NIST, water reaches boiling at 100°C / 212°F at standard atmospheric pressure (NIST, water boiling point). Steam mops can bring heat and moisture to the surface quickly, and even “brief” exposure can be enough to haze some finishes—especially if soap scum has already made the surface more receptive to water.
Step-by-step: remove soap scum without damaging the finish
You’ll usually remove soap scum from hardwood floors using a dry-clean first, then a lightly damp pH-neutral wipe, and finally an immediate dry-buff. Work slowly and avoid soaking—this is how you lift residue without leaving a new film.
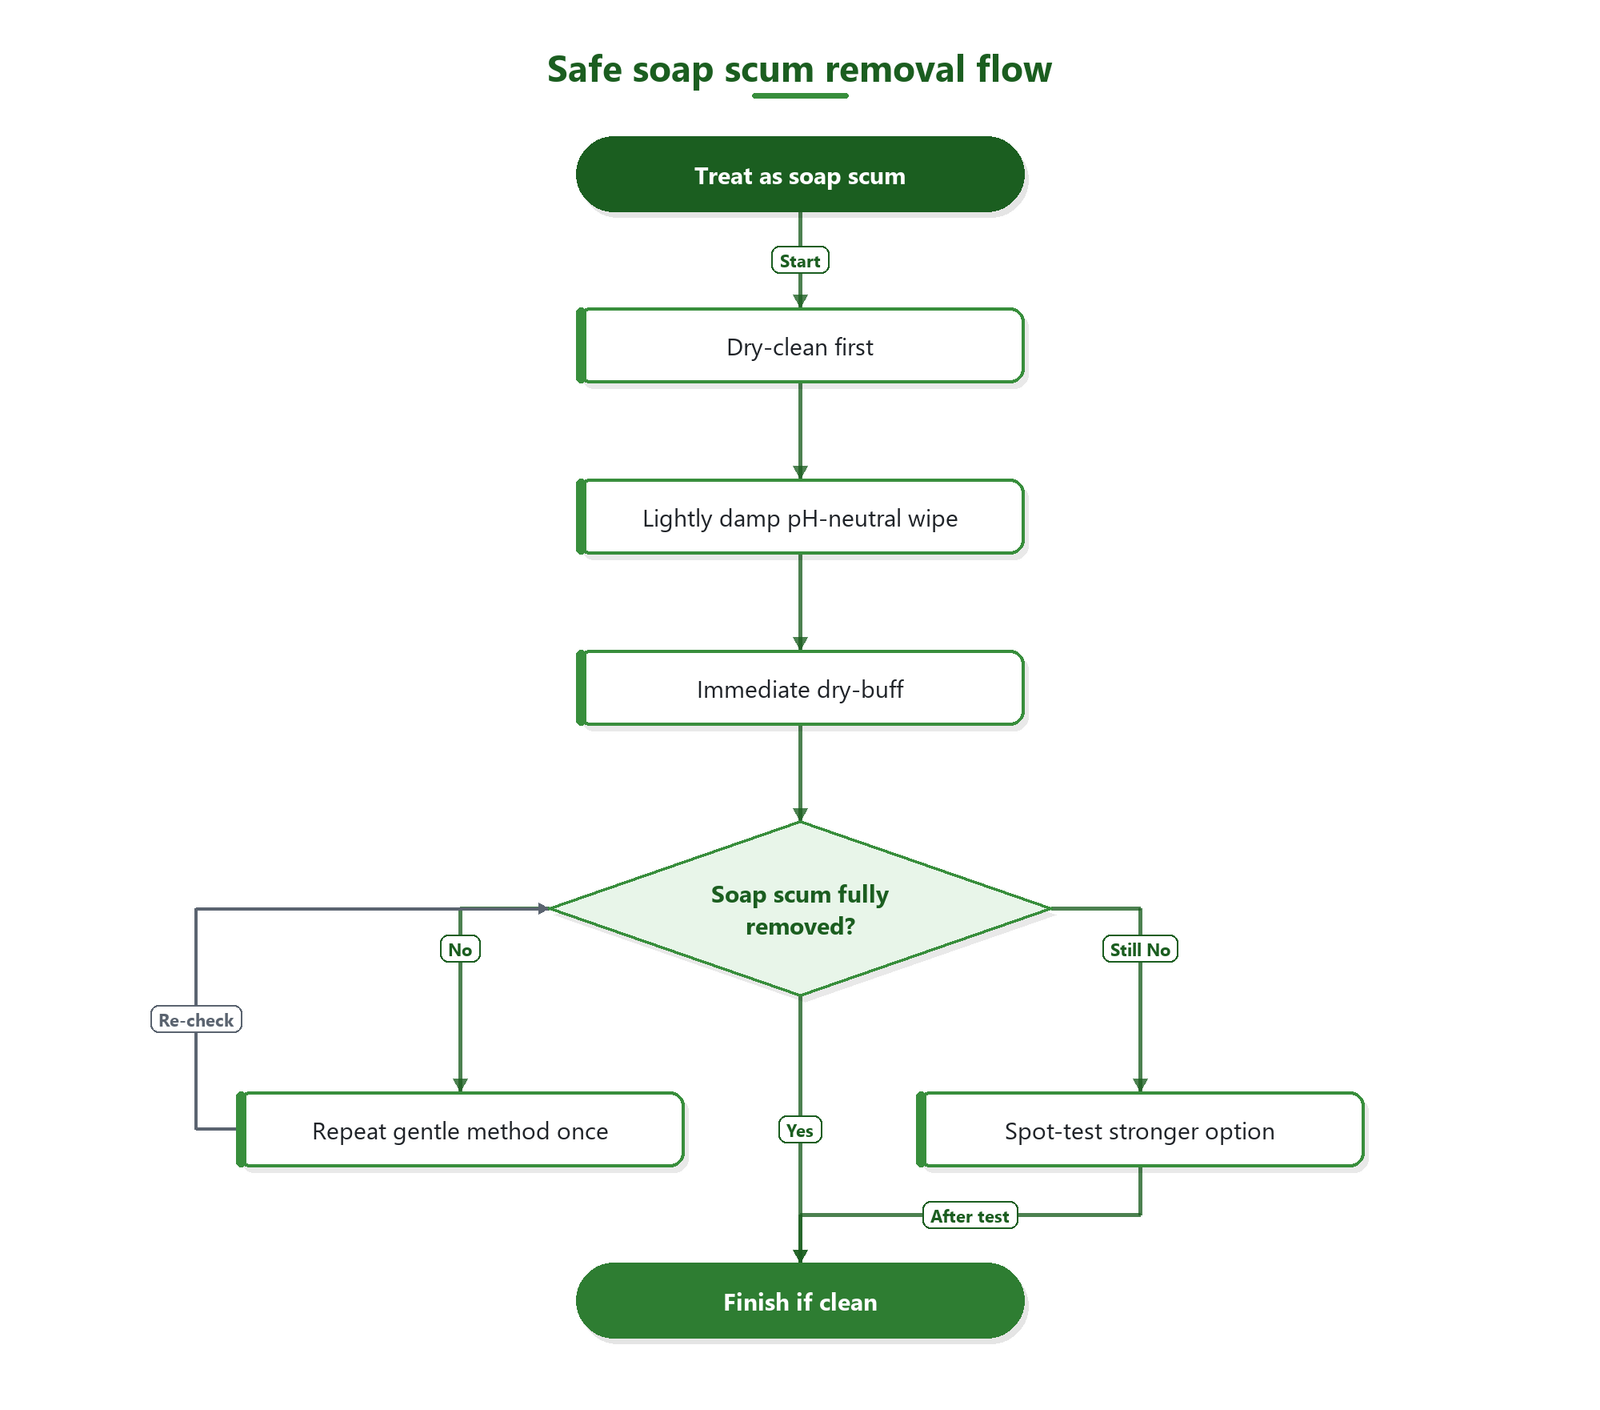
– Step 1: Dry-clean first. Dust/vacuum the area so you don’t grind residue around (use a soft brush attachment if you vacuum).
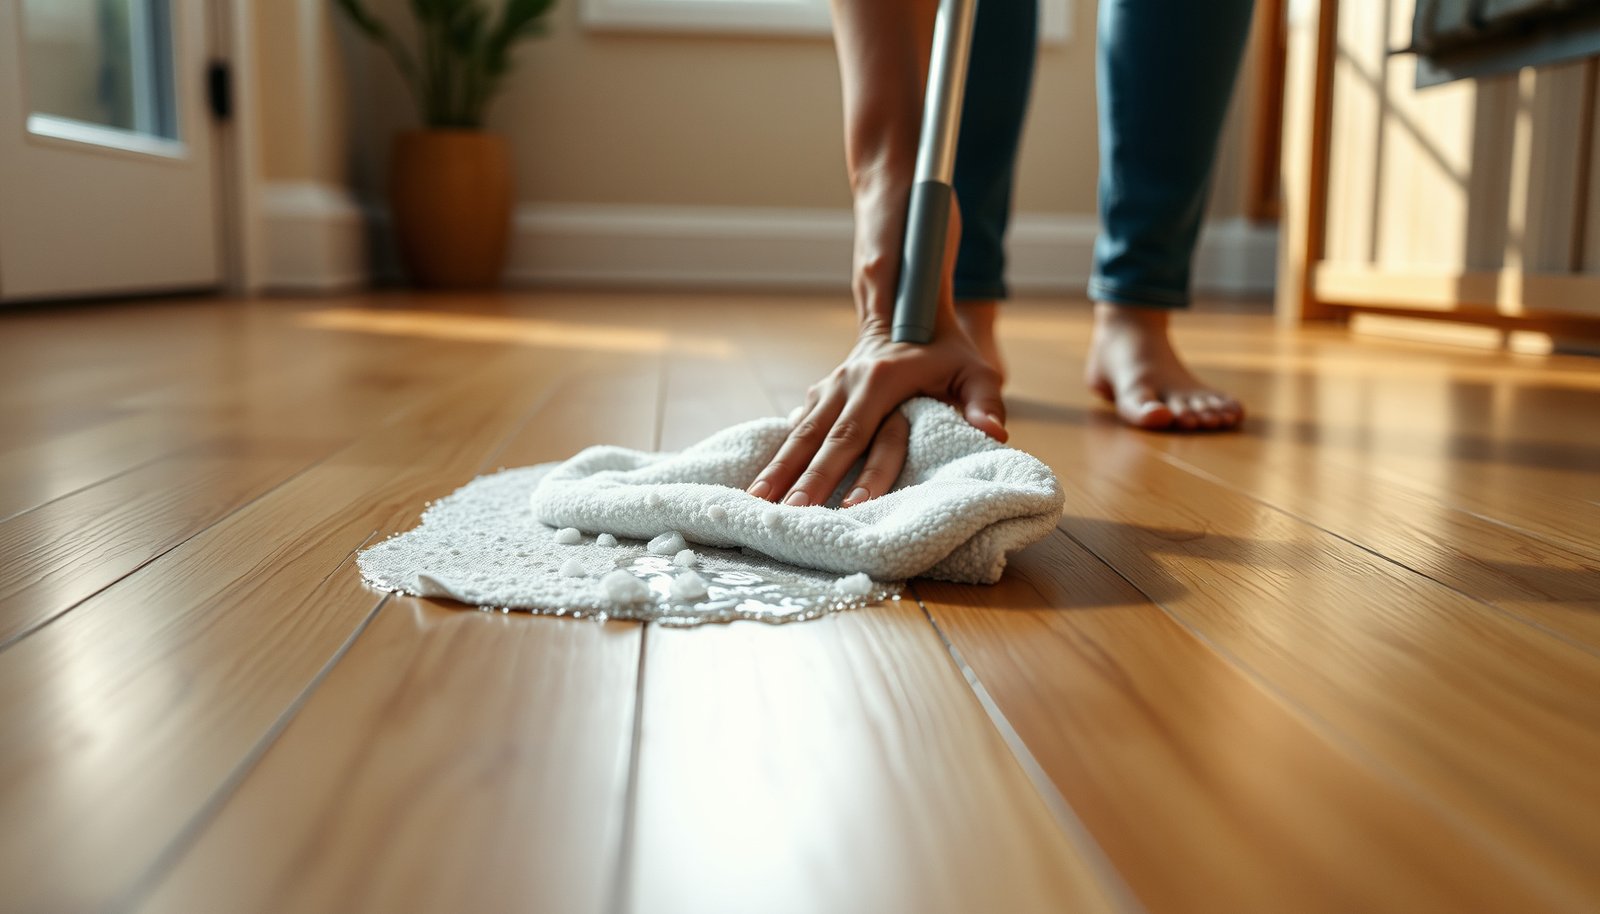
– Step 2: Lightly dampen, don’t soak. Wring your microfiber mop/cloth until it’s just damp, then wipe the affected area in the direction of the grain.
– Step 3: Use a residue-free cleaner. Apply a small amount of pH-neutral hardwood cleaner to the cloth (or very lightly to the area per label directions), then wipe again.
– Step 4: Rinse-wipe if the product directions call for it. Some cleaners require a follow-up wipe with clean water to prevent remaining film.
– Step 5: Dry immediately. Buff with a dry microfiber cloth until the surface feels clean and no longer tacky.
Tip: Work in small sections so the cleaner doesn’t sit and leave a new residue layer.
A residue-first approach is important because soap scum isn’t always evenly distributed on hardwood floors. If you skip the dry-clean step, you often spread residue into dust, which creates a bigger haze patch that looks like “finish damage.” When you dry-clean first, you reduce the chance that you’ll smear residue across the wood grain.
When you dampen your microfiber, aim for “barely damp,” not wet. According to NIST, the neutral point on the pH scale is pH 7 at 25°C (NIST, pH/neutral definition). That matters because pH-neutral cleaners are designed to reduce the likelihood of leaving a chemical film behind—one reason they’re recommended for finished wood. If you use a cleaner with the wrong pH or surfactants that cling, you can end up with hardwood floors that feel slick again shortly after drying.
Below is a quick reference to help you think in terms of chemistry when you’re deciding what to use on hardwood floors after soap scum appears:
Common Cleaner Chemistries vs. Typical Hardwood-Finish Risk (25°C)
| # | Cleaner chemistry (typical) | Typical pH range | Why it matters | Hardwood finish compatibility |
|---|---|---|---|---|
| 1 | pH-neutral “hardwood floor” cleaner | 7.0–8.5 | Designed to reduce residue re-deposition | ★★★★★ |
| 2 | Warm water + microfiber (minimal product) | ≈7.0 | Lifts fresh residue with low chemical stress | ★★★★☆ |
| 3 | Mild dish detergent (varies) | ~7–9 | Can leave surfactant residue if not rinsed | ★★☆☆☆ |
| 4 | Distilled white vinegar (acetic acid) | ≈2.4–3.0 | Acidity can be unsafe for some finishes | ★☆☆☆☆ |
| 5 | Baking soda solution (sodium bicarbonate) | ~8.2–8.6 | Alkalinity can dull or over-condition finishes | ★★☆☆☆ |
| 6 | Household ammonia (typical) | ~11–12 | Strong alkali risk for finish chemistry | ★☆☆☆☆ |
| 7 | Chlorine bleach (sodium hypochlorite) | ~11–13 | Oxidizers can damage coatings and color | ★☆☆☆☆ |
Note: the table is a chemistry-based risk guide, not a guarantee. Always follow your hardwood floor finish manufacturer’s compatibility notes—soap scum removal methods can differ between polyurethane/urethane-sealed floors and waxed surfaces. In 2026, most brands still recommend avoiding unapproved acids, alkalis, and oxidizers for finished hardwood floors.
Also, This kind of real-world check is what tells you whether hardwood floors are responding as “residue-only” versus “finish-compromised.”
When soap scum is stubborn: escalate carefully
If the first gentle cleaning didn’t fully remove soap scum, you should escalate in small increments—never by soaking or power-scrubbing. The goal is to remove residue while protecting the finish layer.
– Re-wipe, don’t power-wash: If the first pass didn’t fully remove the film, repeat the gentle method one more time rather than scrubbing aggressively.
– Spot-test any stronger option: If you consider vinegar or other acidic cleaners, only do it if your floor finish manufacturer says it’s safe—acidic solutions can be risky for some finishes.
– Avoid “oil/vinegar + heat” fixes: Steam and soaking are commonly where hardwood gets permanently damaged (swelling, dulling, or finish breakdown).
If soap scum is stubborn, it’s often because you’re dealing with a combination of soap film + minerals (from hard water) + hair/skin oils (from bathroom areas). That combination can make the film “water-resistant,” so re-wiping with the same pH-neutral approach may not be enough on the first attempt. However, it’s still safer to do controlled retries than to jump to acidic/alkaline kitchen-bath formulas.
Here’s a comparison of escalation options specifically for soap scum on hardwood floors:
| Option | Best for | Key risk |
|---|---|---|
| One additional gentle pH-neutral pass (damp wipe + immediate dry-buff) | Light-to-moderate residue film | Minimal, if you keep microfiber barely damp |
| Cleaner directions “rinse-wipe” step (only if required) | Residue that feels slick after drying | Streaking if you don’t dry-buff promptly |
| Finish-manufacturer-approved chemistry (test in hidden area) | Soap scum plus mineral haze on sealed finishes | Potential finish dulling if not approved |
| Steam mop, soaking, or “oil + vinegar + heat” blends | Not recommended for most hardwood finishes | Moisture/heat-driven swelling or finish breakdown |
In other words: escalate only where chemistry and technique stay within manufacturer-safe boundaries. That risk-based “test-and-stop” approach is the safest way to recover soap-scummed hardwood floors without making the hazy area larger.
What can go wrong (and how to avoid it)
You can make hardwood floors worse if you over-wet, use the wrong chemistry, or skip the dry step. Soap scum cleanup is mostly about limiting moisture exposure and preventing re-deposition of film.
– Over-wetting the floor: Hardwood is vulnerable to water penetration at seams and edges; soaking can cause cupping or warping.
– Using the wrong chemistry: Many household cleaners are designed for tile or laminate, not hardwood finishes—soap scum can worsen if you keep using similar residue-producing products.
– Scrubbing pads and “hard” brushes: These can leave micro-scratches that make the floor look permanently dull.
– Skipping drying: Even if the cleaner is “safe,” leaving moisture behind can create streaking or haze over time.
– Assuming “more cleaner = more clean”: Soap scum is residue; adding more soap-like product can extend the problem.
A useful diagnostic is to return to the microfiber transfer test. If soap scum on hardwood floors transfers to the cloth after your “cleanup” pass, you still have residue present. If the floor looks hazy but the microfiber stays clean, you may be looking at finish clouding or trapped moisture effects—and continued washing can make things worse. In 2026, that distinction matters because many care guides warn that finish clouding often doesn’t respond to repeated surface cleaning.
If you’re in the bathroom or near a kitchen entryway, also consider that runoff and soap scum frequently arrive along with oils (lotions, hair products) and minerals (hard water). That combination can turn a removable film into a stubborn residue layer. The fix remains the same overall principle: gentle, pH-neutral cleaning and thorough drying—plus a manufacturer-approved targeted method if needed.
Verdict / tip: the safest approach (with a downside)
The most reliable method is a gentle, pH-neutral, residue-focused cleaning + immediate drying. It won’t require stripping or aggressive chemicals, so it’s the best first attempt for most finished hardwood floors.
Downside: If the soap scum has bonded strongly or if your finish has already been hazed, this method may take multiple careful passes—and it still might not fully restore the original shine. If you suspect finish damage (not just residue), skip repeated cleaning and follow your manufacturer’s restoration guidance instead.
Who should skip this DIY approach:
– If your hardwood is unfinished, waxed in a way your manufacturer warns against water, or you can’t identify the finish.
– If there’s peeling, bubbling, or deep clouding—you may need professional refinishing or finish repair.
Quick checklist: soap scum on hardwood
| Do this | Don’t do this |
|---|---|
| Vacuum/dry-clean first | Don’t use abrasive pads |
| Use a hardwood-safe, pH-neutral cleaner | Don’t soak or flood the floor |
| Wipe in small sections; dry immediately | Don’t leave cleaner sitting to dry |
| Rinse-wipe only if product directions require it | Don’t keep adding “more” cleaner to chase the film |
Fast scan:
– [ ] Microfiber + gentle wipes
– [ ] pH-neutral, hardwood-safe cleaner
– [ ] Wipe → (optional rinse-wipe) → buff dry
– [ ] Spot-test anything stronger
– [ ] Stop if the finish looks compromised
Sources
– National Wood Flooring Association (NWFA) care/maintenance guidance for finished wood floors—cleaning and moisture precautions
– Bona hardwood floor care/maintenance instructions regarding wet mopping, residue, and approved cleaners
If you treat soap scum as residue (not as something you should “scrub out harder”), hardwood floors respond best to careful microfiber wiping, pH-neutral chemistry, and immediate dry-buffing. Start gentle, verify with a microfiber transfer test, and only escalate in controlled, manufacturer-approved steps—especially in 2026, when most finish manufacturers still prioritize moisture limitation and residue-free results.
Frequently Asked Questions
How do I clean soap scum off hardwood floors without damaging the finish?
Start by sweeping or vacuuming to remove grit, then wipe the area with a slightly damp microfiber cloth using clean water. Mix a pH-neutral hardwood floor cleaner with water (follow the label) and apply it to the soap scum spot, blotting rather than soaking. Rinse with a clean damp cloth and dry immediately with a towel to prevent water from seeping into the wood. Avoid harsh chemicals, steam, or abrasive pads that can dull or strip the hardwood floor finish.
What’s the best way to remove sticky soap scum from sealed hardwood floors?
For sealed hardwood floors, use a pH-neutral cleaner and gentle agitation with a microfiber cloth or soft sponge—let the cleaner dwell for a few minutes if the scum is stubborn. If residue remains, you can repeat the cleaning pass and then do a quick rinse wipe with water to remove any leftover product film. Dry the floor thoroughly right after, since lingering moisture can leave streaks or damage the finish over time. Always test your cleaner on an inconspicuous spot first.
Which household solution works for soap scum on hardwood—vinegar or something else?
Vinegar can be too acidic for some hardwood floor finishes, which is why it’s not the first choice for soap scum removal. Instead, choose a pH-neutral cleaner specifically designed for hardwood floors, because it’s safer for sealed surfaces and helps lift soap residue without harming the finish. If you must use a mild alternative, dilute it heavily and spot test—then rinse and dry completely. When in doubt, stick to a hardwood-safe cleaner to protect the wood and topcoat.
Why does soap scum build up on hardwood floors, and how can I prevent it?
Soap scum forms when bath or cleaning agents, body oils, and hard-water minerals combine and leave a film that attracts more dirt. Prevention comes from using only hardwood floor–safe cleaners, avoiding oily soaps, and keeping water use minimal during mopping. Wipe up spills promptly and dry the area, especially near showers, bathroom entries, or kitchens. Regular dusting and damp-mopping with a pH-neutral solution reduces buildup before it hardens.
How do I deep-clean hardwood floors after repeated soap scum exposure?
Begin with a thorough clean using a pH-neutral hardwood floor cleaner and microfiber cloths, repeating until the soap scum no longer feels slick or sticky. If the scum has been left for a long time, you may need multiple rounds—always followed by a clean water rinse wipe and immediate drying. For ongoing stickiness or dullness, consider using a hardwood floor restorer or polish that’s compatible with your finish, rather than stronger chemicals. If the surface seems stripped or uneven, consult the floor manufacturer or a professional refinishing specialist.
📅 Last Updated: October 31, 2026 | Topic: How to clean hardwood floors after soap scum gets on it? | Content verified for accuracy and freshness.
References
- Soap scum
- Wood flooring
- 404 Error
- https://www.armstrongflooring.com/support/care-and-maintenance/hardwood-floor-cleaning.html
- https://www.bruce.com/resources/care-and-cleaning
- https://scholar.google.com/scholar?q=soap+scum+removal+from+wood+surfaces Google Scholar
- https://scholar.google.com/scholar?q=hardwood+floor+cleaning+residue+soap+scum+pH+neutral Google Scholar
- https://scholar.google.com/scholar?q=wood+floor+care+cleaning+guidelines+avoid+soap+residue Google Scholar