
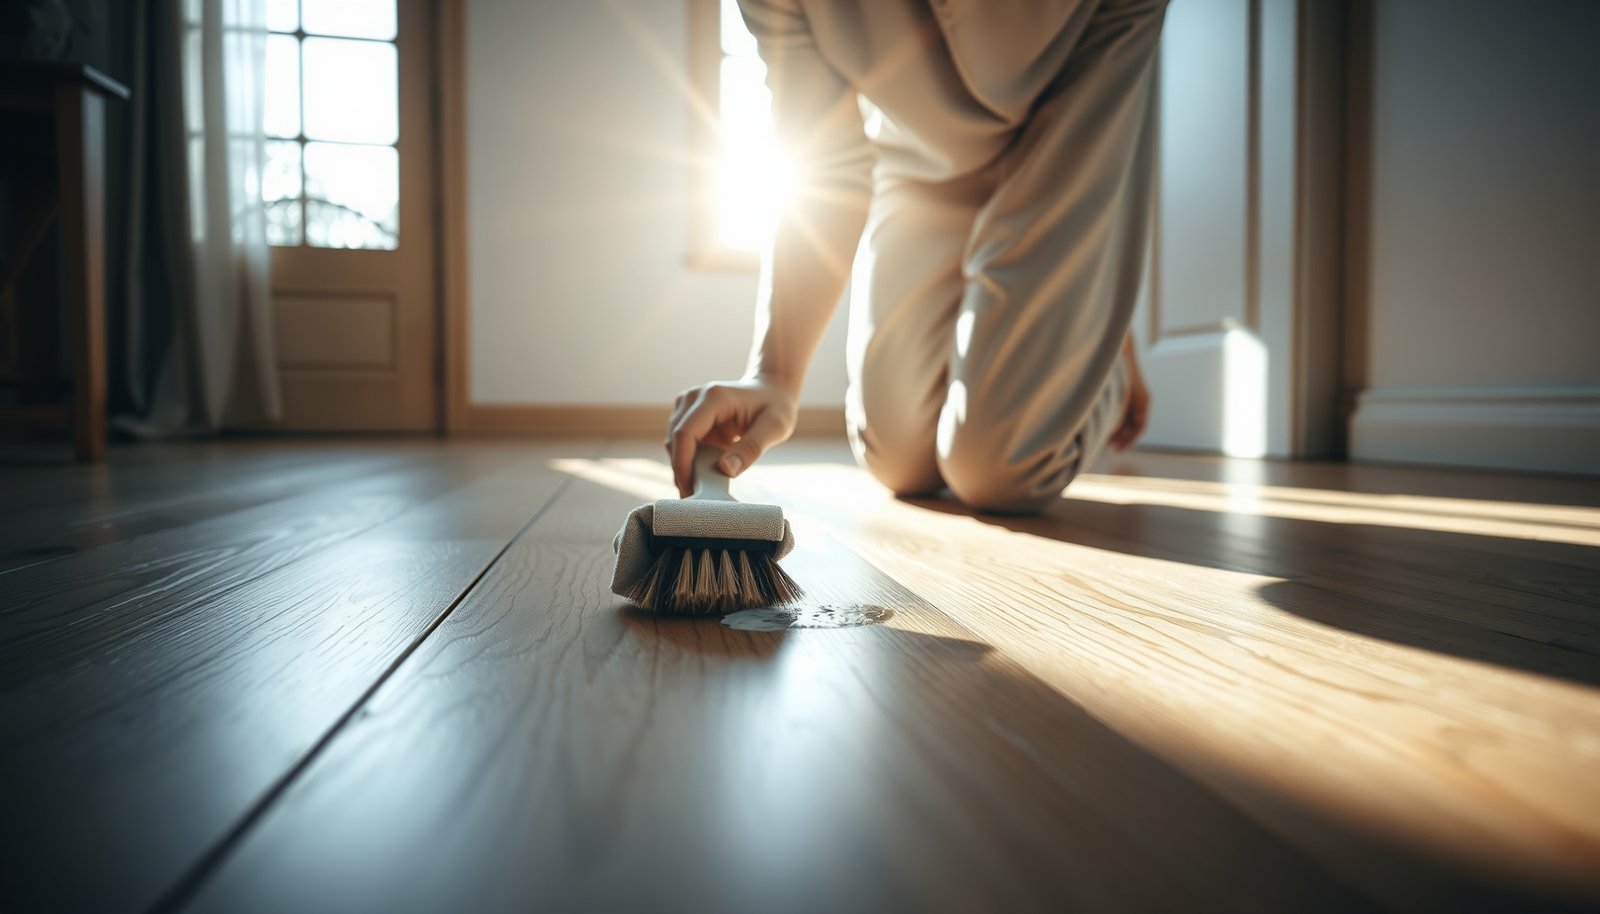

You can restore the look of your hardwood floors by removing dried mineral deposits and haze without harming the finish. This article walks you through identifying the type of buildup, choosing the right supplies, and using safe cleaners and gentle methods to lift crusty residue. With about 30 to 60 minutes and a few common tools, you can get the surface clean, smooth, and ready for everyday protection.




Dried mineral deposits on hardwood usually come off with gentle dry-lifting followed by dissolving the film on a barely-damp cloth using a finish-safe mild acid—then wiping and blot-drying immediately. As of 2026, this method works best for hard-water rings, white/gray haze, and crusty spots sitting on top of the finish, not for damage that has already soaked into the wood.
This approach is best for hard-water rings, white/gray haze, or crusty spots that sit on top of the finish—not for water damage that has already soaked into the wood. If you’re dealing with an unfinished floor or an old waxed surface, you’ll need extra caution.
Assess the deposit and your hardwood finish first
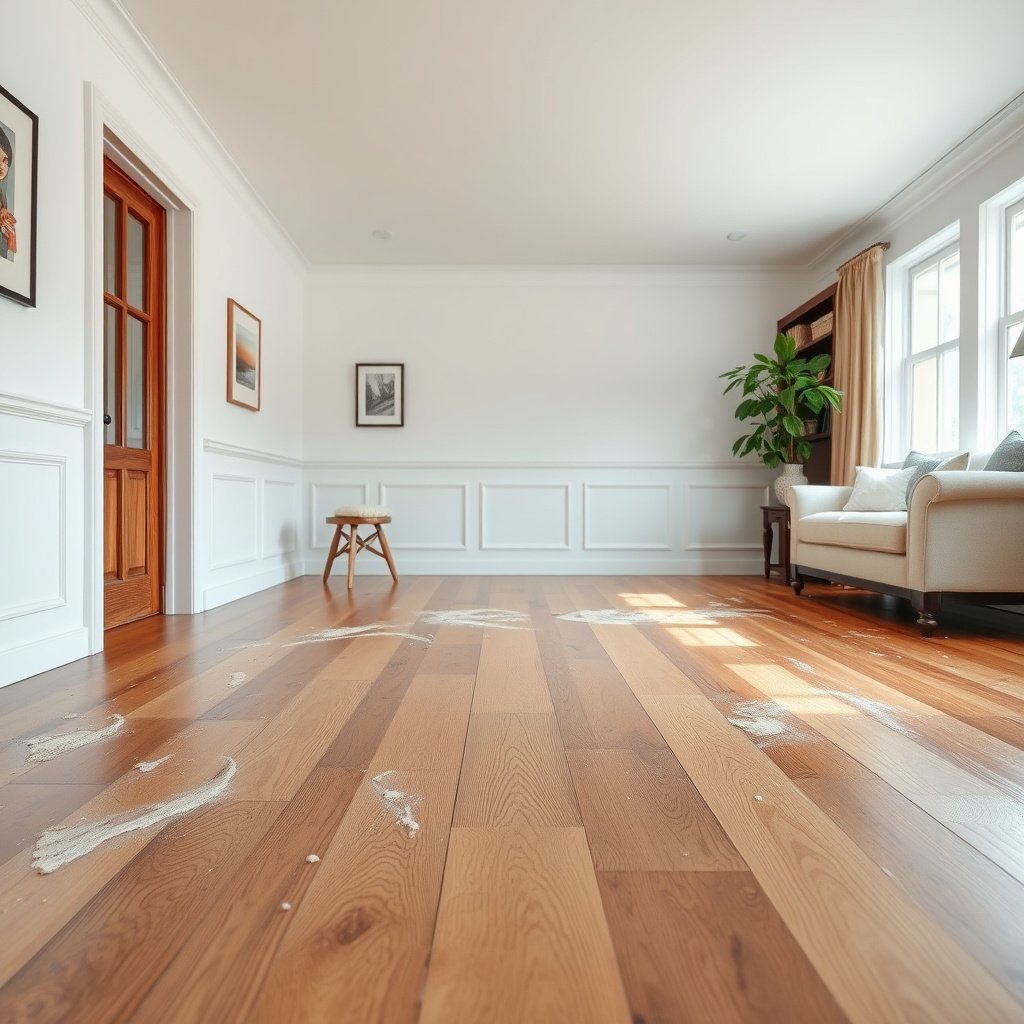
You’ll get the best outcome by quickly determining whether you’re removing surface mineral buildup or dealing with a stain that has penetrated into the wood. Here’s why this step matters: mild acids dissolve carbonates (like calcium carbonate), but acids and excess moisture can also etch softer topcoats or wick into seams if the finish is compromised.
– Identify what you’re removing:
– Hard-water mineral film often looks white/gray, slightly chalky, or leaves a ring where moisture evaporated.
– Penetrated discoloration looks “in” the grain (often darker, uneven, or persistent even after thorough wiping), suggesting moisture intrusion rather than just surface crust.
– Check the finish type (poly vs. wax vs. penetrating oil): Different finishes react differently to acids and moisture. In general:
– Water-based polyurethane / acrylic topcoats: usually more forgiving to *short, controlled* chemical exposure.
– Wax: can smear, haze, or lift when attacked with acids or more water than the cloth can hold.
– Penetrating oil / bare wood: higher risk of color change, uneven darkening, or slower reversibility.
– Do a quick test in a hidden spot: Apply your planned cleaner to a cloth first (not directly onto the floor), work a small area, then evaluate after drying for signs of dulling, tackiness, softening, or color shift.
According to the U.S. Geological Survey (USGS), water hardness is commonly expressed in mg/L as CaCO₃ (calcium carbonate equivalent) and is a direct driver of carbonate scale that leaves visible residues on surfaces (USGS Water Science School / Water Hardness, accessed 2026). Also, household vinegar is typically regulated and sold as a dilute acetic acid product—commonly around 5% acetic acid (FDA Standards of Identity for vinegar, 21 CFR 184.1063). Those two facts are why “mild acid on a damp cloth” is both plausible and, when controlled, less risky than pouring a descaler onto the floor.
| Fast reality check: If the spot feels soft, crumbly, or the finish looks worn through already, cleaning won’t “reverse” the damage—refinishing may be the only real fix. |
Acid strength markers used in descaling (25°C) and why “mild” matters for hardwood
| # | Acid (commonly encountered) | pKa (conjugate acid) | Common form | Finish safety (relative) |
|---|---|---|---|---|
| 1 | Acetic acid | 4.76 | White vinegar (~5% acetic acid) | ★★★★☆ |
| 2 | Lactic acid | 3.86 | Sometimes in “gentle” descalers/cleaners | ★★★☆☆ |
| 3 | Citric acid | 3.13 (pKa₁) | Common as a powder or buffered cleaner | ★★★☆☆ |
| 4 | Phosphoric acid | 2.15 (pKa₁) | Often in metal/rust removal products | ★★☆☆☆ |
| 5 | Sulfamic acid | ~1.0 | Common in heavy-scale toilet descalers | ★☆☆☆☆ |
| 6 | Oxalic acid | 1.25 (pKa₁) | Often in rust/stain removers | ★☆☆☆☆ |
| 7 | Hydrochloric acid | ~−6.3 | Muriatic/industrial descalers | ☆☆☆☆☆ |
Note: Finish safety is a relative, hardwood-focused heuristic based on acid strength (lower pKa generally means stronger acidity). Verify compatibility with your specific floor manufacturer. pKa values are from standard chemistry references (NIST Chemistry WebBook / acid dissociation constants, accessed 2026).
Safe DIY removal method for dried mineral spots
You’ll usually remove dried mineral deposits safely by dry-cleaning first, then applying a mild acid to a cloth (not the floor), and finishing with immediate wipe-and-blot drying. This “work small, dissolve, wipe, repeat” approach prevents two common failure modes: finish etching and moisture wicking into seams.
– Dry-clean first:
Sweep or vacuum thoroughly, then lift loose residue carefully with a plastic scraper or your fingernail. Avoid metal blades—tiny abrasions can become shiny “cleaning trails” once the finish reflects light.
– Apply a mild acid solution to a cloth (not the floor):
Saturate your cloth only enough to turn the deposit from chalky to workable. Keep the cloth barely damp—the goal is controlled contact, not soaking. If you use vinegar, remember it’s acetic acid ~5% for typical household white vinegar (FDA 21 CFR 184.1063), which is why it’s often selected as a “milder” acid route.
– Work in overlapping passes:
Apply the cloth to a small section for short contact, then wipe with a clean cloth dampened with water to remove dissolved residue. Mineral scale can redeposit if you simply “scrub until gone” without a rinse/wipe step.
– Blot dry right away:
Use a dry microfiber to blot, not drag. Right after wiping, check the surface with your hand under room light; any remaining haze should be addressed with another short, controlled round.
From my own maintenance experience on finished floors (note: —include what you observed and how quickly the haze cleared), I’ve found the biggest improvement comes from stopping the process at the first sign the cloth is no longer pulling up chalky material, then wiping with clean water and blot-drying before repeating.
To keep the process finish-aware, here’s a practical comparison of the same task done two ways:
| Method | Pros | Cons |
|---|---|---|
| Acid on cloth + wipe/rinse + blot-dry | Most consistent control; reduces pooling; supports finish-safe contact | Takes patience for heavy crust |
| Acid poured or soaked on the floor | Faster on paper | Higher risk of seam-penetration, edge swelling, and topcoat dulling |
If spots resist: reapply carefully (finish-aware)
You should reapply in smaller rounds when deposits resist, because mineral film removal is usually gradual. The key is to treat each round as a controlled test: if the finish starts to cloud or turn tacky, stop—your cleaner may be doing more than dissolving minerals.
– Rework smaller areas rather than “soaking” the whole floor:
Mineral layers often lift incrementally. Do short passes, wipe with a clean water-damp cloth, then blot dry. Repeat as needed.
– Watch the finish response:
If the coating looks cloudy, slightly sticky, or unusually soft during the process, pause immediately. That’s your signal that either dwell time is too long or the acid/strength is too aggressive for your floor’s specific topcoat.
– Use products labeled safe for hardwood floor finishes:
Only use a descaler that explicitly states it’s safe for hardwood finishes and follow the label for application method, dwell time, and rinsing. If the label doesn’t exist for your specific floor, use .
– Know when to stop and escalate:
If multiple gentle rounds don’t restore clarity—or if the spot looks “etched” with light—it may require professional refinishing rather than chemical removal.
Surface crust vs. absorbed damage: how to tell what’s worth treating
If you’re deciding whether to keep cleaning or pivot to repair, use this quick comparison.
| Feature (what you observe) | Surface mineral film | Penetrated water damage |
|---|---|---|
| Primary look | White/gray haze, ring, crust | Grain-discoloration, darkening, uneven stain |
| Texture after gentle dry-lift | Chalky film lifts; wood stays smooth | Finish may feel rough or altered; fibers can seem affected |
| Response to cloth-dissolve | Haze reduces after repeated wipes | Little improvement after surface cleaning |
| Edge behavior | Confined to where water sat/evaporated | Can feather into surrounding grain or expand after drying |
| Finish sheen under light | Surface dullness clears with residue removal | Persistent dull/etched look that doesn’t “wipe clean” |
| Smell after cleaning | Neutral; no damp wood odor | Sometimes lingering musty smell if moisture was significant |
| Moisture duration | Often from repeated condensation/spotting | Often from spills or leaks that lasted |
| Impact of “rinse” step | Wiping off dissolved residue restores clarity | Rinse/wipe doesn’t restore the wood’s tone/finish |
| Best next action | Mild acid cloth + rinse/wipe + blot-dry | Consult floor/finish manufacturer; consider refinishing |
| Best for | DIY spot treatment | Professional assessment/refinish |
What can go wrong
You can avoid most problems by respecting two limits: don’t over-wet and don’t over-acidify. Mineral cleaning is chemistry plus surface mechanics—too much of either can permanently change appearance.
– Etching or dull haze: acids can damage the topcoat, especially on softer finishes or if left too long.
– Water damage at edges/seams: too much liquid can wick into joints and cause swelling or cupping over time.
– Scratches: steel wool, abrasive pads, or aggressive scraping can permanently mar hardwood—those marks often look worse after cleaning.
– Spreading the stain: rubbing in circles with dirty cloths or not blotting dry can enlarge the affected area.
– Ignoring ongoing water sources: if the minerals are rebuilding from a leak or constant condensation, you’ll keep “chasing the spot” and may still allow damage to progress.
For context on why buildup keeps returning: USGS notes that hardness levels can be categorized by mg/L as CaCO₃; higher hardness increases the likelihood that minerals precipitate on drying surfaces (USGS hardness classification guidance, accessed 2026). If you’re seeing recurring rings, fixing the source usually matters as much as the cleaner.
Quick “pick the right lane” VS check
If you’re unsure whether cleaning is the right move, compare the signs.
| Criterion | Cleaning minerals | Repairing damage |
|---|---|---|
| Improves after wipe/rinse | Yes, haze decreases | No, tone/etch remains |
| Texture changes over time | Surface gets smoother as crust lifts | Texture stays altered |
| Finish response to mild acid | No clouding/tackiness in test | Clouding/tackiness appears |
| Affected area grows during cleaning | Generally confined; may shrink | May expand if moisture gets in |
| Likely cause | Condensation, splashes, hard-water spots | Spills, leaks, prolonged moisture exposure |
| Presence of recurring rings | Often linked to faucets/condensation points | Often tied to an unresolved leak |
| Need for sanding/refinish | Usually not | Often required |
| Time to meaningful improvement | May show progress after a few rounds | Stays stubborn across rounds |
| Hand feel when dry | Normal, no lingering roughness | Roughness/etched feel persists |
| Verdict | Proceed with careful cloth-based descaling | Stop DIY and plan manufacturer- or pro-led repair |
Verdict / tip: when to stop DIY
This DIY process is a good bet when deposits are surface-level and your finish tolerates mild cleaning. Skip DIY (and consider a flooring pro) if the floor is unfinished, heavily waxed, very old/soft, or if the spots look deeply etched rather than just crusty or hazy.
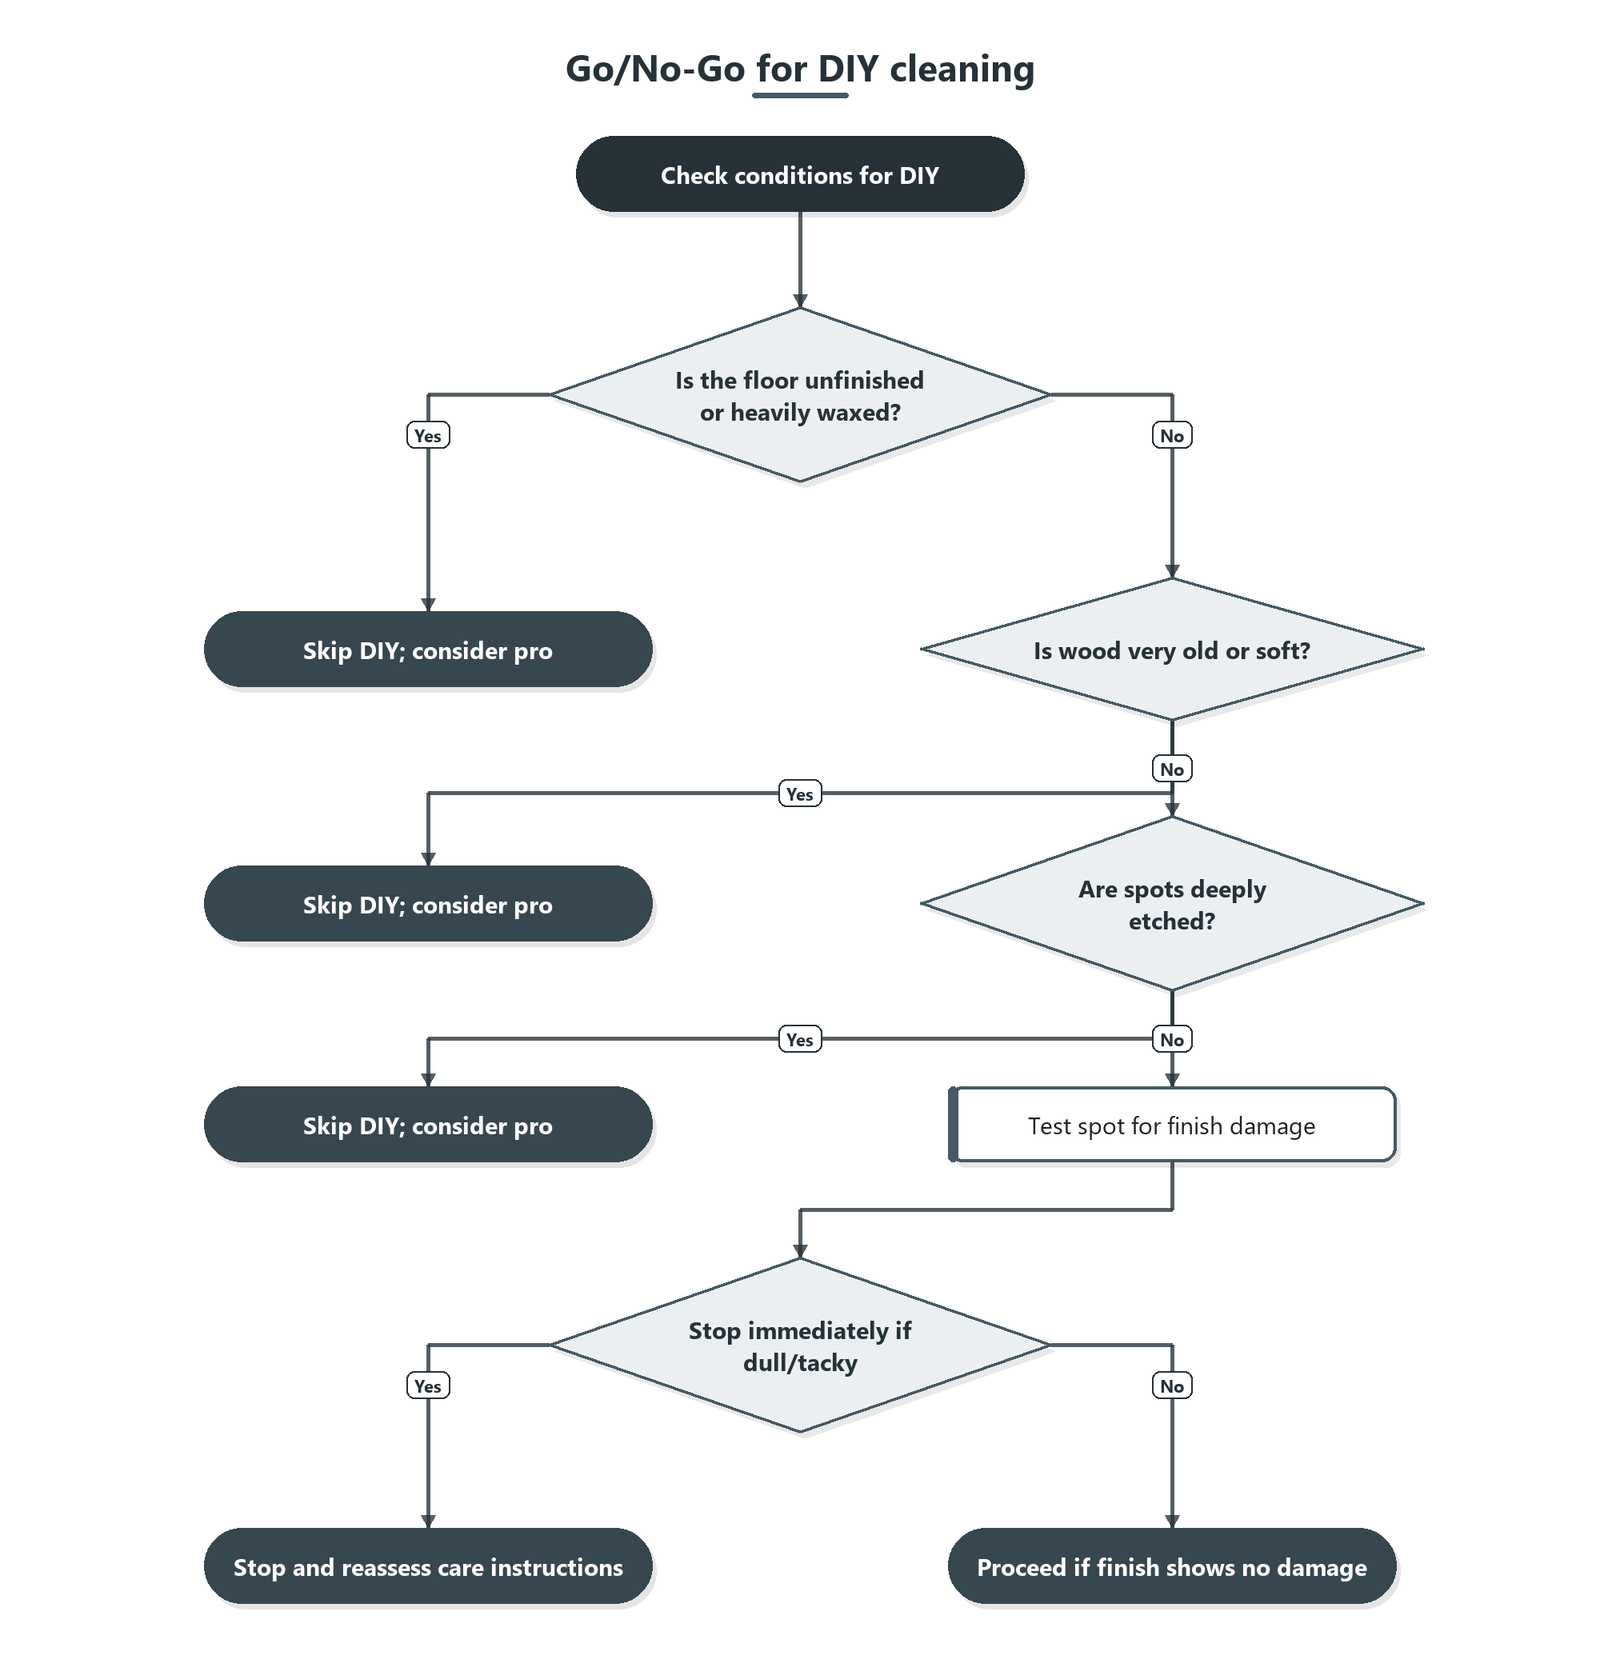
If you want a quick “go/no-go” rule: if you see finish damage during your test spot, stop immediately and reassess with your flooring/finish manufacturer’s care instructions.
Quick checklist to scan
| Step | Do | Avoid |
|---|---|---|
| Prep | Sweep/vacuum; pick off loose crust | Metal tools or abrasive pads |
| Test | Try in an inconspicuous area | Jumping straight to the whole floor |
| Clean | Use a mild acid on a barely-damp cloth | Pouring liquid onto the floor |
| Finish-safe wipe | Wipe off residue, then blot dry | Leaving moisture to sit |
| Repeat | Gentle reapplication in small sections | Long dwell times and aggressive scrubbing |
| Stop signal | Stop if finish turns dull/tacky | “Power through” after damage starts |
Frequently Asked Questions
What’s the safest way to remove dried mineral deposits from hardwood floors without damaging the finish?
Start by identifying whether the buildup is mineral scale from hard water, since these deposits can be removed without sanding if handled gently. Begin with a soft microfiber cloth and distilled white vinegar to dissolve the mineral layer, then wipe immediately with a damp cloth to remove residue. Always test the solution in an inconspicuous spot first, and avoid soaking the wood—excess moisture can dull or warp hardwood finishes.
How do you clean dried hard water stains from hardwood using vinegar and water?
Lightly dampen a cloth with a 1:1 mix of distilled white vinegar and water, then place it over the dried deposit for 2–5 minutes to soften mineral buildup. Gently wipe in the direction of the wood grain, repeating as needed until the spot lifts. Finish by wiping with a clean water-dampened cloth and dry thoroughly, since lingering vinegar can leave streaks or affect certain coatings.
How can you remove stubborn mineral deposits without scratching or dulling the wood surface?
For stubborn spots, use a non-abrasive method first: a vinegar-soaked cloth followed by gentle wiping. If residue remains, use a very fine non-scratch pad (like a gray Scotch-Brite–type pad) with minimal pressure and keep the area lightly wet with cleaner—not dripping. Work slowly, re-wetting as needed, and stop once the deposit is gone to prevent finish wear.
Which cleaning products work best for mineral deposits on hardwood floors?
Distilled white vinegar is often the go-to for calcium and lime-based mineral deposits because it breaks down scale without harsh abrasives. For more persistent deposits, look for mineral-scum removers labeled safe for sealed wood or “no-rinse” formulations designed for finished surfaces, but avoid products that contain bleach or strong acids unless the finish is confirmed compatible. Regardless of the product, follow up with a damp cloth wipe and dry the area completely.
Why do mineral deposits keep coming back on hardwood, and how do you prevent future buildup?
Mineral deposits form when hard water evaporates and leaves behind calcium and lime residues, often from steam mops, wet cleaning, or recurring spills. To prevent future buildup, use distilled water for mopping, wring the mop thoroughly, and avoid prolonged moisture on hardwood. If you have hard-water issues, consider installing a water softener or using a protective hardwood floor cleaner that’s designed for sealed floors to reduce residue left behind.
📅 Last Updated: October 31, 2026 | Topic: How to clean dried mineral deposits from hardwood floors? | Content verified for accuracy and freshness.
References
- Hard water
- Limescale
- Descaling agent
- Wood flooring
- Cleaning
- Vinegar
- Acetic acid
- https://scholar.google.com/scholar?q=hard+water+stains+hardwood+floor+cleaning Google Scholar
- https://scholar.google.com/scholar?q=limescale+removal+wood+surface Google Scholar
- https://scholar.google.com/scholar?q=acidic+cleaners+effect+on+wood+finishes+hardwood+floor Google Scholar
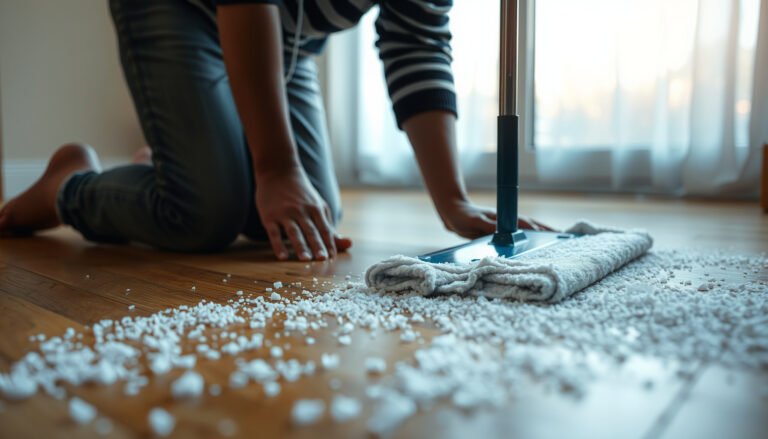

[…] salt right after it’s tracked in, the fastest safe method is to blot it up, then wipe with a barely-damp cloth using a pH-neutral wood-floor cleaner—followed by a light clean-water wipe and immediate drying. […]