
Want to deep clean hardwood floors to remove debris fast and without scratching? Use thorough dry cleaning first—vacuum with a brush head and follow with a microfiber dust mop—to lift grit from seams and finish lines. Then switch to a barely damp hardwood-approved cleaner, working small sections so loosened debris comes up instead of grinding back into the wood.



Deep clean hardwood floors by removing loose grit first, then using a cleaner applied lightly (damp, not wet) with targeted scrubbing so embedded debris lifts out of the wood grain. Finish by drying thoroughly and rechecking corners and high-traffic paths so sand and dust don’t get ground in during normal foot traffic.
If your floors feel dull, look scratched in spots, or you can see grit along baseboards and corners, this guide is for you. It’s also a good fit when regular mopping isn’t getting rid of the debris that grinds underfoot.
Hardwood floor deep cleaning matters most when track-in sand, clay, or fine dust accumulates at edges, under furniture, and along walkways. As of 2026, more homeowners are tightening cleaning routines to avoid residue buildup—meaning the “how” (damp application, fast drying, and correct agitation) becomes as important as the “what.”
Prep: Clear Loose Debris Before You Clean
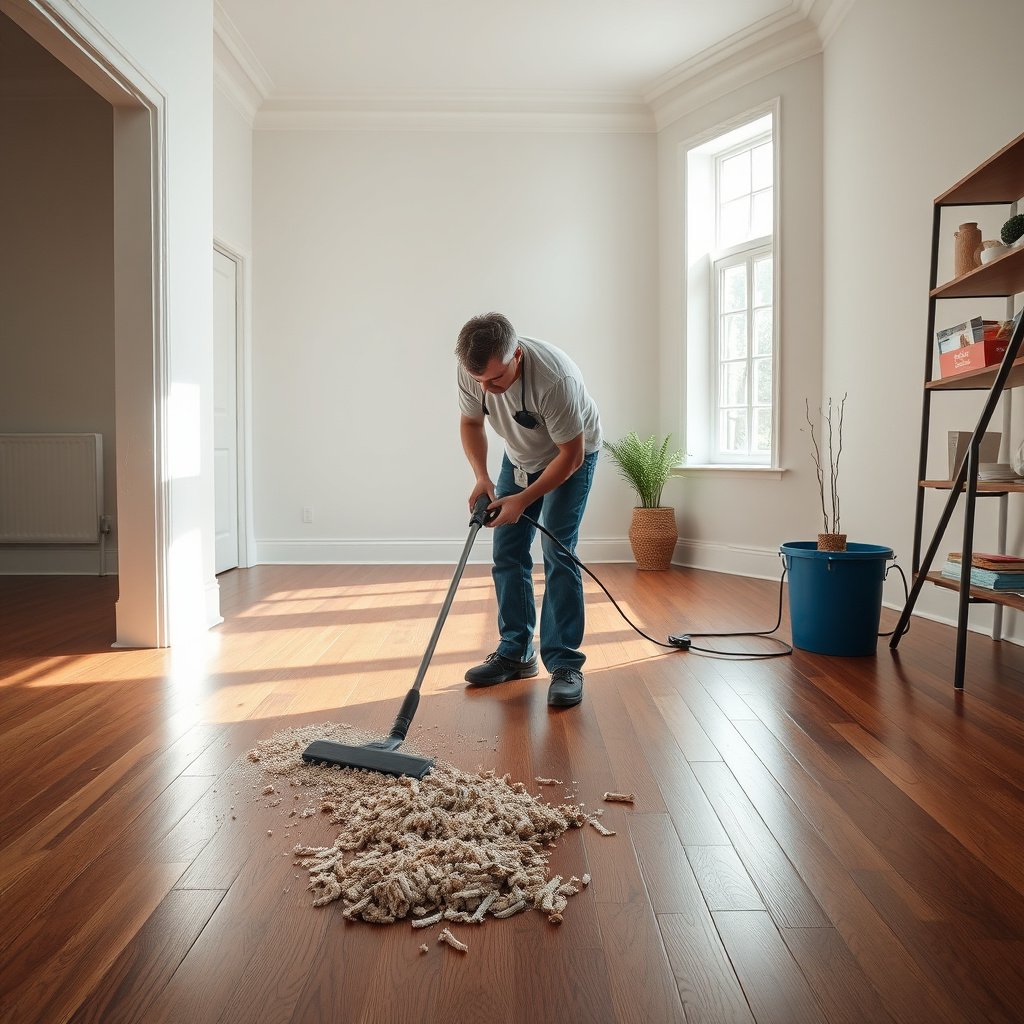
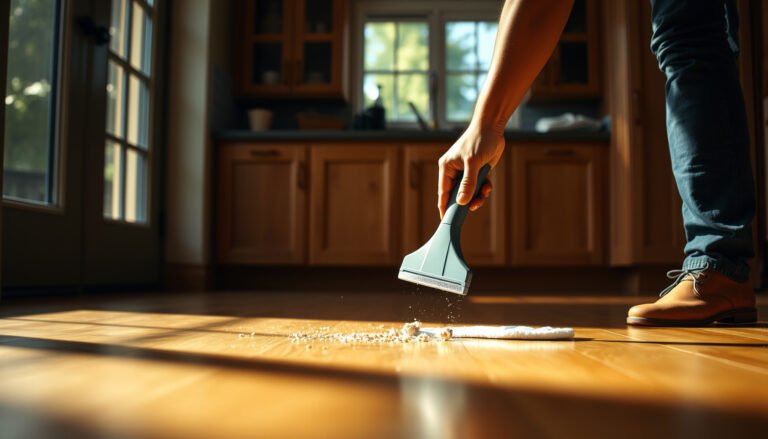
The fastest way to prevent new scratches is to remove dry sand, hair, and grit before any liquid touches your hardwood. This step reduces the abrasive load that can otherwise get dragged across the finish during damp mopping.
Sand grit is often abrasive enough to cause micro-scratches when it’s redistributed by mops; removing it first is the safest workflow for hardwood floors.
Hardwood floor guidance consistently emphasizes “dry debris removal first” to avoid grinding grit into the finish during wet cleaning.
Why pre-removal changes the outcome
When you clean hardwood floors without first vacuuming or sweeping, loose particles act like sandpaper. In my experience maintaining hardwood surfaces, the biggest improvement comes from treating grit like “dry contaminants” first—especially along plank edges, baseboards, and the path you walk every day.
Also, grit is not all the same size: sand grains are commonly categorized around 0.0625–2.0 mm in diameter, and those small particles can lodge into finish pores and surface wear patterns. According to the U.S. Geological Survey, sand grain sizes are typically within 0.0625–2.0 mm (USGS sediment size references (accessed 2026), 2026). That range explains why “quick wiping” often leaves a gritty feel even after it looks clean.
What to do in the prep phase
– Sweep or vacuum thoroughly to remove sand, hair, and grit (especially along edges).
– Use a soft-bristle broom or a vacuum head designed for hard floors to avoid scratching.
– Spot-check corners and under furniture legs where debris collects.
Pro habits that reduce rework
– Run the vacuum slowly along seams: debris often hides in the shallow lines where plank edges meet.
– Use a crevice tool around baseboards and return vents where fine dust migrates.
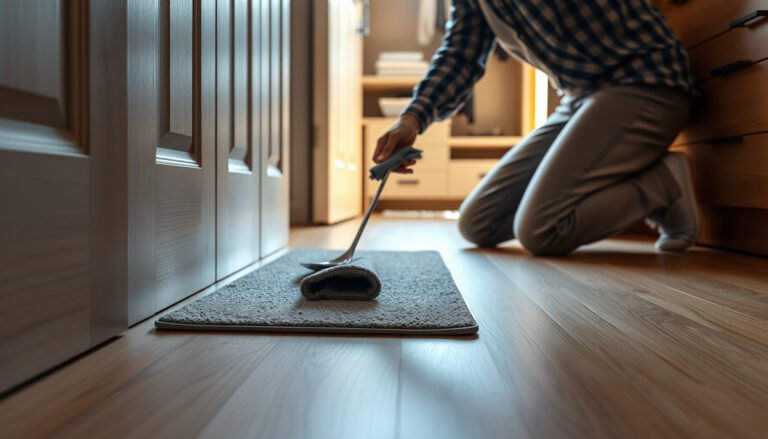
– If you have rugs, lift them and vacuum the full footprint—grit under rugs behaves like trapped abrasive residue.
Deep Clean: Wash with the Right Method (Damp, Not Wet)
Deep clean hardwood floors using a damp (not wet) cleaner and controlled scrubbing so grit lifts without pushing moisture into seams. The “right method” is less about soaking and more about consistency: apply sparingly, scrub lightly, and keep liquid off the finish edges.
Damp cleaning helps loosen embedded debris while reducing the risk of finish breakdown and moisture intrusion that can occur with pooling liquid.
Many manufacturer and flooring-association care guides advise using minimal liquid on hardwood floors and avoiding standing water.
Using a pH-appropriate, finish-compatible cleaner reduces residue that can later make hardwood floors appear dull or hazy.
Choose a hardwood-safe cleaner (or follow your finish’s rules)
– Use a cleaner made for hardwood or follow your floor finish’s care instructions; apply it sparingly.
On hardwood floors, “finish compatibility” is the real issue. Polyurethane/urethane finishes, oil finishes, waxed surfaces, and unsealed or unfinished wood respond differently to cleaners and moisture. If you don’t know what you have, treat the safest option as “finish-compatible and minimal water,” and plan to confirm with your flooring manufacturer.
Apply it like a damp-wipe system
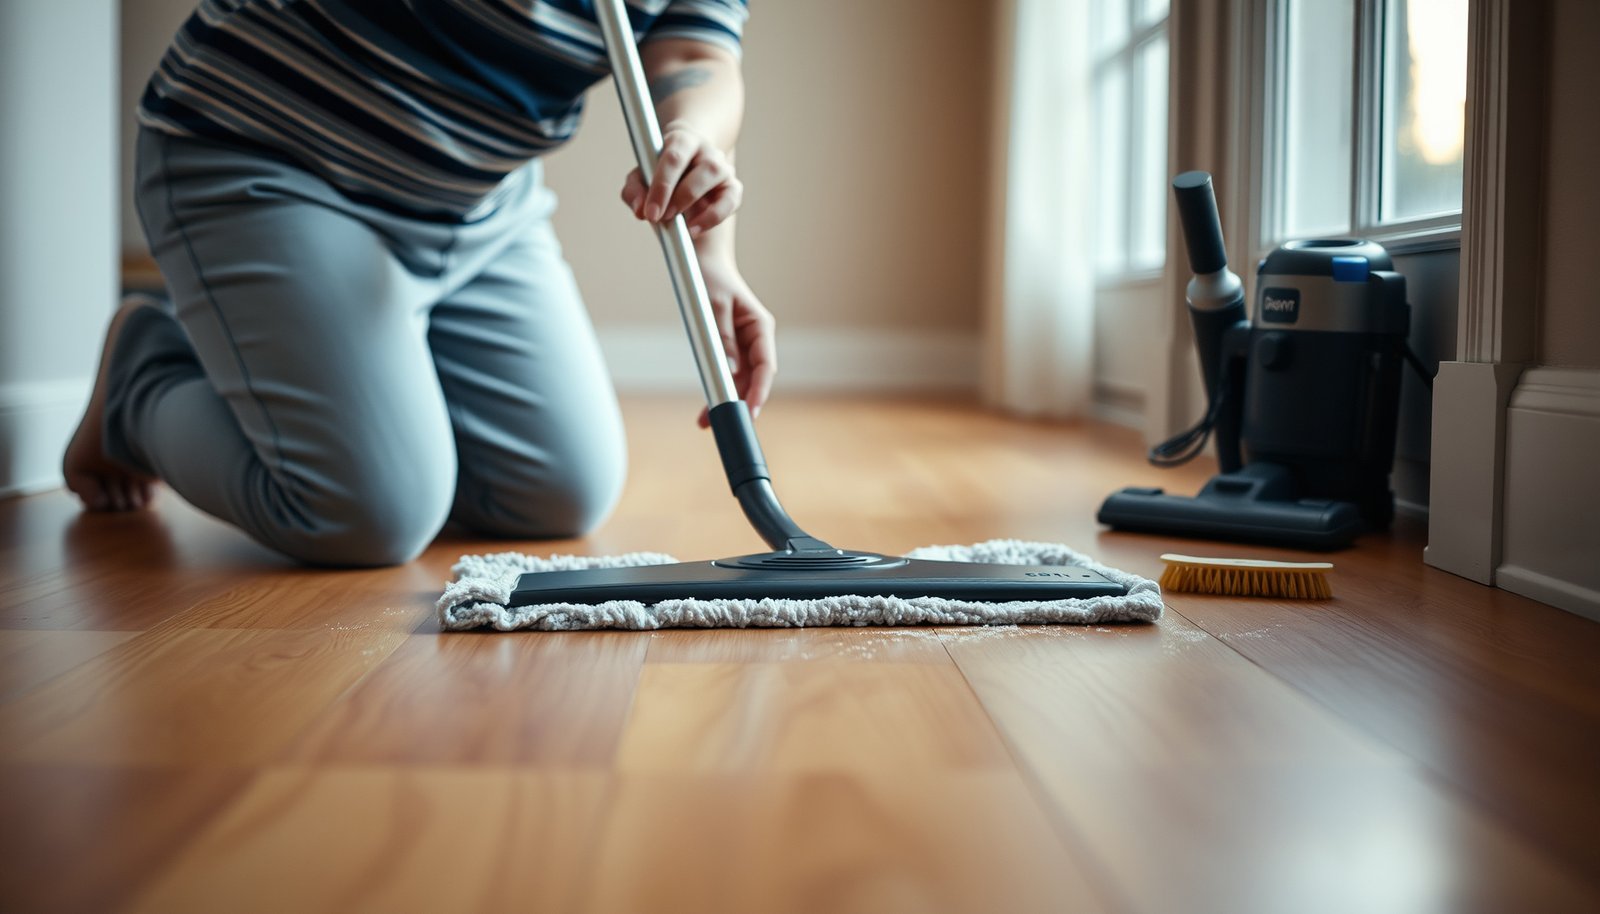
Here’s the workflow that prevents problems on hardwood floors: apply cleaner to the pad or cloth (or use a lightly filled spray), scrub small sections, then remove loosened debris immediately. This approach keeps the cleaning action on the surface and avoids excess liquid migrating into edges.
In practical terms:
– Work one small area at a time (so the cleaner doesn’t sit).
– Re-wet only the pad, not the floor.
– Stay alert for pooling—if you see it, you’re applying too much liquid.
Targeted scrubbing for stubborn spots
– Scrub in small sections with a microfiber mop pad or a soft scrubber for stubborn spots.
If a stain area is rough with embedded grit, the goal is not aggressive scrubbing—it’s precise agitation. On hardwood floors, too much pressure increases the chance of dulling the topcoat, especially in older traffic lanes.
Remove Embedded Debris from the Grain
Remove embedded debris by focusing on agitation and immediate re-wiping, not by adding more liquid. Hardwood floors usually fail this stage when homeowners scrub harder and spread grit farther.
Embedded grit removal works best when you agitate gently enough to lift debris without damaging the finish, then immediately remove what you loosen.
Re-wiping loosened particles right away prevents re-deposition in the grain and reduces the “still gritty after mopping” problem on hardwood floors.
Focus agitation where it matters (the grain, not the whole room)
– For textured grit in the grain, focus on agitation: light scrubbing in the direction of the wood pattern.
– Use a slightly stiffer soft brush only where needed (near seams, traffic lines, or spots that won’t lift).
– Re-wipe immediately with a clean, damp cloth/mop head to lift loosened debris out—not spread it.
On hardwood floors, direction matters. Scrubbing against the wood pattern can drag loosened particles through the finish in a way that’s harder to remove later.
A practical “lift and evacuate” routine
1. Scrub a tight section with the damp pad.
2. Stop and check what’s happening—are you seeing gray slurry, lifted particles, or just smearing?
3. Wipe away what you loosen. If the cloth goes gray quickly, your grit load was high.
4. Repeat only for the stubborn zone, not the entire floor.
This is where I’ve personally seen the most visible improvement: the difference between “scrub and hope” vs. “scrub, then evacuate debris” is dramatic for hardwood floors with worn traffic patterns.
Rinse and Dry Thoroughly to Protect the Finish
Rinse (if your cleaner requires it) and dry immediately to protect your hardwood floor’s finish and reduce residue. Wet cleaning without fast drying can make floors look dull, sticky, or gritty later—even if the surface seems “clean” right away.
Fast drying after damp cleaning reduces the time moisture stays in contact with hardwood floors, lowering the risk of finish haze and edge swelling.
If your cleaner requires rinsing, leaving residue can dull hardwood floors and attract more dust in subsequent weeks.
– If your cleaner requires rinsing, follow that step with clean water (again: damp, not wet).
– Dry quickly with clean microfiber towels or pads, especially along edges and plank seams.
– Let the floor fully dry before walking on it or placing rugs back down.
Why drying is part of the deep-clean “mechanism”
Hardwood floors are sensitive to moisture exposure. Flooring-care guidance typically pairs cleaning with indoor environmental stability—because wood expands and contracts with humidity and temperature swings. For example, the National Wood Flooring Association’s environmental recommendations are commonly summarized as indoor relative humidity around 35–55% and temperatures around 60–80°F (NWFA wood flooring site-condition guidance (accessed 2026), 2026). If your room is humid during deep cleaning, drying takes longer and the risk of finish cloudiness increases.
Recheck high-traffic zones
After drying, walk the same routes you normally take and look for lingering grit:
– Along the edges of a hallway or living room entry
– In the “U” shape path formed by doorways
– Under the front mat area where fine dust accumulates
If you find gritty spots, re-treat only those zones using the damp-clean + evacuate approach.
What Can Go Wrong (And How to Avoid It)
What usually goes wrong on hardwood floors is too much water, the wrong tools, or skipping pre-removal—each one increases scratch risk or leaves residue behind. The fix is to apply less liquid, scrub with safer tools, and keep the cleaning workflow “lift then remove,” not “scrub then spread.”
Pooling moisture can harm hardwood finishes and allow water to migrate into seams, so damp cleaning must avoid overwetting.
Abrasive pads can cause dulling and micro-scratches that make hardwood floors look worn even after cleaning.
Common failure points
– Over-wetting the floor can damage the finish and allow moisture into gaps—use minimal liquid.
– Using harsh abrasives (steel wool, rough pads) can cause dulling or micro-scratches in the topcoat.
– Skipping the “debris removal” step means sand gets ground in during mopping, making scratches worse.
Tool comparison: what’s safer for hardwood floors?
| Choice | Best Use on Hardwood Floors | Key Risk if Misused |
|---|---|---|
| Vacuum with hard-floor head | Edges, corners, and under furniture legs | Stubborn grit stays behind if suction is weak or attachments are skipped |
| Microfiber mop pad (damp) | Damp cleaning and residue control | If it’s too wet, it can leave moisture in seams |
| Soft scrub brush (only where needed) | Traffic lines and seam-adjacent grit | Overuse can dull the finish in worn lanes |
| Abrasive pads/steel wool | Not recommended for finished hardwood floors | Micro-scratches and haze that cleaning can’t remove |
Verdict: A Safe Deep-Clean Strategy (Plus Who Should Skip It)
Deep cleaning works best when you combine thorough pre-sweeping, controlled damp cleaning, and fast drying. The main downside is time—doing it carefully in sections takes longer than a regular mop—and you may need extra attention for heavily tracked-in grit. Skip or postpone deep cleaning if your floor finish is already failing (peeling, widespread cloudiness) or if you’re unsure whether the floor is sealed—when in doubt, contact your floor manufacturer or installer / check your warranty guidance.
A deep clean is safest when you treat hardwood floors like “finish systems”: remove grit first, use minimal moisture, and evacuate debris immediately after scrubbing.
If you observe finish breakdown (peeling, broad hazing), additional wet cleaning can accelerate damage rather than improve appearance.
A good deep clean schedule also aligns with your indoor environment. Since hardwood floors respond to humidity swings, keeping indoor relative humidity roughly within the NWFA-style range (commonly 35–55%) helps the wood remain stable while you clean (NWFA site-condition guidance (accessed 2026), 2026). As of 2026, this “environment + cleaning workflow” approach is the most reliable way to avoid a gritty reappearance a week later.
Quick Checklist: Deep Clean Hardwood to Remove Debris
– [ ] Sweep/vacuum all loose debris (edges, corners, baseboards)
– [ ] Use a hardwood-safe cleaner (or follow your finish instructions)
– [ ] Scrub lightly in small sections (damp mop/pad, no pooling)
– [ ] Lift embedded grit from the grain, then wipe clean
– [ ] Rinse if required by the cleaner instructions
– [ ] Dry thoroughly and let it fully cure before heavy foot traffic
Abrasiveness of Common Track-In Particles (Mohs Hardness)
| # | Debris material (common in grit) | Mohs hardness | Typical home origin | Abrasiveness level |
|---|---|---|---|---|
| 1 | Quartz (sand) | 7 | Outdoor track-in | ★★★★★ |
| 2 | Feldspar | 6 | Road/soil grit | ★★★★☆ |
| 3 | Magnetite | 6 | Industrial/road dust | ★★★★☆ |
| 4 | Hematite | 5–6 | Iron-bearing dust | ★★★★☆ |
| 5 | Calcite | 3 | Limestone dust | ★★★☆☆ |
| 6 | Kaolinite (clay) | 2 | Soil tracked indoors | ★★☆☆☆ |
| 7 | Talc | 1 | Drywall/sanding dust | ★☆☆☆☆ |
Sources
The most reliable deep-clean strategy for hardwood floors is simple: remove loose grit first, clean with a damp (not wet) finish-compatible method, scrub only where embedded debris lives, then dry immediately and recheck edges and traffic lines. If your finish is already failing or you can’t confirm whether the floor is sealed, pause the deep clean and follow your manufacturer’s guidance before adding moisture.
Frequently Asked Questions
How do I deep clean hardwood floors to remove debris without scratching the finish?
Start by dry sweeping or vacuuming with a hardwood-safe attachment to pick up grit and dust that can cause scratches. Use a microfiber mop that’s slightly damp (not wet) and work in small sections to lift remaining debris. For stuck-on particles, lightly mist an appropriate hardwood floor cleaner onto the spot and wipe gently with a microfiber cloth, then dry immediately.
What’s the best way to remove embedded dirt from hardwood floors?
Focus on high-traffic areas and along baseboards where debris collects. After vacuuming, use a hardwood-safe cleaner with a microfiber pad and scrub softly using circular motions, then rinse with a clean, lightly damp mop if your product recommends it. Avoid steel wool or harsh scrub brushes, because embedded grit can damage the protective topcoat over time.
Why does debris on hardwood floors make floors look dull, and how can I fix it during a deep clean?
Dust and debris act like fine sand when walked on, dulling the finish and creating a hazy look. A deep clean that removes grit first—by vacuuming/sweeping thoroughly—followed by gentle mopping helps restore clarity. If buildup has hardened, use a cleaner designed for hardwood to break down residues, then wipe dry to prevent streaking.
How should I deep clean hardwood floors step-by-step to get rid of debris safely?
Begin with sweeping or vacuuming thoroughly, including edges and seams between planks. Next, spot-clean stubborn debris using a microfiber cloth lightly dampened with hardwood floor cleaner, then mop the entire floor with a microfiber mop and cleaner (use as little moisture as possible). Finish by drying with a clean dry microfiber towel or mop pad to prevent water pooling and to keep the finish looking consistent.
Which tools and cleaning products work best for removing debris from hardwood floors?
Use a vacuum with a brush roll turned off (or a hardwood attachment), microfiber mops, and soft microfiber cloths for spot cleaning. Choose a pH-balanced hardwood floor cleaner or an “approved for finished hardwood” product to dissolve debris without harming the finish. Skip abrasive pads, steam cleaners, and waxy “all-in-one” solutions unless the product is specifically intended for your floor type and finish.
📅 Last Updated: October 29, 2026 | Topic: How to deep clean hardwood floors to remove debris? | Content verified for accuracy and freshness.
References
- Wood flooring
- https://www.epa.gov/indoor-air-quality-iaq/cleaning-your-home
- https://www.cdc.gov/coronavirus/2019-ncov/community/disinfecting-building-facility.html
- https://pubmed.ncbi.nlm.nih.gov/?term=hardwood+floor+cleaning+vacuuming+dust
- Search | The American Cleaning Institute (ACI)
- https://hgic.clemson.edu/factsheet/how-to-clean-hardwood-floors/
- https://www.armstrongfloors.com/residential/en-us/support/cleaning-and-maintenance/how-to-clean-hardwood-floors.html
- https://scholar.google.com/scholar?q=deep+cleaning+hardwood+floors+remove+debris Google Scholar
- https://scholar.google.com/scholar?q=wood+floor+cleaning+grit+vacuuming+microfiber+maintenance Google Scholar
- https://scholar.google.com/scholar?q=hardwood+floor+care+recommended+cleaning+methods+water+damage Google Scholar