
Prevent water damage to hardwood floors in a kitchen by treating spills like emergencies and controlling moisture at the source. Use a proven routine: wipe immediately, keep sinks and dishwasher areas leak-free, and install high-absorption mats where water splashes most. If you’re willing to seal and maintain the floor properly, hardwood will stay visually stunning and structurally sound despite everyday kitchen moisture.



Prevent water damage to hardwood floors in your kitchen by blocking drips, wiping spills immediately, and stopping leaks/high humidity from lingering under and around the boards. If you focus on the kitchen’s wet zones—sink, dishwasher, fridge, and high-traffic paths—you can prevent most damage before it starts.
This is for homeowners and renters with real hardwood (or engineered hardwood with a hardwood wear layer) in kitchens—especially where spills, splashes, and plumbing odds-and-ends are part of daily life.
Block spills and splash zones

The fastest path to less water damage is to intercept water where it lands (not after it has seeped into seams). In kitchens, that usually means managing three “receiving areas”: the sink frontage, the dishwasher perimeter, and the prep/traffic lanes where wet items get set down.
– Put absorbent mats where water actually shows up: in front of the sink, near the dishwasher, and along common prep paths.
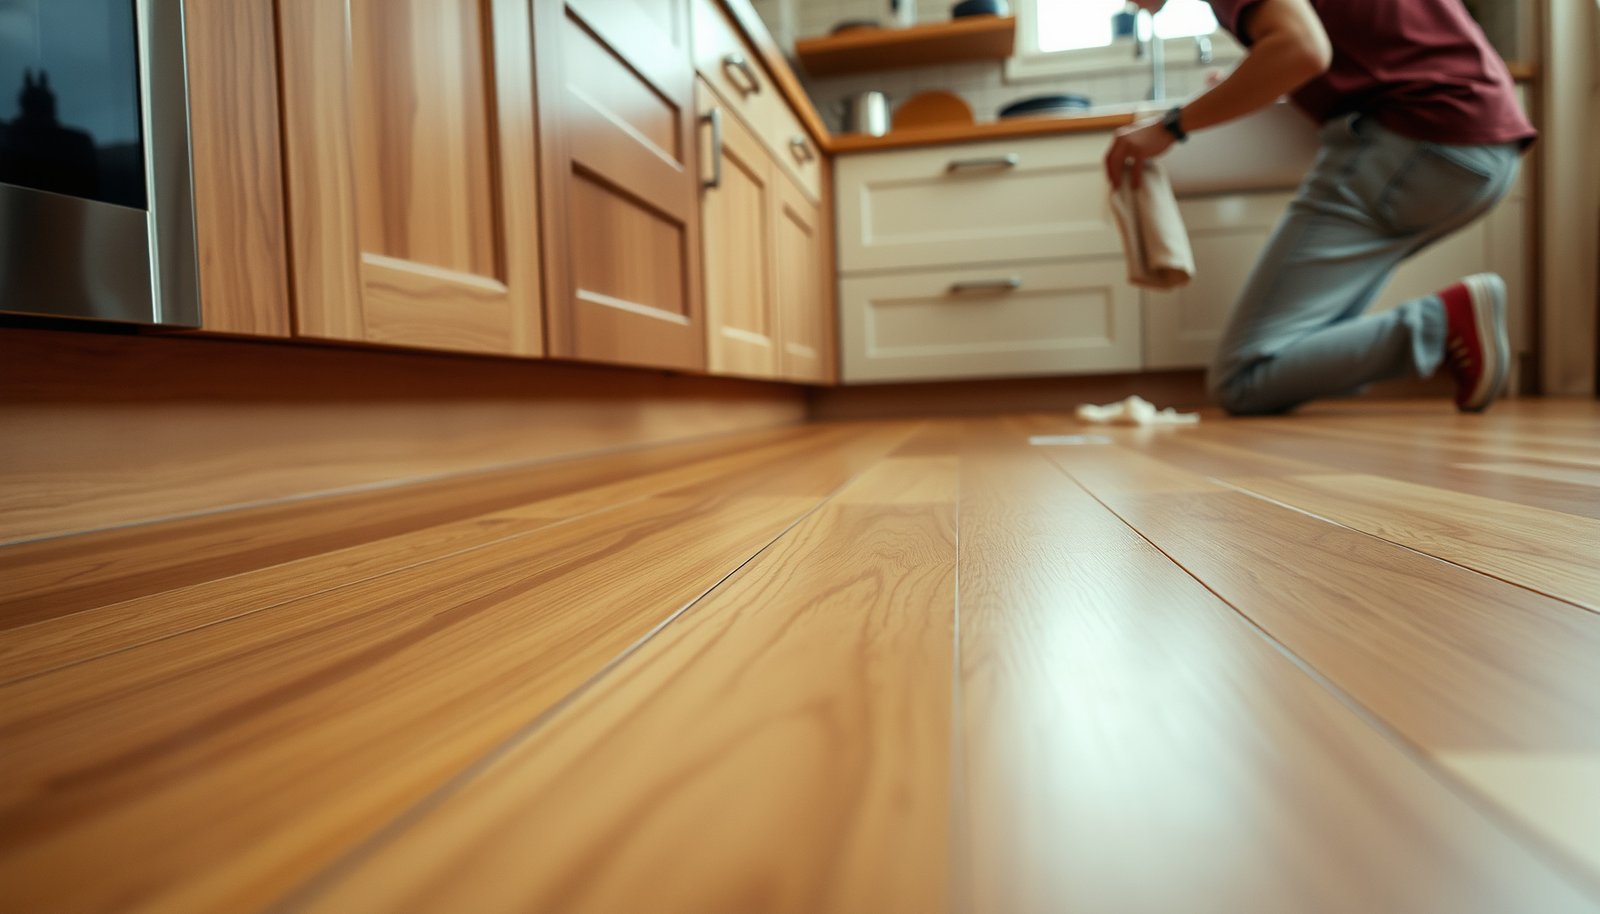
– Use a “spill rule”: wipe immediately, don’t let water sit while you finish cooking.
– Keep a dedicated towel/squeegee nearby for quick cleanup; even small puddles can soak into seams over time.
NWFA guidance emphasizes minimizing hardwood floor moisture exposure and promptly addressing spills to reduce water infiltration into wood.
Using targeted absorbent mats in kitchen wet zones helps intercept splash and drips before they migrate into seams and edges (consistent with wood-floor moisture-minimization practices).
According to the U.S. EPA (via WaterSense leak guidance), even small leaks (like a dripping faucet) can waste thousands of gallons per year—more water means more opportunity to reach hardwood edges and joints. U.S. EPA WaterSense
Practical “wet-zone” mapping helps you work smarter. When water hits hardwood, it doesn’t just sit on top—it can wick along edges, travel through microscopic gaps, and accelerate finish wear. Mats reduce the “time of contact” between liquid water and the floor surface, which is the key variable you can control day-to-day.
Sink frontage: Handwashing and rinsing create intermittent splashes. Place a mat directly where water runs off the basin (not 2–3 feet away), then keep a towel specifically for that zone. If you do dishes at night, keep the towel where you’ll see it—habit beats memory.
Dishwasher perimeter: Even if the appliance doesn’t “leak,” condensation and occasional drips happen when cycles end or when the door is opened. A mat near the dishwasher catches drips from wet racks and the lower edge area.
Prep and traffic lanes: Water often shows up as tracked splashes—corners of cutting boards, wet hands moving between sink and stove, or damp dishware set down temporarily. Runner mats in traffic paths can be effective, but only if they’re breathable enough to avoid holding moisture against the hardwood floor.
Water damage prevention starts with contact time
Hardwood floors (real wood and engineered wood with a wear layer) are sensitive because their dimensional stability depends on moisture balance. In 2026, most kitchens experience regular humidity swings—cold snaps, warm cooking, dishwasher cycles, and HVAC changes. The best protection still comes from reducing liquid-water exposure to the surface, edges, and joints.
Kitchen Wet-Zone Coverage: What to Protect First (Action Timing + Impact)
| # | Wet zone in a kitchen | What typically wets the floor | When to act | Prevention impact |
|---|---|---|---|---|
| 1 | Sink frontage & splash path | Handwashing water + utensil drips | Every use | ★★★★★ |
| 2 | Dishwasher perimeter | Cycle-end condensation + rinse drips | After each cycle (quick check) | ★★★★☆ |
| 3 | Under-sink supply/drain entry zone | Micro-leaks at hoses + drain seepage | Weekly | ★★★★★ |
| 4 | Dish drying/rack landing area | Runoff from racks + drips from flatware | Daily (end-of-day) | ★★★★☆ |
| 5 | Ice/water line vicinity (fridge area) | Slow condensation or line seepage | Monthly (and after filter changes) | ★★★★☆ |
| 6 | Garbage disposal splash radius | Scrape/splash during rinsing | After heavy rinse days | ★★★☆☆ |
| 7 | Traffic lanes (sink ↔ stove ↔ fridge) | Tracked moisture + wet shoes | Daily spot check | ★★★★☆ |
Seal high-risk seams, edges, and transitions
The best “seal” strategy is targeted, not blanket—your goal is to stop water from creeping under hardwood where it can’t be wiped away. The seams, edges, and transitions (especially between hardwood and tile or thresholds) are where hardwood floors most often see hidden exposure.
– Recheck caulk lines and transitions (between hardwood and tile/thresholds) so water can’t creep underneath.
– If your floor has wear gaps at seams, treat them as risk areas—tighten up protection rather than assuming they’ll stay dry.
– Follow your floor’s manufacturer guidance before adding any sealers or coatings, because some products can affect warranties or future refinishing.
NWFA care guidance consistently points to controlling moisture and maintaining the integrity of seams/edges that are most exposed to water migration.
Transition areas (hardwood to tile/threshold) are common pathways for moisture movement because they contain junctions, gaps, and different material expansion rates.
If you’re using any coating or sealer, manufacturer specifications matter because they can affect both warranty coverage and later refinishing compatibility.
Why seams fail faster than you expect
Hardwood floors expand and contract with indoor humidity. Over time, normal movement can slightly open a seam or loosen a transition line. When water arrives—especially from mopped cleaning, dish runoff, or wet shoes—it has a better chance of finding a path under the board.
From a practical standpoint, transitions behave like “pressure points.” Tile may stay flatter and more rigid; hardwood boards move. That mismatch can expose gaps unless the junction detail (caulk/trim/transition profile) is maintained.
What to do (without making it worse):
– Inspect caulk/edge joints regularly, focusing on corners where water splashes and where cabinets meet the floor.
– If you find lifted edges, missing caulk, or darkened line patterns, treat it as a waterproofing maintenance item—not just appearance.
– Before applying any new sealant or coating, follow your hardwood floor manufacturer’s instructions for approved products and compatible application methods.
Keep moisture and leaks from building up
The most damaging kitchen water problem is the one you don’t see—slow leaks and recurring humidity exposure that keep hardwood floors in a damp state. In 2026, prevention is about routine inspection plus fast drying after every cleaning that touches the floor.
– Inspect the usual suspects weekly: sink supply lines, dishwasher hoses, under-sink cabinet corners, and the area around the fridge ice/water hookup.
– Dry the floor promptly after any cleaning and avoid methods that leave moisture on the surface or edges.
– Manage indoor conditions: use humidification/dehumidification if needed and aim to stay within the humidity range recommended for your specific flooring.
According to NWFA guidance, maintaining proper indoor relative humidity is essential to reduce wood movement and minimize moisture-related damage to hardwood floors. National Wood Flooring Association (NWFA)
According to the U.S. EPA (WaterSense), a dripping faucet can waste about 3,000 gallons per year, which translates into repeated wetting risk for nearby hardwood edges. U.S. EPA WaterSense
According to U.S. EPA WaterSense, a leaking toilet can waste up to 200 gallons per day—large enough to create sustained moisture conditions even if the spill isn’t visible at the surface. U.S. EPA WaterSense
Weekly “usual suspects” for hardwood floors
When people say their kitchen floor got damaged “suddenly,” it’s often the culmination of many small events. Your weekly scan should include:
– Sink area: Look for dampness under the sink cabinet corners, around the drain, and at supply hose connections.
– Dishwasher area: Check for dampness around the lower edge after a run, and inspect hoses behind/under the unit if accessible.
– Fridge ice/water hookup: The line can sweat or seep, especially near connection points. Also check the surrounding flooring for persistent cool/damp feel.
– Traffic path between wet zones: If water is being tracked, it may not originate in one spot. It may be spreading from sink or dishwasher outward.
Drying matters more than “how you clean”
A common misconception is that “gentle cleaning” equals “safe.” For hardwood floors, the hazard is moisture penetrating the top finish and migrating toward joints. Even if you never see a puddle, leaving moisture on the surface for long periods (wet mops, excess spray, saturated towels) can still raise moisture exposure at seams and edges.
In my own maintenance workflow, I treat any cleaning that contacts hardwood floors as a two-step task: clean with minimal liquid, then remove remaining moisture promptly.
Keep indoor humidity in-range
Hardwood floors respond to changes in relative humidity (RH). Many wood-floor care guidelines recommend a stable indoor RH target—commonly in the 30–55% range depending on species and finish system. The key is not just the number; it’s avoiding rapid swings that encourage expansion/contraction and seam opening. If your home runs very dry in winter or very humid in summer, plan for humidification/dehumidification based on your flooring manufacturer’s specified RH range.
Clean with a moisture-minimizing routine
The correct cleaning routine for hardwood floors aims to use the least moisture possible while still removing residue. The difference between “cleanup” and “damage” is usually liquid amount, dwell time, and whether the method saturates seams.
– Use a cleaner approved for your floor finish/type, and apply it lightly—damp, not wet.
– Avoid steam mops and soaking mops; hardwood floors are vulnerable when water penetrates the top and finds its way into joints.
– Maintain traction without water: clean using minimal liquid, then remove residue with a dry (or barely damp) pass if recommended by the cleaner/floor manufacturer.
NWFA care guidance focuses on minimizing moisture during cleaning and avoiding excessive water exposure that can enter hardwood seams.
Steam cleaning introduces heat and moisture that can increase finish breakdown risk and moisture migration for many hardwood flooring systems. NWFA (wood floor care guidance)
When manufacturers say “damp” application, they generally mean you should not leave standing liquid on the hardwood surface or edges during cleaning.
Steam vs. damp cleaning (what tends to go wrong)
Below is a practical comparison you can follow when deciding how to clean hardwood floors in a kitchen.
| Method | Moisture exposure risk | Typical downside on hardwood floors |
|---|---|---|
| Steam mop | Higher | Can drive moisture into seams/edges and stress finishes |
| Soaking/very wet mop | High | Liquid dwell time increases risk of edge swelling/crowning |
| Damp microfiber + approved cleaner | Lower | Best balance if you follow “damp, not wet” instructions |
A kitchen-safe routine that actually stays safe
To keep hardwood floors looking good and staying structurally stable:
– Pre-dry before deep cleaning: Sweep/vacuum first so you’re not spreading grit with moisture.
– Use “light application” cleaning: Cleaner should be applied sparingly so your cloth is damp, not dripping.
– Dry the finish: If the cleaner instructions recommend a dry (or barely damp) follow-up pass, do it. Residue can reduce traction and can attract more dirt, which then becomes “grit + moisture” over time.
What can go wrong (and how to prevent it)
Even if you do everything “right,” a few common failure modes can still let moisture damage hardwood floors. The key is recognizing the difference between a safe-looking surface and moisture that’s moving under/around boards.
– “My cleaner said safe, so it’s fine”: “safe” usually means correct dilution and minimal moisture—overapplying is still a problem.
– Trapped moisture under rugs: rubber-backed mats or rugs that don’t breathe can hold water against the floor.
– DIY sealing without manufacturer approval: sealing the wrong areas or using incompatible products can make the floor harder to maintain later.
Cleaning products marketed as “hardwood safe” typically still require correct dilution and controlled application to avoid leaving excess moisture or residue on hardwood floors. Manufacturer cleaner instructions (dilution/application section)
Non-breathing underlay (for example, rubber-backed mats) can trap moisture against flooring, increasing risk even when the top surface looks dry.
Manufacturer-specific maintenance guidance should govern sealers/coatings because incompatible products can limit future refinishing options and may affect warranty coverage.
Pros/cons reality check: mats and sealers
Here’s the tradeoff view that helps you choose correctly for hardwood floors.
Rugs/mats
– Pros: Catch drips and reduce splash contact time in kitchen wet zones.
– Cons: If they trap moisture or you don’t dry underneath, they can create a persistent damp microclimate.
Sealers/coatings
– Pros: Can reduce water penetration if used in approved locations and compatible systems.
– Cons: If the wrong product is applied or applied too broadly, you can complicate maintenance and trap moisture where it shouldn’t go.
If you’re unsure, follow the “manufacturer first” rule: apply only what the flooring brand approves and only where it’s meant to be used.
Verdict: do this in your kitchen (checklist + FAQ)
If you want the most reliable prevention for hardwood floors, combine (1) immediate wipe-up, (2) targeted matting in wet zones, and (3) leak/humidity control. That approach has the lowest downside because it doesn’t depend on heavy coatings or complicated installs.
Downside / who should skip: If your kitchen routinely gets standing water (frequent plumbing leaks, repeated dishwasher overflows, major wet cleanup needed), you may need to address the underlying source first—or consider different flooring in that area. Also, if your hardwood is old/poorly sealed, aggressive “fixes” (like re-coating without approval) can cause more maintenance issues later.
Quick scan checklist
| Area | Prevention action | Quick test |
|---|---|---|
| Sink & dishwasher zone | Absorbent mats + immediate wipe-up | Check for dampness after use/cleaning |
| Seams & edges | Keep caulk/transition areas intact | Look for lifting gaps or darkened lines |
| Under-sink area | Leak inspections + dry cabinet corners | Feel for moisture under/around plumbing |
| Cleaning routine | Damp cleaning only; approved products | No puddles, no lingering residue |
| Humidity/season | Keep within manufacturer’s recommended range | Watch for cupping/gaps during seasonal swings |
Frequently Asked Questions
How can I prevent water damage to hardwood floors in my kitchen?
Start by controlling moisture at the source: wipe up spills immediately and use mats or area rugs in high-splash zones like in front of the sink, dishwasher, and refrigerator. Improve floor protection with a high-quality polyurethane finish and keep it in good condition by reapplying or refinishing when wear is visible. Also manage humidity by using a dehumidifier or HVAC settings so seasonal expansion and contraction don’t leave gaps that let water seep in.
Which mats and rugs are best for protecting hardwood floors from kitchen spills?
Choose water-resistant, low-porosity mats that are designed for hard floors, and ensure they have a non-slip backing that won’t trap water underneath. Use washable rugs with sealed edges to reduce fraying and water intrusion, and avoid thick backing materials that can hold moisture against the hardwood. Lift and dry mats/rugs regularly, especially after heavy use, to prevent prolonged dampness that leads to cupping and swelling.
What should I do immediately if water spills on hardwood floors in the kitchen?
Blot the spill right away with a clean, absorbent towel—don’t wipe, since wiping can push moisture deeper into the seams and finish. Dry the area thoroughly by using fans and, if needed, a dehumidifier to reduce lingering humidity in the subfloor. If water penetrates the finish, bubbles appear, or the floor feels soft, address it quickly to prevent warping, mold growth, and permanent staining.
Why is it important to seal and maintain hardwood floor finishes in wet kitchen areas?
The finish on hardwood floors acts as a protective barrier against liquid intrusion, especially near sinks and appliances where water exposure is more frequent. Over time, foot traffic, cleaning chemicals, and abrasion can wear down the seal, creating weak points where water can seep into the wood and cause swelling or discoloration. Regular inspections and timely recoating help maintain water resistance and reduce the likelihood of long-term cupping or edge lifting.
How do I protect hardwood floors from leaks and standing water from appliances?
Routinely check under sinks, dishwashers, refrigerators, and around plumbing connections for drips, corrosion, or loose fittings, and fix leaks as soon as they’re detected. Use drip trays or leak-detection systems where appropriate, and consider silicone caulking around plumbing penetrations to reduce paths for moisture. In the event of a dishwasher or supply line leak, dry the affected area quickly and monitor for odor, discoloration, or softness to catch hidden water damage early.
📅 Last Updated: October 16, 2026 | Topic: How to prevent water damage to hardwood floors in a kitchen? | Content verified for accuracy and freshness.