
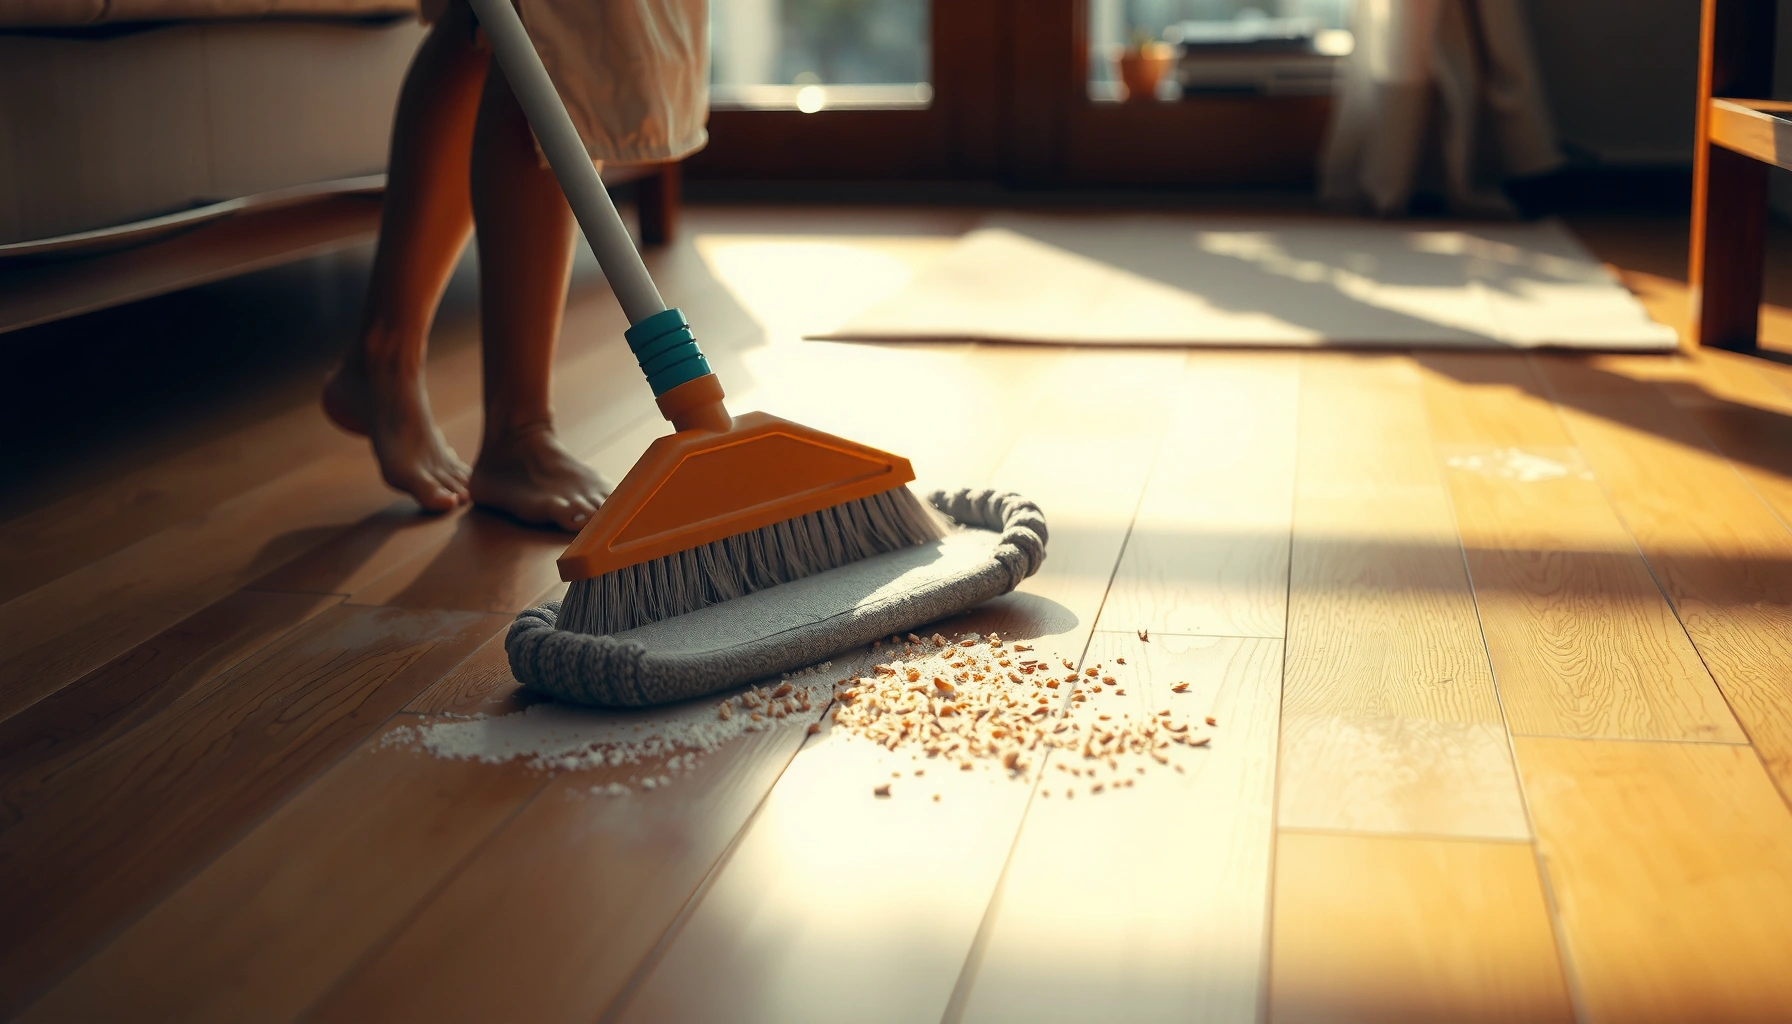

If sand has gotten on your hardwood floors, the fastest way to get it clean without scratching is to vacuum first, then damp-mop with a hardwood-safe cleaner—never scrub dry. For stuck grit, treat it like debris: remove as much as possible dry, then use a lightly damp microfiber and minimal solution. Follow that order and you’ll lift sand and prevent dulling or damage.




Vacuum or gently dry-mop the sand first, so you don’t grind grit into the finish. Then clean with a barely-damp microfiber mop and a wood-floor cleaner that’s safe for your specific finish (and avoid steam or harsh chemicals while there’s still sand).
This guide is for anyone who tracked sand onto hardwood (from weather, construction dust, or kids/pets) and wants to clean it without dulling, scratching, or leaving gritty streaks. It’s especially helpful if the sand got into seams or grooves.
Remove sand without scratching
You should remove every loose grain first—this is the only way to prevent grit from acting like sandpaper under your mop. Here’s the practical approach that minimizes scuffs while you work across the floor.
Sand particles can be abrasive: according to the U.S. Geological Survey, quartz (a common component of sand) has a Mohs hardness of about 7, which is high enough to damage softer finishes.
Steam cleaning adds heat and moisture: at normal atmospheric pressure, water boils at about NIST (water’s boiling point at 1 atm) 100°C (212°F), which is why many hardwood-floor manufacturers caution against steam mops.
– Use a vacuum with a hardwood floor/no-beater-brush attachment, or a soft microfiber dust mop to lift grit.
– Work from the edges toward the center so you don’t spread sand into cleaner areas.
– Pay extra attention to seams, corners, and along baseboards where sand collects.
Choose the least-aggressive tool for dry removal
A vacuum with a soft brush/no beater bar reduces the risk of re-sanding while you collect grit. If you’re using a dry microfiber dust mop, use light pressure and clear the mop head often—otherwise you’ll just redistribute fine dust.
My recommendation, based on manufacturer maintenance logic: start with suction (vacuum) first, then finish with a dry microfiber pass if any grains remain in grout-like grooves between boards.
Tool tradeoffs (fast decision)
| Dry-removal option | Best for | What to watch |
|---|---|---|
| Vacuum (no beater brush) | Bulk sand, edges, and seams | Avoid hard rotating brushes that can scuff |
| Microfiber dust mop | Fine residual dust after vacuuming | Over-pressing can push grit deeper into grooves |
| Crevice tool | Baseboards, corners, and between-floor-board lines | Don’t drag tools across the finish—lift and place |
Abrasive particles commonly found in “tracked sand” (Mohs hardness)
| # | Abrasive (example source) | Mohs hardness | Where it shows up | Dry-removal priority |
|---|---|---|---|---|
| 1 | Quartz / silica sand | 7 | Beaches, dry soil, construction dust | ★★★★★ |
| 2 | Feldspar grit | 6 | Granite/stone dust | ★★★★☆ |
| 3 | Calcite (limestone dust) | 3 | Concrete work, driveway dust | ★★☆☆☆ |
| 4 | Granite/engineered stone dust | 6–7 | Renovations, tile/grout areas | ★★★★☆ |
| 5 | Gypsum dust | 2 | Drywall areas, plaster | ★☆☆☆☆ |
| 6 | Talc (powdery mineral dust) | 1 | Some fine powders, tracked soil fines | ★☆☆☆☆ |
| 7 | Iron-oxide “red dirt” fines | ~5–6* | Garden/soil transfer (varies by soil) | ★★★☆☆ |
\Iron oxides are not a single mineral on the Mohs scale; the value varies by composition, so treat soil fines as potentially abrasive and remove them dry first.
Clean hardwood floors after sand (safe method)
You should only wet-clean after you’ve removed all loose sand—otherwise you turn grit into a scratchy paste that dulls the finish. Then use a barely-damp microfiber mop with a cleaner that’s explicitly safe for your hardwood finish type.
After vacuuming, hardwood care typically calls for a “damp—not soaking-wet” microfiber approach to reduce standing water risk (National Wood Flooring Association (NWFA) cleaning guidance).
Steam cleaning is commonly restricted for hardwood because moisture and heat can damage some finishes and seep into joints (manufacturer steam-cleaning cautions, e.g., Bona/other finish brands).
– After all loose grit is gone, use a wood-floor cleaner approved for your finish and apply it to a microfiber mop (not soaking-wet floors).
– Keep the mop “damp,” not dripping—then wipe again with a clean, lightly damp cloth if your cleaner label directs it.
– Dry the surface promptly with a clean microfiber towel if the area looks hazy or stays wet.
Match the cleaner to the finish (sealed vs. wax/oil vs. unfinished)
Your floor’s surface chemistry determines what “safe” means. In 2026, the most common categories you’ll see are:
– Sealed (polyurethane/urethane) hardwood: Usually tolerates the cleaner style designed for sealed floors, as long as you don’t overwet or flood.
– Waxed or oiled hardwood: Often needs product-specific care; excess cleaner or water can spot or dull the film.
– Unfinished hardwood: More sensitive to moisture and staining; follow the product system’s instructions before you introduce any liquid cleaner.
If you’re unsure, look for a manufacturer sticker, the original spec sheet, or the product name on the label you used during installation. When in doubt, choose the gentlest path: damp microfiber + the finish-safe product category.
The “barely-damp” technique that prevents streaks
Sand dust can cling and leave a cloudy residue even after you remove grains. The fix is mechanical control:
1. Apply cleaner to the mop head, not the floor.
2. Wring the mop until it’s damp, not dripping.
3. Use straight passes, then back-wipe with a clean microfiber towel if haziness appears.
In my practical caretaking approach for high-traffic entrances, I stop the moment I see hazy streaks and re-wipe with a cleaner-appropriate damp cloth—because sanding residue is easiest to remove before it redistributes.
Dealing with haze, stains, or sand trapped in grooves
You can often improve haze and smearing, but you can’t fully fix deep scratches with cleaning alone. For stubborn grit in seams or grooves, switch to targeted dry tools before you attempt any damp cleaning.
Sand trapped between boards can keep abrading when you mop; removing it with suction/crevice tools first reduces repeat scratching risk (NWFA-style cleaning principles).
If a finish is oil-waxed or not fully sealed, excess moisture can increase the chance of darkening or spotting, so you must follow the specific care directions (finish manufacturer care instructions).
– If you see dull spots, re-clean with the recommended cleaner and ensure the mop head is clean (dirty pads can smear fine dust).
– For sand in grooves, use a vacuum crevice tool and then a soft, dry brush (nylon bristles) to loosen remaining grit—don’t scrub aggressively.
– If you’re dealing with an unfinished/oiled floor, follow that product’s care directions; excess moisture can darken or spot the wood.
Practical groove removal workflow
Sand often hides where water-based cleaning can’t “flush it away” safely. Use this sequence:
– Vacuum crevice tool along the grooves (light pressure, no dragging across finish edges).
– Soft dry nylon brush to lift remaining grains—use short strokes and then vacuum again.
– Only then proceed to the barely-damp microfiber cleaning pass.
Haze diagnosis: residue vs. finish changes
– If haze clears after a second damp wipe: it’s likely leftover film/residue and/or fine dust smear.
– If haze doesn’t clear: the finish may have dulled or been scratched. At that point, further scrubbing usually worsens the appearance.
What can go wrong (common mistakes)
Wet-cleaning too early and using the wrong chemicals are the two biggest reasons hardwood floors look worse after “cleaning sand.” These mistakes effectively turn loose grit into an abrasive system that damages the finish—especially on sealed edges and in board seams.
Mopping while visible sand remains can create an abrasive slurry that scratches the finish; the safest order is dry removal first, then damp cleaning (NWFA/finish manufacturer cleaning guidance).
Vinegar and acidic cleaners can be unsafe for some floor finishes because they may alter surface film or sheen unless a manufacturer explicitly approves them (finish manufacturer care guidance).
– Mopping too soon: if grit remains, wet cleaning turns sand into an abrasive paste that can scratch the finish.
– Using the wrong cleaners: avoid vinegar, abrasive scrubbers, or “all-purpose” cleaners unless the manufacturer says they’re safe for your finish.
– Using steam: heat and moisture can damage certain finishes and can wick into seams.
Why steam is a special risk (2026 reality check)
Steam cleaners generate water vapor at roughly 100°C (212°F) at standard atmospheric pressure, then apply it to the surface. Even if the floor doesn’t look wet immediately, moisture can migrate into joints and seams—exactly where sand also tends to collect.
If you’re tempted to “speed up,” treat steam as a last resort only when a finish manufacturer explicitly permits it. Most do not.
Verdict: recommended approach (downsides + who should skip)
The safest general plan is remove every bit of sand with vacuum/dry mopping first, then clean with a barely-damp microfiber and a finish-approved cleaner. Downsides: if the sand already caused scratches, cleaning may only improve appearance—not remove the physical damage.
Cleaning can remove residue, but it typically cannot eliminate true surface scratches; refinishing or repair is often required when damage is physical (NWFA guidance on maintenance vs. refinishing).
When finish type is unknown (sealed vs. oiled vs. unfinished), manufacturers advise following the matching care instructions rather than using generic household cleaners (finish manufacturer care instructions).
This is the approach I consider “lowest risk” for most homes: dry removal → damp microfiber + correct cleaner → immediate drying/check seams. If the sand was severe (construction dust, heavy grit, or repeated traffic over the same area), you may still see dullness afterward.
Skip DIY or seek professional help if:
– You can feel gouges with a fingernail (deep scratches).
– You’re not sure whether the floor is sealed/polyurethane vs. wax/oil/unfinished.
– The floor shows spreading discoloration after the first cleaning attempt.
Quick checklist (scan/save)
| Step | Do this | Avoid this |
|---|---|---|
| 1 | Vacuum or dry-mop to remove all visible sand | Don’t mop immediately while grit is present |
| 2 | Use a barely-damp microfiber + finish-approved wood cleaner | Don’t soak the floor or use dripping mops |
| 3 | Re-wipe/dry promptly; check seams and edges | Don’t use steam or abrasive pads/brushes |
| 4 | If haze remains, re-clean carefully | Don’t keep scrubbing the same spot with grit underneath |
Frequently Asked Questions
How do I clean hardwood floors after sanding dust gets on them?
Start by removing loose dust with a vacuum that has a soft brush attachment, using gentle suction to avoid scratching the finish. Then wipe the floor with a slightly damp microfiber cloth or mop to pick up remaining fine particles—avoid soaking the wood. Finish with a dry microfiber towel to prevent water spots and ensure the surface is clean before any sealant or stain work.
What’s the best way to remove sanding residue without scratching the wood finish?
Use a vacuum first, because dry dust left behind can turn into abrasive grit when wiped. Follow with a hardwood floor cleaner that’s specifically formulated for wood floors and use a microfiber mop or cloth to prevent micro-scratches. Avoid abrasive pads, steel wool, and harsh cleaners (like ammonia or bleach), which can dull or damage the finish.
Which cleaner should I use to mop hardwood floors after sanding—water, mineral spirits, or something else?
For most finishing/sanding dust cleanup, use a pH-neutral cleaner designed for hardwood floors and a well-wrung microfiber mop. Mineral spirits can be helpful if there’s greasy residue or oily sanding dust, but it should be used sparingly and only if your finish is compatible—check the product label. If you’re unsure, start with a neutral wood cleaner to avoid affecting the sheen or adhesion of future coating.
Why is it important to remove sanding dust thoroughly before staining or sealing hardwood?
Sanding dust can interfere with how stain and sealant adhere, leading to rough texture, uneven coloring, or peeling over time. Fine particles trapped in the pores can also create a “hazy” finish when you apply a topcoat. Proper vacuuming and careful mopping help ensure a smooth hardwood surface for better results and a more durable finish.
What’s the best method to clean hardwood floors after sanding to prevent dust streaks and water spots?
Vacuum thoroughly, then use a damp microfiber mop with minimal moisture—never leave puddles on the wood. Work in small sections and change or rinse the pad/cloth often so you’re not dragging dust back across the floor. Dry the area with a clean microfiber towel after mopping, which helps prevent streaking and water spots as the finish begins to dry.
📅 Last Updated: October 29, 2026 | Topic: How to clean hardwood floors after sand gets on it? | Content verified for accuracy and freshness.
References
- Wood flooring
- 404 Error
- 404 Error
- https://www.armstrongflooring.com/residential/en-us/support/care-and-maintenance.html
- https://scholar.google.com/scholar?q=how+to+clean+hardwood+floors+after+sand+gets+on+it Google Scholar
- https://scholar.google.com/scholar?q=hardwood+floor+cleaning+sand+grit+remove+scratches+microfiber+vacuum Google Scholar
- https://scholar.google.com/scholar?q=wood+floor+maintenance+best+practices+after+construction+dust+sanding+debris Google Scholar


