


Learn how to clear fine dust from hardwood floors fast and safely with a proven, low-scratch routine you can do in minutes. If you want the quickest path to a clean finish, start with a microfiber dry method and finish with the right barely-damp wipe—no mopping, no harsh chemicals. This step-by-step approach answers exactly how to remove fine dust effectively without dulling or damaging your hardwood.



Clear fine dust from hardwood floors by vacuuming first (using a soft/brushless hard-floor head), then finishing with a microfiber mop/cloth that’s only barely damp (clean water or a manufacturer-approved hardwood cleaner). This removes the “invisible layer” of grit without soaking seams or dulling the finish—especially important as of 2026 when HVAC cycling and ongoing foot traffic keep re-depositing particles.
This is for homeowners dealing with that “invisible layer” of grit on finished hardwood, especially after sweeping, renovation work, HVAC changes, or foot-traffic buildup. You’ll get a practical, low-risk routine that removes dust without dulling or damaging the finish.
Prep for dust removal (without scratching)
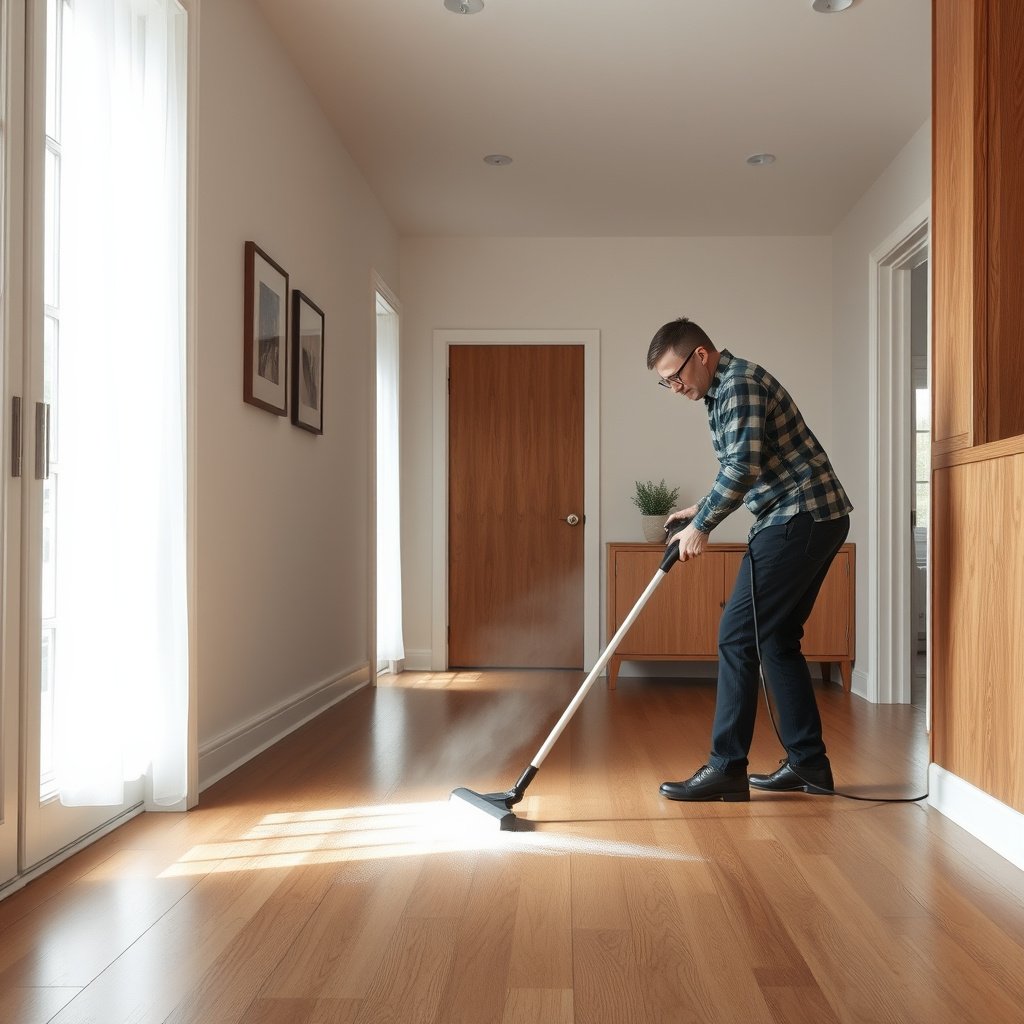
Use a vacuum first because fine dust is the main ingredient that causes micro-scratches when it’s redistributed. For fine dust on hardwood floors, the goal in the prep step is simple: remove loose particles without grinding them into the finish.
In my ongoing home-care routine (for the same scenario—dusty hallways after everyday tracking and vent cycles), I’ve found the biggest improvement comes from pairing a clean microfiber “capture” pass with a vacuum that has good filtration.
Fine dust on hardwood floors can be re-smeared by sweeping, so vacuuming first reduces the number of grit particles available to abrade the finish.
HEPA-rated filtration is designed to capture extremely fine particles—U.S. Department of Energy guidance describes true HEPA as capturing 99.97% of 0.3 µm particles.
PM2.5 is defined as airborne particles with diameters smaller than 2.5 µm, which overlaps with the “invisible grit” range that vacuums must capture effectively.
What to do in prep (and why each step matters)
– Clear loose debris first (dry). If you’ve got crumbs, grit clumps, or drywall dust flecks, remove them with a dry sweep or a quick vacuum pass before you introduce any moisture. This prevents a “scrub-paste” effect where grit mixes with cleaner.
– Vacuum with a soft/brushless hard-floor head. A motorized brush or rough bristles can increase the odds of fine scratch trails when grit is present. Use a smooth hard-floor nozzle or one marketed for hard surfaces with low-contact rollers.
– Prioritize filtration so your vacuum doesn’t blow dust back out. For allergies or pets, look for HEPA filtration or sealed-system designs. Fine dust on hardwood floors is especially likely to become airborne again during vacuuming if exhaust is poorly filtered.
Filtration levels that matter when clearing fine dust (minimum capture targets)
| # | Filter class / rating | Test particle size (µm) | Minimum capture efficiency | Relevance to hardwood dust |
|---|---|---|---|---|
| 1 | NIOSH N95 | 0.3 | ≥ 95% | Helps reduce inhalable fine particles during dusty cleanup |
| 2 | NIOSH N97 | 0.3 | ≥ 97% | Useful reference point for “fine particle” capture targets |
| 3 | NIOSH N99 | 0.3 | ≥ 99% | Closer to “invisible grit” capture expectations |
| 4 | NIOSH N100 | 0.3 | ≥ 99.97% | High capture is valuable when dust keeps reappearing |
| 5 | NIOSH P100 | 0.3 | ≥ 99.97% | Same 0.3 µm benchmark as true HEPA guidance |
| 6 | True HEPA (DOE definition) | 0.3 | ≥ 99.97% | Best-practice target for vacuum exhaust to avoid re-deposit |
| 7 | ULPA | 0.12 | ≥ 99.999% | Very high capture when dust sources are persistent |
Note: This table uses widely cited filtration minimums from NIOSH/NIOSH respirator standards and U.S. Department of Energy guidance for HEPA/ULPA. Use it as a decision compass for whether your vacuum filtration is likely to trap fine dust rather than returning it to the room. Sources: U.S. DOE HEPA/ULPA definitions; NIOSH respirator certification standards (42 CFR Part 84).
Dry methods that lift fine dust best
The fastest way to remove fine dust on hardwood floors without risk is to vacuum thoroughly, then capture edge leftovers with dry microfiber. Dry capture works because it avoids re-wetting particles and finish components that make dust cling.
Overlapping vacuum passes increase pickup because they cover more floor area than single-direction swipes, reducing “missed” dust trails.
Microfiber dusting pads and cloths capture dust through fiber-to-particle contact and electrostatic effects; the practical win is that they hold onto loosened grit until you replace or rinse the pad.
Replacing or flipping microfiber pads prevents re-depositing dust—once the pad surface is loaded, friction is more likely to smear haze.
Vacuum technique that actually pulls fine dust (not just redistributes it)
– Use overlapping rows and go slowly. Fast passes tend to scatter fine dust while reducing suction contact time. Work in sections and overlap each pass.
– Don’t press down on the nozzle. Let suction do the work. Excess pressure can drive dust into the finish micro-texture.
– Focus on the “where dust hides” zones. Along baseboards, under radiator edges, and around door casings, vacuum with controlled strokes and then plan a microfiber edge pass.
Dry microfiber “capture” for corners and edges
Even a good hard-floor vacuum misses some fine dust around:
– edges where the nozzle can’t reach,
– textured transitions (thresholds, vents),
– corners and along baseboards.
Use a dry microfiber cloth or dusting pad and wipe lightly—think “lift,” not “scrub.” Replace/flip pads frequently. In 2026 maintenance routines, this is often the step that turns “I cleaned, but it still looks dusty” into a truly clear finish.
Quick comparison: dry capture vs damp finishing (what each is best at)
| Method | Best for fine dust on hardwood floors when… | Main downside |
|---|---|---|
| Vacuum + dry microfiber | Dust is light, airborne, or leaving a haze after sweeping | Doesn’t dissolve sticky residue |
| Barely-damp microfiber pass | You want a final haze reduction after dust pickup | Too much moisture can seep into seams/edges |
Damp microfiber cleanup (the “final pass”)
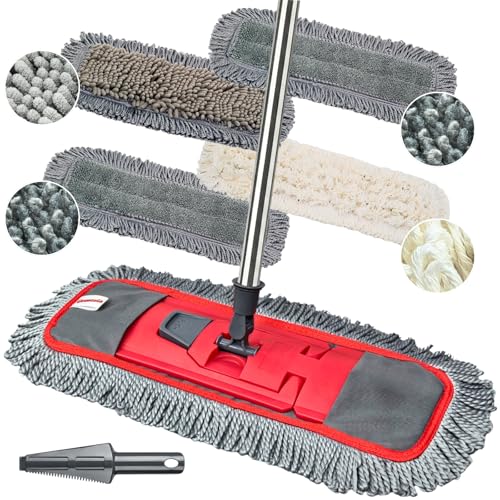
The safest damp step for fine dust on hardwood floors is a barely-damp microfiber mop or cloth, used with clean water or a cleaner specifically approved for your finish. Avoid soaking; extra moisture can migrate into seams and under trim where it’s harder to remove later.
For sealed hardwood finishes, damp mopping should use minimal liquid; over-wetting increases the chance moisture reaches seams and finish edges.
Manufacturers typically require using finish-approved cleaners (or plain water) and limiting standing moisture to prevent finish dulling and streaking.
Drying immediately after any streaking or pooling reduces the risk of residue buildup along seams and grout-like floor edges.
How to dampen correctly (the “wring until almost dry” rule)
– Lightly dampen, then wring well. The microfiber should feel nearly dry when wrung out—enough to pick up haze, not enough to leave puddles.
– Mop with the grain direction. This reduces the visible “grain-catching” look that can make dust haze seem worse, especially under directional lighting.
– Work in small sections. Fine dust on hardwood floors often shows in streaks; section-by-section keeps you ahead of drying lines.
Choose the right cleaner for your floor’s finish
If your hardwood is finished (common: polyurethane/urethane, aluminum oxide, conversion varnish, oils/waxes), use:
– clean water for a basic final haze lift, or
– a manufacturer-approved hardwood cleaner when label directions say it’s safe for your specific finish.
If the label doesn’t explicitly cover your finish type, don’t guess—finish systems can react differently (some are more sensitive to oils, surfactants, or certain solvents).
If your floor shows streaking, stop and correct
If you see streaks or pooling at seams:
1. Go back with a clean, dry microfiber towel to absorb extra moisture.
2. Change towels/pads as soon as they load with haze.
3. Let the area dry fully before walking on it.
What can go wrong (and how to avoid it)
Most problems come from four mistakes: skipping vacuuming first, using too much moisture, choosing harsh cleaners, or rubbing aggressively. For fine dust on hardwood floors, the “invisible layer” is small enough to scratch, but stubborn enough that technique matters more than brute force.
Skipping the vacuum step often turns airborne grit into ground-in haze because sweeping redistributes particles across the finish.
Over-wetting can leave residue and increase the chance moisture reaches seams, where it’s harder to remove and can affect finish durability.
Unapproved cleaners can dull sheen or interfere with finish chemistry, so following the label and finish compatibility is essential.
The common pitfalls
– Skipping vacuuming: sweeping first often spreads fine dust into the finish rather than removing it.
– Over-wetting the floor: too much liquid can lift dust again, leave residue, or seep into seams and edges.
– Using harsh cleaners: products not meant for hardwood finishes (or unapproved degreasers) can dull sheen or interfere with the finish.
– Rubbing too hard: pressure can grind trapped grit into the finish—let the vacuum and microfiber do the work.
Edge cases where you should change the plan
If dust “behaves like residue” (greasy film, sticky footprints, renovation dust that’s smeared), a simple dust routine may only partially improve the surface. In that case, you may need:
– a finish-safe spot treatment, or
– a deeper clean method recommended by your floor’s manufacturer.
Verdict: what to do, and who should skip this
For most finished hardwood floors, the best routine is vacuum (soft head) → dry microfiber capture → barely-damp microfiber final pass with an approved cleaner only if needed. The main downside is that caked residue (not just airborne grit) may require finish-safe spot treatment rather than an across-the-board damp mop.
A low-moisture, microfiber-based approach is typically the safest way to lift fine dust from sealed hardwood without increasing abrasion or finish exposure.
If the floor isn’t clearly sealed/finished, damp cleaning increases the risk of finish failure or wood movement due to moisture exposure.
Persistent dust after cleaning often indicates an ongoing source (airflow, vents, or textiles), so addressing the source can prevent repeat haze.
Skip the damp-mop step and switch to fully dry capture if:
– You’re unsure whether the floor is sealed/finished (older, stripped, or unfinished wood).
– You notice bubbling, gaps, finish failure, or edge lifting—extra moisture can worsen it.
– Dust keeps returning instantly—you may have an ongoing dust source (dry vents, attic leaks, HVAC filters, fabric shedding, or construction debris).
Frequently Asked Questions
What’s the best way to clear fine dust from hardwood floors without scratching?
Use a vacuum with a soft brush or a hardwood floor attachment to pick up fine dust without grinding it into the finish. For stubborn particles, follow with a microfiber mop lightly dampened with water or a hardwood-safe cleaner. Avoid abrasive pads, stiff bristles, or rough cloths that can leave micro-scratches on the surface.
How can I remove dust from hardwood floors between deep cleanings?
Dry microfiber dusting is one of the safest options for daily or frequent maintenance—use a clean, slightly electrostatically charged microfiber pad to trap fine dust. Then do a quick vacuum pass along baseboards and floor edges where dust accumulates. If you notice haze or sticky residue, switch to a lightly damp mop with a hardwood floor cleaner rather than repeatedly using dry dusting.
Why does fine dust make hardwood floors look dull or hazy, and what should I do?
Fine dust can build up in the finish and create a dull, cloudy appearance when it’s repeatedly walked across. Regular vacuuming with a hardwood-safe attachment prevents dust from turning into an abrasive layer. If the haze has already formed, use a microfiber mop with a manufacturer-approved hardwood cleaner to lift residue without stripping or over-wetting the floor.
Which cleaning solution is safest for lifting fine dust from sealed hardwood floors?
Stick to a hardwood floor cleaner labeled safe for sealed floors, or use a simple mix recommended by the floor manufacturer. Lightly dampen a microfiber mop (don’t soak the boards) to lift dust and prevent excess moisture from seeping into seams. Avoid vinegar, harsh degreasers, and “all-purpose” cleaners unless your floor’s finish explicitly allows them, as they can dull or damage the finish over time.
How do I clean fine dust from hardwood floors after sanding, remodeling, or a construction project?
Start with vacuuming using a HEPA-filter vacuum and a soft floor tool to capture the smallest particles. Then do a microfiber dusting pass and repeat vacuuming to prevent dust from being redistributed. For the final stage, use a slightly damp microfiber mop with a hardwood-safe cleaner, working in sections to control residue and leave the finish clean and streak-free.
📅 Last Updated: October 29, 2026 | Topic: How to clear fine dust from hardwood floors? | Content verified for accuracy and freshness.
References
- Wood flooring
- Dust
- HEPA
- Microfiber
- Vacuum cleaner
- Mop
- House dust mite
- https://scholar.google.com/scholar?q=how+to+remove+fine+dust+from+hardwood+floors Google Scholar
- https://scholar.google.com/scholar?q=HEPA+vacuum+hardwood+floor+dust+particles Google Scholar
- https://scholar.google.com/scholar?q=damp+mopping+microfiber+efficacy+floor+dust Google Scholar
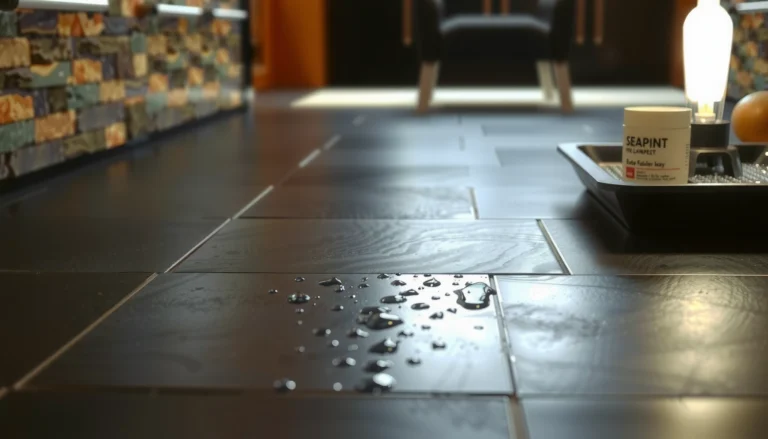
[…] For finished hardwood floors, “more cleaner” often creates “more residue,” which then attracts more dirt. Work in small sections: […]