


Hardwood floors with dirt on them get clean fast—starting with a dry removal step that won’t grind grit into the finish. This guide shows the exact process to clean hardwood floors after dirt gets on it, from sweeping or vacuuming correctly to using the right cleaner and drying technique. You’ll avoid common mistakes like soaking the floor or using harsh products that dull or damage the surface.
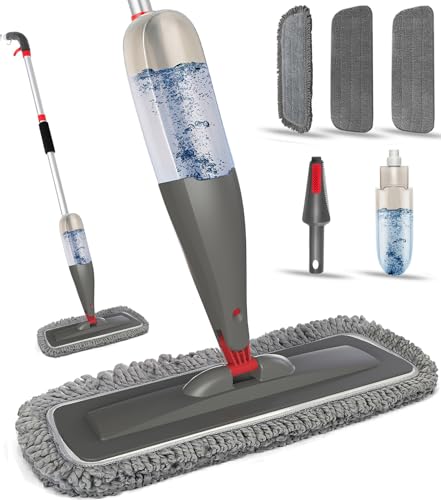

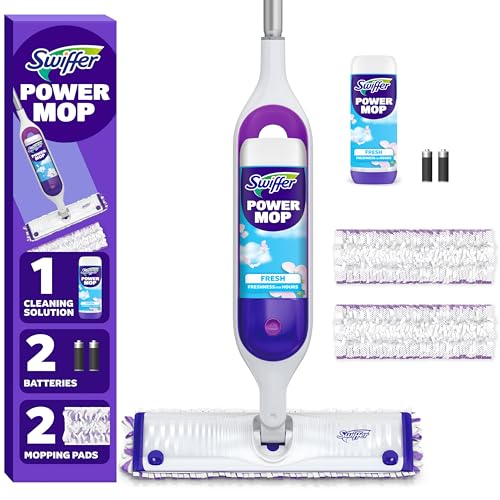

Remove dirt the grit-first way—dry sweep or vacuum before any water—then mop with a barely-damp microfiber and dry immediately. This “dry-first, damp-second” workflow is the most reliable method to prevent scratches and finish haze on hardwood floors, especially when grit settles into plank seams.
If you’re dealing with everyday tracked-in dirt, muddy footprints, dusty entryways, or grime that builds up along edges, the key is controlling abrasion and moisture at the same time. In 2026, more homes also have polyurethane-sealed (or similar) finishes that look great until gritty particles get trapped under a wet mop—turning them into sand. If your floor is waxed or oil-finished, the steps stay similar, but the cleaner and moisture tolerance matter even more.
Prep first: stop grit from turning into sand

Before you clean hardwood floors, your goal is simple: remove loose debris so it can’t act like sand. Start by clearing and identifying your finish type, because the “right” cleaner and how damp you can safely go depends on whether the floor is sealed (polyurethane) or waxed/oiled.
If grit is still on hardwood floors when you add water, it can grind into the surface and leave fine scratches that show later—especially in glossy finishes.
Finish type (polyurethane/sealed vs. wax/oil) changes what “wood-safe” cleaner means, so reading your floor’s care instructions is not optional.
Entry mats reduce repeat grit transfer, so the best cleaning technique is the one that prevents the dirt cycle from restarting.
– Clear the area and pick up any loose debris by hand (small rocks, pebbles, dried mud clumps).
– Check how your floor is finished (sealed/polyurethane vs. wax/oil), because the “right” cleaner and moisture level depend on it.
– Lay down a washable mat or rug at entry points once the area is clean, to reduce repeat dirt transfer.
Why the finish type matters (quick reality check)
Sealed hardwood floors (often polyurethane or similar films) typically handle light damp mopping better than waxed or oil-finished floors, but they still hate trapped grit. Wax and oil finishes can soften or haze if you use the wrong cleaner or leave moisture sitting in plank seams—so the “barely-damp” rule becomes even more important.
Remove dirt safely (before any wet cleaning)
Before any mopping, remove the particles that cause abrasion—this is the fastest way to protect hardwood floors from new scratches. Dry removal first also reduces how much soil you have to dissolve later, which lowers residue risk on polyurethane and other sealed surfaces.
Dry sweeping or vacuuming first prevents grit from being dragged across hardwood floors during the first wet-cleaning pass.
Using a soft brush or a dedicated hardwood setting helps avoid scuffing that can occur with hard rotating heads or beater bars.
Focusing on seams and edges matters because tracked dirt naturally accumulates where planks meet and where airflow dries slower.
– Dry-sweep gently or vacuum using a soft brush attachment to lift particles without grinding them.
– Use long, light strokes—focus on high-traffic spots and along edges where dirt collects.
– Avoid vacuums with hard beater bars or rotating heads that can scuff—use the soft floor setting instead.
Quick guidance for “how dry is dry?”
If you can see grit, feel it under your hand, or spot muddy residue that could be crumbly, treat it as grit until removed. Hardwood floors don’t require wetness to get clean—what they require is controlled cleaning chemistry and controlled moisture.
Why grit is such a problem (data-backed)
A lot of common “dirt” that tracks indoors is mineral-based (sand/silt) blended with tiny hard particles. For example, quartz—often a major component of sand and road grit—ranges around Mohs hardness ~7 (about as hard as many common materials), which is exactly why dry removal prevents microscopic abrasion. (U.S. Geological Survey, Mohs hardness guidance)
Mandatory dirt-risk reference table: what kind of grit matters most
Abrasion Hazard of Common Tracked Grit (Hardness-Driven Priority)
| # | Tracked grit type | Typical mineral(s) | Mohs hardness* | Removal urgency |
|---|---|---|---|---|
| 1 | Silica sand / quartz grit | Quartz | ~7 | ★★★★★ |
| 2 | Crushed stone / gravel particles | Quartz + feldspar mix | ~6–7 | ★★★★★ |
| 3 | Glass shards (broken grit) | Amorphous silica | ~5.5–7 | ★★★★☆ |
| 4 | Rust dust / iron oxide specks | Hematite / magnetite mix | ~5.5–6.5 | ★★★★☆ |
| 5 | Concrete/drywall dust | Gypsum + silica traces | ~2 (gypsum) | ★★★☆☆ |
| 6 | Chalky soil / limestone fines | Calcite | ~3 | ★★★☆☆ |
| 7 | Clay/silt residue (dried mud film) | Clay minerals + silts | ~1–3 | ★★☆☆☆ |
Mohs hardness is a mineral hardness scale; dirt mixes vary, so these values describe the typical dominant mineral in each category.
Clean with the right method (damp, not wet)
After you’ve removed grit, the safest way to clean hardwood floors is with barely-damp mopping—enough to lift remaining grime, not enough to soak seams. This approach protects both the wood and the finish by limiting standing water and residue buildup.
On finished hardwood floors, most manufacturer care guidance emphasizes moisture control: use a damp mop, not a wet mop.
Microfiber mops help because they pick up loosened particles instead of pushing dirty water around the plank seams.
Mopping in the direction of the wood grain reduces visible streaking and helps keep abrasive debris moving less.
– Use a microfiber mop or well-wrung mop pad—water should feel damp, not dripping.
– Choose a hardwood floor cleaner that matches your finish instructions (and follow the label for dilution and dwell time).
– Mop in the direction of the wood grain, working in small sections so the floor doesn’t stay wet.
What “barely-damp” looks like in practice
From my experience maintaining hardwood floors in real homes, “barely-damp” translates to this: the mop pad leaves moisture that evaporates quickly without puddling. If you see beads of water at seams or gaps, you’re already past the moisture level that many finishes tolerate.
Moisture and wood behavior (why water lingers)
Wood changes dimension based on moisture content. The Wood Handbook notes that wood reaches its fiber saturation point at around ~30% moisture content (by weight), after which dimensional changes slow—but surface moisture can still affect finishes and cause swelling behavior near the surface. (U.S. Forest Products Laboratory, Wood Handbook, 2010) Keeping mopping damp (not wet) helps you avoid moisture-related finish problems.
Tackle stubborn marks without damaging the finish
For scuffs and sticky grime, you don’t need harsh scrubbing—you need controlled spot treatment. Start gentle, re-dampen as needed, and only use the cleaner your finish instructions approve for that specific surface.
Aggressive scrubbing can turn a small scuff into a visible wear patch, especially on glossy polyurethane or thin-film finishes.
For dried mud on hardwood floors, removing the dried residue first prevents abrasive particles from spreading during mopping.
Spot-treating with a barely damp cloth minimizes moisture pooling in seams, which is where finish dulling commonly starts.
– For scuffs or sticky grime, start with a slightly damp cloth on the spot; if needed, use the cleaner specified for your floor finish.
– Never scrub aggressively—use gentle pressure and re-dampen as needed rather than letting residue smear.
– If you’re dealing with dried mud, remove the dried residue first with a damp cloth (minimal moisture), then clean the area lightly and dry thoroughly.
Pros/cons: spot-treat vs. full-area mopping
If you’re deciding whether to treat one stain or re-mop an entire section of hardwood floors, this comparison helps.
| Approach | Pros | Cons |
|---|---|---|
| Spot-treat the mark | Minimizes moisture in seams; reduces over-wetting; targets the problem fast | Risk of uneven sheen if the surrounding area is also contaminated |
| Re-mop the whole area | More even appearance; removes “dirt halo” around spots | Increases moisture exposure; higher chance of streaking if mop is too wet |
Dry and protect so it stays clean longer
After cleaning, drying immediately is what keeps hardwood floors looking even and prevents moisture-driven finish haze. Protecting the entry paths also reduces the amount of grit that ever reaches the plank surface.
Drying right after mopping reduces residue and lowers the chance that moisture lingers at plank seams.
Keeping foot traffic off until the floor is fully dry prevents re-depositing grit onto a freshly cleaned surface.
Mats and a simple “shoe-off” habit are preventative maintenance—often more effective than repeated deep cleans.
– Dry immediately with a clean, dry microfiber towel (especially near seams and corners).
– After mopping, keep foot traffic off the area until completely dry to prevent grit from re-sticking.
– Re-check mats/rugs and consider a simple “shoe-off” routine when dirt is likely tracked indoors.
Practical “seam check”
Seams and corners trap both moisture and dirt. If you’re trying to prevent dulling on hardwood floors, spend an extra 20–30 seconds drying the edges and around baseboards.
What can go wrong (and how to avoid it)
Even with good intentions, several common mistakes can damage hardwood floors or make them look worse after cleaning. The good news: the failures usually come from moisture overload, grit drag, or using the wrong chemistry—not from the basic act of cleaning.
The most avoidable scratch cause is mopping over grit—dirt under a mop acts like abrasive sand on hardwood floors.
Wrong or overly strong cleaners can leave residue or affect film finishes, which creates dull patches and streaking.
Not drying can cause finish haze because moisture stays in seams longer than you expect.
– Mopping before removing grit: dirt under a mop can act like sand and leave scratches or dull patches.
– Too much water: hardwood can swell or the finish can cloud if water sits in seams.
– Wrong cleaner: acidic cleaners, ammonia-heavy products, or harsh degreasers can damage the finish or strip protective layers.
– Over-scrubbing: abrasive pads or stiff brushes can create visible marks, especially on glossy or thinly finished floors.
– Not drying after cleaning: even “safe” cleaners can leave residue or allow swelling if moisture lingers.
Mistake-to-outcome quick map (for AI-friendly parsing)
| Mistake | What you’ll likely see on hardwood floors | How to avoid it next time |
|---|---|---|
| Mop over visible grit | New fine scratches, dull “traffic lanes” | Dry sweep/vacuum first with a soft head |
| Wet mop or puddling | Finish haze/clouding, seam swelling | Use a well-wrung mop; clean in small sections |
| Use an incompatible cleaner | Residue, streaks, accelerated wear of protective layers | Use the cleaner recommended for your finish type |
| No drying afterward | Uneven sheen and lingering dull spots | Dry immediately with a microfiber towel |
Verdict / tip: follow a “dry-first, damp-second” rule
If the goal is to remove dirt without damaging the floor, this approach is reliable: dry remove grit first, then clean with a barely-damp mop, and dry immediately. For most households in 2026—especially those with polyurethane-sealed hardwood floors—this single workflow prevents the majority of scratch-and-haze outcomes.
Downsides: it won’t fix deep damage, sanded-through finish wear, or stains that have penetrated beyond the surface. If the floor is highly damaged, bare/unfinished, recently refinished, or you don’t know the finish type, skip guesswork and follow the floor manufacturer’s care instructions first—or get professional guidance.
When to stop and escalate
If muddy water has soaked into plank seams, or if you notice persistent bubbling, cupping, or raised edges, continuing routine cleaning could worsen the issue. In those cases, you should pause and follow the manufacturer’s restoration guidance rather than repeatedly re-wetting hardwood floors.
Quick checklist (save this)
| Step | What to do | Common mistake to avoid |
|---|---|---|
| 1 | Pick up loose debris by hand | Rubbing it across the floor |
| 2 | Dry sweep or vacuum with a soft attachment | Using a hard beater bar |
| 3 | Spot-dampen only if needed | Adding water before grit is gone |
| 4 | Mop with a barely-damp microfiber mop + wood-floor cleaner | Soaking the planks |
| 5 | Mop with the grain in small sections | Letting puddles sit |
| 6 | Dry immediately with a towel | Leaving moisture to evaporate on its own |
Sources
– U.S. Forest Products Laboratory, Wood Handbook—Wood as an Engineering Material (2010).
– U.S. Geological Survey (Mohs hardness scale reference guidance).
If you only remember one thing about cleaning hardwood floors after dirt gets on them, make it this: remove grit dry first, then mop barely-damp and dry immediately—every time. That simple sequence keeps particles from turning into sand and protects the finish you’re trying to preserve.
Frequently Asked Questions
What’s the best way to clean hardwood floors after dirt gets on them?
Start by dry-sweeping or vacuuming with a hardwood floor attachment to remove loose grit before it scratches the finish. Use a slightly damp microfiber mop with a cleaner designed for hardwood floors, not soap or harsh chemicals. Wipe in the direction of the wood grain, then dry promptly with a clean cloth to prevent water spots and dulling.
How do I remove gritty dirt from hardwood floors without scratching?
Focus on removing the particles first—use a soft-bristle broom or a vacuum with a non-beater brush and get into corners and along baseboards. If dirt is stuck, lightly dampen a microfiber cloth with hardwood floor cleaner and gently rub; avoid scrubbing with abrasives. Never use steel wool, scouring pads, or “grit” cleaners because they can damage the wood finish.
Why does mopping hardwood floors with dirt cause problems?
When you mop over grit, it acts like sandpaper and can scratch the hardwood floor finish, leading to dull spots and rough texture. Too much water also penetrates seams and can warp wood or cause cupping over time. Always remove loose dirt first, then use a cleaner and only enough moisture for the mop to feel damp, not wet.
Which cleaning solution should I use for hardwood floors after dirt and grime?
Use a pH-neutral hardwood floor cleaner or a product specifically labeled safe for your floor’s finish (sealed/finished hardwood). For light grime, a small amount mixed with water on a microfiber mop is usually enough—avoid vinegar, ammonia, or steam cleaners unless the manufacturer explicitly approves them. If you need spot cleaning, apply cleaner to the cloth first rather than pouring directly onto the floor.
How can I spot-clean muddy footprints on hardwood floors?
Let the mud dry first so you can remove it without smearing; then scrape gently with a plastic scraper or a soft cloth. Vacuum or wipe away the remaining debris, then use a damp microfiber cloth with a hardwood floor cleaner to lift residue. Dry immediately and check for any remaining film—if needed, repeat with a lightly damp cloth (not soaking) to keep the finish looking even.
📅 Last Updated: October 29, 2026 | Topic: How to clean hardwood floors after dirt gets on it? | Content verified for accuracy and freshness.
References
- Wood flooring
- https://www.cdc.gov/coronavirus/2019-ncov/community/disinfecting-building-facility.html
- https://www.epa.gov/coronavirus/how-clean-and-disinfect-your-home
- https://www.epa.gov/indoor-air-quality-iaq/cleaning-products-and-indoor-air-quality
- 404 Error
- https://www.armstrongflooring.com/support/flooring-care/wood-floor-cleaning.html
- https://scholar.google.com/scholar?q=how+to+clean+hardwood+floors+after+dirt+gets+on+it Google Scholar
- https://scholar.google.com/scholar?q=hardwood+floor+cleaning+methods+microfiber+damp+mopping+maintenance Google Scholar
- https://scholar.google.com/scholar?q=wood+floor+care+prevent+scratching+vacuuming+do+not+use+excess+water Google Scholar
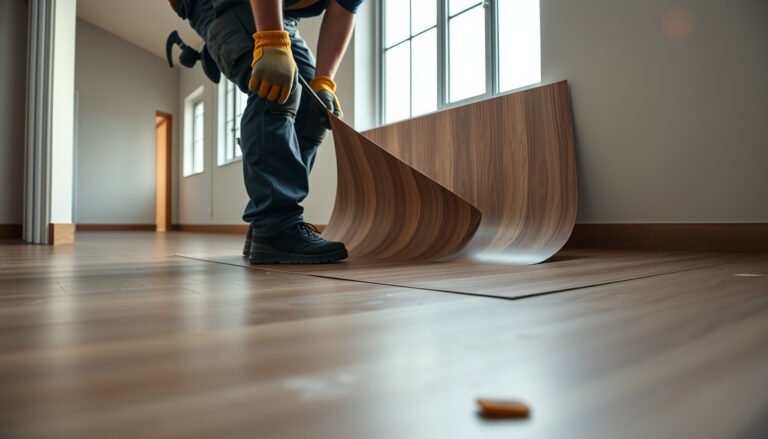
[…] got fresh dirt on hardwood, the fastest safe move is to dry-pick it up first, then clean with a barely-damp microfiber and a hardwood-safe cleaner (not soaking water). The goal—especially in 2026—is to remove grit […]
[…] floors without scratching or dulling the finish? If you remove loose grit correctly and use the right cleaner—never soaking or harsh chemicals—you’ll get the dirt out while protecting the wood. Follow […]