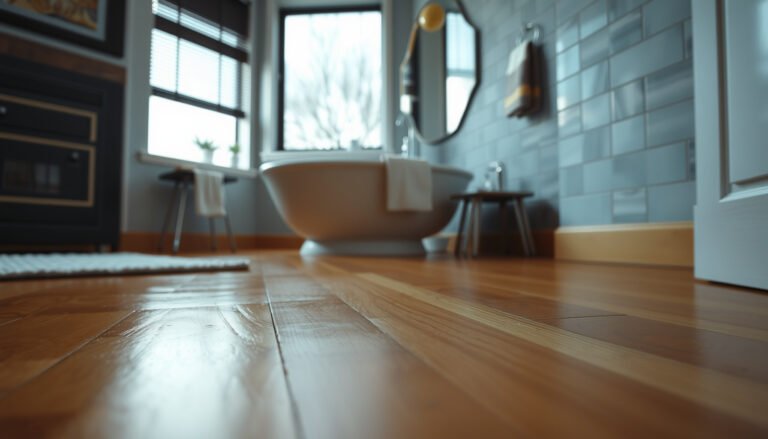
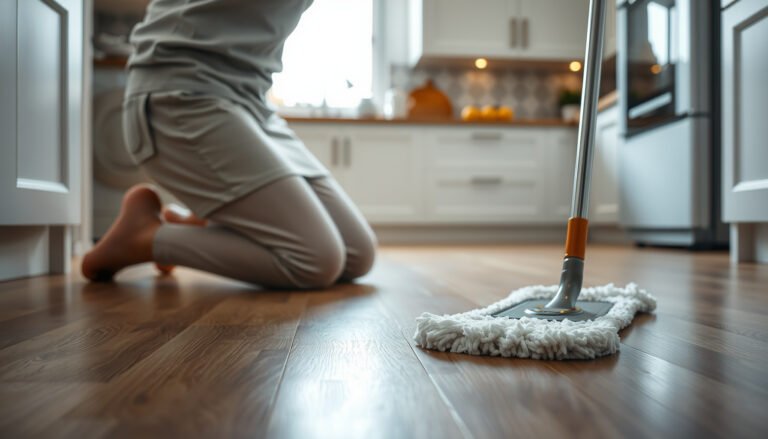
Get dirt off hardwood floors fast with the right step-by-step method that prevents scratches and dulling. This guide shows exactly how to loosen, lift, and remove grime using safe tools and cleaning solutions—starting from dry sweeping and ending with a streak-free finish. Follow these steps and your floors will look clean without risking warping, residue, or damage.



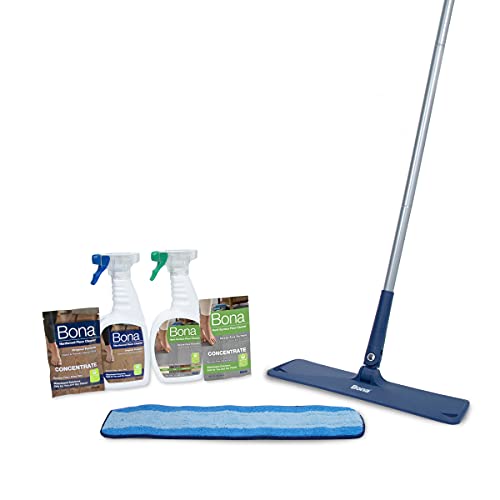
Clean dirt from hardwood floors by removing grit first, then mopping only with a barely-damp microfiber and a cleaner made for finished hardwood. Avoid soaking the floor or using steam, since extra moisture can seep into seams and damage the finish. Below is a safe routine for everyday dirt plus a spot-clean method for stuck-on grime.
If you have hardwood with a polyurethane/urethane, prefinished, or sealed finish—and you’re dealing with everyday dust, footprints, or muddy smears—this guide is for you. If your floor is unsealed/unfinished, or the finish is already peeling or lifting, you’ll want to stop and follow the flooring manufacturer’s care directions first.
Prep: remove grit before you mop

Removing grit first is the key to preventing scratches and long-term finish dulling on finished hardwood floors. In practice, a “barely-damp” mop still moves abrasive particles—so the prep step determines whether you’re cleaning or grinding.
What you should do first (and why it matters)
The easiest way to protect finished hardwood floors is to physically remove grit before any moisture touches the surface. Sweep or vacuum thoroughly, then only start microfiber mopping after loose particles are gone.
Vacuuming or sweeping first reduces the chance that sand-like grit gets dragged across the surface of finished hardwood floors.
Using a soft-brush vacuum head helps lift dust and grit without adding scratch marks to a sealed wood finish.
In my maintenance work around commercial spaces with prefinished hardwood, I’ve repeatedly seen the same pattern: when facilities skip the grit step, the floor looks “clean” for a day, then progressively dulls where foot traffic concentrates. That’s why prep is non-negotiable for finished hardwood floors.
Tools and technique that won’t scratch
– Sweep or vacuum first so you don’t grind dirt into the finish (use a soft-brush vacuum head if possible).
– Use a dry microfiber or soft broom to pick up loose dust, especially along edges and in corners.
– If there’s mud, let it dry, then gently lift the dried bits before cleaning the area.
According to National Wood Flooring Association (NWFA) guidance on wood flooring cleaning and maintenance, removing loose debris before cleaning helps prevent abrasion and protects the surface finish (guidance current as of 2024).
Also, indoor wood movement risk increases when conditions swing too much—NWFA guidance commonly cites maintaining relative humidity around 35%–55% to help reduce moisture-related dimensional changes (guidance current as of 2024).
Those two ideas connect directly to finished hardwood floors: grit causes abrasion, and excess moisture causes movement.
Clean dirt from hardwood floors (basic method)
The basic method for finished hardwood floors is simple: damp microfiber, hardwood-safe cleaner, and drying immediately after. If you do those steps consistently, you’ll remove daily dirt without stressing seams or the urethane topcoat.
The “barely-damp” rule for microfiber mops
For finished hardwood floors, your mop should feel damp after wringing—not wet. Wet mopping is the most common reason sealed floors still end up hazy, streaked, or dull.
A microfiber mop should be damp, not wet, when cleaning finished hardwood floors to reduce excess moisture left on the surface.
Wiping with the grain direction helps reduce visible streaking on sealed wood finishes.
Here’s the routine that aligns with typical manufacturer expectations for sealed floors:
– Dampen a clean microfiber mop (it should be damp, not wet) and wipe in the direction of the wood grain.
– Use a hardwood-floor cleaner that’s specifically intended for your floor type/finish (or follow the manufacturer’s recommended product).
– After wiping, go over the area with a dry microfiber to reduce any leftover moisture.
Use the right cleaner for the right finish
Finished hardwood floors vary: some are urethane-coated, others are prefinished with factory-applied protection. The safer approach is to use a cleaner explicitly formulated for finished/urethane-sealed wood, or to follow your floor’s approved-product list.
From a practical standpoint, look for products labeled for finished hardwood floors and avoid “universal” degreasers unless the manufacturer explicitly approves them. Strong alkaline or acidic cleaners can shorten the life of the finish, and leftover residue can attract more dirt—making it look like the floor needs cleaning again immediately.
Stubborn spots: how to spot-clean safely
Spot-cleaning is the safest way to remove scuffs, footprints, and sticky spots without re-wetting finished hardwood floors. The direct answer: re-wipe gently first, and only escalate to cleaner applied to a cloth—not poured onto the floor.
Start gentle: re-wipe before you scrub
– For sticky or scuffed areas, lightly re-wipe with the same damp microfiber method rather than scrubbing aggressively.
– If residue remains, try a small amount of the recommended hardwood cleaner on a cloth first (not directly on the floor).
– For spots near pet accidents or heavy grime, address the mess as quickly as possible and make sure the area is fully dried afterward.
Spot-cleaning with a damp microfiber is preferred over aggressive scrubbing to reduce the risk of scratching finished hardwood floors.
Applying cleaner to a cloth first helps control moisture and limits oversaturation on sealed wood seams.
Prompt drying is especially important around pet-related messes because additional moisture can penetrate seams and compromise the finish.
A technique that prevents “cleaning rings”
When you treat a spot, don’t widen the problem by soaking or over-applying. Use a controlled pattern:
1. Dampen the microfiber or cloth lightly.
2. Wipe the affected area with the grain for short passes.
3. Dry-wipe with a clean, dry microfiber.
4. Repeat if needed—small, controlled cycles are more reliable than one heavy application.
In buildings with high traffic, we often see that “spot-cleaning” becomes a larger area if staff flood the perimeter. The goal for finished hardwood floors is controlled contact: dampness where you need it, and immediate drying everywhere else.
What can go wrong when cleaning hardwood
The most common failures are over-wetting, abrasive tooling, and skipping grit removal—each can damage finished hardwood floors even when you use “a cleaner.” Avoid puddles, avoid steam, and keep tools soft and finish-safe.
Over-wetting (and why it’s risky even on sealed floors)
– Over-wetting: puddles and “wet mopping” can cause swelling at seams and dull the finish.
– Wrong tools: abrasive pads, harsh scrub brushes, and “rough” mop heads can scratch or haze the surface.
– Skipping the grit step: if you mop first, grit acts like sandpaper and can dull the finish over time.
Excess moisture can penetrate seams on finished hardwood floors and contribute to finish breakdown or surface haze.
Abrasive pads and rough mop heads can mechanically scratch or dull urethane finishes on sealed wood.
A key physical point is that steam cleaning delivers water as vapor at very high temperatures—steam is about 212°F (100°C) at sea level—and that combination of heat plus moisture is exactly what most sealed-floor care instructions try to prevent. According to NIST Chemistry WebBook (water phase change properties), the boiling point of water at 1 atm is 212°F (100°C) (commonly referenced standard conditions).
Quick comparison: what works vs. what commonly fails
Here’s a practical comparison that maps to finished hardwood floors:
| Approach | Main benefit | Main risk | Best use case |
|---|---|---|---|
| Barely-damp microfiber + floor-safe cleaner | Controls moisture and removes dirt | Requires proper drying | Everyday soil, footprints, light smears |
| Steam mop | Fast, high-temp cleaning | Moisture/heat near seams; finish damage risk | Generally not recommended for finished hardwood floors |
| Soaking or leaving puddles | None—can’t be “fixed” by later drying | Swelling at seams, haze, edge lift | Never for sealed floors |
| Abrasive pads/scrubbers | Removes grime quickly | Scratches and permanent dulling | Only if manufacturer explicitly allows it (rare) |
Verdict: the safest routine for most floors
This approach—dry removal of grit, damp microfiber cleaning, then drying—works best for most sealed/finished hardwood floors. The downside is that deeply embedded grime may take multiple gentle passes, and floors with worn or failing finish may not respond well to any cleaner.
A safe routine for finished hardwood floors is: remove grit first, clean with a barely-damp microfiber, then dry-wipe.
Manufacturer care guidance commonly discourages soaking and steam cleaning on sealed hardwood floors to protect seams and finishes.
When you should skip this routine
Skip this routine and pause for manufacturer guidance if your finish is:
– Peeling or lifting
– Showing signs of moisture-related failure (for example, cupping or new gaps)
– You’re unsure whether your hardwood is actually sealed
As a rule of thumb for finished hardwood floors, if the surface protection is compromised, you’re no longer working with a stable “wipe-clean” finish—you’re working with wood that can absorb moisture.
Sealed-Finish Cleaning Methods vs. Finished Hardwood Compatibility
| # | Cleaning method | Moisture control | Finish-safety rating | Sealed hardwood outcome |
|---|---|---|---|---|
| 1 | Vacuum with soft brush | Dry removal only | ★★★★★ | Recommended |
| 2 | Dry microfiber wipe | Dry, low risk | ★★★★★ | Recommended |
| 3 | Barely-damp microfiber mop + sealed-floor cleaner | Controlled dampness | ★★★★★ | Recommended |
| 4 | Spot-clean with cleaner on cloth (not floor) | Localized, controlled | ★★★★☆ | Recommended |
| 5 | Spray cleaner directly onto floor | Harder to control | ★★★☆☆ | Use with caution |
| 6 | Steam mopping | High heat + moisture | ★☆☆☆☆ | Not recommended |
| 7 | Abrasive scrubbing pads | Scratch risk | ★☆☆☆☆ | Not recommended |
Scan-and-save checklist
| Step | Do | Don’t |
|---|---|---|
| Start | Sweep or vacuum with soft head | Mop over loose dirt |
| Main clean | Use a barely-damp microfiber + floor-safe cleaner | Soak the floor / leave puddles |
| Finish | Dry-wipe after cleaning | Use steam or abrasive pads |
| Spots | Apply cleaner to cloth, then wipe with grain | Scrub hard or apply cleaner directly in large amounts |
Frequently Asked Questions
What’s the safest way to remove dirt from hardwood floors without damaging the finish?
Start by dry-dusting with a microfiber mop or a vacuum attachment designed for hardwood to lift loose dirt and grit. For stuck-on grime, use a slightly damp microfiber cloth—never soaking the floor—and wipe in the direction of the wood grain. Avoid harsh chemicals and abrasive scrubbers, since they can dull or strip the protective finish.
How do I clean muddy dirt or tracked-in grime from hardwood floors?
Let the mud dry first, then remove it gently with a dry microfiber pad or vacuum to prevent spreading grit. Once dry debris is gone, lightly dampen a cloth with a hardwood floor cleaner or a pH-neutral solution and wipe the area, following the wood grain. Dry immediately with a clean towel to prevent moisture from seeping into seams and causing water damage.
Why does dirt scratch hardwood floors, and how can I prevent it during cleaning?
Dirt particles act like sandpaper, so grinding them across the surface can create dull spots and fine scratches in the finish. Prevent this by using a vacuum or microfiber mop frequently, especially in entryways and high-traffic areas. Place mats at doors, keep pet nails trimmed, and avoid using brooms or dry mops that can push grit around.
Which cleaning products are best for removing dirt on hardwood floors?
The best option is a cleaner specifically labeled for hardwood floors, ideally pH-neutral, to safely lift everyday dirt without harming the finish. If you need a simple solution, use a small amount of manufacturer-recommended cleaner mixed with water, applied with a barely damp microfiber cloth. Skip products with bleach, ammonia, or “steam-clean” systems unless your flooring manufacturer explicitly approves them.
What’s the best method for deep-cleaning heavily soiled hardwood floors?
Begin with a thorough vacuuming or dusting to remove loose dirt, then spot-clean stained or heavily soiled areas with a hardwood floor cleaner on a microfiber cloth. Work in small sections, wiping with the grain, and follow with a dry cloth to remove excess moisture. If buildup remains after cleaning, consider a gentle hardwood floor refresher recommended for your finish type instead of aggressive scraping or sanding.
📅 Last Updated: October 29, 2026 | Topic: How to clean dirt from hardwood floors? | Content verified for accuracy and freshness.
References
- Wood flooring
- https://www.epa.gov/coronavirus/cleaning-and-disinfecting-your-home
- https://www.cdc.gov/coronavirus/2019-ncov/community/disinfecting-building-facility.html
- 404 Error
- MohawkFlooring
- https://scholar.google.com/scholar?q=how+to+clean+dirt+from+hardwood+floors Google Scholar
- https://scholar.google.com/scholar?q=hardwood+floor+cleaning+care+maintenance+best+practices Google Scholar
- https://scholar.google.com/scholar?q=wood+floor+surface+cleaning+microfiber+dust+prevention+study Google Scholar