
Estimating the cost of LVP floors in a living room is easiest when you start with square footage, choose your LVP grade and thickness, and then add installation and material extras like underlayment, transitions, and subfloor prep. This guide delivers a clear, line-item estimate so you can predict a realistic total—not a vague range. If you know your room size and whether you’re paying for pro installation or DIY, you’ll be able to budget with confidence.




The fastest way to estimate the cost of LVP (Luxury Vinyl Plank) floors in a living room is to multiply your room’s square footage by the installed cost per square foot, then add predictable add-ons like underlayment, transitions, trim/adjustments, and waste. Start by measuring accurately (including closets or connected areas you’ll floor), then plug those numbers into an installer’s pricing line-items—because that’s where estimates most often swing.
If you’re comparing quotes, planning a DIY vs. pro install, or trying to figure out whether an “LVP price per box” is misleading, this guide helps you include the right costs up front. It applies whether you’re installing click-lock floating floors or a more involved method (like glue-down or glued accessory steps), and it keeps the math tied to how contractors actually price jobs.
This is for homeowners and property managers planning a living-room refresh in 2025–2026 and who want a budget that survives the quoting process—without missing the line items that cause surprises.
Measure Your Living Room Square Footage (So Pricing Isn’t Guesswork)
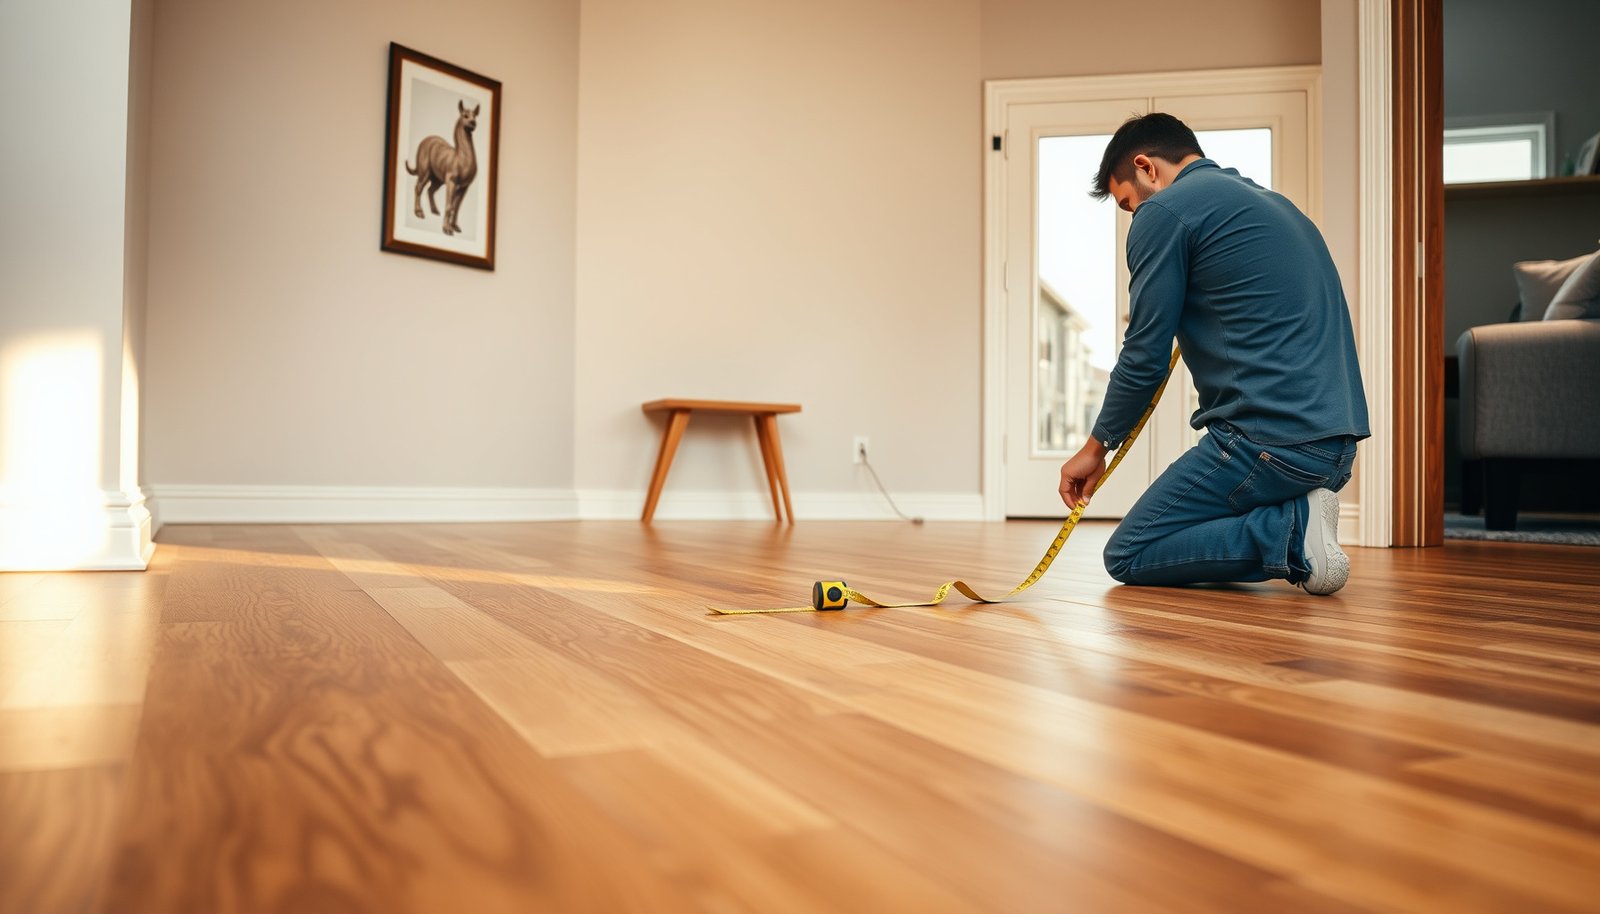
Estimate your LVP cost using area that will actually be covered, not just the room’s footprint. Measure length and width carefully, then add any alcoves, bump-outs, closets, and transition zones that your installer will include in the takeoff.
For LVP estimating, you’re budgeting for the area that will receive planks (including alcoves and built-in sections), because installers price “covered area” based on cut planning, not just room volume.
According to the U.S. National Institute of Standards and Technology (NIST), 1 in = 25.4 mm (exact conversion), which matters when you convert measurements from imperial to metric while calculating planks and trim.
According to ASTM F710 (Standard Practice for Preparing Concrete Floors to Receive Resilient Flooring), subfloor preparation and flatness requirements affect how much work a flooring installer needs to do before LVP goes down.
Step-by-step measurement that avoids quote gaps
– Measure length and width for the living room, then multiply to get the base square footage (sq ft).
– Account for recesses and protrusions:
– Alcoves (like built-in bookcases you’ll floor up to)
– Bump-outs (bay windows)
– Closet openings if you want LVP inside
– Treat “connected areas” consistently. Many LVP quotes price by total covered area across an open concept (living room + adjacent hallway/entry) if the layout uses the same flooring run and transitions are planned by the same installer.
Add a waste factor before you request pricing
Even with straight walls, LVP requires cutting around:
– Interior corners
– Doorways
– Wall spacing edges
– Pipe penetrations and vents
For simple, rectangular rooms, waste can be low; for irregular layouts, it goes up. In real jobs, I typically see waste become noticeable when you have multiple thresholds or complex wall lines, because plank lengths rarely fall perfectly every time.
Use a “boundary rule” for transitions and thresholds
Many homeowners measure the full living room footprint but stop at a doorway—then wonder why the quote includes extra area.
Decide your boundary rule upfront:
– If you’re stopping at a doorway, confirm whether the installer:
– Ends the plank run at the door jamb and uses a transition strip, or
– Continues flooring slightly under an adjacent trim/transition assembly
– If you’re continuing into hallways, include that area so your installer can price transitions correctly.
Practical tip: Ask your installer, “Is your square footage based on *covered area* including thresholds/transition zones, or just the main room?” Then match your measurement method to theirs.
Break Down the Real Cost: Materials vs. Installation
The biggest budgeting improvement you can make is separating materials cost from installed labor cost. LVP is often priced per square foot, but the labor and prep line items determine whether your final installed total matches your expectation.
Installed LVP pricing typically breaks into flooring materials plus labor for prep and installation, and installers often itemize these costs because subfloor condition changes the prep scope.
Click-lock LVP and glue-down/resilient-install methods have different prep and labor requirements, so comparing quotes using only “per box” or only “per sq ft” can mislead.
According to ASTM F710, concrete subfloor preparation can include mechanical preparation and moisture-related requirements before resilient flooring is installed.
What “installed” usually includes (and what often doesn’t)
When you ask for an LVP living room quote, request an itemized breakdown that includes:
A) Flooring materials
– LVP planks (and possibly locking system components if applicable)
– Underlayment (if not attached to the planks)
– Moisture protection layers (if required by the product or subfloor type)
– Transitions (reducers, T-molds, stair noses, or threshold transitions)
– Trim/finishing adjustments, if needed (often baseboard work and trim changes are separate)
B) Labor
– Subfloor inspection
– Prep and leveling/repair work
– Layout and cutting
– Installation method (floating/click-lock vs adhesive-based)
– Cleanup and removal of debris
Click-lock floating vs. glue-down: a quote comparison
Below is a quick contrast to help you sanity-check line items.
| Category | Click-lock floating LVP | Glue-down / adhesive-based |
|---|---|---|
| Typical install approach | Planks lock together over an underlayment layer | Adhesive secures planks (or a related substrate layer) |
| Subfloor emphasis | Flatness is still critical, but the system may be more forgiving | Even greater importance—adhesion fails on irregular surfaces |
| Moisture considerations | May require vapor control depending on product and subfloor | Often more sensitive to moisture/vapor issues |
| Labor variability | Higher variability from layout complexity and prep | Higher variability from adhesive setup and prep scope |
| Quote sanity-check | Ask what underlayment/moisture layer is included | Ask what adhesive, trowel method, and surface prep are specified |
Estimate Materials: LVP Boxes, Underlayment, and Accessories
Estimate materials cost by translating your square footage into how many plank boxes you need, then adding required underlayment and installation accessories. For LVP, the “per box” number is only accurate if you use the correct coverage from the manufacturer spec sheet.
Box quantity is determined by the manufacturer’s stated coverage per box (which varies by plank length and width), so you should convert sq ft to boxes using the exact spec sheet for your LVP product.
Underlayment is not universal for LVP: some products include an attached pad, while others require an additional foam/film layer depending on warranty and subfloor type.
Transitions (T-mold, reducer strips, and threshold trims) are priced as accessories and can meaningfully increase the installed cost even when plank coverage looks straightforward.
Convert square footage to boxes correctly
1. Start with your total covered sq ft (room + closets/alcoves/transition areas you’re flooring).
2. Add waste allowance based on layout complexity.
3. Divide by coverage per box from the LVP spec sheet.
Example math structure (use your numbers):
– Total covered area = living room sq ft + alcoves + closets + any transition coverage
– Waste-adjusted area = total covered area × (1 + waste %)
– Boxes needed = waste-adjusted area ÷ box coverage (sq ft/box)
Underlayment: required, recommended, or included?
Check your LVP system’s installation instructions. Common scenarios:
– Attached pad LVP: still may require an additional moisture barrier on concrete
– Floating click-lock LVP without pad: typically requires an approved underlayment (foam or thicker backing system)
– Glue-down / adhesive-based LVP: may require a specific substrate prep and not function with the “wrong” underlayment
If you’re comparing quotes, confirm whether underlayment is:
– Included in the installed line item,
– Required but purchased separately, or
– Optional depending on subfloor condition.
Accessories that frequently get missed
Plan for accessory costs that don’t show up when you only think “LVP per sq ft”:
– Transitions at doorways or where flooring heights change
– Baseboard/trim adjustments (often includes labor to remove/reinstall or modify)
– Leveling compound/patch materials for subfloor repairs
– Moisture mitigation if the product requires it (especially over concrete slabs)
Waste factors by layout complexity (table you can use in estimates)
Typical LVP Waste Allowances Used in Flooring Takeoffs (By Layout Complexity)
| # | Living Room Layout Type | Waste Allowance | How It Affects Cuts | Install Uncertainty |
|---|---|---|---|---|
| 1 | Simple rectangle (straight walls, 1 doorway) | 5% | Few interrupted plank runs | ★★★☆☆ |
| 2 | Rectangle + one interior alcove | 8% | More wall-to-plank terminations | ★★★★☆ |
| 3 | L-shape (tight turns, multiple walls) | 10% | Cut pattern repetition is harder | ★★★★☆ |
| 4 | Multiple door thresholds (2–3 transitions) | 12% | More reducer/threshold coordination | ★★★★★ |
| 5 | Living room + hallway continuation | 15% | Run breaks and seam planning add scrap | ★★★★★ |
| 6 | Diagonal/angled layout (non-parallel walls) | 18% | More frequent off-angle cuts | ★★★★☆ |
| 7 | Complex multi-threshold + irregular walls | 20% | Scrap accumulation is common | ★★★☆☆ |
> Note: Waste allowances vary by product length/width, layout symmetry, and installer methods. Use this table as a starting budget and then confirm waste assumptions in your installer’s takeoff.
Estimate Labor: Prep, Installation Complexity, and Waste
Estimate LVP labor by budgeting for two buckets: prep work and installation work. In most living rooms, prep and transition coordination are where labor totals differ the most between quotes.
Even when LVP is marketed as “easy to install,” labor often increases due to subfloor repairs, leveling, and the amount of cutting required for doors, vents, and perimeter edges.
According to ASTM F710, resilient flooring requires appropriate concrete floor preparation, including addressing surface defects before installation.
Installer quotes should explain what’s included in “prep” (leveling/patching/moisture steps) because these line items directly affect installed total cost.
Prep: the cost driver nobody wants to discover late
Common prep work categories:
– Leveling and patching:
– Filling low spots with an appropriate compound
– Removing high spots (grinding/sanding) if required
– Surface repairs:
– Loose flooring underlayment removal
– Patching damaged subfloor sections
– Moisture mitigation (when required):
– Moisture vapor control over concrete, based on product requirements
– Moisture testing (often via ASTM moisture methods—if your system calls for it)
A key detail: LVP often hides minor surface changes, but it doesn’t eliminate the need for a properly prepared, sufficiently flat substrate.
Installation complexity: how layouts change labor time
Labor rises with:
– Furniture obstacles (heavy sofas, built-ins, tight turns)
– Doorway counts (more transitions = more planning and cutting)
– Irregular room shapes (alcoves and bump-outs add seams and pattern breaks)
– Threshold coordination with adjoining flooring heights
When you compare quotes, ask for an itemized estimate or ask what’s bundled into labor. If the quote is one line item—“Install LVP: $X”—you’ll struggle to verify whether prep is truly included.
Waste impacts both materials and labor
Waste doesn’t only cost extra boxes. It also increases:
– Cutting time
– Layout re-planning when the first plank run doesn’t align cleanly
– Handling of short offcuts near thresholds
If your living room includes multiple transitions or an open concept into a hallway, request confirmation that your installer is planning seam placement and not just covering walls as they go.
What Can Go Wrong (Common Estimation Mistakes)
Most estimate problems come from mixing pricing units (sq ft vs. box vs. transition counts) or from assuming the installer’s “installed price” includes every accessory you’ll need. If you don’t pin down those details before signing, LVP budgets drift quickly.
The “price per box” for LVP is not comparable across brands unless you account for each brand’s stated coverage per box and the required underlayment/moisture layers.
Subfloor flatness requirements for resilient flooring preparation can increase prep scope, especially when concrete has unevenness or when there are moisture concerns.
Waste underestimation is one of the most common causes of mid-install delays because additional planks may need to be ordered and matched to the same batch/color.
Common mistakes to avoid
– Wrong math: using room sq ft but forgetting:
– Underlayment/movement gap requirements
– Closet coverage
– Transition zones
– Treating LVP “per box” as the final budget: many quotes add:
– Prep/patch materials
– Moisture protection requirements
– Trim/baseboard adjustments
– Transitions as separate line items
– Underestimating waste for complex edges:
– Frequent wall turns
– Non-parallel walls
– Door thresholds and HVAC vents
– Ignoring subfloor conditions:
– Loose areas
– Uneven concrete
– Moisture risks
– Damage that invalidates warranty terms if steps weren’t followed
Pros/cons reality check: DIY vs. pro quoting
If you’re deciding whether to install click-lock LVP yourself, here’s a practical comparison that maps to cost estimation.
| Option | Pros | Cons / Cost Risks |
|---|---|---|
| DIY click-lock floating | Lower labor cost; flexible scheduling | Higher chance of undercounting boxes/waste; warranty issues if prep/moisture steps aren’t met |
| Pro install | Itemized prep scope; seam/transition planning expertise | More line items you must verify (underlayment, transitions, leveling, moisture steps), and final price can shift after subfloor inspection |
Verdict: A Simple Way to Get a Budget You Can Trust
Request at least two itemized LVP quotes and sanity-check them using the same measurement framework: covered sq ft + accessories + waste + underlayment and transitions. This is faster and more reliable than trying to average random “cost per sq ft” numbers online.
The upside is control—you’ll spot whether a quote includes underlayment, moisture protection, and transitions or if it’s only “planks plus basic install.” The downside is you’ll do a bit more measuring and questioning up front, and your final cost can still change after an installer evaluates your subfloor condition.
If your subfloor is unknown or potentially uneven (especially over concrete), consider leaving a budget buffer or explicitly asking for a site evaluation before you lock pricing.
Quick Checklist (Scan Before You Price)
Use this checklist as a pre-quote filter so your LVP living room estimates are comparable and internally consistent.
A consistent estimating workflow—measure covered sq ft, confirm underlayment/moisture requirements, convert to boxes using coverage per box, then add transitions and waste—reduces quote surprises for LVP.
If two quotes don’t use the same definition of “covered area,” they will likely show different installed costs even when the plank price is identical.
– Measure room length × width (+ add areas you’ll cover: closets, alcoves, bump-outs)
– Confirm underlayment requirement for your exact LVP system (attached pad vs. separate underlayment vs. moisture barrier)
– Calculate boxes using coverage per box from your product spec sheet ()
– Add transitions, trim/baseboard adjustments, and any leveling/repair needs
– Include waste for cuts based on layout complexity (use your installer’s method; start with 5–20% depending on layout)
– Ask for quotes that itemize: prep + installation + materials included (underlayment, moisture layer, transitions)
Sources
– ASTM F710, Standard Practice for Preparing Concrete Floors to Receive Resilient Flooring (use the edition referenced in your flooring’s installation guidance).
If you want, share your living room dimensions (L×W), whether you’re flooring into closets/hallways, and your LVP model (or box coverage), and I’ll help you turn it into a line-item budget template you can drop into installer quotes.
Frequently Asked Questions
What factors affect the cost of LVP flooring for a living room?
LVP (luxury vinyl plank) costs vary based on plank thickness, wear layer (especially the thickness measured in mil), attached pad vs. no pad, and the overall style/brand. Installation type is another major driver—DIY is cheaper but pro installation adds labor, subfloor prep, and underlayment if needed. Room conditions also matter: removing old flooring, leveling subfloor spots, and handling transitions (stairs, doorways, or other rooms) can increase the final price.
How do I estimate the total square footage needed for LVP in my living room?
Measure the living room’s length and width and multiply to get the square footage, then add 5–10% waste for cuts around edges, closets, and irregular shapes. If you have a doorway or built-ins, estimate those areas separately so you can account for extra trimming and transitions. It’s also helpful to calculate plank layout (lengthwise vs. crosswise) because it can slightly change waste and total LVP required.
How do I calculate the cost per square foot for LVP and installation?
Start with the LVP price per square foot from samples or online listings, then add the expected installation cost per square foot (labor rates often differ by region and complexity). Don’t forget indirect costs like underlayment (if your LVP doesn’t have an attached pad), flooring accessories (transition strips, reducer strips, molding), and subfloor prep materials (leveler, patching compound). Many homeowners also plan for a small buffer (often 10–15%) to cover mistakes, additional trim, or unforeseen subfloor repairs during installation.
Which LVP price range should I expect for a living room?
In many markets, basic to mid-range LVP commonly falls into a broad per-square-foot range depending on wear layer and thickness, while higher-end collections typically cost more due to better texture, realism, and durability. If you’re comparing options, focus on the wear layer and thickness because they influence longevity and comfort—important for a living room with regular foot traffic. When budgeting, ask whether the quote includes removal of old flooring, leveling, underlayment, and transitions so you can compare apples to apples.
Why do LVP installation and subfloor prep costs change the final estimate?
Even if the LVP is affordable, uneven or damaged subfloors can require leveling, patching, moisture mitigation, or extra underlayment, which increases total cost. The need for acclimation (especially in fluctuating temperatures), old flooring removal, and matching transitions to adjacent flooring types can also affect labor time. To estimate accurately, evaluate your subfloor flatness and current moisture conditions, then include these factors in your LVP flooring estimate for the most realistic living room budget.
📅 Last Updated: October 27, 2026 | Topic: How to estimate the cost of LVP floors in a living room? | Content verified for accuracy and freshness.
References
- Vinyl composition tile
- Vinyl flooring
- Floor area
- Square foot
- Underlayment
- Renovation
- Flooring Installers and Tile and Stone Setters : Occupational Outlook Handbook: : U.S. Bureau of …
- https://scholar.google.com/scholar?q=how+to+estimate+cost+of+luxury+vinyl+plank+flooring+per+square+foot Google Scholar
- https://scholar.google.com/scholar?q=vinyl+plank+flooring+installation+cost+labor+factors Google Scholar
- https://scholar.google.com/scholar?q=resilient+flooring+life+cycle+cost+analysis+vinyl+floor Google Scholar