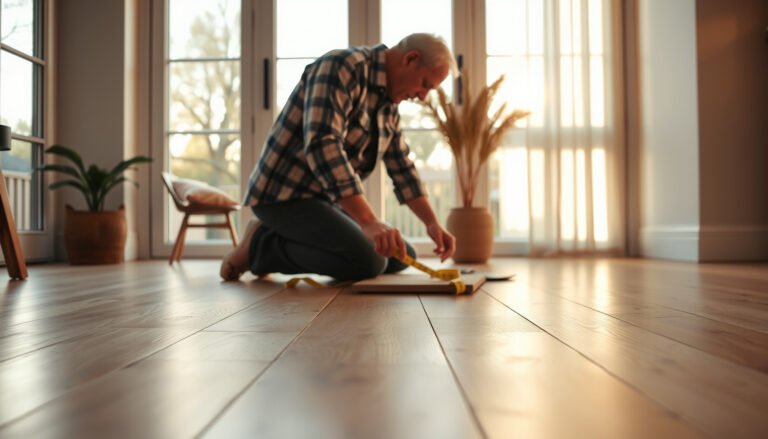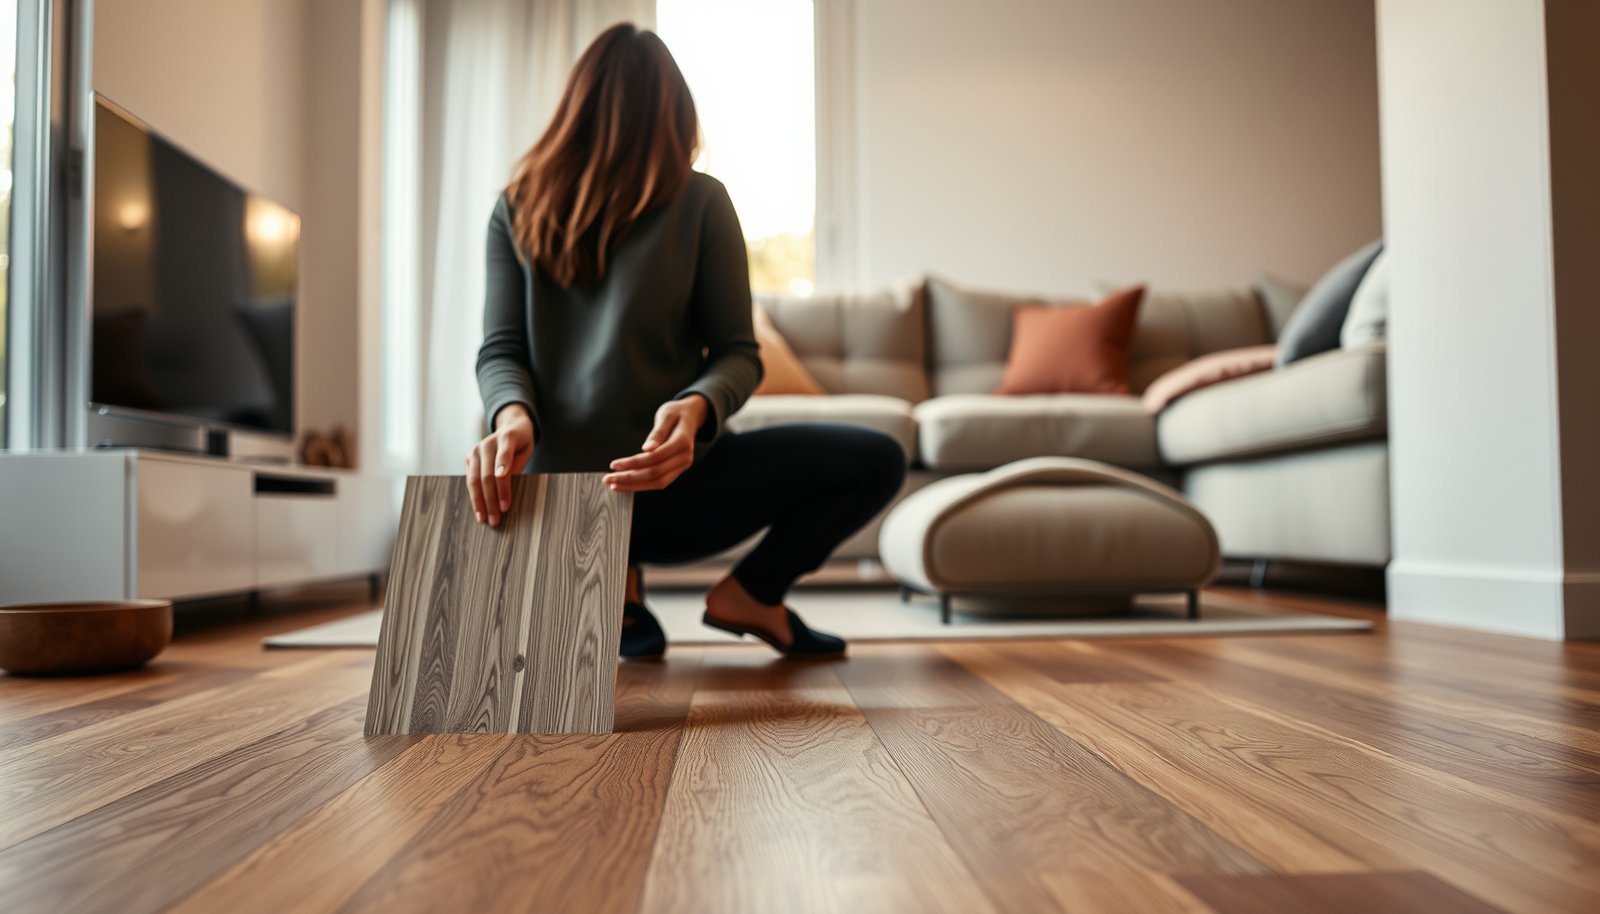

Choose LVP floors for your living room by focusing on one thing first: which plank thickness, wear layer, and installation method match your household’s traffic. If you want the safest bet for most living rooms—pets, frequent foot traffic, and a need for easy maintenance—prioritize thicker planks (around 4–6 mm), a higher wear layer (ideally 12 mil+), and a click-lock floating installation. Get those right and you’ll avoid the squeaks, dents, and fading that turn “affordable” LVP into a redo.




Choose LVP floors for a living room by matching the right wear layer/core type to your actual traffic level, then confirming moisture protection and an installation method your subfloor can support. This guide breaks down the specifications that matter most, what to verify in the manufacturer instructions, and the common setup mistakes that lead to gapping or warranty denials.
If your living room gets heavy foot traffic, pets, or lots of sunlight, the “pretty floor” options can still fall short on durability or real-world water handling. This is for homeowners (and DIYers) comparing LVP styles and trying to avoid ending up with a floor that looks good on day one but struggles later.
Start with how your living room is used
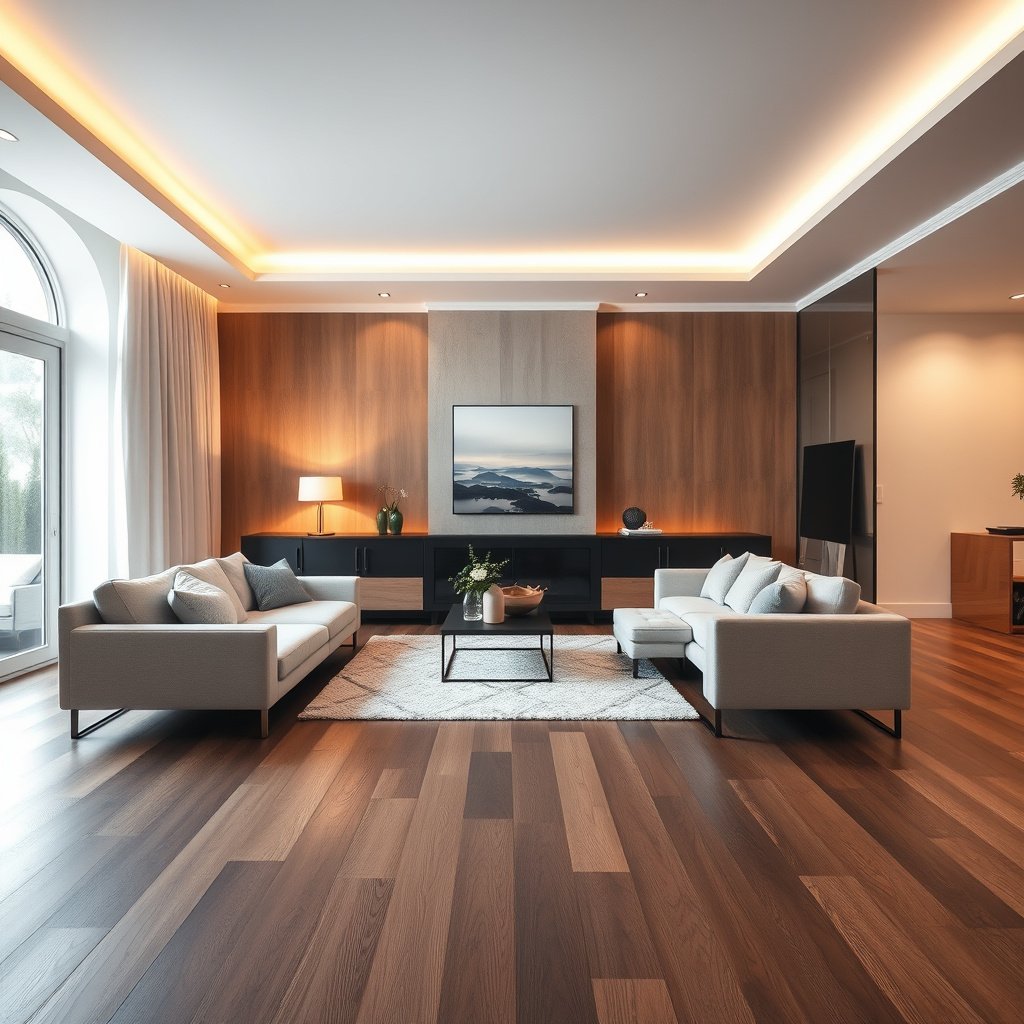
Your living room’s day-to-day demands should drive your LVP selection, not the product photos or broad marketing claims. The fastest way to avoid disappointment is to translate how the room behaves (traffic, pets, light, temperature) into measurable requirements like wear-layer performance, core stability, and expansion spacing.
– Estimate traffic level (everyday wear vs. frequent guests) and whether you have pets or kids
– Note sunlight exposure and temperature swings near windows/doors, since these can affect appearance and expansion needs
– Decide your preferred look (plank width, texture, matte vs. low-sheen) so you don’t sacrifice performance for style
For resilient flooring, the industry’s recommended starting point is that the subfloor must be sufficiently flat so the installed surface doesn’t “telegraph” bumps to the LVP.
UV exposure can increase fading risk on many vinyl surfaces, so the living room’s sunlight pattern matters even when the floor is described as waterproof.
Floating LVP expands and contracts with temperature changes, which is why expansion gaps around walls and fixed objects are part of proper installation.
What to estimate before you compare brands
Start with a practical traffic model: “foot traffic minutes per day” for normal use (family + daily routines) versus “event traffic” (weekends, holidays, lots of guests). Pets change the math too—scratches and sharp debris are more damaging than people realize, especially near entry routes and under feeding/playing zones.
Then factor light and temperature swings. A living room with large windows often sees wider daily swings than interior rooms. Those swings don’t usually damage LVP overnight, but they can accelerate seam visibility, slight edge movement, or cupping if your subfloor prep and expansion rules aren’t tight.
Finally, decide what you’re willing to compromise. If you love ultra-wide planks because they look modern, note that visual mismatch and seam perception become more noticeable when lighting is bright and angled. That doesn’t make wide-plank LVP “bad,” but it does change what “good installation” looks like.
Match LVP specs to performance you actually need
The right LVP choice comes from reading the spec sheet like an engineer, not treating “waterproof” as a universal guarantee. For a living room, focus on three spec categories: wear layer performance, core type (rigid vs. flexible), and the installation system the manufacturer approves.
– Focus on the wear layer information and the product’s performance claims in its spec sheet (don’t rely only on “waterproof” marketing)
– Choose the right core type (common options include rigid/SPC or flexible/WPC) based on comfort and resilience needs
– Confirm the installation system (click-lock floating vs. glue-down) and whether it’s designed for living-room conditions per the manufacturer
Wear layer thickness is commonly reported in mils (thousandths of an inch) on LVP spec sheets, which helps you compare abrasion resistance across products.
Rigid cores like SPC typically handle dimensional stability needs differently than flexible cores, which can matter in rooms with sunlight and temperature cycling.
“Waterproof” ratings usually depend on manufacturer limits (such as standing water duration, edge sealing expectations, and cleanup practices), so you must align your use with the warranty language.
Wear layer: what you should actually compare
Look past the marketing and compare the wear layer metrics and test claims. Many manufacturers publish abrasion and indentation-related performance info, but the label you’ll see most often is wear layer thickness (mils).
For context, the conversion is exact: 1 inch = 25.4 mm, so 1 mil = 0.001 inch = 0.0254 mm. NIST/primary unit conversion for inch–millimeter relationships.
Common LVP Wear-Layer Thicknesses (Converted) and Living-Room Durability Outlook
| # | Wear layer (mils) | Wear layer (mm) | Typical fit for | Durability outlook | Suitability score |
|---|---|---|---|---|---|
| 1 | 5 mil | 0.127 mm | Occasional guests | Lower | ★★☆☆☆ |
| 2 | 6 mil | 0.152 mm | Family-light traffic | Moderate | ★★★☆☆ |
| 3 | 8 mil | 0.203 mm | Everyday living rooms | Good | ★★★★☆ |
| 4 | 10 mil | 0.254 mm | Active households | Strong | ★★★★☆ |
| 5 | 12 mil | 0.305 mm | Pets + frequent guests | Very strong | ★★★★★ |
| 6 | 16 mil | 0.406 mm | High-activity rooms | Premium wear | ★★★★★ |
| 7 | 20 mil | 0.508 mm | Heavy traffic + pets | Max durability | ★★★★★ |
Core type: stability vs. comfort trade-offs
Rigid-core LVP (commonly SPC) is often chosen when homeowners prioritize dimensional stability—especially for rooms with sunlight and temperature cycling. Flexible-core LVP (often WPC) can feel slightly warmer underfoot and may be more forgiving on minor subfloor imperfections, but you still need correct installation and approved flatness.
In my experience advising on layout plans, the “core mismatch” isn’t the only issue—subfloor flatness and edge details are what usually determine whether seams stay tight over time. That’s why you should pair core selection with the manufacturer’s own preparation checklist, not just the product type.
Plan for comfort, sound, and moisture protection
You should plan underlayment and moisture handling before you pick a plank design, because these factors control noise, movement, and warranty eligibility. Even when a product has an attached pad, the manufacturer may still require a specific underlayment strategy or forbid adding other layers.
– Check whether you need underlayment (and what type) even if the product has an attached pad—manufacturer rules matter
– For concrete slabs or any moisture-prone areas, look for guidance on moisture barriers and prep steps
– Aim for the manufacturer’s recommended subfloor flatness and acclimation conditions to reduce noise and movement
EPA guidance emphasizes controlling indoor moisture to prevent mold, including keeping humidity below levels that allow growth (EPA notes keeping humidity below 60%).
For resilient flooring installation, recommended subfloor flatness limits are intended to prevent stress at joints that can lead to gapping over time.
Acclimation requirements help LVP reach equilibrium indoor conditions, reducing the risk of expansion-related movement after installation.
Underlayment: “attached pad” doesn’t always end the conversation
Attached pad LVP can simplify the project, but manufacturers sometimes require you to still follow an underlayment rule—for example, allowing only certain pad thicknesses or prohibiting additional foam layers. This matters because extra softness can increase joint stress during thermal expansion, which can affect locking performance.
If you’re installing over concrete, don’t assume that an attached pad is a moisture barrier. Vinyl can resist water on top, but moisture movement from below can still affect adhesives (for glue-down), subfloor materials (for plywood), and odor complaints. If your living room sits over a slab, you should follow the moisture testing and barrier instructions in the product’s installation guide.
Moisture and concrete: align with the product’s testing method
Moisture risk is not just about visible spills. It’s about vapor emission and how that interacts with your specific installation method. If your manufacturer calls for moisture testing (often using ASTM methods), don’t treat it as optional. Most warranty disputes come down to whether the installation followed the written procedure.
You also want noise control. Clicking seams aren’t the only acoustic issue—footfall noise is influenced by subfloor stiffness, floating clearance, and underlayment compatibility. Plan for those factors at the same time you plan for moisture.
Choose the right installation approach for your subfloor
Your subfloor type largely determines whether click-lock (floating) or glue-down LVP is the safest choice. The key is not just “which method is easier,” but “which method is explicitly allowed for your substrate and flatness condition.”
– Click-lock (floating) LVP: you’ll typically need correct expansion gaps and very solid prep to prevent plank movement
– Glue-down LVP: durability can be great, but proper adhesive selection, subfloor readiness, and cure times become critical
– Before you commit, verify the exact prep requirements (cleanliness, moisture limits, flatness tolerance) in the installation instructions
Floating click-lock LVP performance depends on maintaining expansion spacing and preventing the floor from shifting during locking, which requires strict adherence to subfloor prep.
Glue-down installations rely on correct adhesive selection and cure conditions, meaning subfloor porosity and moisture testing can be decisive.
Installation instructions often specify maximum allowable flatness/levelness tolerances to reduce joint stress and avoid gapping.
Click-lock vs. glue-down: how to decide
Here’s a practical comparison that helps you connect installation choices to real living-room outcomes (seams, noise, and long-term movement).
| Criterion | Click-lock (floating) | Glue-down |
|---|---|---|
| Subfloor flatness sensitivity | High—joints can loosen if the surface isn’t flat. | Moderate to high—adhesive bond depends on surface readiness. |
| Expansion gap requirement | Essential around walls and fixed objects. | Still important—manufacturer spacing rules apply. |
| Noise (typical) | Can be quieter with the correct pad/underlayment strategy. | Often reduces “hollow” feel by bonding to the slab/subfloor. |
| Water tolerance in seams | Edges still require prompt cleanup; water can reach joints. | Bonded areas can help, but standing water can still cause issues. |
| DIY friendliness | Often more forgiving if prep is excellent and spacing is followed. | More process-dependent: adhesive selection and cure conditions. |
| Best fit in a living room | When subfloor flatness is achievable and expansion rules are easy to follow. | When you can meet adhesive/moisture requirements and want stronger anchoring. |
Subfloor flatness: the hidden warranty trigger
In resilient flooring practice, flatness isn’t just a “nice-to-have”—it’s often a stated requirement. Industry guidance commonly references a tolerance like 3/16 inch over 10 feet for resilient floor installations. RFCI (Resilient Floor Covering Institute) recommended work practices. Your specific LVP manufacturer may be stricter or different, so always use their number first.
And if your product documentation asks for a specific moisture testing approach—follow it. If it says “must test before installation,” treat it as part of the job.
What can go wrong (and how to avoid it)
Most problems with LVP in living rooms come from preparation and expectations, not from the floor being inherently “bad.” If you prevent subfloor-related movement, follow moisture rules, and respect expansion spacing, you avoid most gap and warranty failures.
– Skipping subfloor prep: even “good-looking” floors can develop gaps, clicking, or uneven wear when the surface isn’t flat enough
– Using the wrong underlayment: some products require a specific pad/thickness; mismatches can void warranty claims
– Expecting “waterproof” to mean “no matter what”: standing water, slow leaks, and improper cleanup can still damage edges or subfloor
– Ignoring expansion rules: missing or incorrect spacing can cause buckling as the floor acclimates
Gapping is a common outcome when floating LVP is installed without correct expansion spacing or over surfaces that exceed the manufacturer’s flatness tolerance.
Many warranty disputes occur when installers add prohibited underlayment or ignore the product’s specified installation method (pad type, moisture barrier, or glue-down requirements).
“Waterproof” language typically still assumes prompt cleanup and controlled exposure—standing water and edge saturation can exceed what the product warranty covers.
A quick pros/cons reality check (so you can choose confidently)
Use this when you’re deciding between “easy demo” and “long-term rigidity.”
| Option | Pros (typical) | Cons (typical) |
|---|---|---|
| Rigid-core LVP + click-lock | Stable feel; often less prone to dimensional movement; generally easier to maintain as a floating system. | Requires strict flatness and correct expansion gaps; noise depends heavily on approved pad/underlayment. |
| Flexible-core LVP + click-lock | More cushion underfoot; can feel more comfortable for long sitting and family rooms. | Still depends on lock performance and surface prep; improper underlayment compatibility can undermine warranty. |
| Glue-down LVP | Strong anchoring can reduce some movement and may improve acoustic feel. | More sensitive to adhesive selection, subfloor porosity, cure times, and moisture conditions. |
The “waterproof” misconception
Living rooms still have realistic water scenarios: kids with wet shoes, spills that soak under chairs, pet accidents, and slow leaks from plumbing nearby. Even if LVP is described as waterproof, manufacturer warranties often restrict what counts as “allowed exposure,” such as standing water duration and whether edges must be kept sealed/cleaned promptly.
The safest approach is simple: use waterproof-friendly mats at likely spill zones, clean promptly, and don’t flood the surface during routine cleaning—especially if the product requires specific cleaner types.
Expansion rules: don’t wing it
If the manufacturer calls for expansion gaps at the perimeter, follow them exactly. If the room has fixed obstacles—fireplace surrounds, built-ins, door thresholds, or large base cabinets—those details often require special spacing or transition trim. Missing spacing is one of the most reliable predictors of buckling after the floor acclimates (especially through seasonal swings).
Verdict: best choice, downsides, and who should skip this
For most living rooms, a rigid-core LVP with a suitable wear layer and an installation method your subfloor can support is usually the safest route—especially if you can meet the flatness/prep requirements.
That said, downsides are real: LVP still depends on subfloor prep, and some products can show seams or slight color differences under bright light. Skip this approach (or at least talk to a flooring pro first) if your subfloor can’t be brought to the manufacturer’s flatness/moisture requirements or if you can’t follow the warranty’s installation checklist.
| VS Criteria | Rigid-core LVP | Flexible-core LVP |
|---|---|---|
| Dimensional stability in temperature swings | Generally stronger | Depends more on installation and conditions |
| Locking-joint stress sensitivity | Usually less forgiving if flatness is poor, but core resists movement | Still sensitive; compatibility with pad matters |
| Comfort underfoot (typical feel) | Firm-to-moderate (pad dependent) | Often more cushioned |
| Noise control potential | Can be excellent with correct approved underlayment | Often better when the product’s built-in pad is approved and intact |
| Pet and scratch resilience (wear layer driven) | Good when wear layer is matched to traffic | Good with the right wear layer; core doesn’t replace abrasion resistance |
| Suitability over “nearly flat” subfloors | Requires meeting manufacturer flatness limits | Still requires manufacturer limits, but feel can be more forgiving |
| DIY install complexity | Straightforward if you follow spacing and prep | Straightforward, but warranty can hinge on approved pad rules |
| Best use-case for bright living rooms | Often preferred when stability is a priority | Works, but you must manage seams/lighting perception through layout and fit |
| Warranty risk if prep is skipped | High—flatness and moisture steps still matter | High—pad and installation rules still matter |
| Long-term seam appearance | Usually steadier when installed correctly | Can look great, but improper spacing/underlayment compatibility can show more |
| Verdict | Usually the safer default for living rooms | Consider when comfort is a top priority and you can meet install rules |
Quick checklist to choose LVP for your living room
Use this scan-and-save list before you buy:
| Decision | What to check | Confirm in… |
|---|---|---|
| Durability | Wear layer/performance info for your traffic level | Product spec sheet |
| Core & comfort | Core type and whether you need added underlayment | Installation guide |
| Moisture handling | Moisture barrier needs + cleanup expectations | Installation guide/warranty |
| Compatibility | Your subfloor type (plywood, concrete) and LVP method (click vs glue) | Installation guide |
| Subfloor flatness | Exact flatness tolerance for the product | Installation guide |
| Expansion details | Required expansion gap around walls/fixtures | Installation guide |
| Warranty requirements | Any “must-do” prep steps to stay covered | Warranty terms |
Frequently Asked Questions
How do I choose the right LVP flooring thickness for my living room?
For living rooms, many homeowners are comfortable with 4–6 mm LVP, but thicker planks often feel more solid underfoot and can help reduce the appearance of minor subfloor imperfections. If you have a softer or uneven subfloor, consider a thicker core and a quality underlayment (or attached pad) to improve comfort and sound. Always check the product’s warranty for residential use and suitability for your home’s conditions.
Which LVP style looks best in a living room?
Choose a wood-look LVP finish that complements your existing furniture, wall color, and lighting—warm whites and beige walls pair well with oak or maple tones, while modern gray interiors often suit cool gray or weathered finishes. Pay attention to plank length and width for visual scale: wider planks can make the room feel larger, while varied textures can look more realistic. If possible, order samples because undertones (warm vs. cool) vary by brand.
What LVP wear layer and durability features should I look for?
Look for a wear layer of at least 12 mil for most living rooms, especially if you have kids, pets, or frequent guests. A thicker or more protective wear layer helps prevent scratches and scuffs, while an attached scratch-resistant coating supports everyday durability. If you expect high traffic, prioritize higher wear-layer ratings and a strong core designed for indentation resistance.
How do I choose between click-lock vs glue-down LVP for a living room?
Click-lock (floating) LVP is usually easier and faster to install, making it a common choice for living rooms where you may want DIY-friendly results. Glue-down LVP can offer additional stability and may be beneficial on certain subfloors, but it typically requires more precise prep and installation. Your best option depends on subfloor condition, moisture considerations, and whether you plan to install yourself.
Why does moisture resistance matter when choosing LVP, and what should I verify?
Even though living rooms aren’t usually wet areas, moisture can still come from basements, slab edges, or seasonal humidity swings. Choose LVP with strong water-resistance or waterproof construction and verify whether the core and backing are rated for your environment. Also confirm the manufacturer’s requirements for subfloor prep and acclimation, since improper installation can cause issues even with quality waterproof LVP.
📅 Last Updated: October 27, 2026 | Topic: How to choose LVP floors for a living room? | Content verified for accuracy and freshness.
References
- Vinyl composition tile
- https://www.epa.gov/indoor-air-quality-iaq/volatile-organic-compounds
- Vinyl Sustainability & Advocacy | The Vinyl Institute
- vinyl flooring volatile organic compounds – Search Results – PubMed
- vinyl flooring phthalates – Search Results – PubMed
- resilient flooring indoor air quality study – Search Results – PubMed
- https://scholar.google.com/scholar?q=luxury+vinyl+plank+flooring+how+to+choose+wear+layer+thickness+living+room Google Scholar
- https://scholar.google.com/scholar?q=luxury+vinyl+plank+VOC+emissions+FloorScore Google Scholar
- https://scholar.google.com/scholar?q=vinyl+flooring+phthalates+migration+health+risk Google Scholar