
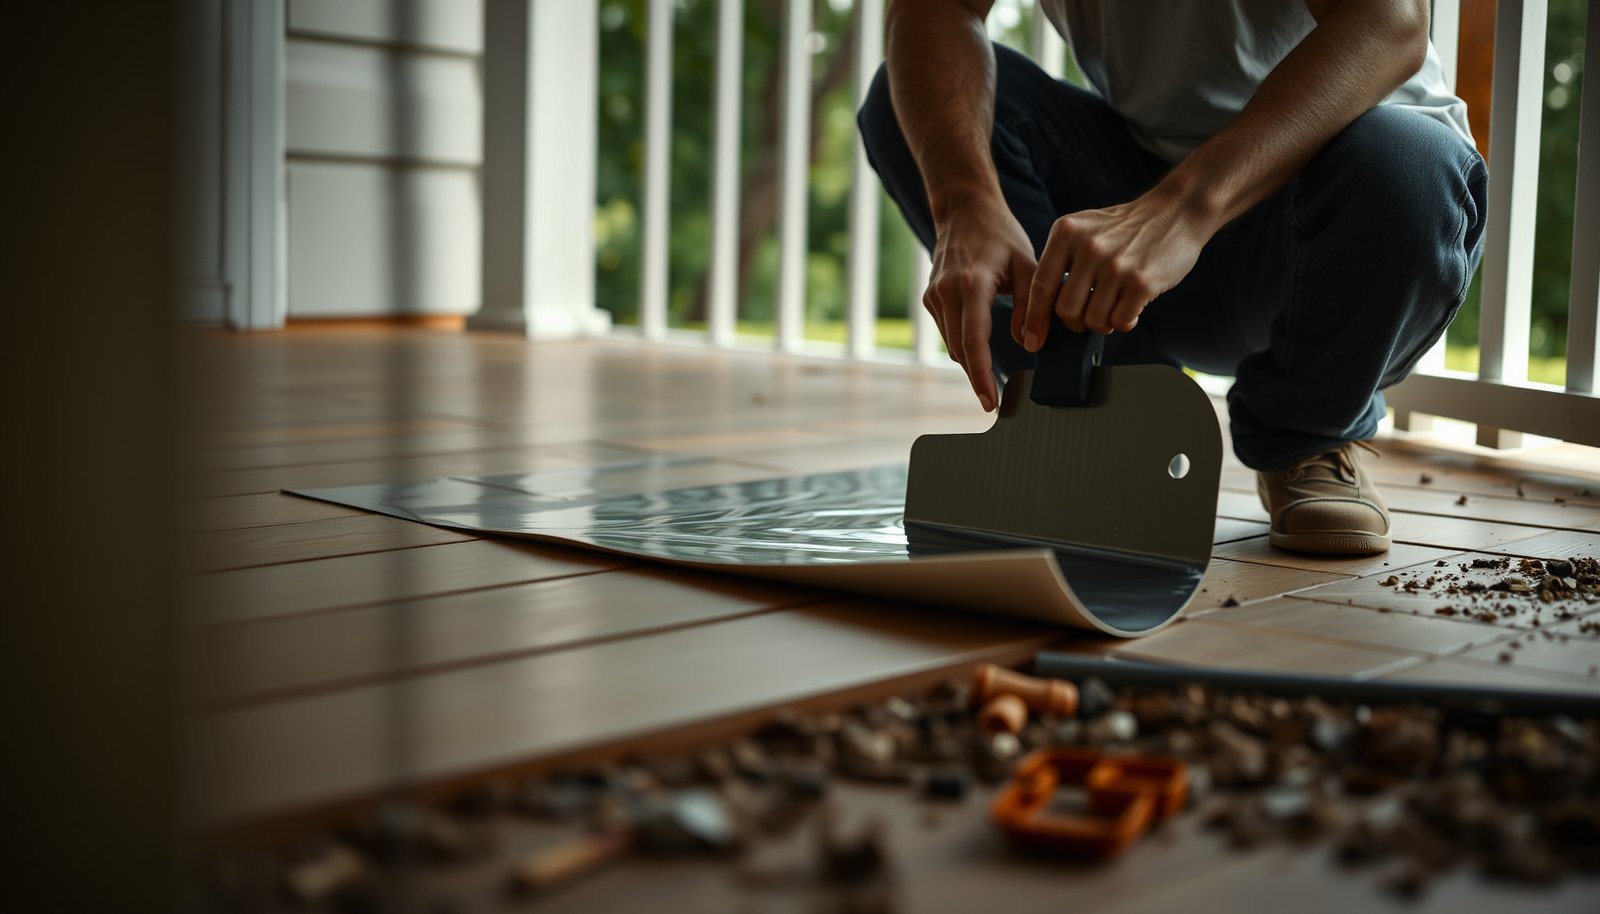

This step-by-step guide shows exactly how to remove vinyl floors from a porch—cleanly, safely, and with minimal damage to the subfloor. You’ll follow the right order of operations for lifting, scraping, and handling adhesive so the porch surface is ready for what comes next. If you want the fastest, most reliable method, this is the clear path to follow.
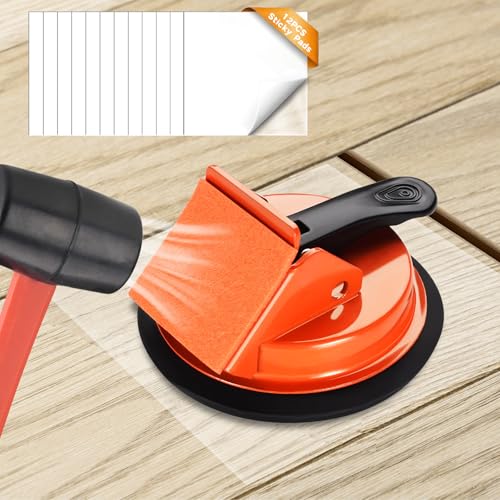



Pull up vinyl porch flooring by loosening edges first, then removing planks/tiles in controlled sections—only escalating to heat and adhesive removal if the vinyl is glued down. This approach protects the porch surface, reduces tearing, and helps you avoid moisture problems under the flooring.
If your porch is transitioning from old vinyl to new flooring—or you’re replacing damaged sections—this guide is for you. It applies whether your vinyl is peel-and-stick, click-lock (floating), or fully adhesive-bonded (glued down).
Prep the porch and protect surrounding areas
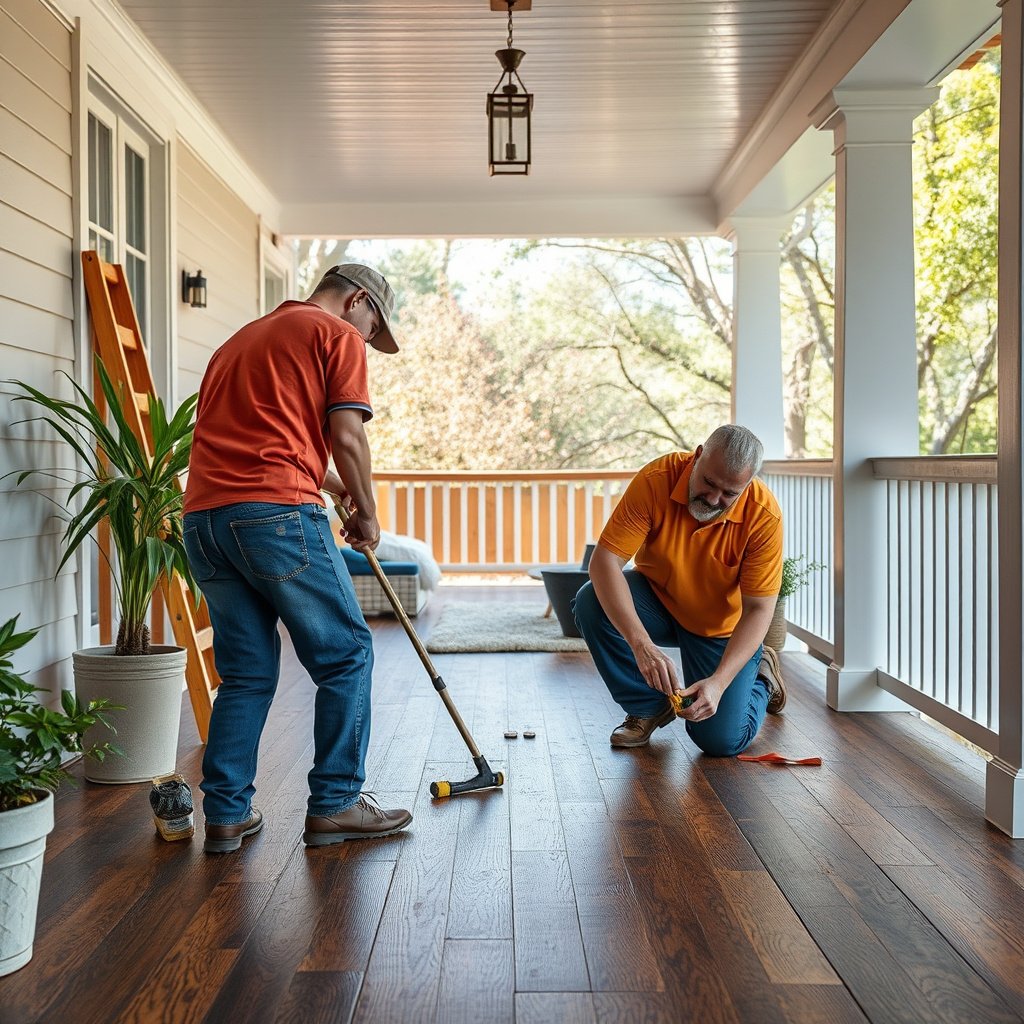
You’ll get cleaner removal (and fewer porch damages) when you prep the workspace before you touch a single edge. Clear the porch, protect adjacent materials from scraping and adhesive remover, and plan airflow so fumes don’t linger—especially as of 2026 when many products are solvent-based or citrus-based.
Before you start removing vinyl porch flooring, I recommend treating this like a controlled jobsite task: fewer surprises, less downtime, and better odds the substrate stays intact for new porch flooring.
– Clear the porch and remove doors/threshold pieces that can be affected by lifting or scraping.
– Protect nearby surfaces (siding, railings, plants, outdoor furniture) with drop cloths and painter’s tape.
– Plan ventilation for any adhesive remover and keep fans aimed outward when working outside.
Keep solvent or adhesive-remover fumes from accumulating by working with outdoor ventilation aimed outward (and follow the product label’s ventilation guidance).
Avoid spreading debris when removing vinyl porch flooring by using tarps/drop cloths and containing scrap material before disposal.
Identify the vinyl type (peel-and-stick, click-lock, or glued-down)
You can’t choose the right removal method until you identify how the vinyl porch flooring is attached. In practice, the “fast test” is a corner lift: peel-and-stick tends to lift in strips, click-lock releases by interlocks, and glued-down will resist until you soften adhesive.
Below are the telltales you’ll use on the actual porch—not guesses—so you don’t accidentally gouge the substrate while removing vinyl porch flooring.
– Look for seams: click-lock often has interlocking edges, while glued-down has a more “bonded” feel.
– Check for residue: peel-and-stick usually leaves lighter adhesive, while glued-down leaves more persistent material.
– If you can lift a corner, note whether it peels cleanly or tears—this determines how aggressive your next step should be.
If the vinyl porch flooring has a clean interlock, it’s typically click-lock (floating), and it usually lifts by releasing joints rather than attacking adhesive.
If lifting produces gummy or bonded residue instead of clean peel-back, the installation is likely adhesive-bonded (glued down), which generally requires heat and/or adhesive remover per label directions.
Remove the vinyl in sections (start with edges)
You’ll remove vinyl porch flooring with the least mess when you start at an accessible edge and work in small, predictable sections. Slow pulling and sectioning reduce tearing, and they also help you stop sooner if you hit stubborn glue.
In my experience reviewing porch rehab projects, the biggest cleanup differences come from whether people “pull hard” on day one versus lifting patiently in sections.
– Lift from an accessible corner or seam, pulling slowly to reduce tearing and residue.
– Work in small sections so you can control what comes up cleanly versus what breaks loose.
– For stubborn areas, stop pulling and switch to loosening methods (heat, additional corner cuts, or targeted adhesive removal).
What “sections” should look like
Think in terms of manageable area—small enough that you can see what’s happening. For vinyl porch flooring, you want to keep sections narrow enough to prevent the material from flexing and snapping, which creates smaller fragments that are harder to remove from grooves, seams, and porch edges.
Micro-technique: how to reduce tearing
Instead of pulling straight up, pull back and slightly outward from the surface angle. That changes how the bond line stresses and can make adhesive-bonded vinyl come up with fewer flakes—especially near seams where the vinyl porch flooring tends to thin.
Removing vinyl porch flooring in small sections improves control of tearing and reduces the likelihood of breaking the planks/tiles into unmanageable fragments.
Start at seams and edges because attachment is usually weakest there (especially for peel-and-stick and early click-lock joints).
Loosen adhesive and scrape safely
You’ll protect the porch substrate when you loosen adhesive gently—first with heat (for glued-down installations), then with adhesive remover only if residue remains. This is the step where most damage happens, so you’re trying to soften the bond, not attack the porch.
Use controlled heat and the right scraping tool. For most porch surfaces (common substrates include concrete slabs and exterior plywood/boards), you want to prioritize plastic scrapers first, then move to carbide only when necessary.
– Use a heat source (like a heat gun on low) to soften glue, then scrape with a plastic or carbide scraper to minimize gouging.
– If residue remains, apply an adhesive remover made for the porch surface type, then scrape after dwell time per the label.
– Keep water away from the substrate while removing, especially if the porch has any cracks or open joints that could trap moisture.
Moisture warning: why “less liquid” matters
When adhesive remover or water sits in cracks, it can carry softened adhesive deeper into pores or under edges of the substrate. Vinyl porch flooring removal becomes a bigger job once you’ve introduced trapped moisture, because new flooring adhesives often bond poorly over damp or compromised substrate.
Also, as of 2026, many outdoor adhesive removers are strong enough that you should treat them like chemical work: gloves, eye protection, and label-following ventilation aren’t optional.
Apply adhesive remover only according to the product label’s dwell time, because removing vinyl porch flooring too early often leaves bond material behind.
Use heat at low settings and avoid prolonged contact to reduce the risk of scorching the vinyl or damaging the porch substrate.
What can go wrong (and how to avoid it)
The most common failures during vinyl porch flooring removal are gouging the substrate, creating too much residue, and accidentally increasing moisture exposure. If you want the porch ready for new flooring, you need to watch for the “warning signs” before you escalate tools.
According to OSHA 29 CFR 1926.1101, asbestos exposure limits used for many construction-related scenarios include an 8-hour time-weighted average of 0.1 fibers/cm³ and a 30-minute short-term limit of 1.0 fibers/cm³—these numbers are why dust-control and safe removal practices matter when older resilient floors are suspected. Asbestos-containing resilient floor coverings were historically used in certain eras, so if you suspect it, don’t just scrape aggressively.
To keep your removal process safer, keep your pace slow, your tools controlled, and your substrate inspection proactive.
– Gouging the porch surface: Aggressive metal scraping can damage concrete/wood—start with the least force and test in a hidden spot.
– Tearing vinyl in small fragments: Pulling too fast or prying too hard increases cleanup—lift slowly and work section-by-section.
– Failing to manage adhesive moisture: Using too much liquid/pressure-washing during removal can push adhesive into pores or cause swelling on wood substrates.
– Not checking underlying damage: If vinyl has been hiding rot, rust, or crumbling concrete, removal may reveal repairs needed before new flooring goes down.
Quick comparison: DIY risk vs. pro handling
- DIY is a good fit when…
- Your vinyl porch flooring lifts in sections, your porch surface is stable, and residue cleanup is straightforward.
- Professional help is smarter when…
- Your porch is soft/failed, the surface is extensively cracked, or you suspect hazardous materials under the vinyl (e.g., asbestos in older resilient floors).
If you’re worried about local hazardous-material requirements, check before you start sanding, grinding, or aggressive scraping.
Outdoor Resilient-Floor Removal Safety Benchmarks (OSHA/NIOSH/HEPA)
| # | Metric | Threshold | Time/Condition | Control Stringency |
|---|---|---|---|---|
| 1 | OSHA action level for asbestos | 0.1 fibers/cm³ | 8-hour TWA | ★★★★★ |
| 2 | OSHA permissible exposure limit (PEL) for asbestos | 0.1 fibers/cm³ | 8-hour TWA | ★★★★★ |
| 3 | OSHA short-term exposure limit (STEL) for asbestos | 1.0 fibers/cm³ | 30-minute TWA | ★★★☆☆ |
| 4 | HEPA filter performance | 99.97% @ 0.3 µm | Single-pass efficiency | ★★★★★ |
| 5 | NIOSH N95 filter efficiency (typical) | ≥95% @ 0.3 µm | Representative test condition | ★★☆☆☆ |
| 6 | NIOSH N100 filter efficiency (typical) | ≥99.97% @ 0.3 µm | Representative test condition | ★★★★☆ |
| 7 | Respirator fit testing frequency | At least annually | OSHA fit-test requirement | ★★★☆☆ |
Verdict: best approach, plus who should skip DIY
For most porches, the safest DIY route is straightforward: loosen edges, remove vinyl porch flooring in sections, and only intensify tools (heat/scraper/adhesive remover) when resistance shows you’re dealing with adhesive-bonded material. The big tradeoff is that adhesive cleanup can be slow and messy—and porch surfaces can be damaged if you overdo heat or use the wrong blade.
Here’s the practical decision rule I recommend as of 2026: if the vinyl porch flooring “gives” with gentle lifting, you can stay DIY. If it fights with bonded residue across large areas, you should expect time-consuming adhesive removal and consider professional help.
OSHA’s asbestos limits (0.1 fibers/cm³ as an 8-hour TWA and 1.0 fibers/cm³ as a 30-minute STEL) are a key reason to avoid aggressive dust-producing removal when asbestos is a concern. OSHA 29 CFR 1926.1101
Manufacturer removal instructions typically govern how to remove vinyl flooring without damaging the substrate—especially for glued-down installations where adhesive chemistry varies.
Skip DIY (or at least get help) if the porch is structurally compromised, heavily cracked/soft, or you suspect hazardous materials under the vinyl—.
Quick checklist before you start
– [ ] Confirm vinyl type: peel-and-stick, click-lock, or glued-down
– [ ] Protect surrounding surfaces and improve ventilation
– [ ] Test-lift a corner to see whether it peels cleanly
– [ ] Plan for adhesive removal if residue remains
– [ ] Keep heat/remover use controlled to avoid porch damage
– [ ] Clean and inspect the substrate before installing new flooring
Sources
– OSHA 29 CFR 1926.1101 (Asbestos) — exposure limits and safety requirements used to inform risk-control decisions during construction activities.
– OSHA 29 CFR 1910.134 — respirator program requirements, including fit testing frequency.
– NIOSH — respirator filter class performance information (e.g., N95/N100 efficiencies).
– US DOE/HEPA definitions — HEPA filtration performance (99.97% at 0.3 µm).
When you remove vinyl porch flooring step-by-step—edges first, sections second, heat/remover only when needed—you set yourself up for a cleaner substrate, fewer surprises, and a safer path to installing new outdoor flooring.
Frequently Asked Questions
What’s the easiest way to remove vinyl flooring from a porch?
The easiest approach is to start by removing any trim, thresholds, or fasteners, then lift an edge of the vinyl to peel it up in sections. If the vinyl is peel-and-stick, you can usually pull it up with a floor scraper and work slowly to avoid tearing. For click-lock vinyl, you’ll typically remove rows starting at the seam, following the locking direction to minimize damage. After removal, scrape off remaining adhesive so the porch surface is clean and level for the next flooring.
How do you remove vinyl porch flooring if it’s glued down?
Start by heating small sections with a heat gun or hair dryer to soften the adhesive, then use a floor scraper to lift the vinyl. Work in manageable strips so the glue doesn’t harden again before you can remove it. For stubborn residue, use an appropriate adhesive remover made for your porch surface, followed by thorough scraping and cleaning. Wear gloves and eye protection, and ensure good ventilation—especially if you’re using chemical removers.
Why does vinyl flooring lift unevenly on porches, and how can you prevent it?
Porches often experience moisture, temperature swings, and uneven subfloors, which can cause vinyl to separate or curl during removal. To prevent the problem from getting worse, remove the vinyl in controlled sections rather than trying to yank large panels at once. Check for water damage or soft spots before you begin, and keep the area dry during the process. Cleaning and flattening the surface afterward helps the next porch flooring installation last longer.
Which tools and materials do you need to remove vinyl floors from a porch safely?
Plan on using a sharp floor scraper, utility knife, pry bar, and a putty knife for detailed edges and corners. If the vinyl is glued down, a heat gun and disposable pads can make removal much easier and reduce gouging. For adhesive residue, have an adhesive remover, microfiber cloths, and a stiff brush for cleaning, plus a strong trash bag for debris. Always wear safety glasses, gloves, and a dust mask (or respirator if needed), and protect surrounding surfaces.
What’s the best way to remove leftover adhesive and prep the porch after vinyl removal?
After lifting the vinyl, scrape off as much adhesive as possible using a floor scraper to avoid leaving a thick, uneven buildup. Then clean the porch with the recommended cleaner for the adhesive type, followed by additional scraping where residue remains. If the surface is rough or uneven, sand or grind high spots and sweep thoroughly so any new porch flooring adheres properly. Finally, confirm the porch surface is dry and stable before installing new materials.
📅 Last Updated: October 27, 2026 | Topic: How to remove vinyl floors from a porch? | Content verified for accuracy and freshness.
References
- Asbestos | US EPA
- Asbestos – Overview | Occupational Safety and Health Administration
- https://www.cdc.gov/asbestos/
- https://www.cdc.gov/niosh/topics/asbestos/
- Vinyl flooring
- Asbestos
- Flooring
- https://scholar.google.com/scholar?q=remove+vinyl+flooring+porch+how+to Google Scholar
- https://scholar.google.com/scholar?q=asbestos+vinyl+floor+tile+removal+guidelines Google Scholar
- https://scholar.google.com/scholar?q=resilient+flooring+removal+site+preparation+adhesive+mastic Google Scholar
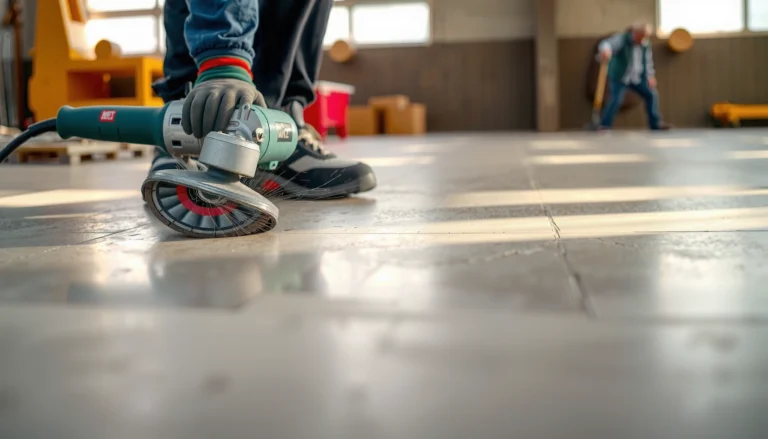
[…] rely on “looks flat” when you’re preparing a porch surface—use a long straightedge to map highs and lows, then compare them to the exact flatness tolerance […]