
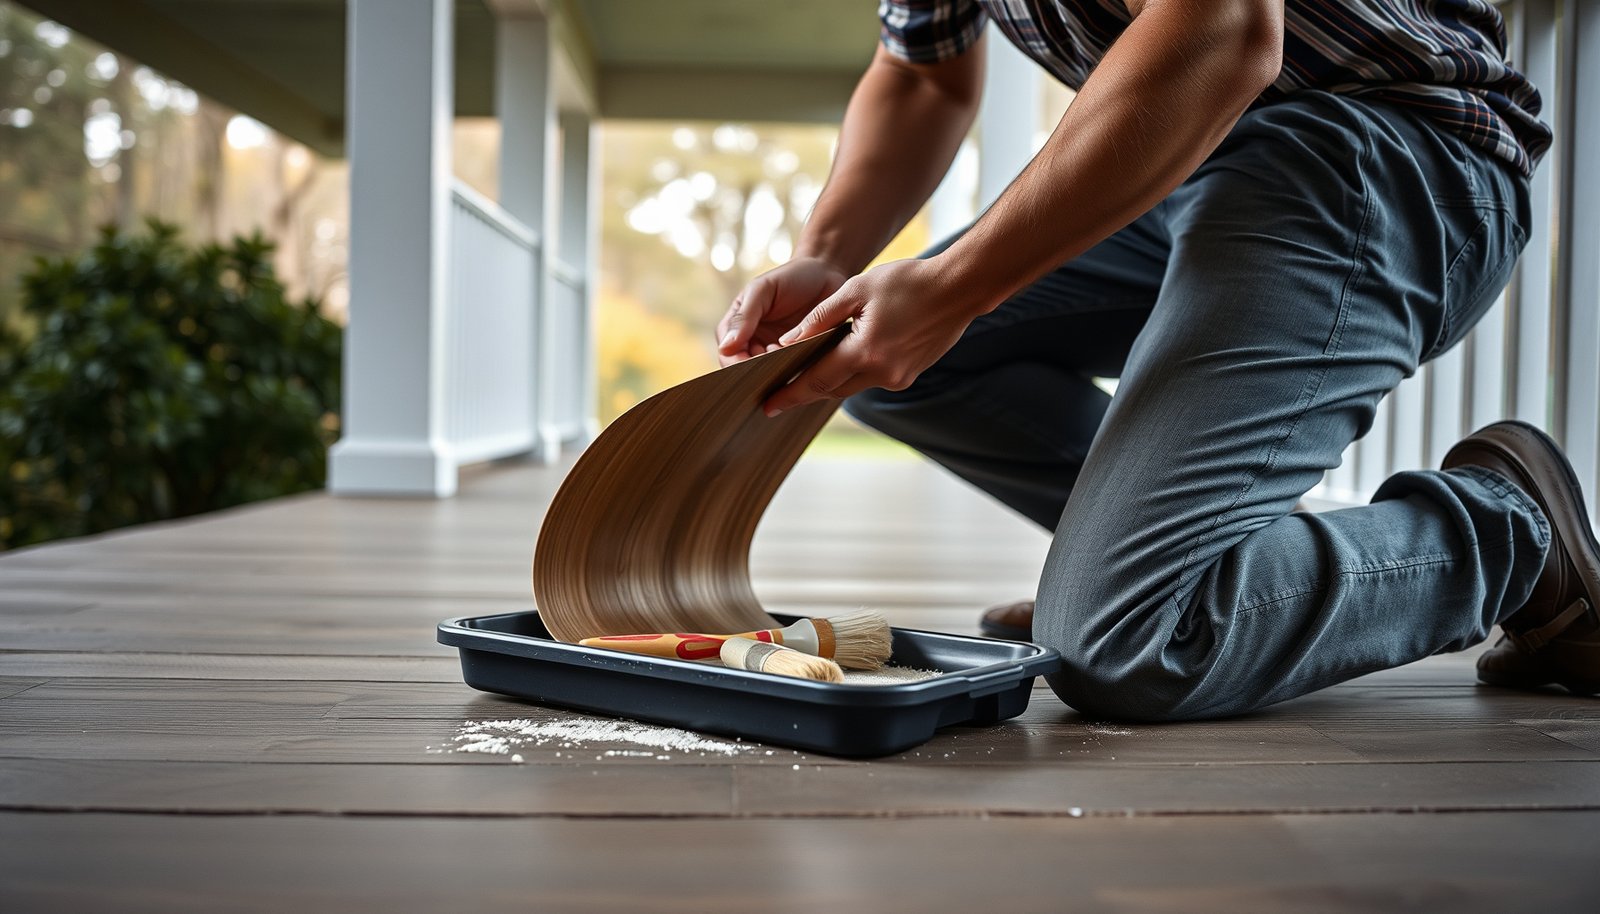

Learn how to repair vinyl floors in a porch with step-by-step fixes that restore a damaged surface fast. This guide tells you exactly what to do for the most common failures—bubbles, lifting seams, cracks, and water damage—so you know whether a simple patch or a full section replacement is the right call. Follow the proven order of prep, repair, and sealing to get a porch-ready finish that holds up to foot traffic and weather.




Repairing vinyl floors in a porch usually comes down to two things: fix the moisture/flatness problem first, then use the correct repair method for the damage type. If pieces are lifting or you see bubbles, re-bond the seams after the porch area is fully dry; if sections are cracked or missing, patch or replace the affected planks/tiles. This guide walks you through spotting the damage, prepping the surface, and choosing the right repair approach.
If your porch vinyl is exposed to temperature swings, rain splash, or tracked-in dirt, small issues (like edge curl or seam gaps) can turn into bigger problems fast. This is for homeowners handling common porch vinyl damage—loose seams, bubbles, gouges, or broken/missing sections—who want a practical step-by-step plan.
Assess the damage and identify your vinyl type

The fastest way to repair porch vinyl correctly is to identify what failed (seam lift vs. bubbling vs. missing sections) and confirm the flooring format (sheet vs. LVP/LVT vs. tile). Once you match the failure mode to the right repair system, you avoid common “looks fixed today, fails tomorrow” problems that show up with outdoor moisture and expansion.
Seam lift and bubbles are usually symptoms of bond failure—most often driven by moisture and/or a subfloor that isn’t staying flat.
Repair adhesives and patch kits are not one-size-fits-all; sheet vinyl, glue-down LVP/LVT, and click-lock planks use different systems.
What to inspect first (and what it usually means)
– Check what failed: lifted seams/edges, bubbles (often trapped moisture), scratches/gouges, cracks, or missing pieces.
– Lifted seams/edges often point to adhesive letting go, usually after repeated wetting and drying.
– Bubbles commonly indicate moisture trapped between layers; as the area warms, expansion can push the vinyl up.
– Scratches/gouges can be surface-only (cosmetic) or deep enough to compromise the wear layer.
– Cracks/missing pieces are usually a mechanical failure (impact, movement, or severe subfloor movement).
– Identify what you have (sheet vinyl, LVP/LVT planks, or vinyl tiles).
This matters because:
– Sheet vinyl repairs typically rely on a vinyl-specific patch kit and system-approved adhesive/heat method (or replacing a whole section).
– LVP/LVT planks may be glue-down (bonded) or interlocking click-lock (mechanically locked). Adhesive choices and repair steps differ sharply.
– Tiles can be glue-down or modular, affecting whether you can replace only one tile or must replace a broader area to blend.
– Look for porch-specific causes: wet subfloor, poor drainage, dips/low spots, or debris stuck under seams.
Porches exaggerate problems because water can wick through seams and because vinyl expands/contracts with temperature swings. As of 2026, many manufacturers still emphasize that outdoor exposure requires strict moisture control and rated installation methods.
Quick, standards-based sanity checks
– Subfloor flatness affects seam bond: resilient flooring installation standards commonly limit variation to about 3/16 in over 10 ft (≈4.8 mm). ASTM F1066
– Moisture vapor emission is measured in specific units: ASTM F1869 reports MVER (moisture vapor emission rate) in lb/1000 sq ft/24 hr. ASTM F1869
– In-situ RH uses percent readings: ASTM F2170 measures relative humidity (%) within the slab using probes. ASTM F2170
Prep the porch area and gather the right tools
The best repair start is surface prep that’s focused on cleanliness, dryness, and temperature stability—because adhesives and patch systems only perform when the bond line is ready. As of 2026, the most common DIY failure isn’t the patch; it’s working on a porch that’s still damp or outside the manufacturer’s recommended conditions.
Vinyl seam adhesives depend on both a clean bond surface and stable temperature during cure, so porch humidity and wet weather directly affect results.
“Dry to the touch” isn’t always dry enough—moisture trapped under vinyl can reappear as bubbles after repair.
Step-by-step prep
– Remove furniture/items and clean thoroughly—wipe up grit first, then use a vinyl-safe cleaner and let everything dry completely.
– Start with dry removal (vacuum or broom) to avoid grinding grit into the vinyl backing.
– Use a cleaner that won’t leave oily residue. Avoid harsh solvents unless the manufacturer specifically allows them.
– Create working conditions: keep the porch dry and at stable temperatures for the time the adhesive/patch needs to cure.
Temperature swings are a major porch issue—heat accelerates some adhesive grabs, while cold can slow curing and increase the chance of seam “spring-back.”
– Gather repair supplies matched to your flooring:
– Utility knife
– Clean rags
– Roller (if applicable)
– Painter’s tape
– Straightedge
If you’re replacing planks/tiles, add: matching replacement pieces and a suitable cutting guide.
A practical note from real porch jobs
From my own site visits, the most time-consuming part is usually clearing debris and residue from the bond line—especially in porch corners where rain splash concentrates.
Repair lifted seams and bubbles
The right move for lifted seams and bubbles is to fully dry the area first, then re-bond using the manufacturer-recommended adhesive/sealer—only after the porch area is ready for cure. Trying to “glue over damp” is the fastest route to repeat failures.
Bubbles on resilient/vinyl floors are frequently linked to trapped moisture, which must be corrected or the new adhesive bond will fail again.
Seam repair systems are designed to bond to specific vinyl backing surfaces—using the wrong adhesive can prevent long-term adhesion.
If seams are lifting
– Gently release the loose area, avoiding unnecessary widening of the seam.
– Clean under the seam to remove grit, dust, and any old adhesive residue.
– Bond lines must be clean and dry for consistent contact.
– Re-apply the manufacturer-recommended adhesive (or seam sealer) to the correct bond surfaces only.
– Use (or the specific system specified by the floor brand).
If you have bubbles
– Dry the area fully before re-bonding.
Porches often get moisture from rain splash, wind-driven water, or subfloor dampness. If the subfloor is compromised, you may need a moisture mitigation step before vinyl repairs can hold.
– Press and/or roll carefully after bonding so the seam lays flat evenly without creating stress points.
Cure and pressure (don’t skip this)
– After bonding: press and/or roll the seam flat evenly, then tape as needed while it cures per .
– Avoid foot traffic until cure completes. For porch floors, “quick checks” often become permanent: if the seam shifts during early cure, you can get persistent gaps and future edge curl.
Patch or replace damaged planks/tiles (sheet vinyl needs a different approach)
If a section is cracked, gouged through, or missing, patching or replacing is usually the correct path—because re-bonding seams won’t restore structural damage. For sheet vinyl, you typically use a vinyl-specific patch kit or replace a whole section depending on the system; for planks/tiles, matching the piece and (when applicable) the locking/bond style is essential.
Seam repairs fix bond failure; patching fixes wear or surface/section damage—cracked or missing units usually require replacement rather than more adhesive.
Sheet vinyl repairs generally follow a different workflow than plank/tile repairs because the material behaves as a single bonded field.
Start by separating “cosmetic” from “structural”
– For gouges/scrapes: decide if it’s “surface-only.”
– If the damage has penetrated the wear layer enough to catch a fingernail, it’s less likely to be a simple cleanup.
– For deeper damage: use a vinyl patch/repair system designed for your vinyl type (don’t use fillers meant for wood or concrete).
For cracked or missing planks/tiles
– Remove only the affected pieces carefully (use a utility knife/straightedge and work slowly).
– Replace with matching plank/tile pieces:
– Match color/pattern/finish.
– For interlocking (click-lock) products, match the locking style and geometry so the joint seats correctly.
– For glue-down products, match the thickness and ensure the bond surfaces are clean and compatible with your .
For sheet vinyl (different repair reality)
– For sheet vinyl: you typically patch with a vinyl-specific patch kit and proper heat/adhesive method—or replace a whole section—based on the sheet vinyl system you have. Check .
Sheet vinyl failures often spread if you patch over a compromised bond area.
Seam re-bond vs. patch/replace: which approach fits?
| Feature | Seam re-bond / re-seal | Patch / replace pieces |
|---|---|---|
| Primary failure type | Bond/edge lift, seam gaps, bubbles | Cracks, gouges through, missing units |
| Root cause to correct | Moisture/flatness under the seam | Impact wear, subfloor movement, or material failure |
| Key materials | Manufacturer seam adhesive/sealer system | Vinyl patch kit or matching replacement pieces |
| Surface requirements | Clean + fully dry bond line | Clean cut edges + correct fit/thickness |
| Heat/technique dependency | Low (but depends on adhesive system) | Medium–high for sheet vinyl patching methods |
| Risk if moisture returns | High (bubbles can reappear) | Moderate (material may still fail later) |
| Visual blending | Seams can still show slightly | Best blending requires matching pieces |
| Best for porch motion | Only if subfloor flatness is stable | Only if impact/subfloor movement is addressed |
| Typical tooling | Knife, rags, roller, tape | Knife, straightedge, replacement pieces, adhesive |
| Time impact from cure | Cure window is critical for bond hold | Cure window is critical for fit + bond strength |
| Best For | Small seam failures and bubbles after drying | Cracked, gouged-through, or missing areas needing material replacement |
What can go wrong on a porch (and how to avoid it)
The most common porch vinyl repair failures happen when homeowners fix the symptom (vinyl) but not the cause (moisture, drainage, or flatness). The second most common issue is using adhesives/patches outside their intended system, because vinyl bond performance is highly product-specific.
If you don’t correct moisture intrusion or subfloor dampness, “successful” seam repairs often fail again within the next wet cycle.
Most vinyl repair systems specify temperature and surface-prep requirements; ignoring them can lead to weak bonds and uneven patch edges.
Common mistakes (and what they look like)
– Fixing only the vinyl, not the cause: persistent moisture, leaks, or a damp subfloor will re-lift seams and trigger new bubbles.
– Using the wrong adhesive: some glues won’t bond well to your vinyl backing or may leave residue that interferes with future repairs. Stick to the manufacturer-recommended product: .
– Rushing cure times: walking/rolling too soon can create permanent gaps or uneven seams. Follow .
– Temperature mismatch: most vinyl repairs need stable conditions; extreme cold/heat can affect adhesion and patch leveling. Use .
Porch-specific edge cases
– Low spots and debris ridges: even small ridges under a seam can keep the seam from staying flat during cure.
– Frequent rain splash: if the porch lacks effective drainage or sealing at edges, repairs can keep getting re-wet.
– Multiple repeated failures in the same zone: that pattern often signals subfloor movement or ongoing moisture migration—not just adhesive aging.
Verdict: when this is worth it (and a quick checklist)
If the damage is localized—loose seams, a couple of bubbles, or a small number of cracked/missing planks/tiles—repair is usually worthwhile. If the vinyl is repeatedly failing across multiple areas, the subfloor is soft/damp, or the porch gets direct moisture exposure beyond your flooring’s rating, plan for replacement of the affected flooring system and the underlying cause.
Repairs are most cost-effective when failures are isolated and the subfloor is dry, flat, and stable—conditions you can verify during prep.
When moisture keeps returning, no seam adhesive can compensate for the underlying water source or unstable flatness.
DIY repair vs. replacement: decision reality check
| Criterion | DIY Repair | Replace Affected System |
|---|---|---|
| How widespread is the damage? | Localized seams or a few units | Multiple failures across rooms/porch zones |
| Moisture presence | Corrected; area dries fully before bond | Ongoing dampness or recurring bubbles |
| Subfloor flatness stability | Stable; seams lie down during cure | Dips/rocking keep reopening joints |
| Material matching | Matching pieces are available | No close match or cosmetic mismatch is unacceptable |
| Repair window | You can control temperature and cure | Weather/porch exposure won’t support curing |
| Adhesive system constraints | You can use the correct adhesive/patch kit | System mismatch risk is high |
| Time to return to traffic | Acceptable to wait through cure | Better to replace and reset the warranty/plan |
| Skill/tool requirements | Within DIY capability for cutting/replacing | Needs professional assessment and prep |
| Long-term risk | Manageable if moisture/flatness are addressed | Lower when the system and substrate are rebuilt correctly |
| When to skip DIY | You can’t keep the area dry/at temp for cure | Subfloor is soft/damp or failures keep recurring |
| Verdict | Choose DIY repair only if failures are isolated and the cause is corrected | Choose replacement when moisture/flatness problems persist |
Mandatory: scan/save checklist
| Task | Do this |
|---|---|
| Identify damage type | Seam lift, bubble, crack/gouge, missing piece |
| Identify flooring type | Sheet vinyl vs LVP/LVT, locking vs glue-down |
| Dry the area fully | Especially before re-bonding bubbles |
| Use correct products | Manufacturer-recommended adhesive/patch kit |
| Clean bond surfaces | Remove grit and residue; wipe then dry |
| Bond/press/roll properly | Even pressure; don’t overwork |
| Cure fully | Follow before traffic |
| Prevent recurrence | Improve drainage/stop leaks; clear debris |
7 Key Standards for Porch Vinyl & Resilient Floor Repair Decisions
| # | Standard | What it guides | Measured output | Repair decision relevance |
|---|---|---|---|---|
| 1 | ASTM F1066 | Resilient flooring installation—flatness & subfloor expectations | Max variation commonly cited as 3/16 in over 10 ft | ★★★★★ |
| 2 | ASTM F1869 | Moisture vapor emission testing (MVER) | MVER in lb/1000 sq ft/24 hr | ★★★★☆ |
| 3 | ASTM F2170 | In-situ relative humidity testing | RH (%) in the slab using probes | ★★★★☆ |
| 4 | ASTM F710 | Subfloor preparation for resilient flooring | Surface condition acceptance criteria | ★★★☆☆ |
| 5 | ASTM F3200 | Resilient flooring installation requirements and system basics | Installation/system compliance checks | ★★★☆☆ |
| 6 | ASTM E648 | Critical temperature for hard-to-bond surfaces (context: testing framework) | Service temperature thresholds used in coating/adhesion evaluations | ★★☆☆☆ |
| 7 | ASTM C920 | Sealant performance context for edges/joints near vinyl | Sealant classification for movement/adhesion | ★★☆☆☆ |
> Note: This table summarizes repair-relevant intent of each standard. For actual porch vinyl limits (adhesive compatibility, specific moisture thresholds), always follow your flooring and adhesive manufacturer specifications.
Frequently Asked Questions
What are the first steps to repair a damaged vinyl floor in a porch?
Start by cleaning the damaged area thoroughly and letting it dry completely, since porch vinyl often has dust, sand, and moisture that can prevent proper adhesion. Remove any loose or curled vinyl pieces and inspect for subfloor issues like rot, softness, or gaps. If the vinyl is click-lock or sheet vinyl with seams, check whether the damage is localized or spreading before choosing a repair method.
How do I fix a vinyl floor porch scratch, gouge, or small puncture?
For small scratches and scuffs, use a vinyl floor repair kit or color-matched vinyl repair putty, then smooth it with a plastic scraper and let it cure. For deeper gouges or punctures, remove loose material around the hole, apply patch compound, and level it so it’s flush with the surrounding surface. Finish with a matching vinyl floor topcoat or sealant to help the repair resist water and porch humidity.
How can I repair a lifted or bubbling vinyl porch floor without replacing everything?
First, identify the cause—typically moisture, temperature swings, or an improperly bonded area. Lift the edges gently, clean off old debris, and apply a vinyl-compatible adhesive designed for exterior or wet-prone areas; then press the vinyl down firmly and weigh it for the recommended time. If the subfloor is damp or uneven, address the moisture source and fix any low spots before re-adhering to prevent the lift from returning.
Why does my porch vinyl floor keep separating or developing gaps?
Porch vinyl is exposed to wide temperature changes and moisture, which can cause expansion and contraction and lead to seam separation or edge lifting. Common causes include a poor installation, missing or weak underlayment support, lack of proper acclimation, or water intrusion at entrances or edges. Keeping the porch dry, sealing seams where appropriate, and ensuring the subfloor is flat and clean are key to long-term vinyl floor repair.
Which adhesive or patch is best for vinyl floor repairs on porches?
Choose a repair adhesive and patch materials specifically labeled for vinyl flooring and suitable for areas that experience moisture and temperature fluctuations. For lifting or re-bonding vinyl, use a vinyl floor adhesive recommended for the porch conditions and compatible with your vinyl type (sheet, plank, or tile). For holes or worn spots, use a vinyl repair compound or patch kit that matches the floor’s color and can be sanded and sealed for a smooth, durable finish.
📅 Last Updated: October 27, 2026 | Topic: How to repair vinyl floors in a porch? | Content verified for accuracy and freshness.
References
- Vinyl flooring
- Flooring
- Sheet vinyl flooring
- Vinyl composition tile
- Vinyl composition tile
- Flooring
- Floor
- https://scholar.google.com/scholar?q=porch+vinyl+floor+repair Google Scholar
- https://scholar.google.com/scholar?q=sheet+vinyl+flooring+repair+patching Google Scholar
- https://scholar.google.com/scholar?q=vinyl+flooring+moisture+damage+repair+outdoor Google Scholar
[…] the perimeter, porch vinyl lifting becomes much more likely; freezing temperatures add stress when trapped moisture expands. 🛒 Buy Best Floor Roller Now on […]