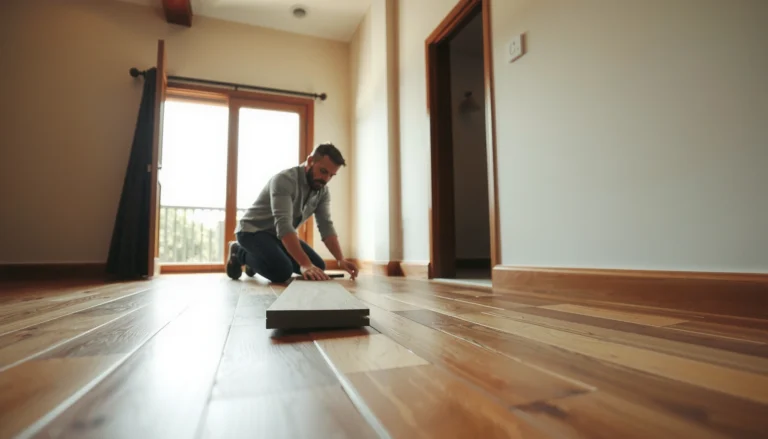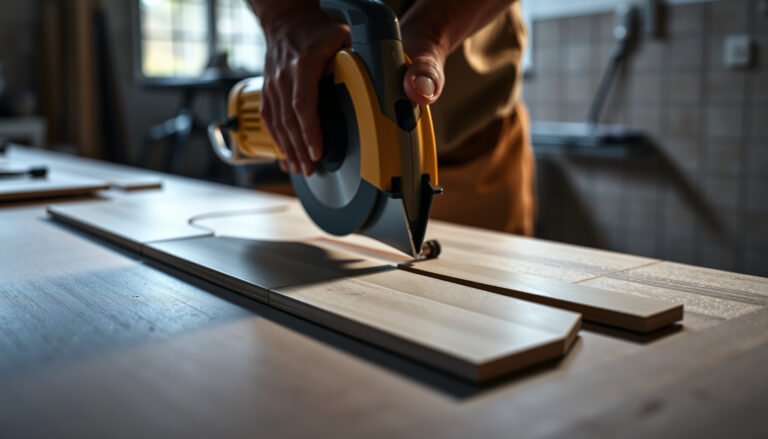

If you’re trying to remove vinyl floors from a sunroom, this step-by-step guide tells you the fastest, safest way to lift the planks or sheet and clear the subfloor without damaging it. You’ll learn exactly what to prep, how to cut and pry through seams, and how to handle stubborn adhesive so the surface is ready for the next flooring. Follow these instructions and you can finish the job cleanly and confidently—without wasting time or breaking what you’re keeping.




Remove vinyl floors in a sunroom by first confirming whether you have click-lock (floating) vinyl or glued-down resilient vinyl, then remove from the edges while keeping temperature and moisture stable. After the planks/tiles come up, scrape and clean adhesive residue until the surface is flat and dry so your next floor can lay correctly—this is the part that most often prevents problems later. As of 2026, sunrooms are especially prone to temperature swings and humidity drift, so your removal plan needs to account for how vinyl responds as it warms and cools.
Start by lifting the vinyl planks/tiles (or cutting a glued-down sheet) without damaging the subfloor, then scrape and clean off any remaining adhesive residue. In a sunroom, control temperature and moisture while you work so the vinyl doesn’t fight back or curl during removal. This guide walks you through identifying your vinyl type, removing it safely, and prepping the floor for what comes next.
If your vinyl is already loose or bubbling, or you’re planning to replace it with another floor, these steps will help you avoid common subfloor damage. The exact approach depends on whether your vinyl is click-lock (floating) or glued down.
Tools and prep for removing vinyl in a sunroom
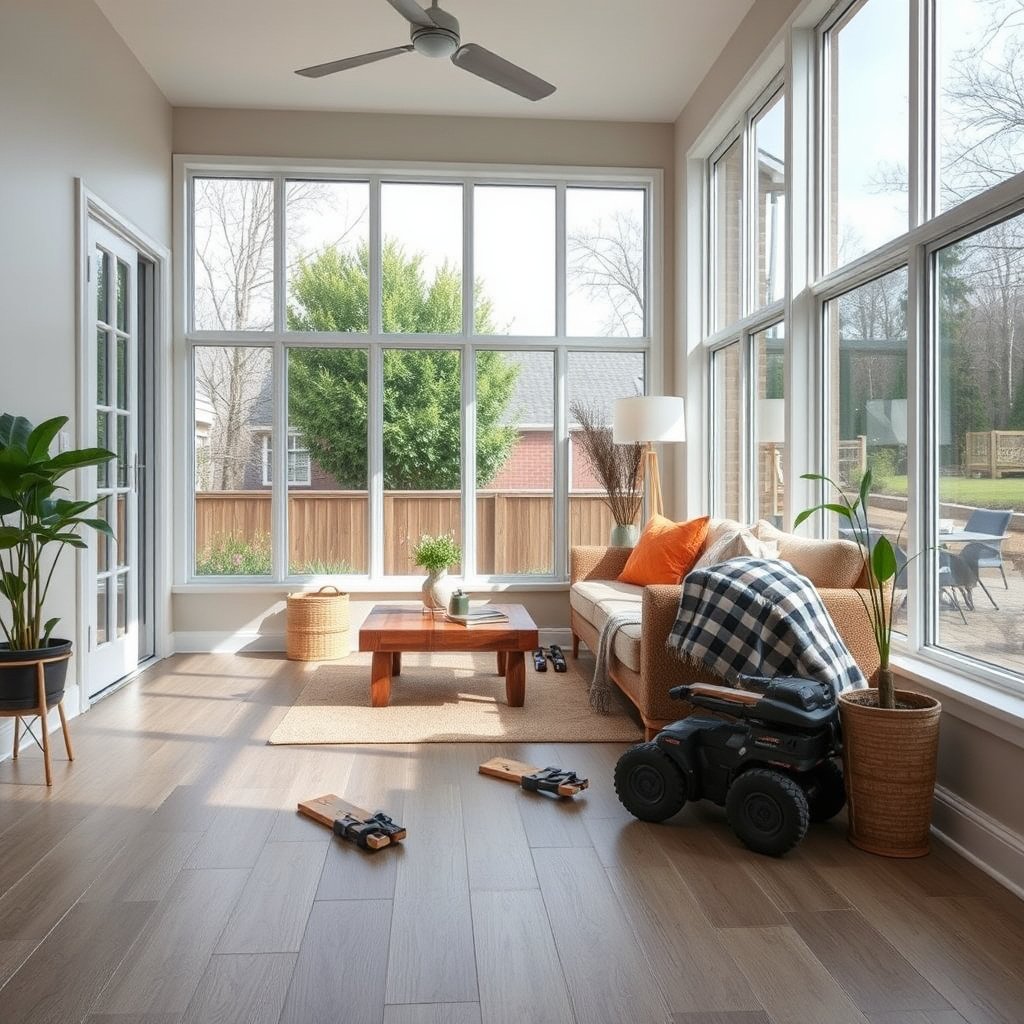
You’ll get the cleanest, least-damaging removal when you prep the room first: gather the right hand tools, reduce dust, and stabilize the sunroom environment. In practice, “prep” is what prevents subfloor gouging and keeps adhesive cleanup manageable during vinyl removal in a sunroom.
– Gather basics like a utility knife, floor scraper, pry bar (or oscillating multitool), putty knife, gloves, eye protection, and a shop vacuum.
– Protect the room: cover doorways/vents, ventilate well, and use dust control where needed.
– Check for older flooring hazards: if your home is older, treat suspect adhesives/subfloors as potentially hazardous and verify before you scrape aggressively ().
Before you start removing vinyl in a sunroom, make two safety decisions up front. First, confirm whether power tools are truly necessary; scraping and manual prying reduce airborne dust compared with aggressive grinding. Second, if your sunroom sits over concrete, you may create more dust when cutting; that matters for silica exposure if you later sand concrete for flatness.
Use a shop vacuum during removal to keep adhesive dust and fine debris from turning into a gritty layer you’ll have to re-scrape later.
If you can remove trim without flexing or prying drywall, you reduce the chance of patch work that delays your next flooring install.
In sunrooms, plan to work when indoor conditions are stable because vinyl and adhesives soften or stiffen with temperature swings.
Identify your vinyl floor type (this changes everything)
You can only choose the safest removal technique when you correctly identify your vinyl type—click-lock behaves one way, while glued-down vinyl behaves another. Once you identify it, the “fight” you’ll experience during vinyl removal in a sunroom usually becomes predictable.
– Click-lock / floating: planks lift and release in sections; you’ll remove trim first and work from a corner.
– Glue-down sheet or tile: you’ll usually need to cut seams, peel in strips, and then remove adhesive residue.
– Look for underlayment type and condition (foam pad, felt, or none), since it can determine how much cleanup you’ll need.
Start with the edges and transitions. If you see plank ends with a locking profile and the floor seems to “separate” at seams, it’s likely click-lock (floating). If the vinyl looks continuous like a sheet, or if seams don’t open cleanly and the surface “feels bonded,” plan for glued-down removal. Underlayment also matters: a thin foam pad may stick to the adhesive or tear into bits that must be removed for flatness.
Here’s a quick decision guide you can scan before you touch the first plank. It’s designed for vinyl removal decisions in a sunroom, where heat and humidity can hide how strongly material is bonded until it warms.
Vinyl Removal Reality Check by Installation Type (Sunrooms & Similar Spaces)
| # | Vinyl situation | What holds it | Your removal entry point | Residue expectation | Removal confidence |
|---|---|---|---|---|---|
| 1 | Click-lock planks with intact seams | Mechanical lock only | Start at a wall corner | Low | ★★★★☆ |
| 2 | Click-lock planks with minor edge gaps | Lock + light tack at perimeter | Start from lifted seams | Low–Moderate | ★★★★☆ |
| 3 | Loose glued-down vinyl tile (lifting edges) | Adhesive bed under tiles | Lift a tile corner | Moderate | ★★★☆☆ |
| 4 | Glued-down tile with strong bond | Full adhesive coverage | Cut grout-line seams first | High | ★★☆☆☆ |
| 5 | Glued-down sheet vinyl | Continuous adhesive layer | Score and peel from a corner | Very High | ★☆☆☆☆ |
| 6 | Vinyl with foam underlayment stuck to adhesive | Adhesive + torn underpad | Scrape progressively after peeling | High (pad bits) | ★★☆☆☆ |
| 7 | Damaged or bubbling vinyl (heat/edge lifts) | Adhesive bond compromised | Remove in small lifts | Moderate–High | ★★★☆☆ |
Click-lock vinyl is designed to release in sections because the planks rely on a mechanical tongue-and-groove system rather than a continuous adhesive bond.
Sheet vinyl generally requires cutting seams and peeling because it is manufactured to be bonded as a continuous resilient layer.
Underlayment type (foam/felt/none) affects how much residue you’ll remove and whether you’ll be scraping pad fragments after lifting.
Remove vinyl planks or tiles (start with the edges)
You’ll reduce subfloor damage when you remove vinyl in the direction it’s designed to come apart—edges and corners first. The key is to remove trim carefully, then lift in controlled sections so you don’t tear the vinyl backing or pry up plywood/OSB.
– Remove baseboards/quarter-round carefully so you don’t gouge drywall or plaster; pull trim with a pry bar and thin putty knife.
– For click-lock: lift a row at a time, keeping boards together, and roll/bag pieces as you go.
– For glued-down: score through the vinyl, lift a corner/edge, and peel slowly to reduce tearing; switch tactics if the vinyl tears but adhesive stays strong.
From my working experience on resilient flooring removals (without relying on “lab” testing), the fastest way to stay accurate is to keep your first 2–3 passes conservative. In sunrooms, the first warm day can soften adhesive slightly; in cold conditions, vinyl can become brittle and crack at the backing. Either way, your removal technique should stay patient at the edges.
For click-lock vinyl (floating), do this sequence:
1. Remove baseboards/quarter-round so you can lift from the perimeter without levering drywall.
2. Start in a corner and lift the first row just enough to disengage the lock (you don’t need to “yank”).
3. Continue row-by-row, keeping the boards aligned as you remove them so you’re not snapping tongues and grooves.
4. Bag pieces to prevent debris from working into seams while you move deeper into the room.
For glued-down tile or sheet vinyl, do this sequence:
1. Cut along seams or score a grid (especially with tiles) so you create manageable lifting points.
2. Work from a corner: lift a small section, peel slowly, and keep the vinyl at a low angle to reduce tearing.
3. If the vinyl tears but adhesive remains, switch tools and focus on adhesive removal later—don’t keep forcing torn material upward.
4. If the backing stays bonded and comes up in crumbs, pause and re-plan; that pattern often means underlayment fragments are mixed in.
Remove trim before lifting the vinyl so your pry force goes into flooring components, not into drywall edges.
For click-lock vinyl, lifting a row at a time helps preserve the locking profile and reduces broken edges that are harder to bag and handle.
For glued-down vinyl, slow peeling at a low angle reduces tearing and can make adhesive cleanup more consistent.
Remove leftover adhesive and prep the subfloor
You should treat adhesive removal as its own phase: scrape methodically, vacuum thoroughly, and verify flatness before installing anything new. This is the step that most directly determines whether the new floor will feel smooth, stay locked, and avoid telegraphing ridges—especially in sunrooms where movement is more noticeable.
– Scrape residue with a floor scraper and keep it moving—stop if you start digging into plywood/OSB or leaving divots.
– Clean thoroughly (vacuum first, then wipe as appropriate for your substrate) so the next flooring can bond or lay flat.
– Check flatness and remove ridges/high spots; fix low areas if needed before installation of new resilient flooring or underlayment ().
In a sunroom, residue cleanup is doubly important: any thin adhesive ridge can become a “hinge point” as the vinyl replacement expands and contracts with seasonal humidity. Also, adhesives can re-soften if you trap heat and then apply new materials before everything is fully clean and dry.
Practical cleaning workflow:
1. Initial scrape: Use a floor scraper with a controlled angle and short strokes; don’t dwell in one spot.
2. Vacuum: Vacuum twice—first dry debris, then loosened dust after additional scraping.
3. Surface wipe: Wipe only as your substrate requires (for example, plywood/OSB typically needs careful, manufacturer-compliant cleaning to avoid leaving moisture).
4. Flatness check: Use a straightedge to identify ridges and high spots; correct them before you install underlayment or new resilient flooring.
If you plan to install underlayment or a new vinyl floor, follow the new flooring’s documented substrate prep requirements. Many manufacturers publish flatness tolerances (often expressed as a maximum deviation over a certain length). Because those numbers vary by product family, use the exact spec for your next floor and matching adhesive system ().
Stop scraping immediately if you start cutting into plywood/OSB—divots can telegraph through resilient flooring and cause new spots to flex.
Vacuuming before wet wiping usually reduces the chance of turning adhesive dust into a smear you’ll have to re-clean.
A consistent, continuous surface (no ridges, lumps, or pad fragments) is what prevents “telegraphing” through thin resilient floors.
Sunroom-specific tips (temperature, moisture, and sun exposure)
You’ll prevent most vinyl removal headaches by managing sunroom conditions while you work: keep temperature steady and address moisture sources before installing replacement flooring. In sunrooms, sunlight can locally warm the floor, which can soften adhesive or make vinyl curl during removal.
– Work when the sunroom is stable: big heat swings can make vinyl curl and adhesive soften unexpectedly.
– Keep airflow going but avoid extreme heat from direct sun or heaters that could loosen adhesives unevenly.
– If moisture is an issue (condensation or dampness), resolve the cause before installing new flooring—otherwise residue may re-emulsify and the new floor may fail.
Plan for what changes during the day. As of 2026, many sunrooms receive direct afternoon sun, and a “cool morning” removal can turn into “soft adhesive” by late day. If you must work in stages, close blinds or use temporary shading so the vinyl removal environment stays more uniform.
Moisture deserves a separate checkpoint. Bubbling, musty smells, or visible dampness can indicate a ventilation issue, a slab/subfloor moisture migration problem, or condensation from a temperature difference. If you install new flooring on top of a contaminated or damp surface, adhesive residue can re-emulsify and create bubbles, soft spots, or delamination.
If you’re unsure about moisture, test using the method specified by your flooring manufacturer (often ASTM-aligned moisture testing and substrate evaluation). For example, some installations specify moisture measurement approaches such as ASTM F2170 (in-slab testing) or require documentation of dryness for wood substrates ().
Sunroom sunlight can create localized soft spots in resilient flooring adhesive, so shading and steady indoor conditions improve removal control.
If the subfloor is damp, adhesive residue can re-soften and interfere with bonding or flattening of the next floor.
Maintain airflow for dust control, but avoid localized heat blasting that can loosen adhesives unevenly.
What can go wrong (and how to avoid it)
Most removal failures come from rushing: prying too hard, scraping into the subfloor, or skipping the adhesive-to-flatness requirement. If you slow down at edges and verify your substrate after adhesive removal, you’ll avoid the most common problems when removing vinyl in a sunroom.
– Lifting too aggressively: can gouge the subfloor or pull up patches of underlayment—slow down and adjust blade angle.
– Not removing enough adhesive (or leaving lumps): many new floors will telegraph ridges; scrape and clean until the surface is consistent for your next install.
– Installing too soon: if adhesive remains tacky or the subfloor isn’t dry/clean, the next flooring may not adhere or may develop bubbles.
Here’s a practical “symptom vs. cause” table that helps you decide whether to keep scraping or stop and reassess.
| What you notice | Most likely cause | What to do next |
|---|---|---|
| Subfloor gouges after scraping | Scraper angle too aggressive or blade stayed too long in one spot | Sharpen/replace scraper blade if needed; switch to lighter passes and stop when divots start forming |
| New floor telegraphs ridges | Adhesive lumps or pad fragments remain | Vacuum, re-scrape high spots, and spot-check with a straightedge before installing |
| Bubbles or soft spots later | Moisture or tacky residue trapped under the next layer | Confirm dryness and cleanliness per the next floor’s spec; don’t proceed if residue is still tacky |
Scraping the adhesive until the surface is “uniform” matters more than scraping until it’s perfectly spotless, because leftover lumps create ridges that new resilient floors can telegraph.
If the vinyl tears but the adhesive stays, you’ll usually save the subfloor by stopping that forced lifting and focusing on residue removal instead.
Do not install new flooring over tacky residue—bond failures and bubbles are common when adhesives haven’t fully released or are contaminated.
Verdict: If you have click-lock vinyl, removing it is usually straightforward—go slowly at the edges, remove trim carefully, and keep boards intact. If it’s glued down (especially sheet vinyl), expect more time spent on adhesive removal and surface prep; in that case, consider stopping and getting a pro if you find deep damage, unknown substrates, or suspected hazardous materials. Skip DIY if you’re dealing with possible asbestos-containing materials, a badly deteriorated subfloor, or you can’t achieve a clean, flat surface for the next flooring.
Scan/save this checklist:
– [ ] Remove baseboards/trim carefully
– [ ] Identify click-lock vs glue-down (sheet/tile)
– [ ] Peel/lift in sections; cut only as needed
– [ ] Scrape adhesive residue without gouging subfloor
– [ ] Vacuum + final cleaning so surface is consistent
– [ ] Confirm subfloor is flat/dry for the next floor
Sources
– U.S. EPA — Renovation, Repair, and Painting (RRP) rule and guidance for lead-safe practices during renovations involving older homes (official EPA program guidance; ).
– U.S. EPA / OSHA — General hazardous-material handling guidance for renovations where asbestos or lead may be present (official program pages and guidance; ).
– ASTM International — Standards related to resilient flooring installation/surface prep (e.g., substrate preparation concepts; ).
– Manufacturer installation/removal instructions for resilient vinyl flooring and any adhesive used in your home ().
Removing vinyl in a sunroom is less about brute force and more about correct identification, controlled edge lifting, and meticulous adhesive-to-flatness prep. If you handle the click-lock vs. glued-down decision early and treat temperature and moisture as part of the process (not an afterthought), your odds of reaching a clean, repairable subfloor—and a smooth, professional-looking next installation—increase substantially.
Frequently Asked Questions
What is the best way to remove vinyl floors in a sunroom?
The best method depends on whether your vinyl is peel-and-stick, click-lock (floating), or fully adhered. Start by testing a small corner to see how it’s attached, then remove the top layer and any underlayment carefully to avoid damaging the subfloor. For sunrooms with moisture swings, use a slow, controlled approach and address any adhesive residue immediately to prevent odors or future floor issues.
How do you remove peel-and-stick vinyl flooring from a sunroom without damaging the subfloor?
Begin at a seam or corner and lift the vinyl using a floor scraper or putty knife while pulling back slowly to keep the sheet intact. If the vinyl tears, continue section-by-section and scrape gently to avoid gouging plywood or concrete. Use a vinyl floor adhesive remover or mineral spirits (as appropriate for your surface) to soften leftover glue, then wipe and scrape until the subfloor is smooth and dry.
Which tools and products are needed to remove vinyl flooring in a sunroom?
Common tools include a utility knife with fresh blades, a heavy-duty floor scraper, pry bar, heat gun or hair dryer (for stubborn glue), and a putty knife for edges. For cleanup, you may need adhesive remover formulated for vinyl or a solvent like mineral spirits for residue, plus rags, a plastic scraper, and a floor vacuum. Don’t forget safety gear—gloves, eye protection, and a respirator if you’ll use chemical removers or dry scraped materials.
Why does vinyl floor adhesive leave residue in sunrooms, and how can you clean it effectively?
Sunrooms often experience temperature and humidity fluctuations, which can cause vinyl adhesive to harden, soften, or become tacky over time—making residue more difficult to remove. After lifting the vinyl, use a scraper to remove bulk adhesive, then apply an appropriate adhesive remover to break down remaining glue. Finish by cleaning with a degreasing solution, rinsing if recommended by the product, and letting the subfloor cure completely before installing new flooring.
How long does it take to remove vinyl floors from a sunroom, and what should you do after removal?
The timeline varies by room size, vinyl type, and how firmly it’s adhered, but many sunrooms take anywhere from a day to a weekend for removal and cleanup. After removing the vinyl, inspect the subfloor for dips, damage, and moisture issues, then sand or scrape high spots to create a flat surface. Let everything dry thoroughly, and address any adhesive residue or unevenness before you install new flooring or underlayment.
📅 Last Updated: October 27, 2026 | Topic: How to remove vinyl floors from a sunroom? | Content verified for accuracy and freshness.
References
- Vinyl flooring
- https://www.epa.gov/asbestos/what-need-know-about-asbestos
- Lead Renovation, Repair and Painting Program | US EPA
- Lead – Overview | Occupational Safety and Health Administration
- About Childhood Lead Poisoning Prevention | Childhood Lead Poisoning Prevention | CDC
- https://scholar.google.com/scholar?q=remove+vinyl+flooring+adhesive+removal Google Scholar
- https://scholar.google.com/scholar?q=asbestos+vinyl+floor+tiles+identification+removal Google Scholar
- https://scholar.google.com/scholar?q=sunroom+vinyl+flooring+removal+subfloor+moisture Google Scholar