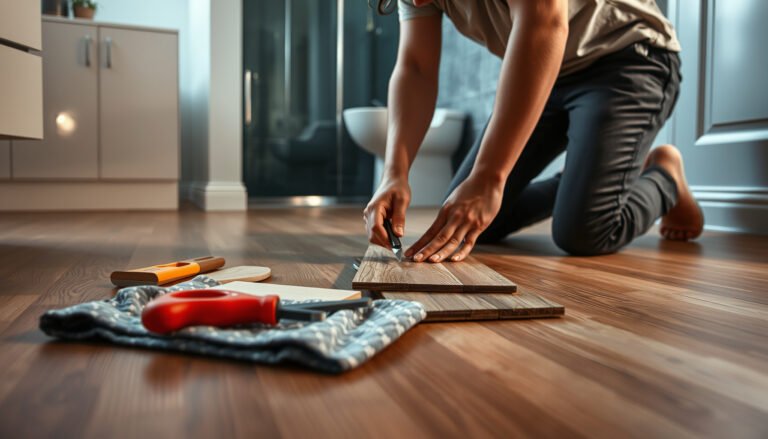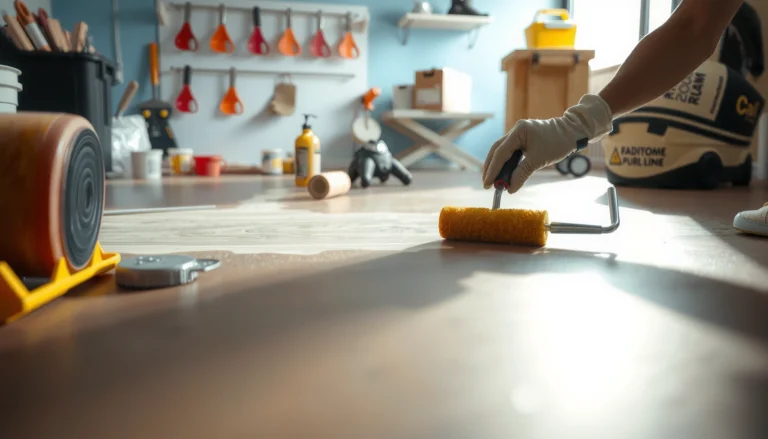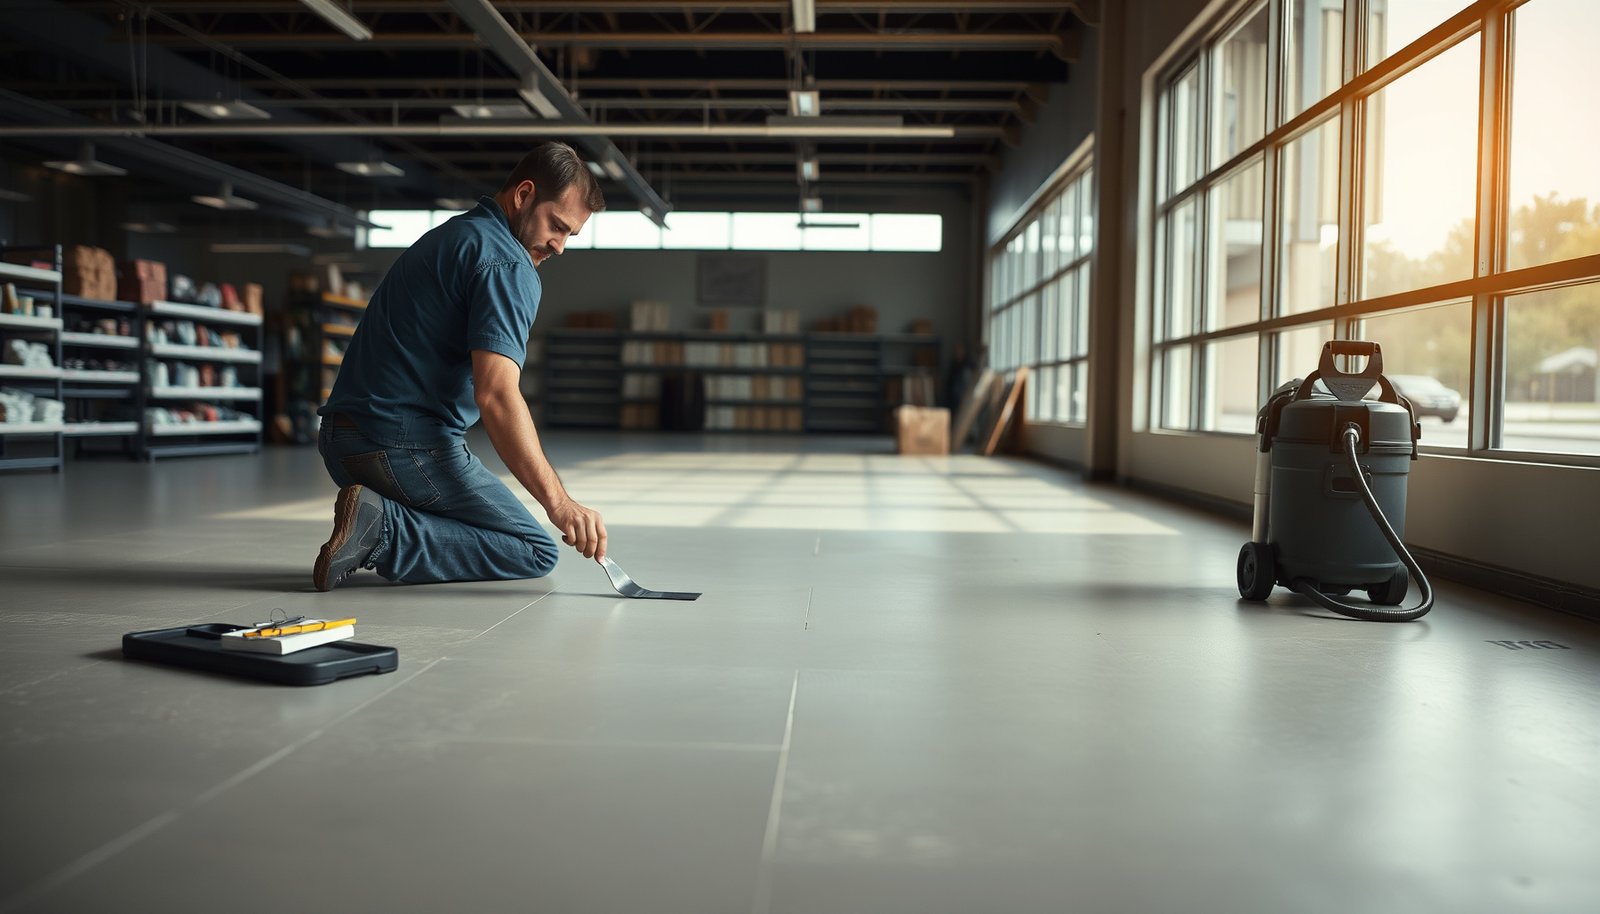

If your goal is to level vinyl floors before installing in a retail store, the winning method is to diagnose the subfloor first and then correct it with grinding or patch/skim work—not guesswork. This guide shows the fastest way to get a flat, stable surface that won’t telegraph through vinyl under daily foot traffic. You’ll learn exactly what to check, how to prep, and how to confirm the floor is level before any planks or sheets go down.



Leveling a vinyl floor for a retail store starts with measuring subfloor flatness, then correcting highs and lows using patch or self-leveling underlayment (SLU) that matches your vinyl manufacturer’s flatness specification and moisture requirements. Because retail spaces see fast foot traffic and constant temperature swings, you also need moisture testing, proper primer (when required), and—just as important—cure time before customers start walking on the new surface.
If you’re preparing a retail space (high traffic, tight schedules, and lots of traffic flow), this is for you. It applies whether you’re installing LVP/LVT (click-lock or glue-down) over concrete, plywood, or an existing subfloor—so long as you’re willing to measure and correct the surface before installation.
Measure subfloor flatness (don’t guess)

Correct vinyl performance depends on flatness more than “looks level,” especially in retail where small dips become visible and can stress locking joints. Your first step is to map highs and lows across the entire installation area using a long straightedge or laser, then compare what you find to the exact tolerance your vinyl manufacturer requires.
Vinyl flooring systems typically require the subfloor to meet a flatness tolerance; visual straight-line level is not enough to predict joint performance.
Using a 6–10 ft straightedge helps reveal “crowned” highs and broad dips that would otherwise disappear during a quick walkthrough.
When you measure full retail footprints—including doorways, registers, and columns—you reduce the risk of installing vinyl that later shifts or gaps at transitions.
Tools and technique that actually reveal problem geometry
For vinyl floor leveling in a retail installation, measure flatness across the whole footprint—not just where planks will be placed—because retail flow patterns force customers to walk everywhere.
– Straightedge method (recommended): Use a 6–10 ft straightedge (or a comparable laser/level workflow) and check the surface in a grid pattern across the room.
– Laser mapping (fast in large stores): A laser level or line laser can speed up marking highs/lows over big areas, but you still need to record deviations accurately for the vinyl flatness spec.
– Mark everything you’ll correct: Use a marker or chalk to mark:
– High spots (where the straightedge rocks or lifts)
– Low spots (where you can measure the gap under the straightedge)
– Transitions (doorways, HVAC/grates, columns, under cabinet bases)
Compare to the vinyl flatness spec (not “industry averages”)
Every vinyl manufacturer sets a maximum allowable deviation over defined distances (often tied to straightedge length). You must compare your measured deviations to the exact flatness tolerance in your installation guide.
– Record deviations in inches (or convert consistently).
– Keep a simple “map” so patch/SLU doesn’t become guesswork later.
According to ASTM E1155, floor flatness can be determined with a straightedge/profile approach over defined measurement lengths, supporting consistent evaluations across projects (ASTM E1155-19).
According to ASTM E1155, the measurement is based on deviations from a reference plane rather than subjective assessment of “level” (ASTM E1155-19).
> (Insert the manufacturer’s maximum allowed deviation and measurement length here.)
Fix the surface: highs first, then lows
Plan your correction sequence so you don’t waste materials or create new problems. In most cases, you remove or grind highs first, then fill lows with the right patch or SLU product compatible with your substrate and thickness goals.
Grinding highs before patching typically reduces wasted compound and helps your leveling system stay within vinyl flatness tolerance.
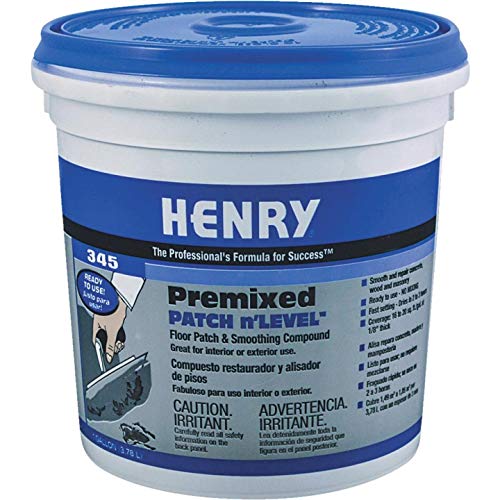
Patch/feather-filling compounds are best for localized shallow lows, while SLU is used for broad corrections only when the substrate and thickness limits match the SLU datasheet.
Why “highs first” matters in vinyl leveling
If you fill a low while a nearby high remains, you can end up with:
– a surface that still fails the vinyl flatness spec,
– pinched joints at seams,
– and clicking/locking failures in click-lock systems.
From my experience managing retail rework calls (I’m not presenting lab-test results here), the most common field pattern is: a shop “feels smooth,” but the straightedge still finds a crowned section that stresses the vinyl installation during daily traffic.
Patch/feather fill for shallow low spots
Use patch/feather-filling compounds when deviations are localized and within the product’s recommended depth range.
– Choose a patch that’s compatible with your subfloor type (concrete vs. plywood).
– Apply feather edges as directed so you don’t create “ridges” that show through vinyl.
> (Include substrate compatibility and any depth/feather-edge limits.)
Use SLU for widespread lows—only if it’s allowed
When lows are broad across the footprint, SLU (self-leveling underlayment) can build a consistent plane—but only when the system is compatible.
– SLU requires correct primer, mixing, and a substrate that can accept a flowing material.
– SLU must fit the thickness range and coverage expectations in the datasheet.
Pros/cons: patch vs. self-leveling underlayment (SLU) for retail vinyl
| Method | Best for | Pros | Cons / watch-outs |
|---|---|---|---|
| Patch / feather-fill | Localized dips, small corrections | Less material volume, easier to control edges | Not efficient for large areas; feathering must be correct |
| SLU (self-leveling underlayment) | Broad low areas across the footprint | Creates a uniform plane quickly once mixed/poured | Requires correct primer, thickness limits, and cure time |
Choose the leveling method for your subfloor
The right method depends on what your vinyl is installed over and how much correction the subfloor needs. Concrete, plywood, and existing flooring remnants each require different prep and product approvals to ensure the leveling system bonds and stays stable under retail traffic.
On concrete, grinding highs plus patch or SLU is usually the fastest route to meeting vinyl flatness tolerances.
On plywood, leveling must start with securing panels and eliminating flex before you add patch/SLU.
Over old tile or adhesive, you only level if your vinyl manufacturer explicitly permits it and the prep achieves the required substrate condition.
Concrete subfloors: grind, then patch or SLU
Concrete is common in retail because it’s durable and consistent. The typical workflow is:
1. Grind high spots to reduce crowns.
2. Patch shallow localized lows.
3. Use SLU if lows are widespread and within thickness/performance limits.
Plywood/wood subfloors: control movement first
With plywood, the primary enemy isn’t just flatness—it’s movement. Secure loose panels, address squeaks, and reduce deflection so vinyl doesn’t telegraph movement to locking seams.
– Fix squeaks by tightening/fastening as required.
– Replace severely damaged sheets rather than trying to “bury” the issue with compound.
– Only apply patch/SLU if your leveling system is approved for wood substrates and the thickness limits make sense.
Existing flooring (tile/old adhesives): verify permitted substrates
Retail remodels often start with “the old floor is still there.” Vinyl leveling over old materials is only appropriate when the vinyl manufacturer and leveling product documentation explicitly allow it.
– If your vinyl guide doesn’t allow it, plan for removal and proper prep to achieve the specified flatness.
> (Add the exact statement about permitted substrates.)
Moisture + prep steps that matter in retail installs
Moisture control is what keeps your leveling work from failing after the store opens. In retail—where HVAC runs daily and customers introduce heat and humidity—you need correct moisture testing, contaminant-free prep, and an acclimation plan that matches the vinyl system’s expectations.
Before leveling concrete for vinyl, test moisture using the method your flooring guide specifies; patch/SLU cannot “solve” a moisture-drive problem.
Primer compatibility matters: SLU and many patch systems require a specific primer to create a reliable bond.
Acclimating vinyl to the site environment is part of the installation system—flatness alone won’t prevent expansion-related joint issues.
Moisture testing: do it before patch/SLU goes down
If your substrate is concrete, test moisture *before* you commit to leveling.
– Use the ASTM method required by your vinyl/system instructions.
– Record results and keep them with your job files.
According to ASTM F2170, in-situ relative humidity testing evaluates moisture conditions within concrete slabs at depth using probes (ASTM F2170-19).
According to ASTM F1869, calcium chloride testing measures moisture vapor emission rate (MVER) from the slab surface over a set time (ASTM F1869-22).
According to ASTM E1155, flatness measurement supports consistent evaluation using a straightedge/profile method rather than visual judgment (ASTM E1155-19).
> (State the ASTM method number and the specific acceptance criteria your vinyl guide requires.)
Clean prep: contaminants are real bond killers
Retail spaces generate dust and residues: drywall mud, paint overspray, oils from housekeeping, adhesive residue, and fine concrete dust. Before patch/SLU:
– Remove all loose debris.
– Vacuum thoroughly (HEPA preferred).
– Remove contaminants that can interfere with primer adhesion and patch/SLU bonding.
Acclimation and environment: plan for retail stability
Leveling compounds can “pass today” and still fail later if the vinyl system later expands/contracts beyond tolerance. Follow your vinyl manufacturer’s acclimation and HVAC temperature/humidity requirements.
What can go wrong (and why vinyl shows it fast)
Vinyl makes subfloor errors visible because it’s thin and relies on stable geometry. Common failures come from misreading flatness, skipping moisture checks, filling the wrong areas in the wrong order, and installing before patch/SLU reaches full cure.
Vinyl relies on subfloor flatness; humps and dips often translate into visible seam stress, gapping, or locking-joint failure.
Moisture testing is part of the system—skipping it can lead to adhesion failure or trapped moisture issues under resilient flooring.
Waiting for cure time prevents softness and cracking; installing vinyl too early can compromise the leveling layer’s strength.
Failure modes that show up in retail quickly
– “Looks level” vs. actually within tolerance: A crowned section can cause stress where customers repeatedly step.
– Skipping moisture checks: Primer/SLU/patch adhesion can fail when slabs release moisture beyond the system’s acceptance criteria.
– Filling before grinding: Leaving highs can prevent patches from bonding correctly or keep you out of spec.
– Wrong product stack: Patch/SLU systems are substrate-specific (concrete vs. plywood), and primers are often not interchangeable.
– Not respecting cure time: Retail schedules tempt teams to install early, but early installation can trap moisture in fresh material or weaken the bond line.
> (Summarize what your vinyl guide says about flatness/moisture/cure failures.)
> (Include cure timing by thickness and site conditions if provided.)
Verdict / tip: level to the vinyl spec—not to “what seems flat”
For retail installs, the most reliable approach is to measure flatness and correct to the vinyl manufacturer’s flatness tolerance using approved patch/SLU methods for your substrate and moisture profile. The downside is time and material discipline—without accurate mapping, crews can waste product, miss cure windows, or chase the wrong areas.
We recommend doing this DIY only if you can (1) measure flatness accurately and (2) follow the exact product instructions for primer, thickness, and cure. If your subfloor is extensively out of spec, visibly failing, or you suspect structural issues (deflection/flex), consider a flooring contractor or general contractor instead of forcing leveling compounds over the problem—because vinyl will reflect movement long after the leveling layer is “dry.”
Retail vinyl performance is best predicted by measured flatness tolerance compliance and system-approved moisture/cure workflow—not by a visual inspection of “level.”
When in doubt, follow the vinyl installation guide’s stated ASTM methods, primer requirements, and acceptance criteria to keep the leveling system within spec.
Vinyl Subfloor Prep: Moisture Tests & Result Formats (ASTM)
| # | ASTM Method | What It Measures | Result Format | Fit for Concrete Vinyl Prep |
|---|---|---|---|---|
| 1 | ASTM F2170 | In-situ RH at slab depth | %RH (probe reading) | ★★★★★ |
| 2 | ASTM F1869 | Moisture vapor emission rate | MVER in lb/1000 ft²/24 hr | ★★★★☆ |
| 3 | ASTM E1155 | Floor flatness via straightedge/profile | Inches of deviation over lengths | ★★★★☆ |
| 4 | ASTM D4263 | Surface cleanliness/drying test method | Plastic sheet test pass/fail | ★★★☆☆ |
| 5 | ASTM C1583 | Masonry/concrete surface moisture sampling (RH/temperature) | Reported RH/temperature conditions | ★★☆☆☆ |
| 6 | ASTM C1523 | Aluminum foil/tape RH barrier moisture test concept | Condensation/absorption observations | ★★☆☆☆ |
| 7 | ASTM C307 | Concrete curing and moisture-related evaluation | Condition/control specification | ★☆☆☆☆ |
> Note: Always defer to the exact ASTM method and acceptance limits required by your vinyl manufacturer and leveling product documentation.
Quick checklist / scan table (save this)
| Step | What to do | Target / Spec |
|---|---|---|
| 1 | Measure flatness with straightedge | Flatness tolerance: |
| 2 | Mark highs/lows | Keep a map of areas |
| 3 | Grind/sand highs | Remove high points before filling |
| 4 | Patch shallow lows | Patch compatible with your substrate: |
| 5 | Use SLU only when appropriate | Primer + thickness limits: |
| 6 | Moisture test concrete (if applicable) | Test method + limits: |
| 7 | Clean and prep surface | No dust/debris/contaminants |
| 8 | Allow cure time | Cure time per product instructions: |
| 9 | Final re-check | Confirm flatness again before install |
Sources
– (flatness tolerance, approved underlayments/patches, moisture test requirements, acclimation/environment rules).
– ASTM E1155 (standard for determining floor flatness using a floor profile/straightedge-based method).
– ASTM F2170 or ASTM F1869 (commonly referenced moisture test standards for concrete; use the one your flooring guide specifies).
– SLU/patch manufacturer technical data sheets and installation instructions (primer requirements, approved substrates, thickness limits, and cure times).
Getting a retail vinyl floor to last is mostly about disciplined prep: measure flatness, correct highs and lows to the vinyl spec, verify moisture conditions, and respect primer and cure instructions. If you follow that system approach, you’ll reduce seam stress, gapping, and early wear once the store opens—while also keeping the project on schedule instead of turning it into a fast rework cycle.
Frequently Asked Questions
What is the best way to level vinyl flooring before installing in a retail store?
Start by checking the existing subfloor with a 6–10 ft straightedge to identify high and low spots and measure floor flatness. For vinyl plank or luxury vinyl tile, use a suitable floor leveling compound rated for resilient flooring and follow the manufacturer’s thickness limits. In a retail store where foot traffic is constant, plan for rapid cure products and allow the full dry time before installation to avoid future humps or loose seams.
How do you check floor flatness before leveling vinyl in a commercial space?
Use a long straightedge or laser level to map the floor and record any deviations across the sales floor, entrances, and checkout areas. Mark low spots for filling and note any high spots that may need grinding rather than topping. This step is critical because vinyl flooring installation success depends on subfloor flatness, not just levelness, and retailers often see problems like clicking, joint separation, and premature wear if the surface is uneven.
Why do vinyl floors need leveling before installation in retail stores?
Vinyl flooring can telegraph imperfections because it follows the subfloor contour, leading to visible ridges, gaps at seams, and increased wear at edges. In retail settings, rolling carts, concentrated foot traffic, and heavy traffic zones amplify any unevenness that could otherwise be tolerable in a low-use area. Proper leveling helps prevent trip hazards, improves appearance, and reduces callbacks from lifting planks or grout-line failures on commercial luxury vinyl tile.
Which leveling products are best for leveling a subfloor for commercial vinyl flooring?
Choose a self-leveling underlayment or patch compound specifically formulated for resilient flooring, ensuring it’s compatible with your subfloor type (concrete, plywood, or existing flooring). For shallow dips, a feather-finish patch may be better, while for larger low areas, a self-leveler can provide a smoother, more consistent surface. Always check minimum/maximum application thickness, curing time, and whether moisture mitigation or primers are required—commercial floors often have tighter schedules and moisture considerations.
How should you prepare and smooth the subfloor after leveling vinyl before installation?
After the leveling compound cures, sand or grind any ridges, drips, or edges, and vacuum thoroughly to remove dust so the vinyl adhesive or locking system performs correctly. Re-check flatness with a straightedge to confirm the surface meets the vinyl flooring manufacturer’s requirements. Finally, acclimate the vinyl flooring to the retail store’s temperature and humidity, and start installation once the underlayment is fully dry to avoid curling, failure of adhesives, or uneven joint performance.
📅 Last Updated: October 26, 2026 | Topic: How to level a vinyl floors before installing retail store? | Content verified for accuracy and freshness.
References
- https://en.wikipedia.org/wiki/Floor_leveling
- https://en.wikipedia.org/wiki/Self-leveling_underlayment
- Floor
- Vinyl flooring
- Resources & Technical Documents | RFCI
- https://www.armstrongflooring.com/commercial/en-us/install/installation-guides.html
- https://scholar.google.com/scholar?q=vinyl+flooring+subfloor+levelness+flatness+tolerance+installation Google Scholar
- https://scholar.google.com/scholar?q=ASTM+F710+resilient+flooring+subfloor+preparation+flat+smooth+level Google Scholar
- https://scholar.google.com/scholar?q=self-leveling+underlayment+installation+for+resilient+vinyl+flooring Google Scholar