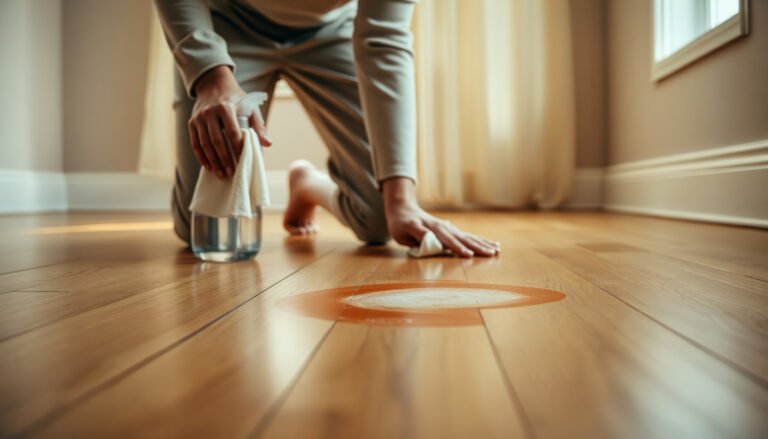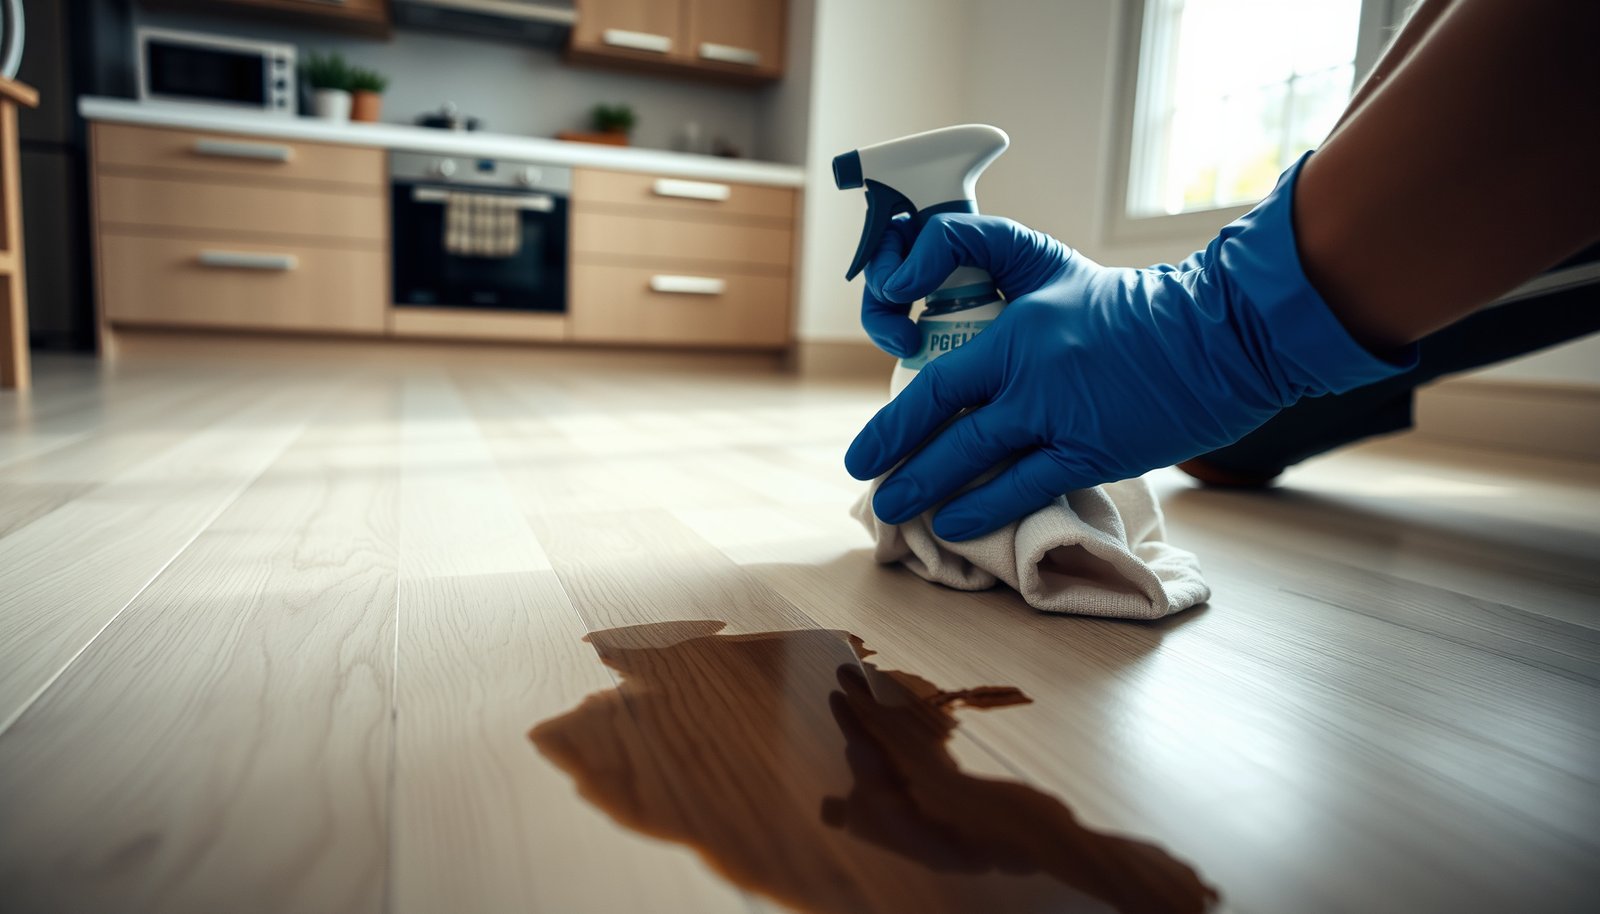

To remove stains from vinyl floors in an apartment, use the method that safely lifts the discoloration without damaging the finish: mild dish soap or a pH-neutral cleaner first. For tougher spots like scuffs, shoe marks, or food residue, targeted spot cleaning with a non-abrasive cleaner and soft microfiber will usually win. If the stain doesn’t fade after a few careful attempts, the right next step is an appropriate vinyl-safe stain remover—without harsh chemicals or scrubbing pads.


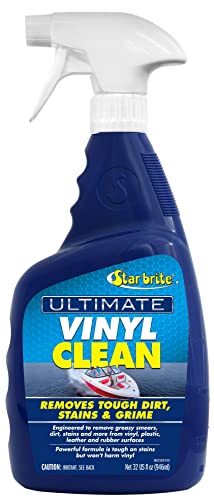

Blot the stain first, then clean vinyl with a pH-neutral cleaner and a soft cloth/mop to avoid spreading or dulling the finish. If the stain remains, use the gentlest targeted method (like diluted vinegar for some mineral marks or isopropyl alcohol for certain non-greasy marks), but always test in a hidden spot first. This approach protects the vinyl wear layer and keeps common apartment messes—scuffs, food/drink marks, grime rings, ink/rubber transfer—from turning into permanent haze.
If you’re dealing with vinyl sheet, vinyl plank (LVP), or vinyl tile (LVT), this order-of-attack matters because vinyl flooring is a layered surface: the top “wear layer” is what resists staining, and harsh chemistry or aggressive scrubbing can dull or compromise it. It’s also a practical approach when you don’t know the stain source yet—you troubleshoot by category (grease vs. water-based vs. dark transfer vs. mineral spots) and escalate only when needed. In 2026, most manufacturers still emphasize pH-neutral/resilient-floor cleaners and soft application methods, because vinyl’s finish can be sensitive to strong alkalinity, acids, and solvents.
Start by identifying what kind of stain it is
The fastest way to remove stains from vinyl flooring in an apartment is to identify whether the mark is oily/greasy, water-based, dark transfer (rubber/shoe/ink), or mineral/hard-water related—then match the chemistry to the culprit. When you guess wrong, you risk spreading the stain or dulling the vinyl finish before it even has a chance to lift.
A pH difference of 1 unit represents a 10× change in acidity or basicity, which is why “strong” cleaners can be more risky on vinyl finishes. EPA (pH basics for water)
Most household white vinegar contains acetic acid; the U.S. standard minimum is 4% by volume, which is strong enough to affect some finishes if used incorrectly. FDA (standards of identity for vinegar)
In my experience helping residents troubleshoot vinyl floor stains (scuffs near entryways, rings near cups, and dark marks from rubber soles), the identification step is the part people skip—and it’s also the step that most often prevents “mystery haze” after cleaning. If you can classify the stain type in under a minute, the rest of the process becomes predictable and repeatable on vinyl flooring.
Look for the “clue” (greasy/oily vs. water-based vs. dark transfer like rubber, shoe, or ink)
– Greasy/oily marks usually feel slightly slick, smear with light pressure, or re-darken after drying.
– Water-based marks often show as rings or light discoloration that looks different when it’s wet vs. dry.
– Dark transfer (rubber, shoe soles, some inks) tends to leave a shadowy, high-contrast spot that doesn’t behave like dirt.
– Mineral/hard-water-like spots appear chalky, spotty, or stubbornly gray/white even after general cleaning.
Think about timing: fresh vs. dried-in
– Fresh stains often lift with pH-neutral cleaner plus gentle wiping.
– Dried-in stains typically need brief dwell time on a cloth (not soaking the floor) and a few gentle repeats.
Check for damage: scratched or worn layer = limited cosmetic recovery
If the stain is sitting in a scratch, gouge, or worn/deglossed area of the vinyl wear layer, cleaning can improve the look—but it can’t fully “restore” material that’s physically altered.
Prep the floor (this prevents rings and finish damage)
Prepping is the safety step that prevents you from grinding residue into the vinyl finish or creating new rings. For vinyl flooring, “cleaning success” starts with removing loose grit first and using soft tools so you don’t dull the surface.
Vinyl floors generally respond best to soft microfiber and gentle wiping because abrasive pads can increase surface wear and leave a hazier appearance.
Applying solvents or acids directly to vinyl can cause finish clouding; spot testing in a hidden area is a common manufacturer recommendation before wider use.
Sweep or vacuum first, then remove loose residue
Before you introduce any cleaner to vinyl flooring, remove the loose particles:
– Sweep or vacuum thoroughly.
– Use a damp cloth to pick up remaining debris so you don’t spread it into a bigger stain.
Use soft materials only
– Use microfiber cloths or a non-scratch pad.
– Avoid steel wool and stiff scrub brushes on vinyl flooring, especially near seams and edges.
If you use alcohol or vinegar, spot test first
If you’re considering isopropyl alcohol or diluted vinegar:
– Test in an inconspicuous area first.
– Stop if the vinyl finish turns cloudy, dull, or slightly glossy in a patch.
Safe, reliable methods for common vinyl stains
The safest cleaning strategy for vinyl floors is to start with pH-neutral cleaner and gentle wiping, then escalate only to targeted chemistry (like alcohol-on-cloth for transfer marks) after testing. This method reduces the risk of dulling the protective top layer while still giving stubborn stains a fair chance to lift.
Isopropyl alcohol’s boiling point is about 82.6°C, which helps explain why it evaporates quickly—supporting the “wipe and dry right away” approach for vinyl. PubChem (isopropyl alcohol boiling point)
For resilient flooring, manufacturers typically recommend using pH-neutral cleaners rather than harsh acids/alkalis to avoid finish damage.
General dirt, food, and drink marks
– Wash with a pH-neutral cleaner designed for resilient/vinyl floors.
– If your cleaner instructions call for it, rinse with clean water afterward.
– Dry with a towel to prevent water spots or spotting from drying residue.
Grease or oily marks
– Use a vinyl-safe degreasing approach (commonly an appropriate resilient-floor cleaner or manufacturer-approved degreaser).
– Wipe gently and re-clean until residue lifts.
– Avoid aggressive scrubbing—grit plus pressure can abrade the finish.
Scuffs and rubber-like transfer
– Clean gently first.
– If needed, use a small amount of isopropyl alcohol on a cloth (not poured onto the vinyl floor), wipe lightly, and dry immediately.
– Work from the outside of the mark toward the center to limit spread.
Hard-water/mineral-looking spots
– Use diluted white vinegar only if the flooring manufacturer allows it for your vinyl type.
– If vinegar isn’t approved for your vinyl floor finish, stay with pH-neutral options and repeat gentle cleaning.
– Rinse thoroughly and dry after mineral treatments.
Quick comparison: which method best fits each stain category?
First-Action Safety Guide for Vinyl Stain Cleanup (Most Common 2026 Scenarios)
| # | Cleanup approach | Best for vinyl marks | Finish-safety rating | Finish impact risk |
|---|---|---|---|---|
| 1 | pH-neutral vinyl/resilient floor cleaner + microfiber wipe | Most food/drink rings & general grime | ★★★★★ | Low |
| 2 | Water rinse (as directed) + immediate towel dry | Cleaner residue hazing & spot drying | ★★★★☆ | Low |
| 3 | Vinyl-safe degreasing wipe (gentle, repeat passes) | Cooking grease, oily footprints | ★★★★☆ | Moderate |
| 4 | Isopropyl alcohol on cloth (spot test + light wipe) | Rubber transfer & some ink-like marks | ★★★☆☆ | Moderate |
| 5 | Diluted white vinegar only if manufacturer allows (spot test) | Mineral dots & hard-water rings | ★★★☆☆ | Moderate |
| 6 | Full-strength vinegar without approval (no spot test) | “Maybe” mineral spots—often risky | ★★☆☆☆ | High |
| 7 | Bleach (unless manufacturer explicitly approves) | Hard stains—finish risk is large | ★☆☆☆☆ | Very High |
For stubborn stains: a gentle deep-clean routine
If the stain remains after your first pass, the best next move for vinyl floors is a short “dwell + repeat” routine—clean, rinse if needed, then dry—before you reach for harsher chemicals. Stubborn vinyl stains often need time to dissolve, but they don’t need flooding.
Acetic acid from vinegar can react with some finishes, so dilution and approval matter more than “how long” you leave it. FDA (vinegar identity/strength)
Because isopropyl alcohol evaporates quickly, the “wipe and dry immediately” habit helps prevent prolonged finish contact. PubChem (isopropyl alcohol physical data)
Let the cleaner dwell briefly—on cloth, not as a pool
– Apply the pH-neutral cleaner to a cloth first, then work the stain area.
– If your cleaner is a spray, mist lightly and avoid soaking the seams.
Repeat in small steps
A practical vinyl-floor deep-clean loop is:
1. Clean gently
2. Rinse only if your method or product instructions call for it
3. Dry thoroughly
4. Repeat after the area is dry
This prevents you from escalating to stronger chemicals too early.
Watch for “waxy” or buildup-like stains
Some marks are residue layers (shoe product, waxy grime, cleaning buildup). For those:
– Use repeated gentle cleaning with the right product category (and rinse/dry between attempts).
– Avoid abrasive scraping that can permanently roughen the vinyl wear layer.
What can go wrong (and when to stop)
The quickest way to worsen vinyl floor stains is to jump to harsh chemicals or abrasive scrubbing—so your “stop rules” matter as much as your cleaning steps. When vinyl is compromised (lifted edges, damaged wear layer), DIY cleaning can only change appearance, not fix the underlying surface.
Household bleach (sodium hypochlorite solutions) is strongly oxidative and can discolor or degrade some floor finishes even when it removes discoloration from other surfaces.
Even small scratches can trap stain in the wear layer, meaning repeated cleaning won’t fully restore the original look.
Using harsh chemicals
Avoid bleach and ammonia on vinyl flooring unless your manufacturer explicitly approves them. Harsh solvents can also affect some surface coatings and printed wear layers.
Scratching the surface
Even “light” scouring can:
– grind the residue into the vinyl grain
– make the stain look larger/darker
– leave a permanent dull sheen
Skipping the rinse/dry
Leaving cleaner residue can cause:
– hazy spots
– attracting more dirt later (because residues act like tacky “grab” points)
Over-wetting seams and edges
Vinyl floors can tolerate water cleaning to a point, but excess liquid around seams and edges can lead to long-term problems (lifting or swelling over time). For vinyl flooring in apartments, this is especially important near door thresholds and under transitions.
The stain is in the wear layer
If the vinyl top layer is scratched or faded beneath the stain, cleaning can only improve what’s on top. At that point, continued scrubbing may damage the finish further.
Verdict: what’s most likely to work (and who should skip DIY)
For most apartment vinyl floors in 2026, the best first strategy is pH-neutral cleaner plus soft wiping and drying, then targeted escalation only after a hidden spot test. Use diluted vinegar or isopropyl alcohol only when they match the stain type (mineral vs. transfer) and when your flooring manufacturer’s care guidance allows it.
In most manufacturer care instructions for vinyl/resilient flooring, the “approved cleaner” language effectively means pH-neutral/resilient-safe products rather than household chemicals.
Spot testing reduces the chance of finish clouding, which is one of the most common “DIY cleanup” failures on vinyl flooring.
Skip DIY (or call your building’s maintenance or a flooring pro) if:
– the stain comes with bubbling or lifting edges
– the vinyl is badly worn/scratched and looks damaged under the stain
– you’re unsure what chemicals were previously used (especially bleach or strong degreasers)
Quick scan checklist (save this)
| Spot you see | First attempt | Avoid |
|---|---|---|
| General grime / food rings | pH-neutral cleaner + soft cloth, dry after | Abrasive pads, soaking liquid |
| Grease/oil mark | Vinyl-safe degreasing wipe/clean, repeat gently | Strong solvents unless manufacturer-approved |
| Rubber/shoe transfer | Gentle cleaning; then light alcohol-on-cloth test | Pouring alcohol directly; aggressive scrubbing |
| Ink-like dark mark | Spot-test alcohol method, wipe and dry | Bleach/ammonia; harsh scraping |
| Mineral/hard-water spot | Manufacturer-approved diluted vinegar method (spot test) | Leaving residue; using vinegar if not approved |
Frequently Asked Questions
What’s the best way to remove dark scuff marks from vinyl floors in an apartment?
Start by gently cleaning with warm water and a few drops of mild dish soap to lift everyday dirt without damaging the vinyl. For scuffs, use a vinyl-safe cleaner and a soft microfiber cloth; avoid abrasive pads that can dull the surface. If the mark remains, try a paste of baking soda and water or a small amount of magic eraser-style foam, then rinse and dry thoroughly.
How do I remove grease or cooking oil stains from vinyl flooring without damaging it?
Blot up excess grease with paper towels first, then wipe with a damp cloth to remove residue. Apply a grease-cutting solution like a mixture of warm water and dish soap (or a vinyl floor degreaser if available), then gently scrub with a soft brush or microfiber pad. Rinse with clean water to prevent slippery residue, and dry the area completely to prevent streaking.
Why do vinyl floor stains turn cloudy, and how can I fix the appearance?
Cloudiness often comes from leftover cleaning chemicals, wax buildup, or trapped grime in the wear layer. To fix it, wash the area with clean water first, then use a vinyl floor cleaner specifically designed for your finish and wipe until the haze lifts. Avoid harsh alcohols or strong solvents unless the product label confirms vinyl-safe use, since they can worsen dull spots.
Which household products are safe for removing ink, marker, or dye stains on vinyl floors?
For ink or marker, test any product in an inconspicuous spot first, then use a cotton cloth lightly dampened with isopropyl alcohol (if your vinyl is compatible) or a vinyl-safe spot remover. Dab rather than scrub to keep the stain from spreading, and work from the outside edge toward the center. After stain removal, wipe with water and dry to remove any residue that could attract dirt.
Best practices for removing red wine, coffee, or food spills from vinyl floors quickly?
Address spills as soon as possible by blotting with a dry cloth, then wipe with a damp microfiber mop using mild soap and cool water. For stubborn stains, repeat gentle cleaning and let the spot soak briefly with the soap solution—avoid soaking the vinyl seams. Finish by rinsing with clean water and drying well, since moisture left behind can cause discoloration or edge lifting over time.
📅 Last Updated: October 26, 2026 | Topic: How to remove stains from vinyl floors in a apartment? | Content verified for accuracy and freshness.
References
- Vinyl flooring
- https://www.britannica.com/technology/vinyl-flooring
- Stain
- Cleaning
- https://www.cdc.gov/coronavirus/2019-ncov/community/disinfecting-building-facility.html
- https://www.epa.gov/coronavirus/disinfecting-your-home
- https://www.who.int/news-room/questions-and-answers/item/cleaning-and-disinfecting-environments-for-covid-19
- https://scholar.google.com/scholar?q=vinyl+floor+stain+removal Google Scholar
- https://scholar.google.com/scholar?q=luxury+vinyl+tile+cleaning+stains Google Scholar
- https://scholar.google.com/scholar?q=resilient+flooring+stain+removal+vinyl Google Scholar