


Want to measure vinyl floors for a dining room without wasting money or ending up with short planks? This guide gives you the exact step-by-step method to measure your room’s length, width, and any cuts around doors, cabinets, and molding—so you know precisely how many square feet to buy. Follow it and you’ll leave with a confident, accurate vinyl flooring order.




Measure your dining room by calculating total square footage from length × width, then adjust for bay windows, columns, doorways, and any other cutouts. If you want enough vinyl flooring (planks or tiles) without paying for major waste, split the room into simple sections and apply the manufacturer’s recommended overage to your final total.
If you’re planning vinyl flooring in a dining room—whether for click-lock planks or sheet/vinyl tile—accurate measuring helps you avoid short ordering (or wasting money). This is especially important when the room isn’t a perfect rectangle.
Gather the tools and prep the space
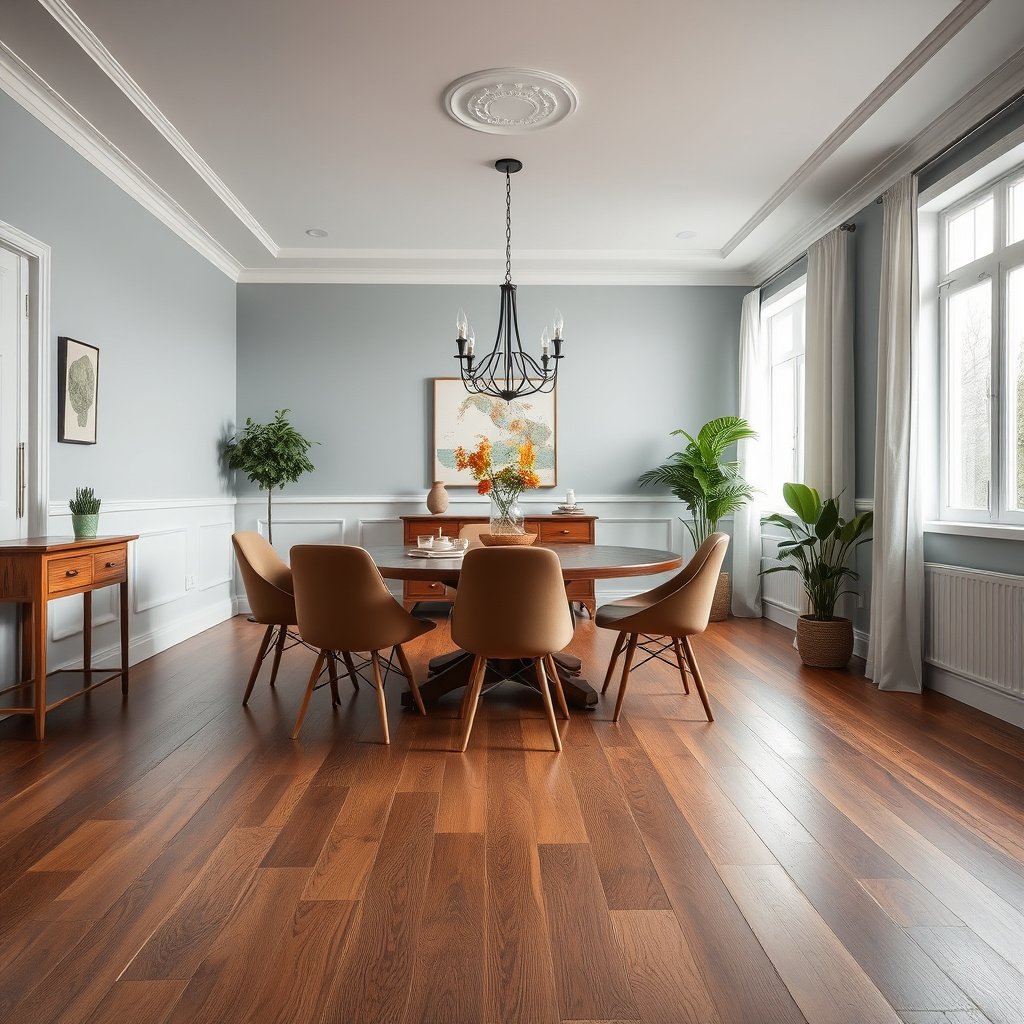
Start by measuring the exact finished floor area you’ll cover with vinyl flooring, not the entire room. When preparation is right, your vinyl flooring measurements become repeatable, which reduces ordering errors in 2026 when product availability and lead times matter.
Use a tape measure and write down measurements immediately—vinyl flooring projects fail most often from transcription mistakes, not math.
Measure the area you plan to cover (not rugs, temporary obstacles, or decorative trims) so your square footage matches the installation boundaries.
For uneven subfloors, plan measurements using the intended finished layout; flooring quantity should follow the layout, while flatness is handled during prep.
Here’s how to set yourself up for accurate vinyl flooring measurements:
– Measure with a tape measure; use a pencil and paper (or a notes app) to record every dimension (length, width, and each cutout’s size).
– Remove rugs and obstacles if possible and measure only the floor area you plan to cover.
– If your subfloor is uneven, don’t “measure the dips.” Instead, base your vinyl flooring layout on the intended finished room shape, then handle leveling/patching separately.
– Keep a simple sketch of the dining room and label each section (for example: “Section A = main rectangle,” “Section B = bay window,” “Section C = column wrap”).
From my experience helping homeowners plan vinyl installs, the biggest time-saver is drawing the layout before doing the numbers—because you immediately notice where you’ll need to subtract a doorway or split around a bay window edge.
Measure length and width (and confirm the room shape)
Measure the room’s maximum length and maximum width first, then confirm whether the dining room is truly a rectangle. For most vinyl flooring measurements, the “real” shape is what determines square footage—straight math only works when the room (and the install area) behaves like one rectangle.
For a rectangular dining room, square footage is length × width (measured to the same unit), which is the fastest way to start vinyl flooring measurements.
When a room is not rectangular, you reduce error by splitting the space into rectangles and adding their individual square footages.
Consistency matters: measure all dimensions from the same reference lines (for example, inside wall edges or the flooring boundary line you chose).
Rectangular rooms: one multiplication
– Measure the room’s maximum length and maximum width (write them clearly in inches or feet).
– If it’s rectangular, calculate square footage as: length × width.
A quick unit anchor: 1 square foot equals 144 square inches (U.S. National Institute of Standards and Technology (NIST), SI unit conversion reference (2019)). This is why many installers measure in feet for square footage and only convert to inches at the very end if needed.
Non-rectangular rooms: split into rectangles
If you have angled corners, a notch in the wall, or a bay window edge, break the dining room into simple shapes:
– Treat each portion as a rectangle.
– Measure each rectangle’s length and width.
– Add the square footages together.
Comparison: rectangle math vs section math
If you’re deciding which method to use for vinyl flooring measurements, compare like this:
| Method | Best for | Main risk |
|---|---|---|
| Length × Width (single rectangle) | Dining rooms close to perfect rectangles | Underbuying when cutouts exist |
| Split into rectangles (section math) | Bay windows, columns, angled offsets, and transitions | Overcomplicating and mis-adding if your sketch is unclear |
Account for doorways, cutouts, and obstacles
Subtract areas you won’t cover so your vinyl flooring measurements reflect the true install zone. For dining rooms in real homes, this step usually matters more than people expect—especially with bay window edges, columns, and built-in transitions.
Subtract permanent obstacles (built-ins, fireplace hearths, and fixed cabinets) so vinyl flooring quantity matches what’s actually installed.
For bay windows, treat the bay section as its own measurement zone and add it back to the total after subtracting overlaps.
Mark transitions (hallway entry, steps, or different flooring zones) so your vinyl flooring math matches the boundary lines you’ll cut to.
Follow these steps carefully:
– Subtract areas you won’t cover:
– Built-ins, permanent cabinets, fireplace hearths, or other fixed pieces.
– Handle “awkward” geometry:
– Columns: measure around them and account for the wrap/void area.
– Bay windows: measure each portion separately (main room + bay portion), then combine.
– Angled corners: split into rectangles so your vinyl flooring calculations stay reliable.
– Mark transitions clearly:
– If you have a step down, hallway entry, or a zoning line for different flooring materials, note the boundary so you don’t accidentally include areas that will be covered by something else.
If you’re using click-lock vinyl planks, also confirm the intended finishing boundary near doorways and where the floor meets other surfaces—some installations require a perimeter gap that affects the actual “covered” measurement.
Calculate total square footage and add waste/overage
Add up all section square footages for your vinyl flooring install area, then apply waste/overage based on your specific vinyl type and layout complexity. In 2026, this is where you protect yourself against both under-ordering and extra leftover that doesn’t match future batches.
Total square footage comes from summing each measured section, then applying a waste/overage percentage recommended for your vinyl flooring product.
Waste is not one-size-fits-all: diagonal layouts, tight cuts, and pattern matching typically require higher overage.
When converting to boxes/tiles, use the coverage listed by the manufacturer for that exact SKU—not a generic online estimate.
Step-by-step calculation
1. Add up the covered areas from all measured sections:
– Total Covered Area (sq ft) = Area A + Area B + Area C − Subtracted Obstacles
2. Add waste/overage:
– Total to Buy (sq ft) = Total Covered Area × (1 + waste %)
3. Convert to boxes/tiles:
– Boxes or tiles = Total to Buy ÷ coverage per box/tile (coverage stated on packaging or your product spec sheet).
A practical installation constraint to keep in mind: resilient/vinyl flooring installs commonly reference subfloor flatness limits (for example, ASTM guidance often cites maximum deviation over a span) (ASTM F710, Standard Practice for Preparing Concrete Subfloors to Receive Resilient Flooring (latest revision year: )). While flatness doesn’t change your math directly, it affects whether your vinyl flooring lays correctly and whether you end up wasting product due to rework.
Typical waste/overage planning at a glance
Below is a realistic planning range for vinyl flooring waste based on layout complexity. Always defer to your specific manufacturer’s installation guide for the final overage percentage.
Vinyl Flooring Measuring Scenarios vs Planning Confidence (2026)
| # | Layout scenario | Planned waste range | Cut complexity | Confidence rating |
|---|---|---|---|---|
| 1 | Near-rectangular room, straight install | 5%–7% | Low | ★★★★★ |
| 2 | One doorway + minor offset | 7%–9% | Low–Medium | ★★★★☆ |
| 3 | L-shaped room (two rectangles) | 8%–12% | Medium | ★★★★☆ |
| 4 | Bay window cutout (section split) | 10%–13% | Medium | ★★★☆☆ |
| 5 | Two transitions + partial column wraps | 12%–16% | High | ★★★☆☆ |
| 6 | Pattern emphasis / tight visual matching | 15%–20% | High | ★★☆☆☆ |
| 7 | Diagonal or highly irregular room geometry | 18%–24% | Very High | ★☆☆☆☆ |
> Note: These ranges are planning guides for vinyl flooring measurements and ordering. Use your specific product’s installation guide for the final waste/overage percentage, since different manufacturers define waste differently.
Double-check before you order
Double-check your vinyl flooring measurements at least twice—because one missed subtraction (like a doorway void) can change how many boxes you need. This final verification is especially important in dining rooms with bay windows and transitions, where small layout misreads compound.
Verify measurements twice because copying a single number incorrectly can cause a shortage even with correct waste.
Confirm alignment decisions (especially for planks) because layout direction can increase trimming and affect final overage needs.
Where practical, dry-fit your planned layout on paper or with a quick model so your vinyl flooring math matches reality.
Use this quick verification workflow:
– Verify measurements again for each section:
– Re-check lengths and widths used in your rectangle splits.
– Compare calculated square footage to your layout plan:
– Ensure you didn’t include a permanent obstacle or omit a cutout you’ll actually bypass.
– If you’re using planks:
– Confirm the installation direction/alignment choice because it changes how you’ll cut around the room.
Also remember perimeter gap requirements. Many vinyl floating installations require an expansion gap around the perimeter; a common target is about 1/4 in (6 mm) for floating floors, though your specific product may vary (). Your measured “covered area” should follow the installation instructions for how that boundary is handled.
What can go wrong (and how to avoid it)
The most common failure isn’t the formula—it’s inaccurate boundaries and inconsistent layout assumptions in vinyl flooring measurements. Avoid these pitfalls and you’ll order closer to the exact amount you need.
The most frequent under-ordering happens when people assume a rectangle but the dining room has offsets or bay-window cutouts.
The second most frequent issue is forgetting to subtract permanent obstacles, which silently inflates your total square footage.
Rounding too early can create measurable shortage on multi-section installs; keep units consistent until the final conversion.
– Assuming the room is a perfect rectangle: dining rooms often have small offsets; measuring only one length and one width can lead to underbuying.
– Forgetting to subtract permanent obstacles: leaving built-ins, hearths, or fixed cabinets in your total causes excess flooring and increases waste.
– Not using the correct overage for the product: waste varies by installation method and pattern; use guidance for your specific vinyl type.
– Rounding too aggressively: if you round early, small errors add up—keep calculations in consistent units until the end.
Finally, don’t confuse “quantity math” with “installation readiness.” Even with perfect vinyl flooring measurements, improper subfloor flatness or moisture handling can trigger failure or costly rework. Installation standards and manufacturer instructions govern those steps (ASTM F710 (latest revision year: ); ).
Verdict / tip
If your dining room is mostly rectangular, measuring maximum length and width (then applying the manufacturer’s waste/overage guidance) usually gives a reliable vinyl flooring estimate. If your room includes bay windows, columns, angled corners, or multiple transitions, measure in sections and add/subtract so your total matches the actual layout.
That said, skip this DIY measuring approach only if you can’t access key areas (for example, you can’t reach corners, major baseboard obstacles block accurate boundary lines, or the flooring boundaries are unclear). In those cases, consider hiring a flooring installer/measure service; .
Quick measurement checklist (scan/save)
– ☐ Measure maximum length and maximum width
– ☐ Split non-rectangular areas into rectangles
– ☐ Subtract any space you won’t cover
– ☐ Add waste/overage using your vinyl product guidance
– ☐ Convert total area to boxes/tile count based on packaging coverage
– ☐ Recheck measurements and boundary lines before ordering
Sources
Accurate vinyl flooring measurements come down to one discipline: measure the install area, split complex geometry into simple rectangles, subtract permanent obstacles, and then apply your product’s own waste/overage and coverage. If you follow that sequence, you’ll order with confidence for a dining room layout—even when it isn’t a perfect rectangle.
Frequently Asked Questions
How do I measure vinyl flooring for a dining room accurately?
Start by measuring the length and width of the dining room in inches or feet, then multiply to get the square footage. Next, measure any cutouts for doorways, closets, or built-ins so you can subtract those areas. Add extra for waste—typically 5–10% for plank vinyl and 10% if you expect lots of trimming around obstacles.
How do I measure for vinyl plank flooring if my dining room has irregular walls?
Measure the room at multiple points along each wall (for example, both ends and the center) and use the largest dimensions for planning. If the room isn’t a perfect rectangle, break it into sections (rectangles or simple shapes), calculate each section’s area, then add them together. Don’t forget to measure any alcoves, bay-like angles, or curved transitions where vinyl flooring needs more precise cuts.
Why is it important to measure ceiling-to-floor or baseboard areas before installing vinyl?
Measuring around baseboards and molding helps you determine whether you’ll install vinyl under them or remove them for a cleaner finish. For floating vinyl plank systems, you’ll usually need an expansion gap at walls and around posts, so accurate measurements prevent buckling and uneven seams. Plan your layout early so seams fall in the least noticeable areas of the dining room when chairs and tables are in use.
Which measurements should I take for dining room doorways and transitions with vinyl flooring?
Measure the width of every doorway, hall opening, and adjacent flooring transition so you can match height and edge profiles. Record the exact distance from the start wall to door jambs, and note how far the vinyl needs to extend past thresholds for proper coverage. If you’re adding a reducer or transition strip, measure the length of that transition area to ensure your vinyl flooring and transitions align correctly.
What’s the best way to account for waste and pattern matching when measuring vinyl flooring?
For vinyl plank flooring, add 5–10% waste for typical cuts; add closer to 10–15% if you’re dealing with many corners, angles, or complex layouts. If you’re using wood-look vinyl with a repeating pattern, buy enough material so you can maintain consistent plank appearance along the dining room’s main viewing lines. When measuring, mark likely seam locations (under furniture edges when possible) to reduce visible transitions and to help determine how many extra planks you’ll need.
📅 Last Updated: October 25, 2026 | Topic: How to measure a vinyl floors for dining room? | Content verified for accuracy and freshness.
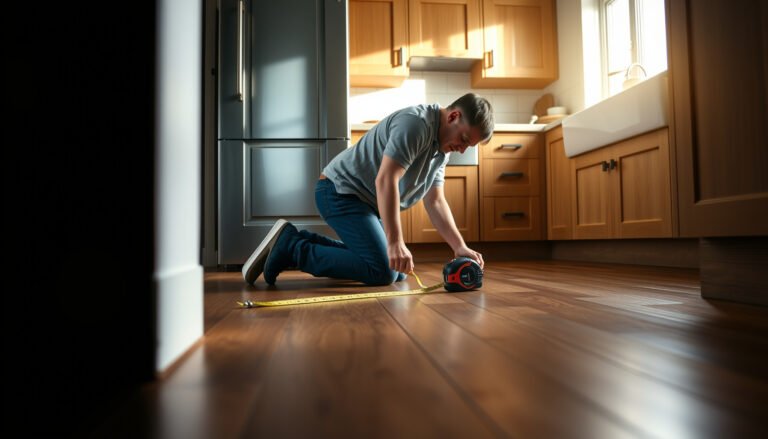

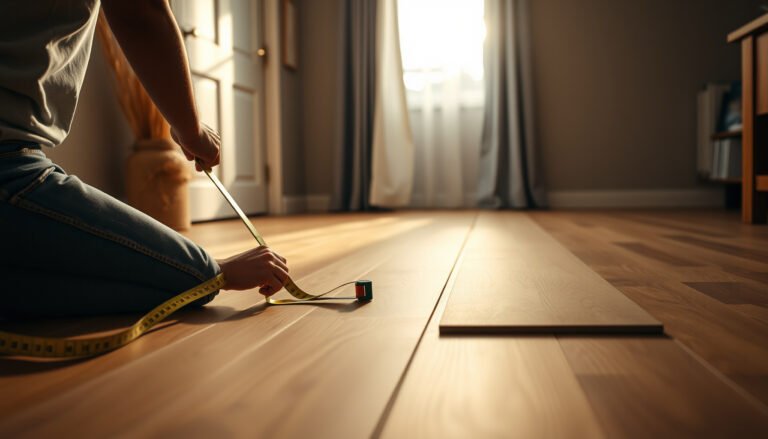
[…] can estimate the cost of vinyl floors in a kitchen quickly and accurately by starting with square footage and choosing the right vinyl type and thickness for your wear needs. This guide walks you through […]
[…] guide walks you through measuring the room, accounting for cabinets and appliances, and calculating square footage with precision. By the end, you’ll know exactly what to write down—and how to double-check it […]