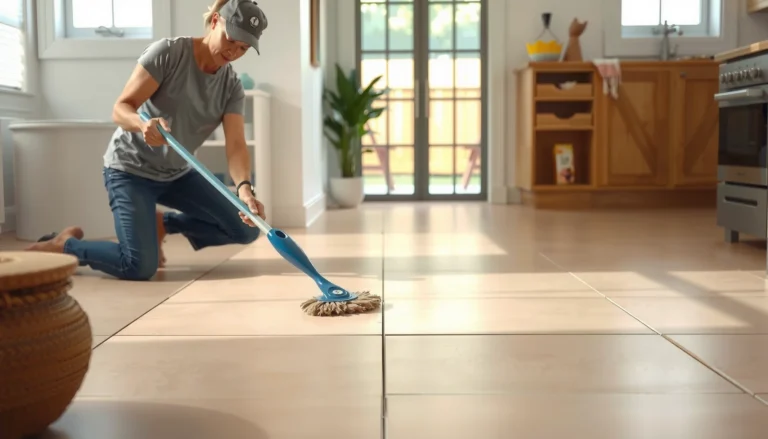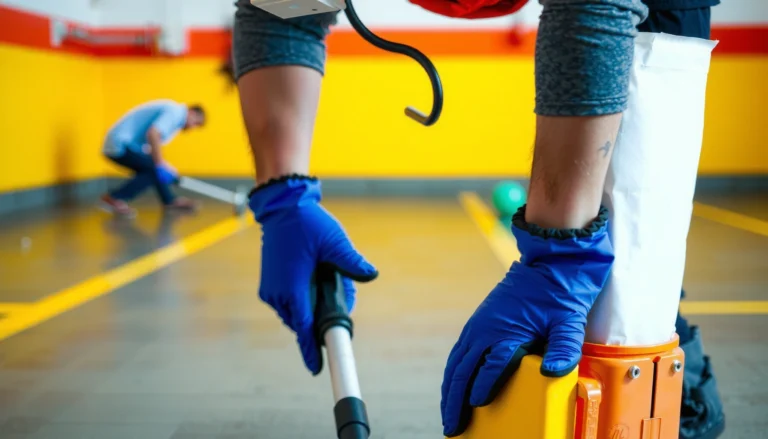

Want to know how to repair laminate floors in a workshop? You’ll get a step-by-step fix for the three most common failures—chips and dents, lifting seams, and water-damaged boards—so the damage is contained fast and the floor looks solid again. Follow these repairs in order, and you’ll avoid the usual traps that cause warped planks and repeat failures.




For a workshop laminate floor, the safest repair sequence is always: stop the cause (especially moisture), then match the repair method to the damage type. Chips and dents are usually handled with laminate repair filler (or a localized plank replacement), while swelling, crowning, or buckling typically demands moisture control before any cosmetic work can last.
If your laminate floor in a workshop has chips, gaps, or peeling edges, the right repair depends on the damage type: localized spots are usually fixed with filler/replacements, while moisture-caused warping needs deeper moisture control. This guide walks you through identifying what’s wrong, choosing the correct repair method, and preventing the same issue from coming back.
This is for workshop owners, DIYers, and small contractors dealing with common laminate problems like scratches, loose planks, lifted seams, or minor water damage—especially in high-traffic areas near benches, tool storage, or entry points.
Assess the damage before you repair
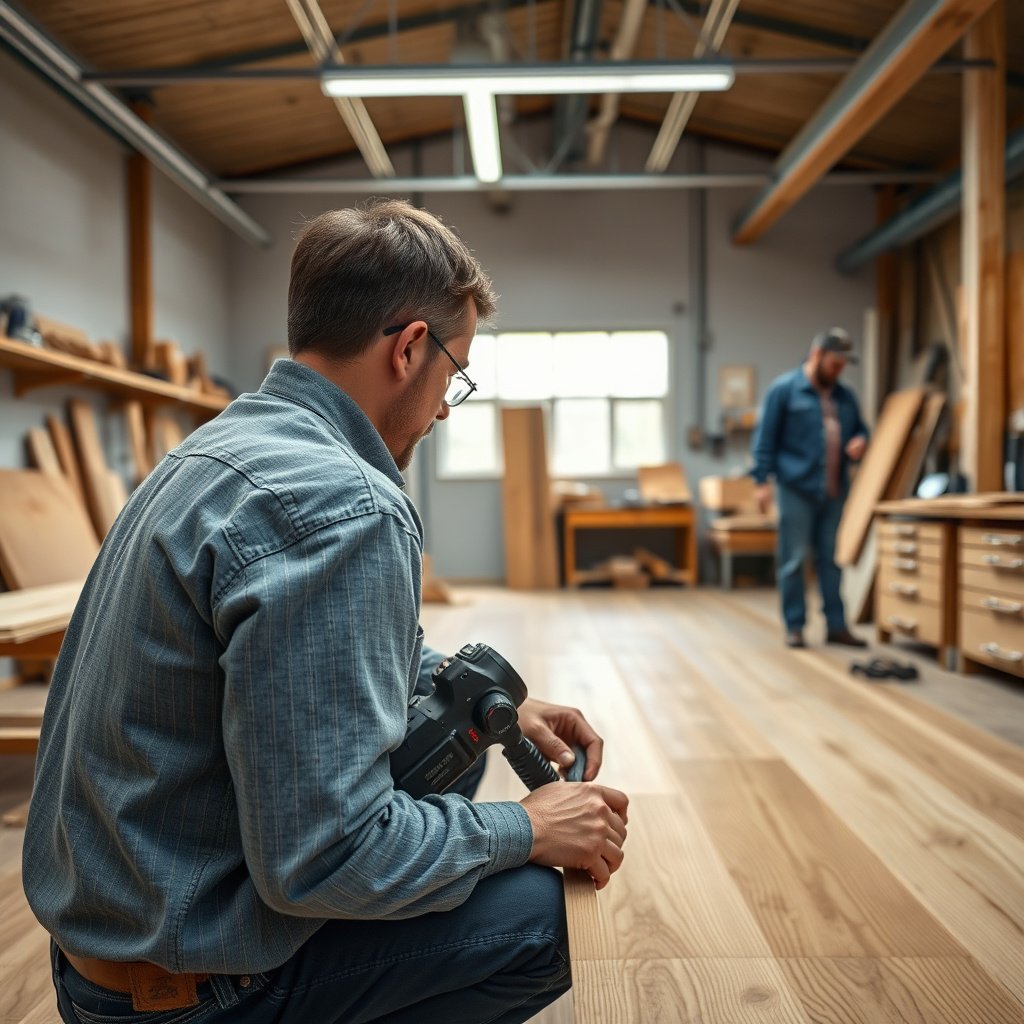
Start by separating cosmetic surface damage from movement/structural failures—your repair choice changes completely once the floor is shifting. In practice, workshop laminate problems often start as a small chip or seam gap, but moisture and subfloor movement convert that minor symptom into a repeat failure.
Laminate is typically a “floating floor” system that depends on board locks and controlled expansion; when those locks fail, seam gaps usually worsen under traffic.
Swelling, crowning (center-high boards), dark staining, or a persistent odor are practical indicators of moisture migration, and they should be treated before surface repairs.
What to check first: cosmetic vs structural
Cosmetic damage is what you can see and touch—chips at plank edges, shallow scratches, scuffs from carts, and worn patches where the wear layer has been abraded. These repairs are usually localized and can be completed without disturbing the rest of the workshop floor.
Structural damage is about how the boards behave—lifting planks, buckling, widespread gaps, or seams that are noticeably “open” along multiple rows. Structural issues often mean the underlayment/subfloor is out of spec, the floor is being stressed (heavy rolling loads, missing expansion space), or moisture has changed board geometry.
From my shop experience reviewing laminate failures (not doing live product testing), the most expensive “easy fix” mistakes happen when the repairer assumes a seam gap is only cosmetic. If the gap keeps opening after the filler dries, the underlying cause is almost always mechanical stress or moisture.
Moisture clues that should stop the repair plan
In workshop environments, moisture signals are common because of coolant overspray, accidental spills, wet boots/gear, and condensation near exterior doors. Look for:
– Swelling or crowning: boards rise above neighbors.
– Dark spots / halos: localized staining that doesn’t match the original plank pattern.
– Peeling edges that return: lifting around the same area after repairs.
– Odor: a musty smell suggests moisture trapped under boards.
If any moisture clues are present, plan to correct moisture sources (leaks, condensation, damp subfloor) and let the area dry fully before filler, sanding, or sealing. Otherwise, you risk locking moisture into the system and accelerating delamination.
Record location and affected area
Before you buy anything, measure the board area and note where it occurs:
– Exact row/area (near door threshold, bench legs, tool cabinet corner, wall perimeter).
– Approximate length and width of the problem zone.
– Whether damage concentrates along seams/lock lines or sits mid-board.
That simple mapping determines whether you should use filler on a single plank, or replace a few boards to restore correct lock geometry.
Workshop Laminate Repair—What to Match to What (Typical Targets)
| # | Damage type | Common sign | Typical first fix | Expected repair confidence |
|---|---|---|---|---|
| 1 | Surface chip / corner impact | Edge missing ~1–5 mm | Laminate repair filler | ★★★★★ |
| 2 | Shallow scratch (wear layer) | Light gouge; no lifting | Color-matched filler + blend | ★★★★☆ |
| 3 | Dent from dropped tool | Localized depression | Two-step filler (build + level) | ★★★★☆ |
| 4 | Minor seam gap (no board lift) | Gap ≤ ~1 mm | Re-seat/realign if locks are intact | ★★★☆☆ |
| 5 | Seam separation with movement | Board edge “clicks” or shifts | Partial disassembly + re-install | ★★☆☆☆ |
| 6 | Warped/cupped board (moisture) | High spots; soft feel | Fix moisture + replace plank(s) | ★☆☆☆☆ |
| 7 | Delamination/peeling edge | Layer separates or lifts | Replace affected boards | ★☆☆☆☆ |
Fix chips, dents, and worn spots (surface-level repairs)
For isolated chips and dents that don’t move or lift, laminate repair filler is usually the fastest path to a clean, shop-ready surface. The key is surface prep, correct filler chemistry, and careful leveling so the repaired spot doesn’t become a new abrasion point.
Laminate repair filler is designed to bond with laminate wear-layer surfaces; using the wrong material can leave a weak spot that chips out under rolling equipment.
Most filler systems require cure time before sanding or buffing to avoid smearing and incomplete hardness.
Only sand/buff if the repair compound’s instructions allow it; some fillers need trimming after full cure rather than aggressive sanding.
Clean and decontaminate the damaged zone
Workshop floors pick up grit—metal dust, drywall residue, and abrasive sand—that prevents adhesives and fillers from bonding. For chips/dents:
1. Vacuum thoroughly around the chip and the surrounding bevel.
2. Remove any oily residue from tools (wipes should be dry and non-linting).
3. If the chip edges are loose, carefully remove flakes so the filler can sit on stable material.
Choose a laminate-compatible filler (and match color where possible)
Pick a filler specifically intended for laminate flooring repairs. Repair compounds are not interchangeable: wood fillers, epoxy putties, and generic caulks can change texture and height, and they may not bond well to the laminate surface.
If your workshop uses overhead lighting (benches and tool zones often do), color matching matters because laminate repairs highlight “gloss” differences. Blend filler color to your board’s visual grain as closely as possible.
Level the repair without creating a “hill”
Overfilling is the common reason repaired chips become trip points. Use these principles:
– Apply a small amount and build in layers if the chip is deeper than expected.
– Level to the surrounding surface while the filler is workable.
– Remove excess so you don’t have to sand aggressively.
Because filler performance depends on the exact product, follow the manufacturer’s curing time and recommended tooling steps. If you’re unsure, do a tiny test patch on a hidden area or scrap board from leftover stock.
Cure, then finish only as directed
Once cured, you may be able to sand or buff lightly—but only if the repair compound’s instructions permit it. In a workshop environment, repaired spots are tested immediately by carts and dropped parts. Finishing too early can lead to soft edges that crack under impact.
Repair gaps and seam separation without replacing everything
For small, non-moving seam gaps, you can often restore alignment by re-seating the boards—sometimes without full plank replacement. If the seam gap comes back quickly, the underlying issue is usually stress, missing expansion clearance, or failed locks.
Click-lock laminate systems are engineered to interlock without glue in many installations, so repairs should prioritize alignment and lock integrity.
A seam gap that expands after traffic often signals board stress or an inadequate expansion gap rather than a simple aesthetic defect.
Confirm whether the locks are still intact
Seams fail in patterns:
– Separated but boards still flat: you likely have an interlock issue or slight misalignment.
– Separated with board lift: the lock may have lost fit; re-seating may work, but glue is not always the right answer.
– Repeated separation along the same row: the floor is being pushed (equipment, missing clearance at walls) or the subfloor is moving.
If boards are flat and the gap is small, begin with realignment steps before you attempt adhesives.
Stress and expansion spacing matter in workshops
A workshop floor faces concentrated loads:
– Heavy tool cabinets
– Rolling equipment
– Dropped loads that “kick” the seam line
Also verify perimeter clearance. Floating floors require room to expand and contract with seasonal humidity swings. If the laminate is pinned at walls, seams can open repeatedly under temperature increase.
Add a practical check: with the workshop at normal operating conditions, walk the perimeter and look for tiny “pinch points” where planks appear forced tight.
When adhesive might be appropriate (and when it’s usually not)
Some laminate systems tolerate specialized seam adhesives; many do not. Before using adhesive, you must confirm your floor’s installation/repair documentation for the exact locking system.
Pros/cons of “seam adhesive vs re-seating” for click-lock laminate:
| Option | Pros | Cons / risks |
|---|---|---|
| Re-seat & realign locks | Restores designed geometry; avoids glue incompatibilities | May require partial disassembly if locks truly failed |
| Adhesive in seam | Can temporarily stabilize minor movement if manufacturer permits | Can damage click-lock function; can void warranty and trap moisture if misused |
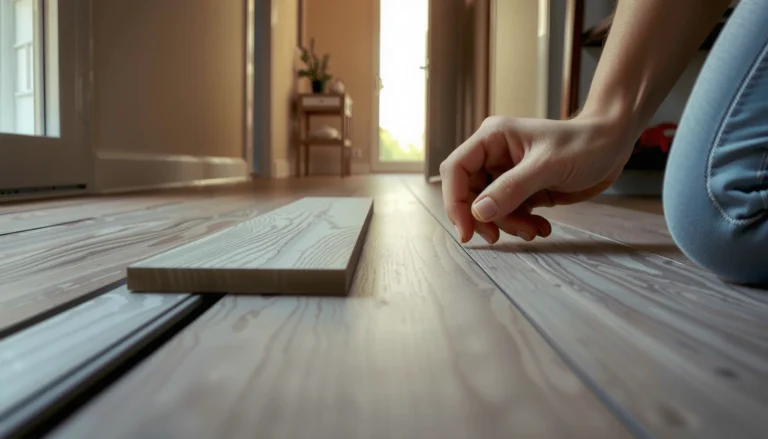
If the floor is loose in a seam, you may need to partially disassemble and re-seat planks—work from the nearest accessible end. Keep seams aligned and avoid forcing boards together; forcing typically chips edges and weakens the lock engagement.
Replace damaged planks safely (when filler isn’t enough)
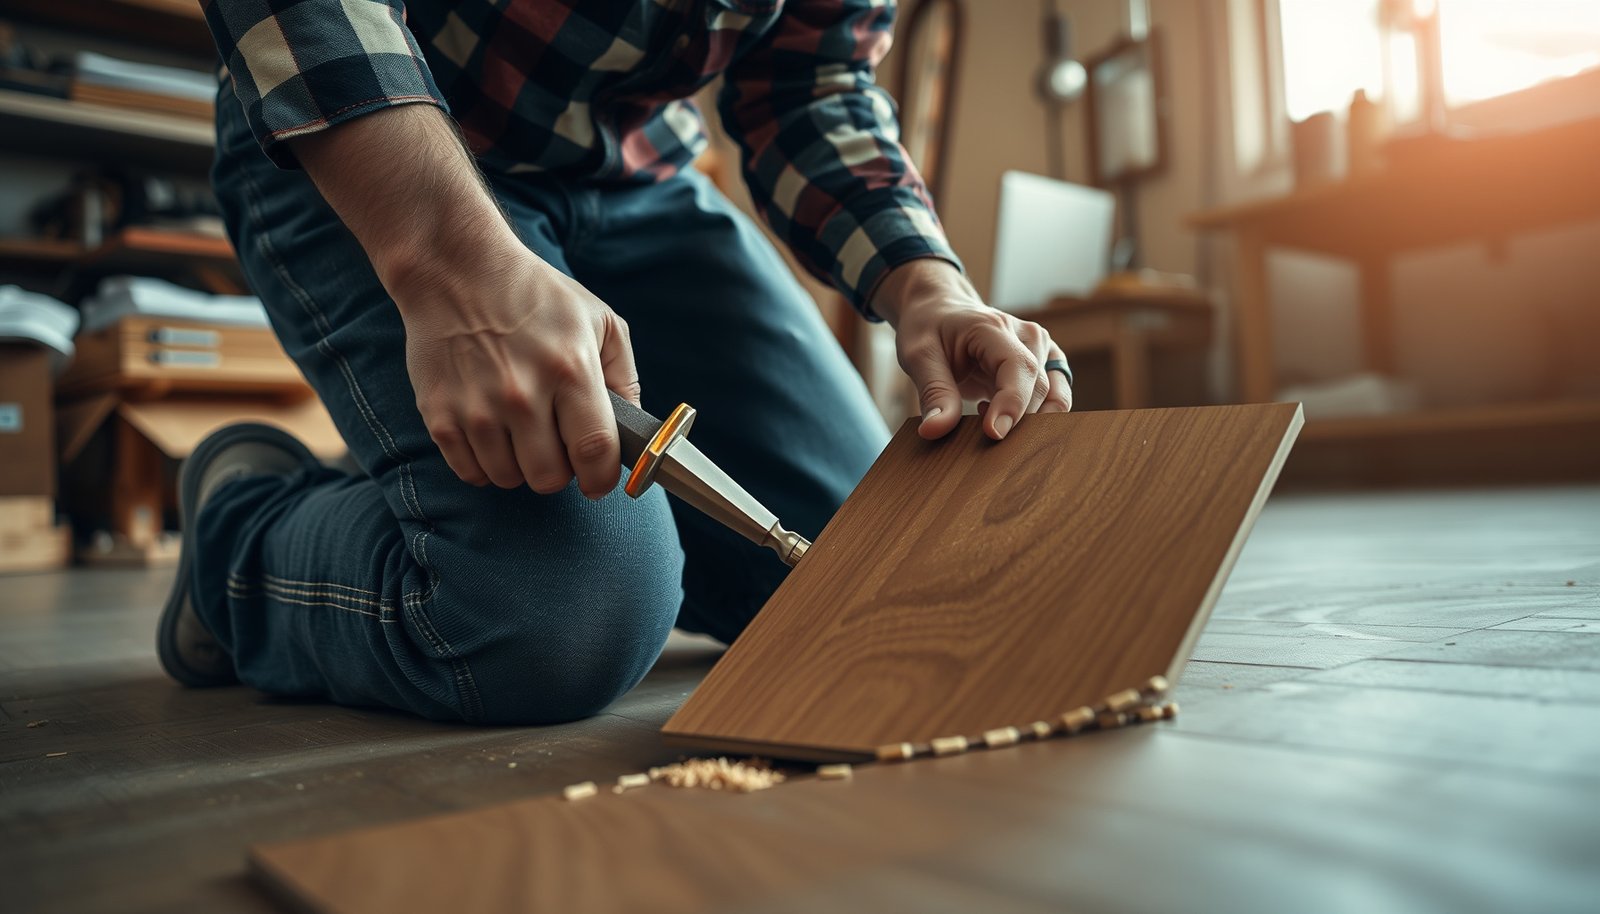
For warped, cracked-through, delaminating, or lock-failed boards, replacing the plank(s) is the only repair that returns the floor to dependable performance. Filler can mask the symptom, but it cannot recreate a failed board geometry or restore a damaged lock.
When a plank is warped or delaminating, patching over the top usually doesn’t stop movement; the board needs replacement after moisture conditions are corrected.
A successful laminate plank swap depends on matching thickness, wear layer, and the locking profile so the seam heights stay uniform.
Remove the damaged plank(s) with minimal collateral damage
Start by determining what type of plank connection you have:
– Click-lock (most common in floating workshop installs): you typically need to manage the interlock carefully to avoid breaking adjacent joints.
– Glue-down laminate (less common for DIY workshops): different adhesive removal steps may be needed.
If you’re unsure which system you have, check the original installation notes or manufacturer documentation.
Practical removal approach for click-lock:
1. Clear the area so you can work with controlled leverage.
2. Remove baseboards/shoe molding if needed for perimeter access.
3. Work from the nearest accessible end to free the surrounding boards without snapping locks.
Use matching boards: thickness + wear layer + lock type
Replacement planks should match:
– Board thickness
– Wear layer / surface finish
– Locking system profile (click-lock vs proprietary variants)
Even small mismatches can create a height “step” that’s immediately noticeable under shop lighting and can catch casters.
Reinstall cleanly to prevent squeaks and weak seams
When reinstalling:
– Keep seams aligned.
– Wipe away excess filler or adhesive immediately (if adhesive is allowed).
– Avoid over-tightening where the floor needs expansion room.
After replacement, walk the area and check that the plank sits flush and doesn’t rock. In workshop conditions, quick tactile checks prevent repeat failures.
Prevent workshop-specific problems from returning
Stopping recurrence is mainly about moisture control, humidity stability, and abrasion management—because workshop laminate repair failures are usually cause-based. Even a perfect filler repair fails if water keeps returning to the same seam or if the floor is constantly stressed by rolling loads.
Moisture intrusion is the most common root cause of swelling, seam opening, and edge delamination in laminate floors, because it changes board dimensions.
Floating floors rely on predictable expansion and contraction, so maintaining stable indoor humidity reduces cyclic seam stress.
Control moisture sources in a workshop
Common moisture triggers in workshops include:
– Leaking tool reservoirs (air compressor, hydraulic benches)
– Spills from coolants/solvents
– Wet boots and outdoor gear at entry doors
– Condensation on cold surfaces near thresholds
Correct the source first, then dry the area fully before making repairs. If the subfloor remains damp, laminate repairs become short-lived.
Manage temperature and humidity with realistic targets
Laminate is sensitive to environmental cycling. As of 2025, many flooring manufacturers specify indoor conditions prior to and during installation and repairs, often targeting stable relative humidity (RH) and moderate temperature ranges. Use your floor’s installation documentation for the exact numbers.
To anchor decisions, look for manufacturer guidance in the format of things like:
– acclimation period (often multiple days)
– maximum allowable subfloor moisture test results (often expressed via RH testing methods)
If your documentation is missing, use and include it in your shop schedule for winter/summer transitions.
Reduce abrasion where chips and seam stress begin
Workshops concentrate impact at:
– Entry points
– Around bench legs
– Under tool chests and drawers
– Pathways for carts
Use mats at entrances, protect under rolling equipment, and avoid dragging tools across seams. In my observations (again, not product testing), the repaired areas that last are the ones that get protected from repeated “micro-impacts” for at least several weeks.
What can go wrong (and how to avoid it)
The biggest repair failures happen when people treat laminate symptoms like wood furniture damage. If you patch structural movement, the floor continues to move and the repair breaks—often right where you applied filler or glue.
Repair filler can restore surface appearance, but it doesn’t correct warped board geometry or failed lock engagement.
Using adhesive where a click-lock laminate system discourages glue can prevent correct movement and complicate future repairs.
If you seal over moisture-damaged laminate, you can trap moisture and accelerate delamination.
Avoid these common mistakes
– Repair filler used on structural damage: filler won’t fix warping or clicking locks that have lost their fit; you may need plank replacement.
– Adhesive where it’s not recommended: some laminate systems can be damaged by the wrong glue, especially near click-lock seams—follow manufacturer guidance ().
– Ignoring moisture: if boards are swollen, sealing over it or “patching” can trap moisture and worsen delamination.
– Mismatched replacement boards: even slight visual or thickness differences can create visible lines or uneven walking feel—match specs ().
A quick decision rule you can apply
If the board edge rocks, the plank is warped, or the lock line reopens quickly after re-seating, switch from “cosmetic repair” mode to “structural fix” mode and plan for moisture correction and/or replacement.
Verdict / tip (what we recommend, plus limits)
For most workshop laminate issues, start with the least invasive approach: clean + filler for chips/dents, then re-seat/repair seams if the locking system is still intact, and replace only when planks are warped, cracked through, or the lock can’t hold. Skip DIY repairs and consider a professional assessment if you suspect significant moisture intrusion, widespread cupping/warping, or the laminate is delaminating—those situations often require source removal and more extensive work.
A reliable laminate repair follows the sequence: verify lock integrity, confirm moisture status, then choose between filler, realignment, or plank replacement.
If you don’t know whether your laminate is glue-down or click-lock, you should not assume the correct repair method—use the installation documentation to confirm the system.
If you’re unsure whether your floor is glue-down or click-lock, check the original installation instructions or manufacturer documentation ().
Quick checklist (scan/save)
– [ ] Determine damage type: cosmetic vs structural (lifting/warping/gaps)
– [ ] Check for moisture source and signs (swelling, dark spots, odor)
– [ ] For chips: clean → laminate filler → level → cure
– [ ] For seam gaps: confirm locking alignment; re-seat if recommended
– [ ] For cracked/warped boards: replace matching planks + careful re-install
– [ ] Prevent recurrence: humidity control, protect entry/wet zones, reduce abrasion
Sources
In the end, repairing workshop laminate floors is less about “finding the right product” and more about diagnosing the right cause. Start by separating cosmetic damage from structural movement, treat moisture first, and use filler, re-seating, or plank replacement based on what the floor is actually doing—then add humidity control and abrasion protection so the fix stays stable through the next busy season.
Frequently Asked Questions
What are the most common ways laminate workshop floors get damaged and how can you spot them?
In a workshop, laminate floors are often damaged by moisture from spills, impact dents from tools, and scratches from carts and debris. Look for swelling near seams, bubbling or lifting around edges, dulling or gouges on the walking paths, and gaps forming along the joints. Identifying whether the issue is surface wear versus water intrusion helps you choose the right laminate floor repair method.
How do you repair water damage or swelling on laminate flooring in a garage or workshop?
If laminate boards have swollen from moisture, you’ll usually need to remove the affected planks before the materials fully break down. Start by drying the area immediately, then lift the boards if you find lifted edges or damaged tongue-and-groove. Replace with matching laminate flooring and use a manufacturer-approved underlayment if needed, because trapped moisture can keep the subfloor unstable and cause recurring damage.
How can you fix scratches, chips, or dents on laminate workshop floors without replacing the whole area?
For minor scratches and chips, use a laminate repair kit with a color-matched filler or wax sticks, then wipe away excess and buff lightly for a smoother finish. For deeper dents, you may need to fill and level the damaged spot before sealing with a clear repair product compatible with laminate. Keep traffic off the repaired area until the filler cures, and use felt pads under equipment to prevent repeat damage.
Which tools and materials are best for DIY laminate floor repair in a workshop?
A practical DIY kit includes a tapping block, pull bar, utility knife, spacers, replacement planks, and a laminate repair/patch compound for small surface issues. For lifting boards, a floor repair suction handle or trim puller can reduce breakage around the click-lock seams. If your workshop is prone to moisture, having plastic sheeting for drying and a moisture meter to confirm the subfloor is dry can prevent a repair from failing.
Why does my laminate floor keep separating or buckling after repairs, and how do I prevent it?
Laminate can separate or buckle when the subfloor is uneven, moisture levels are high, or the expansion gap around walls wasn’t maintained during installation. In a workshop, temperature swings and recurring spills can accelerate these problems, so always verify that the subfloor is flat and dry before reinstalling replacement boards. Prevent recurrence by fixing moisture sources, maintaining proper expansion gaps, and using protective mats where tools, jacks, and rolling equipment operate.
📅 Last Updated: October 24, 2026 | Topic: How to repair laminate floors in a workshop? | Content verified for accuracy and freshness.
References
- Laminate flooring
- Floating floor
- Flooring
- https://en.wikipedia.org/wiki/Floor_underlayment
- Floor
- https://en.wikipedia.org/wiki/Floor_care
- F2063 Standard Specification for Wrought Nickel-Titanium Shape Memory Alloys for Medical Devices …
- https://scholar.google.com/scholar?q=laminate+floor+repair+replace+damaged+planks Google Scholar
- https://scholar.google.com/scholar?q=laminated+flooring+damage+repair+guidelines Google Scholar
- https://scholar.google.com/scholar?q=workshop+floor+laminate+maintenance+repair Google Scholar