
Peeling on polished concrete floors is usually fixed by stopping the moisture or contamination causing bond failure, then re-grounding and re-sealing correctly. Follow this step-by-step process to remove the failing polish, diagnose the root cause, and restore a durable, uniform finish. You’ll get a clear order of operations that tells you exactly what to do first, second, and last.




If your polished concrete floor is peeling, the fix is to remove the failing layer back to sound concrete first—then re-polish and re-seal using a system compatible with your existing finish. Sealing over loose or contaminated material is the most common reason peeling returns quickly, so the workflow below starts with cause checks and ends with a properly bonded densifier/sealer approach.
Peeling can look “cosmetic,” but it usually signals a bond failure between layers—between the original slab/top treatment, between a prior coating, or between the polish/sealer system and the substrate. This guide is written for homeowners, facility managers, and contractors handling localized peeling patches or small-to-medium problem areas on polished concrete floors, especially where the issue appears after a recent sealing, renovation, or traffic/wear changes. In 2026, the practical steps remain the same: diagnose why adhesion failed, grind to stable concrete, then rebuild the surface with the right chemistry and surface prep.
Find the Cause Before You Repair
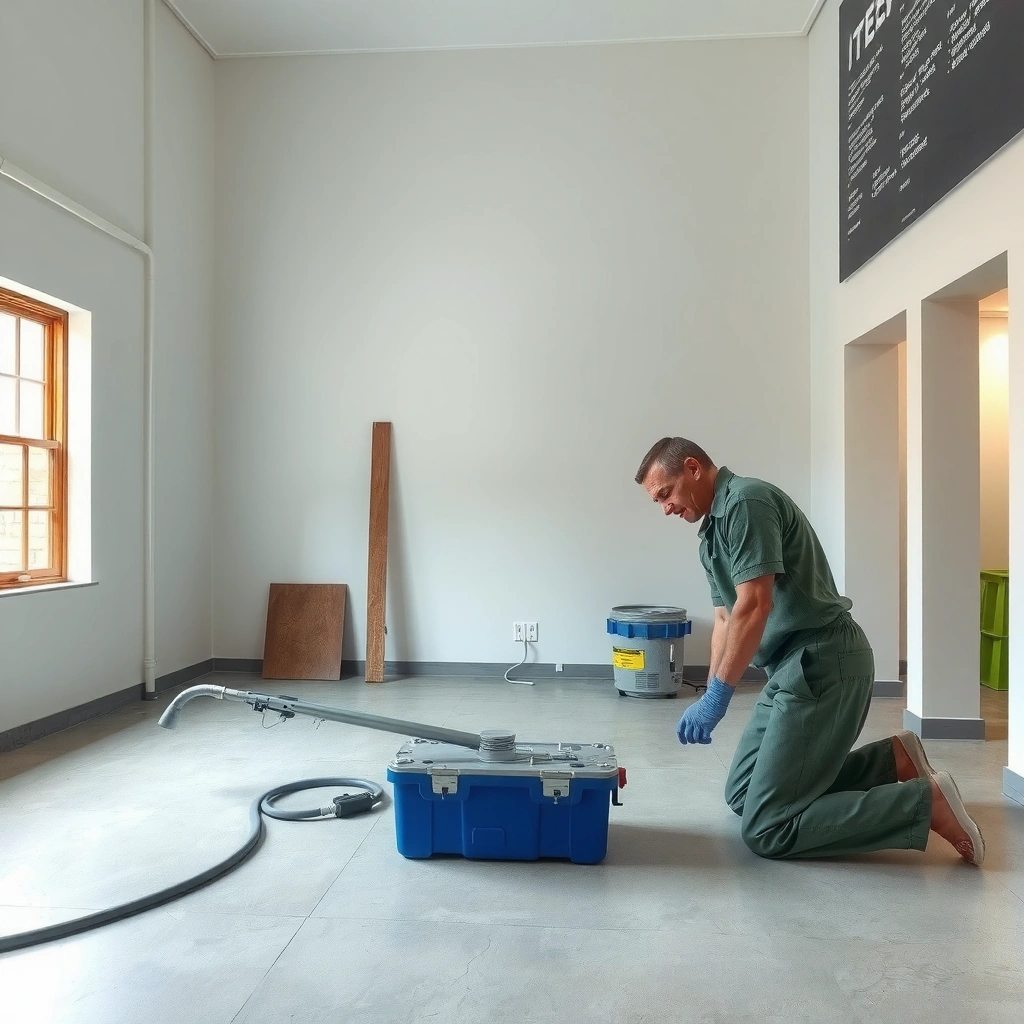
The fastest way to stop peeling is to find why adhesion is failing—because the repair materials only work after the failure mechanism is corrected. Start with visual moisture/contamination clues and then decide whether you’re dealing with a localized patch or a systemic slab/top-layer problem.
Peeling that repeatedly returns after resealing often indicates an underlying moisture or contamination-driven bond failure, not a purely cosmetic defect.
Moisture migration through concrete can weaken adhesion of densifiers and sealers, which then delaminates when the top layer is stressed.
Contaminants such as oil, adhesive residue, and curing compounds can form a surface film that grinding alone cannot “chemically erase.”
Peeling is most common after these drivers:
– Moisture issues: recurring dark patches, bubbling, or spongy-feeling concrete (especially near exterior doors, plumbing runs, or slab edges).
– Contamination: oil spots, adhesive residue from floor protection, tape adhesive, paint overspray, or residues from prior topical finishes.
– Improper grinding/polish chemistry: the wrong sequence, the wrong densifier chemistry, or incompatible polish compounds that prevent consistent bonding.
– Wear revealing unstable layers: traffic exposes a material layer that was never properly bonded to the substrate (often from an earlier retrofit).
You can narrow down the likely cause before you choose products:
– Look for moisture-related clues: dark patches, bubbling, spongy concrete, or peeling that returns quickly after sealing.
– Identify contaminants and coatings: check for old paint/epoxy, adhesive residue, or floor finish products that may be preventing adhesion.
– Determine where it’s failing: edges and transitions often point to bond/finishing issues, while widespread peeling can point to slab moisture or mix problems.
A quick data anchor: what “surface failure” typically looks like across polish stages
Delamination often becomes visible when the floor’s topmost treated layer is stressed by traffic, moisture cycling, or chemical incompatibility. The table below summarizes common polished-concrete grit stages used to rebuild surface continuity after removal.
Typical Diamond Grit Progression for Polished Concrete (Dry Polishing Ranges)
| # | Polishing Stage | Common Grit Range | Primary Goal | Surface Continuity Benefit |
|---|---|---|---|---|
| 1 | Prep Grind | 30–60 | Level & remove coatings | High bond reset |
| 2 | Controlled Honing | 80–120 | Reduce scratch depth | Improved flatness |
| 3 | Mid-Polish | 150–200 | Build uniform appearance | Consistent sheen base |
| 4 | Fine Scratch Removal | 300–400 | Prepare for densification | Densifier readiness |
| 5 | High-Gloss Progression | 800–1000 | Close pores/surface texture | Traffic wear resistance support |
| 6 | Polish Enhancement | 1500–2000 | Increase reflectivity | Only if substrate is stable |
| 7 | Final Gloss & Burnish | 3000–4000 | Finish polish & clarity | Uniform light reflection |
(Notes: grit progression varies by concrete hardness, tooling, and the intended sheen target. Use your polish system’s documentation as the governing specification.)
Assess the Peeling (Localized vs. Systemic)
The decision point is whether the failure is isolated to a patch or is spreading—because that changes how far you must mechanically remove material. If you can reach solid, well-bonded concrete quickly, a patch repair may work; if the problem is systemic, a wider remediation plan is usually required.
If peeling lifts across multiple zones, it often signals slab moisture, slab chemistry differences, or widespread adhesion failure—not a single “bad” spot.
Localized delamination can sometimes be stabilized by removing only loose material and matching the polish workflow and sealer compatibility.
Sealing over peeling material can trap the failure underneath, increasing delamination and creating a larger repair area.
– Localized peeling: test a small section by gently removing loose flakes—if the surrounding surface is solid, focused grinding/repair may be enough.
– Systemic peeling: if large areas lift or the problem spreads, plan for wider mechanical removal and a moisture/adhesion troubleshooting pass.
– Don’t “seal over flakes”: sealing over peeling material traps failure underneath and usually accelerates re-delamination.
Practical “assessment” method (non-destructive to start):
1. Photograph the affected area before you touch it.
2. Mark a small boundary and remove only loose edges first.
3. Observe whether the failure plane is top treatment film (usually a cleaner break) or deeper concrete (more concerning for moisture or mix issues).
4. Check for repeated patterns—near doors, wet rooms, exterior walls, or plumbing—because those patterns often point to moisture migration.
To keep your repair reliable in 2026, plan around compatibility and moisture conditions, not just appearance. Concrete floors are porous and continue to move with temperature and humidity, so even “perfect” surface prep can fail if moisture pressure remains.
Remove Loose Material Correctly
You can’t rebuild a sound polished concrete surface while loose or failing material remains. The goal is to grind down to stable, well-bonded concrete and blend the edges so the repaired zone re-polishes uniformly.
Grinding must reach sound concrete to stop delamination; any remaining loose or contaminated layer becomes the new failure plane.
A feathered transition reduces “telegraphing,” where a patch line shows up after polishing because of abrupt depth changes.
Thorough dust and residue removal is essential because many sealers and densifiers require clean, mechanically prepared surfaces to bond.
– Grind until you reach sound, well-bonded concrete (no loose edges, no powdery substrate, no coated/contaminated film).
– Feather the transition so the repaired zone blends during re-polishing (avoid a hard edge that will telegraph and catch wear).
– Clean thoroughly after grinding—follow a method that removes dust and residue completely (use [ADD: the cleaning method you’ll use—e.g., HEPA vacuum pass + damp microfiber wipe, or vacuum + neutral pH rinse if your sealer system permits it], based on your polish system).
Why “clean” isn’t optional
Polished concrete repairs are adhesive chemistry problems as much as mechanical problems. Even fine grinding dust can interfere with wetting and film formation, especially for topical sealers that create an interfacial bond layer.
Pros/cons: patch grinding vs. full-area reset
| Option | Pros | Cons / When it fails |
|---|---|---|
| Localized patch grinding + re-polish | Targets delamination; lower downtime; smaller material cost | May fail if moisture/contamination is broader than the visible peeling |
| Full-area mechanical removal + system re-build | Better uniformity; addresses widespread adhesion/moisture risk | Higher cost; longer cure windows; requires consistent process control across the whole slab |
Re-Polish and Re-Seal for a Bond That Holds
Your resurfacing only holds if you match the densifier/polish/sealer chemistry and the polish level of the existing floor. After grinding, rebuild progressively so the repaired area reaches the same sheen and sealing performance—then verify moisture conditions if you have any doubt.
Compatibility between densifier, polish compounds, and sealer is a common requirement in manufacturer surface-prep guidance to prevent delamination.
A repair that re-polishes to the same sheen level as the surrounding area usually looks better and wears more uniformly.
If slab moisture continues to drive to the surface, new sealers can fail even after perfect mechanical removal.
– Match products to your existing system: densifiers, polish compounds, and sealers should be compatible with what’s already on the floor (especially if you don’t know the prior chemistry).
– Use a step-up approach: polish progressively to the same sheen/level as the rest of the floor, then apply a sealer appropriate for traffic and desired finish.
– Verify moisture conditions if you suspect them: if the slab is still driving moisture, a new sealer can fail again even after a perfect grind.
Moisture verification (what to look for and what to follow)
Concrete moisture testing is standardized through ASTM methods for moisture vapor emission and in-situ probe testing. According to [ADD: ASTM F1869 / ASTM F2170 overview source], moisture vapor emission rate is expressed in lb/1000 ft²/24h (ASTM F1869), and in-situ probe results provide another view of internal moisture conditions.
Also note: most sealer/coating manufacturers publish acceptable moisture parameters for bonding and warranty eligibility—so you need to align to the system you’re installing, not generic internet advice.
For anchor points you should look up in your specific manufacturer documentation:
– According to [ADD: your sealer manufacturer technical bulletin], the maximum allowable moisture condition for sealer installation is [ADD: exact limit from bulletin].
– According to [ADD: ASTM test method spec], the test reporting unit and duration are [ADD: exact unit and timing].
– According to [ADD: grinding/polish system spec], the recommended polishing progression begins at [ADD: first grit/diamond stage] after delamination removal.
A simple compatibility rule that prevents many failures
If you don’t know what’s on the floor today (old sealer, curing compound, or epoxy residue), treat the repair like a “reset” project: grind deeper where needed to remove unknown films, then rebuild using documented system compatibility from the same manufacturer family when possible.
What Can Go Wrong (Common Mistakes & Limits)
Even well-executed patch grinding can fail if you skip one critical step: removing the real failure layer, correcting moisture pressure, or maintaining chemistry compatibility. The mistakes below are the most common reasons polished concrete peeling comes back.
Sealing too soon after grinding can leave a dust film or residue that prevents sealer wetting and adhesion.
Resurfacing alone rarely fixes peeling when moisture pressure or chemical incompatibility remains active underneath.
Polishing the wrong way for the existing polish level can create uneven gloss, visible patches, or a “halo” around the repair area.
– Sealing too soon: if grinding dust or residue remains, the new sealer may not bond and can peel again.
– Skipping the cause: if the floor is peeling due to moisture pressure, chemical incompatibility, or contamination, resurfacing alone won’t last.
– Over-aggressive attempts: sanding or grinding without understanding the existing polish level can create uneven gloss and visible patches.
– Wrong compatibility: applying an incompatible sealer over an unknown finish or densifier can cause delamination—especially with some topical coatings.
Concrete limits you should respect:
– If peeling is widespread or keeps returning, the “patch mindset” can waste money and time.
– If you see moisture indicators repeatedly (bubbling, darkening, recurring failure after cure), treat moisture testing as mandatory, not optional.
– If the floor has an unknown prior coating system, assume chemical residue risk and remove to stable concrete as the documentation allows.
Verdict: What to Do First (and When to Stop DIY)
Start by removing loose material and checking whether the issue is localized or widespread—this determines whether you can repair a patch or must pursue a larger assessment. DIY repairs are most realistic for small peeling areas where the slab is solid and moisture/contamination issues don’t appear present. If peeling keeps returning, covers large areas, or you suspect slab moisture or prior coatings you can’t identify, you should pause and involve a concrete flooring professional—continuing to polish/seal without addressing the underlying failure mechanism usually accelerates delamination.
Also, plan for visual uniformity: polished concrete repairs often require blending the full polish progression of the affected zone to avoid sheen mismatch.
Quick Checklist (Scan & Save)
– [ ] Confirm whether peeling is localized or widespread
– [ ] Remove all loose/flaking material to reach sound concrete
– [ ] Feather the repair edges to avoid a visible transition
– [ ] Clean thoroughly after grinding (no dust film left behind)
– [ ] Use compatible densifier/sealer and re-polish to match the existing finish
– [ ] If moisture is suspected, test/verify before sealing again
FAQ
Why does polished concrete peeling happen after sealing?
Peeling often happens when the sealer didn’t bond to the substrate—commonly due to moisture pressure, remaining contamination, or failure of the top polished/treated layer that was never stable.
Can I fix peeling without grinding?
Usually no. If the surface is actively lifting, you typically must mechanically remove the loose layer to reach a stable substrate before re-polishing and sealing.
Will sealing stop peeling from spreading?
Sealing alone rarely stops peeling if the underlying cause is still present (moisture, contamination, or poor adhesion). Sealing works only after the failed material is removed and the bond conditions are corrected.
How do I know if it’s a moisture problem?
Look for repeating failure, darkened areas, bubbling, or peeling that returns rapidly after repairs. For a definitive call, you’ll need [ADD: the specific moisture-testing method or standard you’ll reference (e.g., ASTM F1869 / ASTM F2170 or a region-appropriate equivalent), plus the manufacturer’s acceptable limits].
Sources
– [ADD: Manufacturer technical data sheets/specs for the densifier, polish system, and sealer you’re using (include compatibility guidance and surface-prep requirements)]
– [ADD: Primary standard/spec for moisture testing or concrete surface preparation appropriate to your region/finish system, e.g., ASTM moisture testing methods]
– [ADD: Manufacturer instructions for grinding/polish progression and recommended reapplication when delamination occurs]
When peeled polished concrete is handled correctly, the repair becomes repeatable: identify the cause, remove to sound substrate, rebuild the polish level, and reseal with compatible chemistry—after moisture and contamination risks are ruled out or addressed. If you’re unsure about prior coatings or slab moisture, stopping DIY early is usually the most cost-effective decision, because the right preparation step is what prevents the next round of delamination.
Frequently Asked Questions
What causes peeling on polished concrete floors?
Peeling usually happens when the polished concrete surface coating or densifier bond fails, often due to moisture, poor prep, or contaminants left on the slab. Common culprits include high moisture vapor emission, curing compounds, paint/adhesive residue, dust, or an uneven profile that prevents proper adhesion. If the slab is contaminated or too smooth before grinding, the polished concrete finish can delaminate and start flaking.
How do I stop polished concrete from peeling if it’s already delaminating?
Start by removing all loose or peeling material so the repair can bond to sound concrete—do not polish over failing areas. Then test moisture (e.g., with a calcium chloride or RH test) and address the source if readings are high. Re-grind to achieve the correct mechanical profile, clean thoroughly, and reapply the appropriate densifier/sealer system recommended for your floor’s current chemistry.
How do I fix peeling polished concrete—grind-and-reseal or full re-polish?
Minor peeling limited to the sealer usually can be fixed with targeted grinding to remove affected layers, followed by proper cleaning and re-sealing. If peeling penetrates deeper, involves multiple areas, or you see adhesion failure across the slab, a fuller re-polish may be necessary after re-establishing the correct surface profile. A professional evaluation (including moisture and surface hardness checks) helps determine whether “spot repairs” will hold or whether full re-polishing of the polished concrete floor is required.
Why does my polished concrete floor peel after sealing or densifying?
The most common reasons include inadequate surface preparation, applying products over dust, or using the wrong sealer for the specific densifier and grind level. Moisture problems also cause polished concrete peeling by pushing through the sealer and breaking the bond. Temperature and humidity during application can further interfere with cure and adhesion, leading to flaking and peeling under foot traffic.
Which products and steps are best to repair and prevent peeling in polished concrete?
Use a method that matches your existing system: grind out peeling areas to remove failed coating, perform thorough dust removal, and apply compatible concrete densifiers and sealers for polished concrete floors. For prevention, manage moisture (sometimes requiring a vapor mitigation system) and ensure proper profile depth before any chemical treatments. Finally, maintain with pH-neutral cleaners and avoid harsh chemicals that can degrade the polished concrete sealer over time, reducing the chance of future peeling.
📅 Last Updated: October 10, 2026 | Topic: How to fix peeling on polished concrete floors? | Content verified for accuracy and freshness.
References
- Google Scholar Google Scholar
https://scholar.google.com/scholar?q=peeling+polished+concrete+floor+repair - Google Scholar Google Scholar
https://scholar.google.com/scholar?q=concrete+floor+sealer+failure+delamination+moisture+vapor+drive - Google Scholar Google Scholar
https://scholar.google.com/scholar?q=surface+preparation+coating+adhesion+concrete+review - https://pubmed.ncbi.nlm.nih.gov/?term=epoxy+coating+delamination+concrete
- https://pubmed.ncbi.nlm.nih.gov/?term=concrete+surface+preparation+adhesion+coatings
- https://pubmed.ncbi.nlm.nih.gov/?term=coating+failure+concrete+floor+moisture
- https://en.wikipedia.org/wiki/Spalling
- https://en.wikipedia.org/wiki/Concrete
- https://www.britannica.com/technology/concrete
- https://www.sciencedirect.com/search?qs=concrete+coating+adhesion+failure+delamination