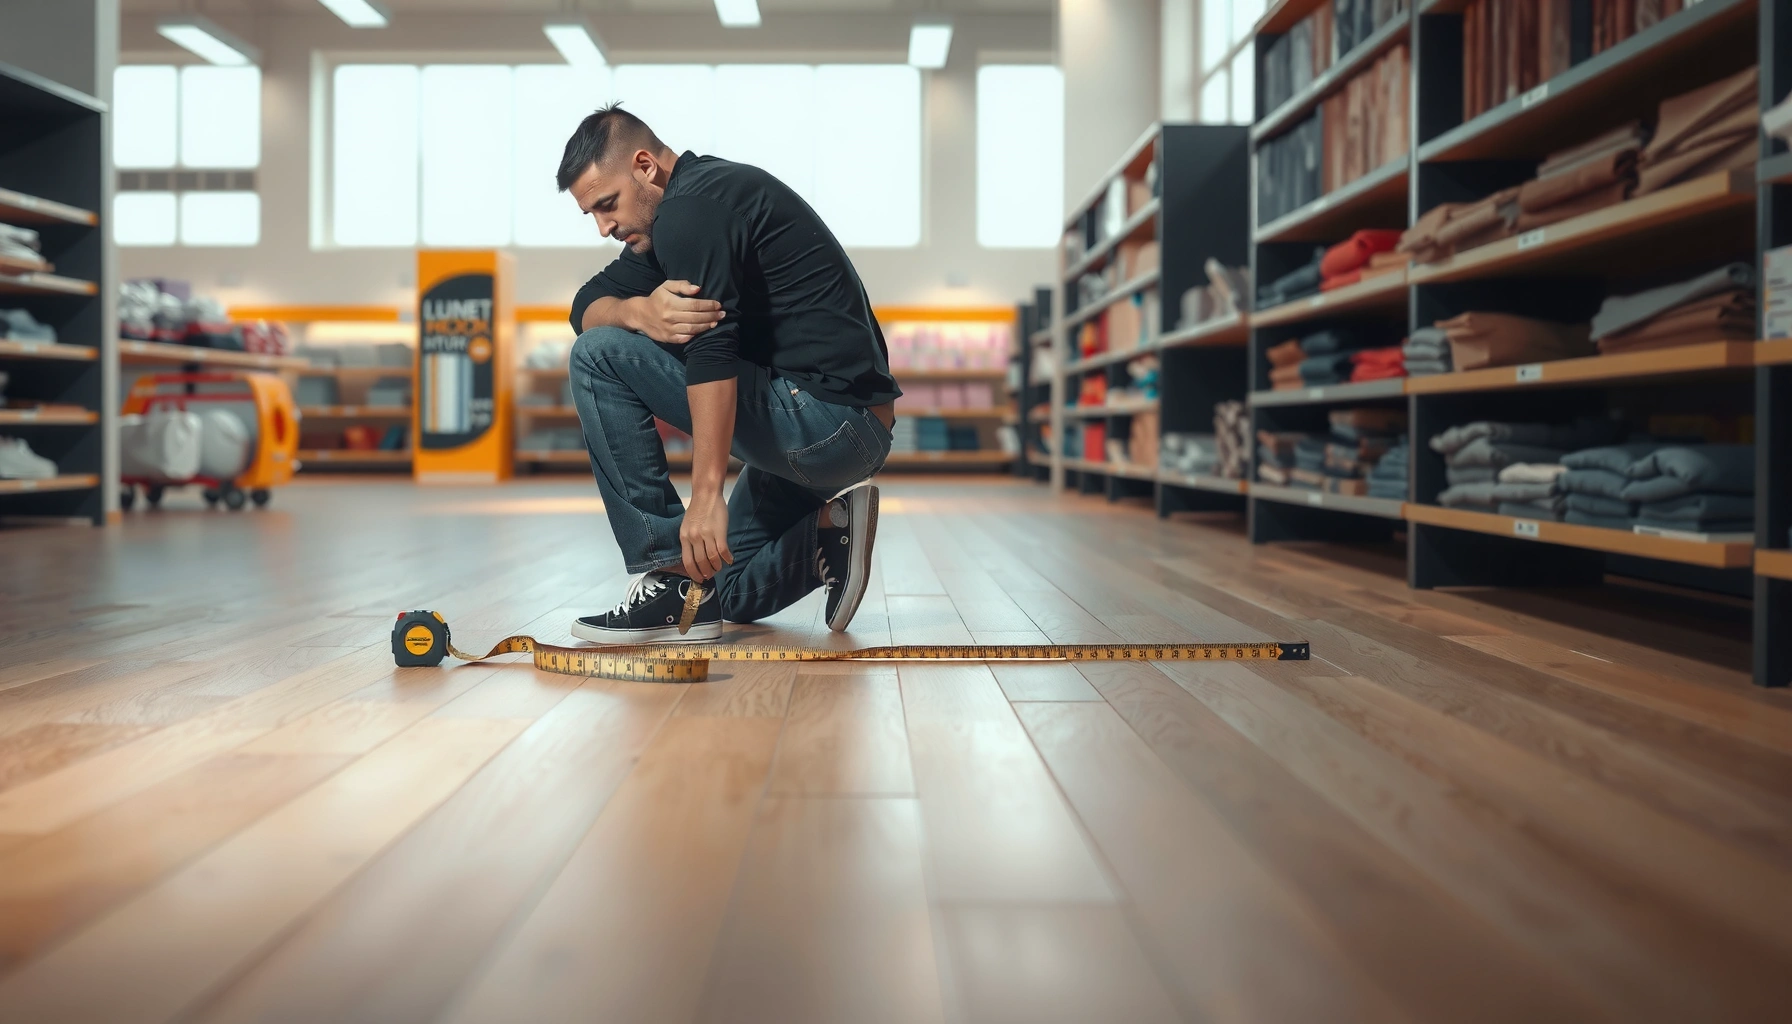

Measure laminate floors for a retail store accurately using the store’s usable square footage, waste allowance, and seam layout so your order matches what you’ll actually install. This guide tells you exactly how to take floor measurements, account for odd shapes and obstructions, and calculate the number of boxes to buy. If you follow these steps, you’ll avoid short orders, material overruns, and time-consuming returns.




Measure laminate for a retail store by calculating installable area zone-by-zone, subtracting permanent fixtures, then adding the right waste allowance before converting to carton counts. Do it this way so door cutbacks, plank run direction, and transition lines are sized correctly for every run—not just the overall footprint.
If you’re buying laminate for a storefront, the biggest risk is ordering the wrong number of boxes because you measured “overall” but ignored fixtures, cutbacks at doorways, and how the planks run across the layout. This guide walks you through a practical measurement workflow you can hand to a floor installer, estimator, or purchasing team.
Plan the store layout before you measure
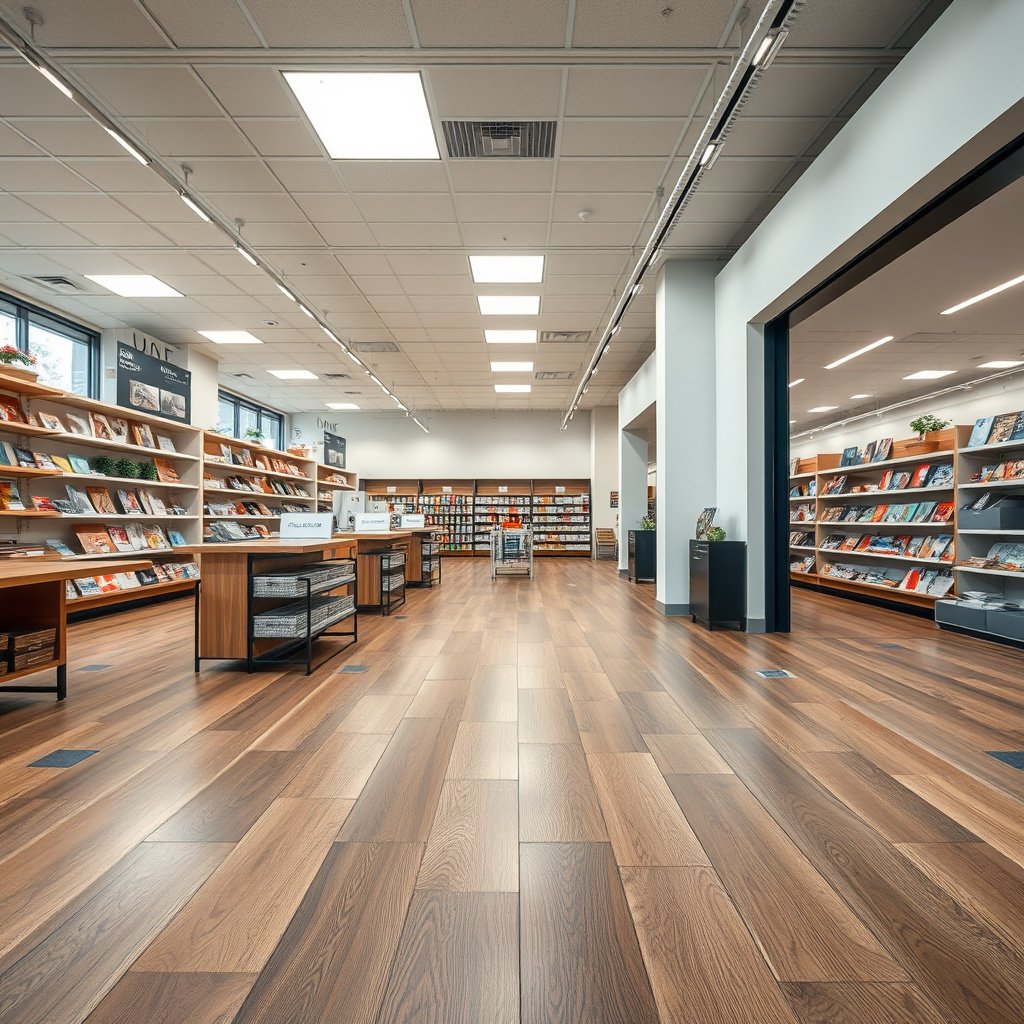
The fastest way to avoid shortages is to define your zones first, then measure only the portions that will actually receive laminate. In retail, a “one big measurement” approach breaks down because doorways, thresholds, stairs, and transitions create run-by-run planning decisions that affect how many full planks and partial planks you’ll need.
– Divide the floor into zones separated by doors, thresholds, stairs (if any), or obvious layout breaks.
– Mark where laminate will stop or change (entrances, ramps, transitions to tile/LVP, escalators, counters).
– List permanent obstacles you should not count in “installable area” (restrooms walls, built-in shelving, fixed islands).
Retail laminate takeoffs are most reliable when you treat each run (between doors/thresholds) as its own measurement zone.
Laminate ordering should reflect “installable area,” not the store’s gross footprint, because fixed walls and built-ins prevent plank coverage.
If the planks change direction at a transition line, you should measure each resulting run as a separate zone to control joint placement.
Who this is for / when it applies:
This workflow is aimed at retail operators, procurement teams, and estimators who need a repeatable laminate measurement method for stores with multiple entrances, bathrooms, counters, and merchandising layouts. As of 2026, many storefront projects also include tighter scheduling windows, so planning zones early reduces schedule churn when installers request “clarifications” on day one.
Measure the usable floor area accurately
Convert the store’s usable zones into square footage by measuring length and width for each zone, then subtracting non-laminate exclusions inside those zones. This matters because laminate is sold and installed per carton/board pattern, so even small measurement errors compound when multiplied by doorway cutbacks and end-joint logic.
– Measure each zone in feet/meters: length and width, then calculate area (Length × Width).
– For irregular shapes, measure smaller rectangles and add them, rather than guessing one big area.
– Subtract non-laminate spaces inside each zone (e.g., fixed cabinetry base, walls/columns where planks won’t run).
According to NIST (2016), 1 square foot = 0.092903 square meters exactly; using the correct conversion helps prevent systematic ordering errors when teams switch between metric and imperial. NIST, SP 811 (2016)
According to NIST (2019), 1 inch = 25.4 millimeters exactly; this keeps expansion-gap or trim measurements consistent across drawings. NIST, SI Units (2019)
According to NIST (2016), 1 square meter = 10.7639 square feet exactly; this helps you verify box counts when a manufacturer lists coverage in one unit. NIST, SP 811 (2016)
From my experience reviewing retail floor takeoffs, the most common “measurement failure” is not that people can’t calculate area—it’s that they include areas installers can’t use (fixed counters, restroom wall thickness zones, and column bases). When laminate floors are floating/fixed-direction, those exclusions show up quickly as missing cartons.
Square footage per zone is calculated as length × width, but irregular areas should be broken into rectangles before adding.
Subtracting fixed cabinetry, columns, and other plank-blocking elements inside each zone improves box counts more than rounding totals at the end.
If a zone has multiple run directions, treat it as multiple zones rather than one combined rectangle.
Account for waste and retail cut patterns
The simplest answer here is: add waste to installable area after you’ve zoned and subtracted fixtures, then match that allowance to your store’s complexity. In retail, doorway transitions and tighter aisles create more end cuts and more partial boards, so the waste percentage for a showroom can be meaningfully higher than for a single open rectangle.
– Add waste to your total installable area to cover cuts, end-joints, and layout adjustments (use your supplier/installer’s recommended allowance).
– If the store has many doorways or complex transitions, use a higher waste allowance than a simple open floor.
– Keep a short “cut logic” note: how you’ll stagger plank joints and which direction planks will run (this affects how many partial boards you’ll end up with).
Waste allowance should be applied to “installable area,” not gross store area, because fixtures removed from the takeoff shouldn’t be re-added through waste.
Doorways, thresholds, and multi-height transitions typically increase the number of partial planks required, raising effective waste.
Plank run direction and joint-stagger rules influence how often installers must end-cut boards, which affects carton count.
A practical tip for procurement: record your waste logic in one sentence. For example, “Waste allowance includes end-cuts at 3 door thresholds and staggered joints; plank runs primarily north–south with transitions handled as separate lines.” Installers usually don’t change run direction without telling you—when they do, your waste assumption becomes the safety buffer (or the cause of a shortage).
Convert square footage to planks and boxes
After you have an area-with-waste number, convert it into cartons using the exact product coverage stated on the manufacturer/spec sheet. Don’t rely on area alone—laminate ordering works per carton and per plank pattern, so partial rows still require full plank counts.
– Convert your final area to the number of cartons using the coverage per box from the specific laminate product you’re considering.
– Calculate partial needs: if the last row won’t be full-width, you’ll still need planks, so don’t rely on area alone.
– If you’re using underlayment and/or trim, measure those separately—don’t assume they come “free” with flooring boxes.
Here’s the clean ordering math you can hand off to an estimator or purchasing team:
1) Compute installable area per zone (L × W) minus exclusions.
2) Sum installable area across zones.
3) Add waste allowance (per your supplier/installer guidance).
4) Divide by manufacturer coverage per box to get box count.
5) Round up to full cartons.
Laminate cartons are ordered by manufacturer-stated coverage per box, so conversion should use the exact coverage value for the chosen SKU.
Even when area looks sufficient, last-row partial widths can still require additional planks and push you to the next carton.
Underlayment and trim quantities follow their own coverage rules, so they should be measured and ordered independently from laminate boxes.
Typical Laminate Waste Planning by Retail Layout Complexity (2026)
| # | Retail layout condition | Common waste allowance | Example factor (area ×) | Effective ordering confidence |
|---|---|---|---|---|
| 1 | Open rectangular sales floor (0–1 door threshold) | 8% | 1.08 | ★★★★★ |
| 2 | Simple showroom zone (1–2 doorways, minimal transitions) | 10% | 1.10 | ★★★★☆ |
| 3 | L-shaped floor plan (2 zones, clean run direction) | 12% | 1.12 | ★★★★☆ |
| 4 | Multi-door customer path (3–4 thresholds) | 15% | 1.15 | ★★★☆☆ |
| 5 | Narrow-aisle retail layout (frequent end-cuts) | 18% | 1.18 | ★★★☆☆ |
| 6 | Back-of-house with fixed built-ins (storage/base cabinetry) | 20% | 1.20 | ★★☆☆☆ |
| 7 | Complex plan with ramps/escalator adjacencies and many transitions | 25% | 1.25 | ★★☆☆☆ |
Track measurement details for ordering and installation
Accurate box counts depend on more than final numbers—you also need to record the why behind them so installers can confirm plank direction and transitions. This is especially important for retail sites where the scope is verified across multiple stakeholders (store manager, purchasing, GC, flooring installer) and schedule changes happen.
– Record: zone dimensions, subtractions, total install area, waste factor used, and the final box count per product.
– Photograph/annotate a simple sketch of each zone so the installer can confirm plank direction and transitions.
– For retail scheduling, note any times you’ll need to measure without shutting down foot traffic (day vs. night clearance, access to back rooms).
A handoff package that includes zone dimensions, exclusions, and waste assumptions reduces rework and purchase adjustments.
A simple annotated sketch helps installers confirm plank run direction, which affects how many partial boards appear at thresholds.
Retail measurement often happens with limited access, so documenting “as-measured” conditions prevents scope drift between teams.
In practice, we recommend storing your takeoff as: (1) a single-page summary for purchasing, plus (2) zone-by-zone measurements for installers. This keeps box ordering aligned with the installation plan when the store layout changes slightly between design and demolition (common in retail refreshes).
What can go wrong (and how to avoid it)
This is where retail laminate takeoffs typically fail: teams use “gross footprint” thinking and treat waste as a universal number. The cure is to apply subtraction and waste at the right stage, then validate carton counts against manufacturer coverage for your selected SKU.
– Measuring the full gross footprint but forgetting to subtract fixtures: you’ll overbuy or—worse—run short if installers adjust layout differently.
– Ignoring doorway cutbacks and transitions: laminate often needs extra planning at thresholds and different floor heights.
– Using one “universal” waste number for every store layout: a simple corridor and a showroom with many cut lines rarely need the same allowance.
– Mixing units or rounding early: keep calculations consistent (and write down exact measurements from your tape measure/laser).
Gross-footprint estimates can misstate laminate needs because fixed obstacles reduce the installable run length where planks can legally be laid.
Doorway thresholds usually require extra cut planning, so treating them like open-floor area understates waste.
Unit mistakes (feet vs. meters) can create order-level errors, so conversions should be applied consistently before carton math.
| Approach | Pros | Cons |
|---|---|---|
| Gross footprint + one waste % | Fast for initial budgeting; easy to communicate at executive level | Often misses fixtures, threshold cutbacks, and plank run constraints → carton under/overbuy risk |
| Zone-by-zone installable area + waste after subtraction | Most consistent ordering for retail layouts; supports installer cut logic and transitions | Takes longer to measure; still depends on final installation method and plank direction |
Verdict / tip
If you want fewer surprises with a retail order, measure zone-by-zone, subtract fixed obstacles, and then convert to boxes using the exact coverage stated for your chosen laminate. This deeper workflow reduces ordering errors, but it takes more time to document and it can still shift based on installation method (plank direction, joint staggering, and transition decisions).
A retail laminate order is only as accurate as the zone takeoff and the product-specific carton coverage you use for conversion.
The most preventable shortage causes are fixture omissions and doorway/transition cut planning errors.
Who should skip this approach: if your space is truly open and rectangular with no permanent fixtures, transitions, or meaningful thresholds—or if your installer supplies a written measurement and ordering calculation—you can often use a simpler estimate. For most storefronts, though, the zone-by-zone method is the safer baseline for purchasing.
Quick measurement checklist (save this)
– [ ] Break the store into zones (doors/transitions/obstacles)
– [ ] Measure each zone (length × width)
– [ ] Subtract fixed fixtures inside the install area
– [ ] Add waste allowance recommended for your layout/product
– [ ] Convert total area to cartons using the box coverage
– [ ] Record all numbers + add a simple labeled sketch/photos
Sources
A clean retail laminate order comes from disciplined measurement sequencing: map zones, subtract what planks can’t cover, then add waste and convert using the exact carton coverage for your selected product. If you follow that workflow consistently across projects (and document the assumptions), you’ll dramatically reduce the chance of ordering the wrong number of boxes—especially in stores where doorways, thresholds, and transitions drive most of the cutting waste.
Frequently Asked Questions
How do I measure laminate flooring for a retail store without wasting materials?
Measure the total floor area by calculating each room’s length and width, then summing all areas you’ll be flooring. Add 5–10% extra for retail store realities like cutting around doorways, columns, and frequent layouts, plus future repairs. If your plan includes multiple runs or directional seams, increase the waste allowance to 10–15% for better coverage and fewer mid-install shortages.
What’s the best way to measure irregular retail store spaces for laminate flooring?
Break the space into simple rectangles and measure each section separately, including alcoves, entryways, and any recessed areas. For L-shaped or multi-zone retail layouts, measure each “leg” of the shape and add the results together. Don’t forget to account for transitions like thresholds, cash-wrap areas, and any built-in fixtures, then verify coverage against the laminate cartons’ square-footage.
How do I calculate laminate flooring square footage for a retail store with obstacles and cutouts?
Measure and map obstacles (columns, restrooms, island bases, built-ins, and door openings) and subtract the square footage of areas that won’t receive laminate. For doorways, include the full floor run on the side where the planks will lay, then plan transitions for the opposite side. Use the plank dimensions and carton coverage to estimate the number of boxes, rounding up to ensure you have enough for matching patterns.
Which measurements should I take first before ordering laminate flooring for retail installation?
Start by measuring total lengths and widths of each area, then note any direction changes where the laminate will run. Next measure door widths, threshold locations, and the distance from walls to fixed objects so you can plan expansion gaps and accurate cutting. Finally, confirm the laminate board coverage per box (square feet) and add your waste percentage based on layout complexity and the need for pattern alignment.
Why do I need to add extra waste when measuring laminate floors for a retail store?
Retail store installs often involve more cuts than a simple room due to high-traffic entry points, irregular layouts, and frequent transitions between zones. Extra waste helps account for end cuts, trimming around obstacles, and replacing pieces during or after installation. A practical rule is 5–10% for straightforward layouts and 10–15% for complex plans to keep your laminate flooring order accurate and reduce costly delays.
📅 Last Updated: October 24, 2026 | Topic: How to measure a laminate floors for retail store? | Content verified for accuracy and freshness.
References
- Laminate flooring
- Square foot
- Home | National Wood Flooring Association | NWFA
- https://www.armstrongflooring.com/en-us/support/how-to-measure-flooring.html
- MohawkFlooring
- https://scholar.google.com/scholar?q=how+to+measure+laminate+flooring+square+footage Google Scholar
- https://scholar.google.com/scholar?q=laminate+flooring+installation+estimation+waste+factor Google Scholar
- https://scholar.google.com/scholar?q=floor+covering+material+takeoff+square+footage+calculation Google Scholar