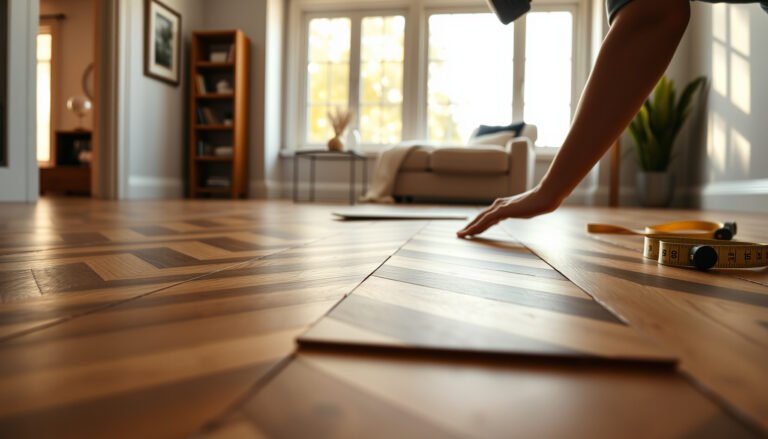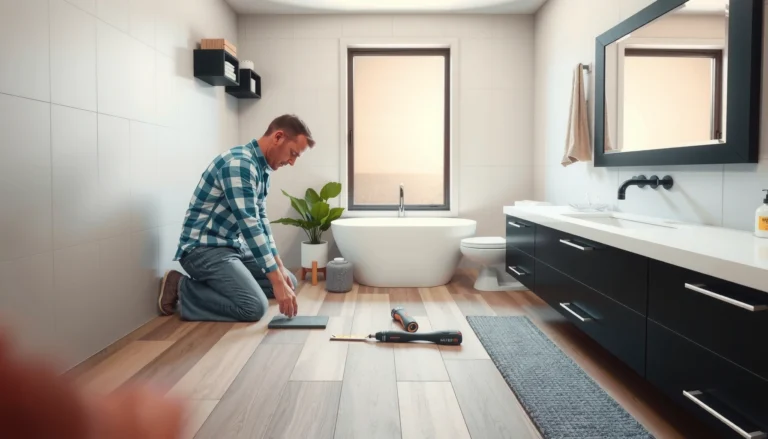

Replacing laminate floors in a playroom comes down to one thing first: prep correctly. If you remove the old boards cleanly, fix subfloor flatness and moisture concerns, and install the new planks with the required expansion gap, your floor will stay flat and resist the dents and seam issues that show up fast in busy kid spaces.




This is for homeowners (or DIY renovators) replacing existing laminate in a playroom where moisture, dents, and frequent foot traffic are common. It’s especially useful if you’re planning to reuse the existing trim/door clearances and want to avoid the most common installation mistakes—buckling from blocked expansion gaps, loose seams from debris in the locking edges, and clicking caused by an uneven base.
Plan the replacement and check what “laminate” you have
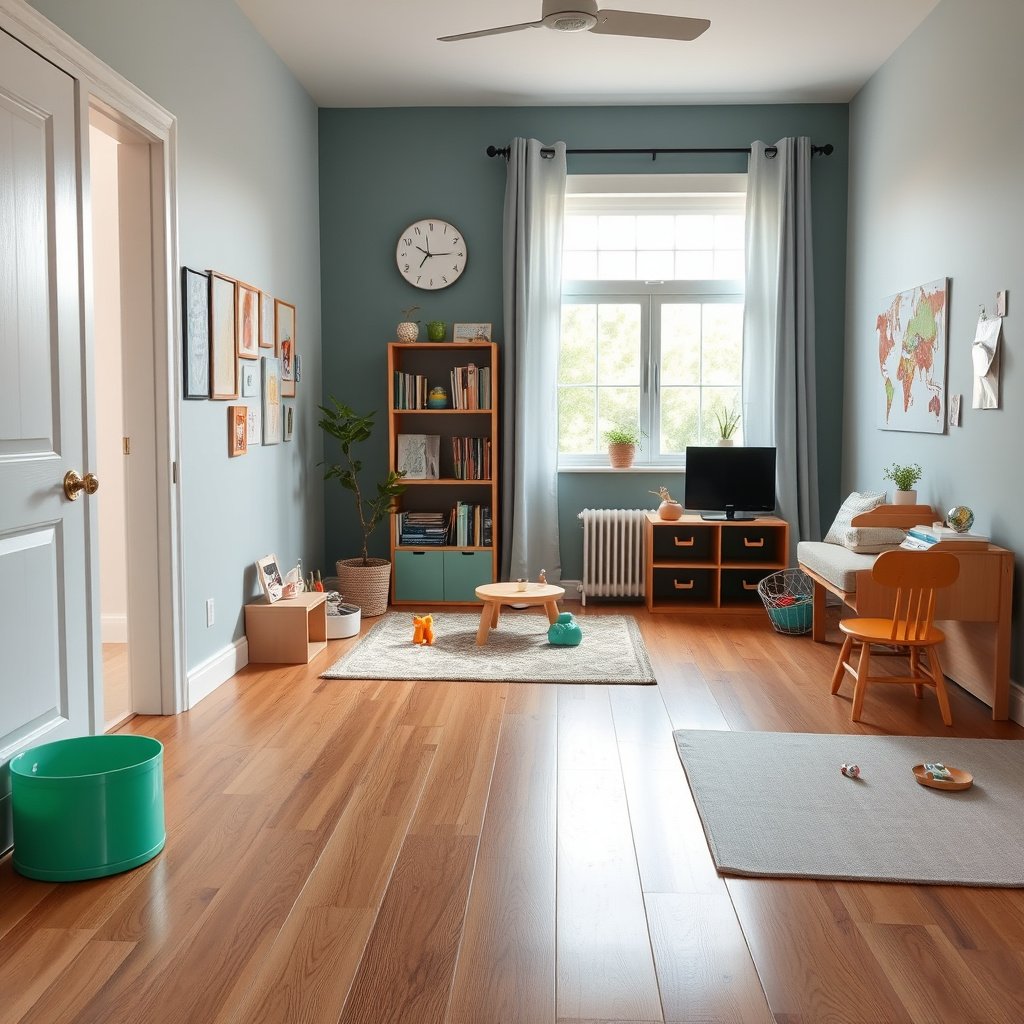
The fastest path to a good result is confirming your exact laminate system before you buy anything else. Once you know the locking style and installation requirements, you can plan the safest demo route, the right underlayment setup, and a layout that doesn’t force awkward “pinch points” around playroom obstacles.
– Confirm the flooring type and locking system (click-lock vs. other styles) because removal and reinstall steps can differ.
If your laminate uses a click-lock system, you can usually release boards from an edge and remove rows progressively; if it’s a glued system, you may need more aggressive scraping and expect more waste.
– Measure the room and add extra for waste, cuts, and tricky areas like closets, vents, or built-ins ().
Playrooms commonly have vents, radiators (if present), and built-in storage that interrupts plank runs—plan for more waste than you’d use in a simple living room.
– Decide whether you’ll remove baseboards fully or do a “cut-and-lay” approach under existing trim (either can work—your room layout will determine what’s easiest).
Cut-and-lay can preserve paint and trim, but it requires careful clearance so the planks still “float” freely at the wall.
Laminate “floating” floors depend on an unbroken expansion space at walls and fixed objects to prevent buckling from normal seasonal movement.
Click-lock laminate is typically easier to remove and reinstall than glue-down laminate because planks can be released from edges rather than fully demolished.
Gather tools and prep the subfloor properly
You get the smooth, quiet result by treating subfloor prep as the main job, not a quick step. With laminate floors in 2026 playrooms (high traffic, occasional spills, and dropped toys), flatness and cleanliness determine whether seams stay tight and locks stay engaged.
– Have the core tools ready: pry bar/oscillating tool for removal, tapping block/spacers for installation, underlayment (if required), and a quality saw for straight cuts.
A tapping block and spacers aren’t “nice-to-haves”—they control alignment and protect plank edges so the click-lock connection seats correctly.
– Inspect the subfloor for flatness, loose spots, and moisture issues before you lay anything down; laminate will telegraph problems and can fail faster over high-traffic areas.
In my experience, playroom laminate issues often start where people assume “it’s close enough”—a low ridge near the old board seam or a slightly raised screw head can create clicking within weeks.
– Clean thoroughly after demo so dust/debris doesn’t interfere with underlayment and plank locking.
Even fine dust in the tongue-and-groove/click edges can cause weak joints, visible gaps, and early separation.
For objective targets, use industry subfloor preparation guidance as your baseline even if you’re installing laminate as a floating floor.
Key Subfloor & Moisture Benchmarks Used in Floor Prep (ASTM)
| # | Standard / Benchmark | What it Controls | Numeric Anchor | Playroom Relevance |
|---|---|---|---|---|
| 1 | ASTM F710 | Subfloor flatness | ≤ 3/16 in over 10 ft | ★★★★★ |
| 2 | ASTM E1745 | Vapor retarder classes | Class I: ≤ 0.1 perms | ★★★★★ |
| 3 | ASTM E1745 | Vapor retarder classes | Class II: 0.1–1.0 perms | ★★★★☆ |
| 4 | ASTM E1745 | Vapor retarder classes | Class III: 1.0–10 perms | ★★★☆☆ |
| 5 | ASTM F1869 | Moisture vapor emissions | lb/1000 sq ft per 24 hr | ★★★★☆ |
| 6 | ASTM F2170 | In-situ concrete RH | Relative Humidity (%) | ★★★★☆ |
| 7 | ASTM E90 / E413 | Sound transmission (STC) | STC rating (dB) | ★★★☆☆ |
According to ASTM F710, subfloors should meet flatness requirements; one commonly cited target is 3/16 inch over 10 feet for resilient floor prep.
According to ASTM E1745, Class I vapor retarders are defined at ≤ 0.1 perms, which helps limit moisture risk under floating floors.
According to ASTM F1869, moisture vapor emission testing reports results in lb per 1000 square feet per 24 hours.
Remove the old laminate without damaging the subfloor
The key to safe removal is releasing planks in the order that protects the subfloor surface and the edges you need to re-align later. With playroom laminate replacements, you’re often working around existing trim and a floor that’s already been stressed by impacts.
– Start by taking out trim/transition pieces and locate where boards can be safely released (typically from edges).
Removing transitions first reduces the chances you crack planks mid-row.
– Remove planks in a way that keeps the subfloor intact—avoid aggressive scraping that leaves ridges or gouges.
A sharp oscillating tool blade used carefully can cut under glued remnants without turning the subfloor into a patchwork.
– If you find damaged underlayment or stuck glue/residue, address it according to the flooring’s removal method and your subfloor material.
Laminate locks hate debris; scrape, vacuum, and wipe down (as allowed for your underlayment) so the new panels seat tightly.
Floating laminate joints can be reinstalled only if tongue-and-groove/click edges are clean and undamaged, so debris removal matters as much as plank removal.
Trimming and transitions should be removed before you attempt full plank separation because pulling “through” fixed edges increases the chance of broken locking tabs.
Install underlayment and set expansion gaps before planks
Underlayment and expansion gaps determine whether your laminate stays comfortable and doesn’t buckle when kids heat the room up with activity. Do these steps up front so every plank you install is guaranteed a consistent “floating” condition.
– Lay underlayment only as allowed by your laminate manufacturer instructions (some laminates require specific underlayment or a particular moisture barrier).
If the laminate includes an attached pad, you may still need a vapor barrier layer depending on your substrate and manual requirements.
– Use spacers to maintain the required expansion gap around walls and fixed objects; skipping this is a common reason laminate buckles later.
Your spacers control the gap at every boundary: walls, door frames, pipes, and built-ins.
– Plan your plank direction and seams so the pattern looks intentional and end joints don’t align repeatedly.
In a playroom, visually broken seam alignment also makes it easier to spot future movement or joint separation.
Laminate installation manuals commonly require expansion gaps around walls and fixed objects; these gaps exist so the floating floor can expand and contract with humidity.
Using spacers consistently prevents “micro-binding,” where a few locked planks press against a wall and force a later buckle at a different row.
Lay the laminate boards and handle playroom obstacles
You achieve a durable playroom floor when each row locks correctly and every obstacle is treated as a boundary condition, not an afterthought. Once the underlayment and expansion spacers are set, the install becomes about accuracy: straight rows, tight seams, and clean cut lines around vents and doorways.
– Start from the straightest wall and keep rows aligned; lock each plank properly using the tapping block technique recommended by the manufacturer.
Tapping block use protects edges and keeps the joint seated without “mushrooming” the tongue.
– Cut and fit around vents, corners, and doorways cleanly—leave the expansion gap at every fixed boundary.
A playroom often has registers and corners where homeowners accidentally close the gap because they’re trying to make it look tight.
– Add transitions where heights change (like into carpeted areas or other flooring) and reinstall baseboards/trim so the gap stays hidden but functional.
Transitions don’t only cover the look—they protect the laminate edge from direct contact and rubbing.
Cutout clearances around pipes, vents, and doorframes should still respect expansion gap requirements, because these fixed elements can restrict floor movement even when the walls are correctly spaced.
Staggering end joints reduces repetitive weak points; this is especially relevant in playrooms where impacts concentrate stress at specific areas.
What can go wrong (and how to avoid it)
Most playroom laminate failures trace back to a small number of repeatable mistakes. If you know what to look for—expansion gaps, underlayment compliance, subfloor flatness, and tight obstacle clearances—you can prevent the symptoms before they become permanent damage.
– No/incorrect expansion gap: laminate can lift or buckle as temperatures/humidity change.
Common cause: baseboards or trim are reinstalled while the expansion space is accidentally filled with caulk, adhesive, or debris.
– Skipping underlayment or using the wrong type: can affect comfort, sound, and warranty compliance ().
Playrooms feel louder because kids move toys quickly; underlayment affects impact sound and comfort.
– Uneven subfloor: even small low spots can cause clicking, separation at seams, or early wear.
If the floor “clicks,” it’s often a mechanical issue: a gap in the joint or a localized low spot acting like a fulcrum.
– Cutting around obstacles too tightly: if you don’t maintain clearance at fixed objects, planks may bind.
“Looks fine” at install time doesn’t mean it’s free to float once seasonal movement happens.
– Moisture problems in a playroom: if spills or humidity are common, confirm the moisture barrier and subfloor condition before installing.
Water exposure plus trapped moisture under planks is a fast route to edge swelling and joint failure.
According to ASTM F710, subfloor flatness targets exist because unevenness transfers into the floor surface, which can show up as movement and early joint issues.
According to ASTM E1745, vapor retarder performance is categorized by permeance (perms), which helps explain why an underlayment that “seems dry” may still let moisture vapor migrate.
Quick comparison: common error vs. the symptom it creates
| Mistake | What you’ll notice first | Best fix |
|---|---|---|
| Expansion gap blocked | Buckling near walls, tight points at doors | Remove trim obstruction; restore gap with spacers before reattaching trim |
| Wrong underlayment | Harsher sound, warranty questions, seam stress | Use underlayment specified by the laminate manual |
| Subfloor low spot | Clicking or gaps in certain areas | Flatten/patch before reinstalling laminate |
| Debris in joints | Seams open or don’t lock fully | Disassemble the affected rows and clean/tidy the locking edges |
Verdict / tip: When DIY makes sense (and when to skip)
DIY laminate replacement in a playroom is usually manageable when the subfloor is flat, dry, and you can follow your laminate’s installation/warranty requirements (especially underlayment and expansion gap). Skip DIY—or get help—if the subfloor is uneven, you suspect moisture damage, the job includes complicated levels/partial rooms, or your laminate warranty is strict about installer qualifications.
If you’re wondering whether your room layout is “too hard,” be honest about your trimming comfort: doorways, closet thresholds, and vent cutouts often take longer than the plank count suggests ().
| DIY Works Best If… | Skip DIY If… |
|---|---|
| Subfloor is flat within prep tolerances, and you can maintain an unblocked expansion gap. | You see moisture staining, soft spots, or repeated bubbling/cupping at edges. |
| You can follow the laminate manual for underlayment and moisture barrier use. | Your warranty requires an approved installer or additional substrate prep. |
| Your cutting plan is straightforward (fewer built-ins and manageable door transitions). | You’re dealing with complex partial-room layouts, stairs-to-playroom transitions, or multiple height changes. |
In playrooms, the biggest long-term risk isn’t only dents—it’s moisture plus blocked expansion, which can lead to buckling and seam failure that typically shows up after temperature swings.
If you’re uncertain about moisture or flatness, it’s better to confirm conditions before installing laminate floors than to disassemble later.
Quick checklist for replacing laminate in a playroom
– [ ] Remove old laminate and check subfloor flatness/cleanliness
– [ ] Confirm required underlayment + moisture barrier per your laminate manual
– [ ] Maintain expansion gaps around walls and fixed objects
– [ ] Lay planks in the planned direction with staggered seams
– [ ] Trim obstacles (vents, corners, doorways) with clearance
– [ ] Install transitions and reinstall trim so gaps stay covered, not blocked
A checklist prevents the two most common playroom installation misses: blocked expansion gaps and debris in locking joints.
Before you start the laminate floors, verify underlayment and vapor barrier requirements match both the product manual and your playroom moisture conditions.
Sources
– ASTM F710 — Standard Practice for Preparing Concrete Floors to Receive Resilient Flooring
– ASTM E1745 — Standard Practice for Special Requirements Relating to Gravimetric and Moisture Vapor Transfer Testing of Materials
– ASTM F1869 — Standard Test Method for Measuring Moisture Vapor Emission Rate of Concrete Subfloor Using Anhydrous Calcium Chloride
– ASTM F2170 — Standard Test Method for Determining Relative Humidity in Concrete Subfloor Using In Situ Probes
Replacing laminate floors in a playroom is absolutely doable step-by-step, but only when you respect the hidden variables: subfloor flatness, moisture control, and unblocked expansion. If you follow the order of operations—clean demo, correct underlayment, spacers and expansion gaps, careful obstacle trimming, and solid transitions—you’ll end up with laminate floors that handle daily play without buckling, clicking, or seam separation.
Frequently Asked Questions
How do you replace laminate floors in a playroom without damaging the subfloor?
Start by removing baseboards and carefully prying up the laminate planks, beginning from the first row you can access without cracking the tongue-and-groove edges. Inspect the subfloor for moisture damage, soft spots, or debris, then repair low areas with a leveling compound if needed. Before installing new laminate flooring, clean the surface thoroughly and confirm it’s dry, flat, and ready so the planks lock correctly and stay quiet underfoot in a high-traffic playroom.
What’s the best way to remove old laminate flooring in a room with furniture and kids’ items?
Clear the playroom as much as possible and protect what you can by moving furniture to one side and covering it with plastic sheeting. Use a pull bar, tapping block, and spacers to avoid damaging adjacent flooring transitions, and remove rows gradually rather than forcing up planks. For safety, keep children out of the room during demo, wear eye protection, and clean frequently to reduce dust and tiny laminate fragments.
Why does laminate replacement in a playroom need careful acclimation and expansion gap planning?
Laminate flooring expands and contracts with temperature and humidity, so skipping acclimation can cause buckling, gaps, or loose joints later. Follow the manufacturer’s acclimation instructions, typically allowing boards to sit in the room before installation, and maintain the required expansion gap around walls and doorways. In a playroom—where toys can bump floors and floors get constant foot traffic—correct expansion spacing helps prevent squeaks, separation at seams, and uneven wear.
How do you choose the right underlayment when replacing laminate floors in a playroom?
Choose an underlayment designed for laminate and match it to your subfloor type (concrete, plywood, or existing flooring) and your needs for comfort and noise reduction. A playroom benefits from underlayment with sound-dampening properties to reduce impact noise from running and dropping toys. If moisture is a concern—especially over concrete—use a vapor barrier or integrated underlayment appropriate for your climate and manufacturer guidelines.
Which laminate flooring type is best for a playroom, and what should you look for during replacement?
For play areas, look for laminate with a durable wear layer, higher AC rating (often AC4 or AC5 for heavy residential use), and a finish designed to resist scratches and scuffs. Consider water-resistant or waterproof laminate options if spills are common, but still address subfloor moisture and clean up standing liquid promptly. During replacement, also check click-lock compatibility, plank thickness, and the warranty terms so your new laminate flooring performs well for years of playroom activity.
📅 Last Updated: October 22, 2026 | Topic: How to replace laminate floors in a playroom? | Content verified for accuracy and freshness.
References
- Laminate flooring
- https://www.epa.gov/indoor-air-quality-iaq/volatile-organic-compounds-vocs
- https://www.epa.gov/asbestos/what-know-about-asbestos-and-your-home
- Lead Renovation, Repair and Painting Program | US EPA
- MohawkFlooring
- https://scholar.google.com/scholar?q=laminate+floor+installation+floating+click+lock+underlayment Google Scholar
- https://scholar.google.com/scholar?q=home+renovation+removal+laminate+asbestos+lead+dust+precautions Google Scholar
- https://scholar.google.com/scholar?q=laminate+flooring+VOC+emissions+indoor+air+quality+children Google Scholar