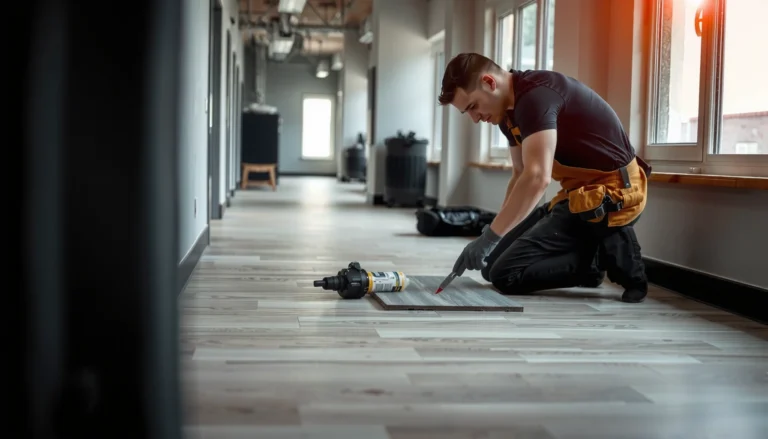

Preparing laminate floors for a garage isn’t “nice-to-have”—it’s the difference between crisp, lasting installation and warped planks. This step-by-step guide lays out the exact prep you need, from subfloor checks and moisture control to proper leveling and acclimation, so the floor stays flat and secure. Follow these instructions and you’ll know precisely what to do before the first board clicks in.




Control garage moisture first, then prep/level the concrete, and finish with the correct underlayment/vapor barrier plus consistent expansion gaps. If your garage swings between damp and dry—or between hot and cold—skipping these steps can lead to swelling, joint separation, or cupping in the laminate over time.
Prepare laminate flooring for a garage by controlling moisture first, then prepping (and leveling) the concrete subfloor, and finally installing the right underlayment/vapor barrier with proper expansion gaps. If your garage gets damp from the slab or frequent temperature swings, skipping these steps can cause swelling, joint separation, or cupping.
This is for homeowners installing (or planning to install) laminate in a garage—especially over concrete—where moisture and temperature change more than in a typical indoor room.
Check garage moisture and acclimate the laminate
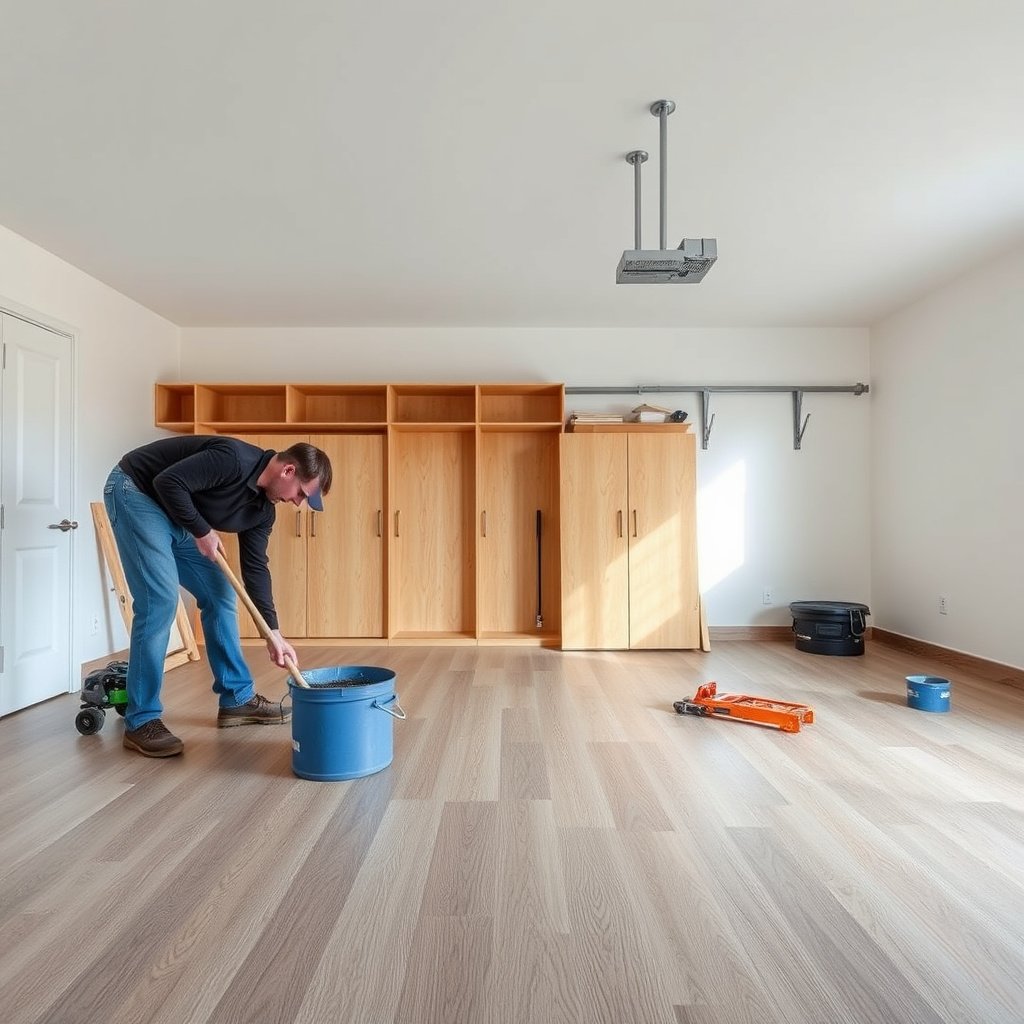
You’re looking for two things before any laminate hits the floor: (1) whether the concrete slab is driving moisture upward, and (2) whether the planks are acclimated to the garage’s real conditions. This section is where most garage laminate failures start—because laminate is dimensionally sensitive to moisture and to temperature swings.
Moisture testing for concrete isn’t optional when the floor is over a garage slab; laminate needs the substrate to meet the manufacturer’s moisture limits.
ASTM F1869 expresses concrete moisture results as moisture vapor emission rate (MVER) in lb/1,000 sq. ft./24 hr, which helps compare results to flooring limits.
ASTM F2170 measures in-situ relative humidity (RH) at the slab depth and reports it in RH% so you can verify compliance with the flooring system’s requirements.
– Test the concrete slab for moisture using the method required by your laminate manufacturer or, if you’re unsure, follow recognized moisture-testing standards like ASTM F2170 or ASTM F1869 (use the results to decide whether you need mitigation).
– Concrete moisture tests commonly report results as:
– ASTM F1869 (MVER): moisture vapor emission rate in lb/1,000 sq. ft./24 hr. According to ASTM F1869-23, the calcium chloride test result is reported as MVER in lb per 1,000 sq. ft. per 24 hours.
– ASTM F2170 (in-situ RH): relative humidity (RH%) measured inside the slab. According to ASTM F2170-23, this method measures in-situ RH% at probe depth to evaluate moisture conditions.
– Acclimate the laminate planks according to the manufacturer’s installation instructions (keep the timeframe/conditions as specified—).
In practice, this means storing unopened cartons where you’ll install them, then letting the material reach the garage’s ambient temperature and humidity tolerance. In 2026, more laminate manuals explicitly call out acclimation steps because garages often shift drastically when doors open or when HVAC isn’t present.
– Plan for temperature/humidity limits: if your garage regularly falls outside the laminate’s allowed range, your results may vary and warranty coverage can be affected.
Garage “rules of thumb” (like “it’s fine because the house is climate-controlled”) can backfire. Laminate expands/contracts as conditions change, and joint locking systems can be stressed when temperature or RH cycles are frequent.
Prep the garage subfloor (levelness, flatness, and cleanliness)
You prevent performance problems by making the concrete surface clean, sound, and within the laminate’s flatness/levelness tolerance. In a garage, that usually means addressing dust, ridges, patch marks, and any unevenness before you install anything.
Laminate’s click joints depend on the subfloor being smooth enough that the board corners don’t “bridge” over high spots.
Concrete repair products for floor covering need full cure time before flooring installation to avoid trapping residual moisture.
A thorough vacuum and removal of debris reduces the chance of seam separation and hollow-sounding areas under garage traffic.
– Remove anything that can interfere: old adhesive, paint overspray, drywall mud, grease, and loose concrete—then vacuum thoroughly.
Garages are where contaminants are most likely: tire residue, sealers, drywall overspray, and even concrete curing compounds from recent pours. If you’re unsure what’s on the slab, treat it as contamination until proven otherwise (test a small area for compatibility with your patch/skim compound).
– Fix low/high spots: laminate typically needs a smooth, even surface; follow the allowable flatness tolerance in your product instructions (use ).
Flatness matters more than “level” in the DIY sense. You can have a slab that’s approximately level from end to end but still has ridges that create point-loads on laminate boards.
– Fill cracks and patch dips with a concrete repair/leveling product rated for floor installation; let it cure fully before moving on.
If cracks are active (moving, widening, or spalling), patching alone may not solve the problem long-term. In those cases, you may need a crack-bridging approach or a moisture mitigation strategy that your laminate system allows.
Install the correct underlayment and vapor barrier setup
You should install only the underlayment/vapor barrier system your laminate manual allows, because “extra protection” can sometimes void the warranty or create trapped moisture. For garage slabs, the vapor barrier part is especially important because moisture movement often happens year-round, not just after rain.
Many laminate-over-concrete installations require a vapor barrier, but some products either include an attached pad or explicitly prohibit adding a separate layer.
Manufacturer instructions usually control underlayment thickness and seam treatment, especially when floating laminate is sensitive to compression.
If the slab is visibly damp or has not reached an installation-ready moisture condition, underlayment cannot “fix” moisture-driven swelling.
– Use the underlayment/vapor system the laminate manufacturer calls for—some laminates require a separate polyethylene vapor barrier; others use an attached pad and may prohibit extra layers ().
This is where I recommend you slow down and read the laminate manual exactly once all the way through. I’ve seen garage installs fail because someone used a “better” underlayment that was meant for another floating floor type.
– Overlap seams as directed and seal them if your instructions specify it—aim for continuous coverage to limit moisture migration.
Seams are the weak link. If your system calls for tape/adhesive at overlaps, follow it. If it calls for un-taped overlaps, follow that. The goal is to prevent moisture pathways, not to invent a hybrid build.
– Keep materials dry during installation: don’t install laminate over a slab that’s still “newly cured,” visibly damp, or covered with moisture sources.
For example, if you’re still pressure-washing the garage, storing wet items in the space, or dealing with active leaks, treat the floor as not ready. Moisture trapped beneath a floating laminate system can stay trapped.
Plan the layout and keep expansion gaps consistent
You need an intentional layout that includes the correct expansion gaps so the laminate can move as the garage environment changes. If you nail the gaps but ignore layout planning, you can still end up with weak seam locations or impossible seam alignments around garage features.
Floating laminate requires expansion space at the perimeter and at fixed vertical surfaces so boards can expand without buckling.
Layout planning helps prevent end-joint patterns that accidentally create long “weak lines” across a garage span.
Doorways and height transitions should include approved transition pieces so the floating floor is not mechanically restricted.
– Dry-lay a few rows to confirm direction, end-joint spacing, and where seams will land (avoid stacking end joints in a way that creates weak points).
In garages, it’s common to have unexpected obstacles: trench drains, service doors, and structural columns. Dry-laying helps you spot these issues before you cut and lock.
– Leave expansion gaps around the perimeter and at fixed objects (garage door tracks, columns, built-ins) exactly as your installation guide specifies (commonly these gaps are small but crucial—).
Those gaps are what keep seasonal expansion from pushing against the wall and lifting boards.
– Use proper transitions for doorways and between different flooring heights; don’t trap the floor so it can’t move with seasonal changes.
If a rigid transition piece is installed in a way that “locks” the laminate, the system can’t expand/contract freely. Transitions should allow movement, per the manual.
Garage Laminate Prep: Common Measurement Conversions (Metric ↔ Imperial)
| # | Reference measurement | Inches / mil | Millimeters (mm) | When you use it | Installer priority |
|---|---|---|---|---|---|
| 1 | Perimeter expansion gap (typical) | 3/8 in | 9.5 mm | Perimeter and fixed objects | ★★★★★ |
| 2 | Perimeter expansion gap (alternate) | 1/2 in | 12.7 mm | Perimeter and fixed objects | ★★★★★ |
| 3 | Common underlayment thickness target | 8 mm | — | Staying within manual limits | ★★★★☆ |
| 4 | Underlayment / vapor barrier thickness | 6 mil | 0.152 mm | Poly vapor barrier comparisons | ★★★★☆ |
| 5 | Gap spec in metric | — | 10 mm | Perimeter expansion space | ★★★★★ |
| 6 | Gap spec in metric (alternate) | — | 12 mm | Perimeter expansion space | ★★★★☆ |
| 7 | Rule-of-thumb conversion | 1 inch | 25.4 mm | Measuring gaps and cuts | ★★★★★ |
What can go wrong (and how to avoid it)
You avoid the most common laminate garage failures by addressing moisture source, correcting surface problems early, and respecting expansion movement. If you miss any one of those three, you often see symptoms that look like “bad laminate,” even when the panels are fine.
Moisture-driven swelling can occur even when the garage doesn’t feel wet—vapor can still migrate through concrete slabs.
Most click-lock laminate problems over concrete are linked to either insufficient flatness or a moisture/vapor barrier mismatch.
In garages, temperature cycling is normal, so expansion gaps aren’t optional; they are part of the flooring’s engineered system.
– Moisture problems: Concrete moisture coming from below is a top failure cause—if you see condensation, persistent dampness, or moisture-test results beyond your laminate’s limits, you may need mitigation before installing.
Also watch for wetting from above: missing roof flashing, leaks near garage walls, or sprinkler overspray. Laminate can’t safely “breathe” trapped water out from under it.
– Bad prep: Lumps, dust, or uncorrected low spots can cause clicking failures, gaps at seams, or a “spongy” feel over time.
If you can see dust on your shoes after vacuuming, assume it’s also on the slab. Dust acts like a thin bedding layer and can undermine the click joint performance.
– No expansion room: In garages with temperature swings, floors expand/contract; missing gaps can lead to buckling and seam separation.
Garage door track edges, shelving bases, and tight-fitting transition details are common “gap killers.” If a rigid element touches the floating floor, you’ve effectively removed the floor’s movement allowance.
Pros/cons: laminate vs common garage alternatives
If your garage’s moisture or temperature stability can’t match your laminate system, consider alternatives designed for harsher conditions. Below is a practical comparison homeowners use when deciding whether to proceed.
| Option | Pros for garages | Cons / constraints |
|---|---|---|
| Garage laminate (floating) | Affordable; fast install; comfortable underfoot when dry. | Needs tight moisture/flatness control; sensitive to expansion restrictions. |
| LVP/LVT with approved vapor protection | Often more forgiving over concrete; formats vary for moisture tolerance. | Still requires correct system build; click-lock products can vary in underlayment needs. |
| Engineered wood (properly specified) | Better “wood feel” than laminate when environmental requirements are met. | Can still be moisture-sensitive; garage use usually needs stricter conditions than many expect. |
Verdict / tip: do this only if your garage conditions match the laminate
Laminate can work in a garage only when moisture is controlled and the installation follows the manufacturer’s temperature/humidity and underlayment/vapor-barrier requirements. If your garage is prone to frequent wet conditions (standing water, chronic dampness) or you can’t meet the product’s environmental limits, consider an alternative flooring type designed for those conditions instead—.
From what I’ve seen in planning consultations, homeowners who “almost” meet the moisture or gap requirements are the ones who end up redoing floors. The redo cost usually dwarfs the cost of doing the moisture test, verifying underlayment compatibility, and preparing the concrete surface correctly—especially in 2025–2026 when installers are seeing more product warranty exclusions around garages.
Quick checklist (scan/save)
| Step | What to verify | Pass condition |
|---|---|---|
| Moisture test | Slab moisture method + target limits | Meets laminate manufacturer requirements () |
| Acclimation | Required timeframe/conditions | Follow manufacturer’s specified acclimation () |
| Surface prep | Clean, smooth, flat | Flatness/levelness within tolerance () |
| Underlayment/vapor | Correct system allowed by manual | No prohibited extra layers () |
| Expansion gaps | Perimeter + fixed objects | Gaps per instructions () |
| Transitions | Doors/height changes | Proper transition pieces, not locked edges |
Frequently Asked Questions
How do I prepare my concrete slab before installing laminate floors in a garage?
Start by ensuring the concrete is clean, dry, and smooth—remove paint, adhesive, and any high spots, then sweep or vacuum thoroughly. Test moisture using a concrete moisture meter or an appropriate moisture test kit; garages often have higher moisture than interior rooms. Repair cracks and level low areas so the subfloor is flat, because laminate can separate or click-lock improperly on uneven concrete.
What type of underlayment is best for laminate flooring in a garage?
Choose an underlayment designed for concrete subfloors that includes a vapor barrier (often 6-mil polyethylene or an integrated laminate underlayment system). Look for underlayment that meets your laminate manufacturer’s requirements for moisture protection and sound reduction. Avoid soft, compressible underlayments that can cause flex and joint separation, especially under rolling carts or vehicle traffic.
How can I control moisture and humidity when preparing laminate floors for a garage?
Verify humidity conditions and manage them before installation by running a dehumidifier or HVAC to stabilize indoor climate. In many garages, moisture can migrate through concrete, so a vapor barrier underlayment is critical to protect laminate floors. Seal any floor penetrations and consider patching or sealing severe moisture-prone areas, but follow manufacturer guidance so you don’t trap moisture incorrectly.
Why is temperature acclimation important when installing laminate flooring in a garage?
Laminate expands and contracts with temperature and humidity, and garage environments can swing dramatically. Acclimate the planks in the garage area according to the manufacturer’s instructions—often 48 to 72 hours—so the material conditions match the space. Skipping acclimation can lead to gaps, buckling, or weakened click-lock joints once the garage heats up or cools down.
Which tools and materials do I need to prepare and install laminate flooring over a garage subfloor?
Plan for a moisture test kit, a straightedge/leveling tool, and concrete repair materials for filling cracks and smoothing high or low spots. You’ll also typically need the correct underlayment with vapor barrier, a flooring spacer set for expansion gaps, a tapping block, and a pull bar for tight seams. For cutting, use a laminate saw or fine-tooth blade, and keep an eye on expansion space around doors, walls, and columns to ensure proper laminate floor performance.
📅 Last Updated: October 22, 2026 | Topic: How to prepare a laminate floors for garage? | Content verified for accuracy and freshness.
References
- Laminate flooring
- Underlayment
- Floating floor
- Vapor barrier
- https://www.cdc.gov/mold/default.htm
- Mold | US EPA
- https://www.epa.gov/mold/moisture-and-mold
- https://scholar.google.com/scholar?q=prepare+laminate+flooring+for+garage+concrete+moisture+barrier+acclimation Google Scholar
- https://scholar.google.com/scholar?q=laminate+flooring+garage+temperature+humidity+requirements+installation+guidelines Google Scholar
- https://scholar.google.com/scholar?q=concrete+moisture+testing+for+floor+coverings+laminate+ASTM+F2170 Google Scholar