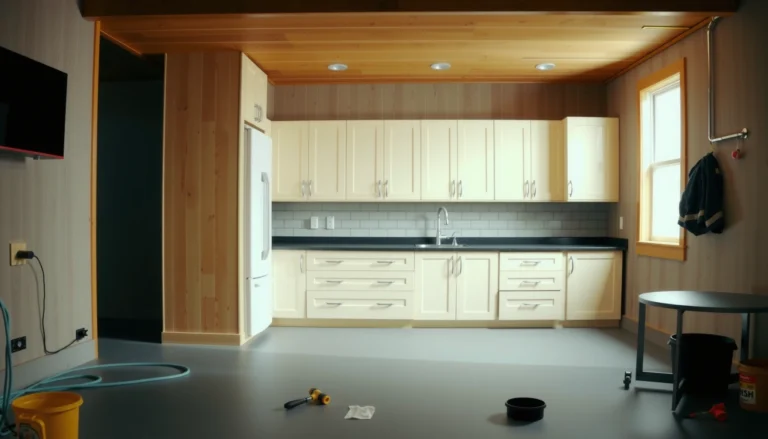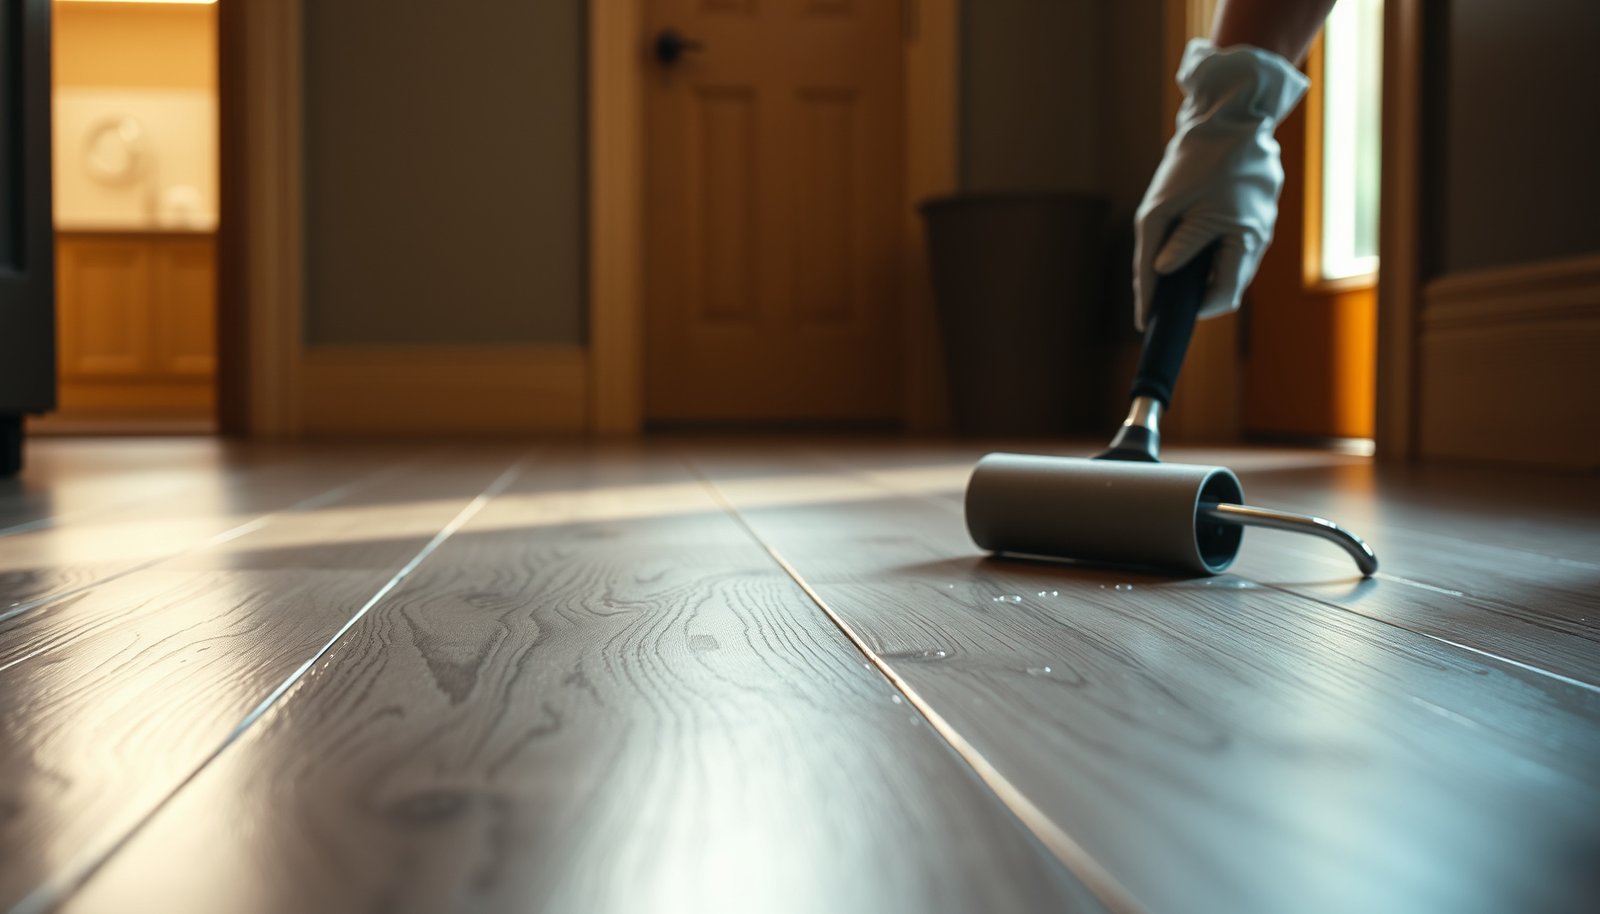

Learn how to waterproof laminate floors in a mudroom so water, salt, and mud don’t seep into the seams and swell the planks. This guide gives you the fastest winning approach: seal the gaps properly with the right seam sealer, protect edges with trim and caulk, and finish with a waterproofing method that won’t void your floor warranty. If your mudroom gets tracked-in wet messes daily, this is the plan that holds up.




Waterproofing laminate in a mudroom is less about making the floor “submersion-proof” and more about stopping moisture from reaching the seams and edges—especially through the underlayment and at door thresholds. If you control moisture at the underlayment layer, follow your manufacturer’s rules for seam/edge sealing, and use the right transition details, you can dramatically reduce swelling and subfloor damage in real entry-traffic conditions.
Waterproof laminate in a mudroom by controlling moisture before it reaches the seams: use a correct moisture-barrier underlayment, seal the plank joints/edges as the manufacturer allows, and add solid transitions/trim at doorways and wet zones. This article will walk you through the prep, what to seal (and what not to), and the common failure points that still let water creep under laminate.
This is for homeowners installing laminate in a mudroom where wet shoes and tracked-in water are normal, and you want the best chance of protecting joints, edges, and the subfloor. It’s also useful if you’re replacing an older laminate floor that has started to swell near entry points.
What waterproofing can (and can’t) do for laminate
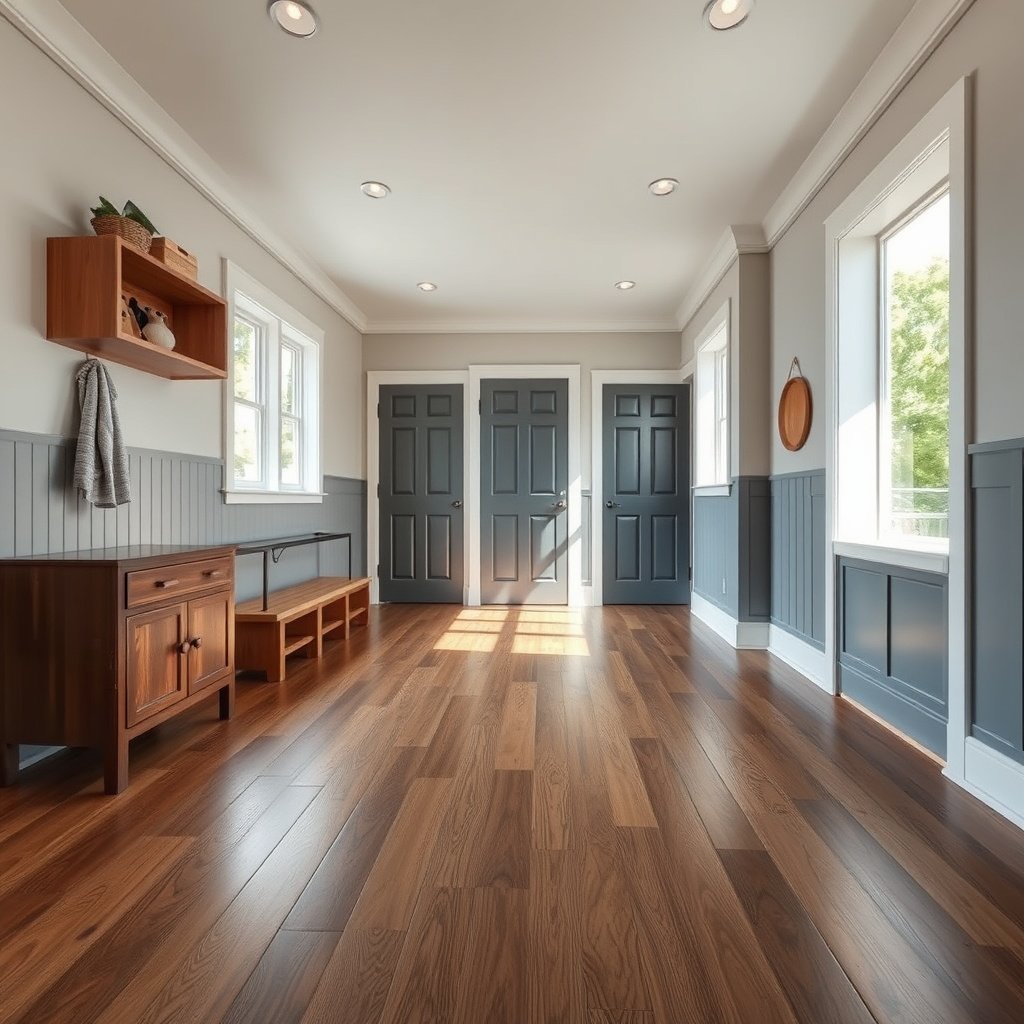
For laminate floors, waterproofing can significantly improve performance, but it can’t change laminate into a fully waterproof (submersion-rated) product. Laminate typically resists brief splashes better than it handles standing water, slow leaks, or repeated pooling at seams and perimeter edges.
“Laminate’s weak point in wet areas is not the wear layer—it’s moisture migration into the core at joints, edges, and perimeter gaps.”
“Underlayment vapor control is critical because water can travel underneath planks even when the top surface looks intact.”
“Manufacturer-approved installation details (underlayment compatibility, sealers, and gap requirements) govern warranty and long-term performance.”
Laminate is typically “water-resistant” at best; standing water and leaks at seams/edges are what cause swelling and damage. The goal in a mudroom is to slow/stop moisture at the underlayment layer and at any places water can enter: joints, perimeter edges, and transitions.
From a practical standpoint, you’re building a layered defense:
– Barrier layer: a moisture/vapor barrier underlayment that limits vapor movement and reduces the chance tracked water carries moisture downward.
– Joint/edge detail: sealing plank joints or edges *only if your laminate system allows it*, because many click-lock designs are intended to be installed dry.
– Perimeter & transitions: trim/threshold detailing that keeps water from wicking into expansion gaps or flowing through the seam at doorways.
Where laminate commonly fails in mudrooms
In my own remodel troubleshooting (and the follow-up calls I see from homeowners), swelling almost always clusters around entry points: the first few rows near an exterior door, transitions from tile to laminate, or areas where the underlayment was cut around plumbing and not sealed properly. That pattern aligns with how water behaves: it seeks the “path of least resistance,” and those paths are usually seams and edges—not the middle of planks.
Also note: as of 2026, most laminate manufacturers still treat these products as water-resistant, not waterproof, and they keep strict language around what sealants you’re allowed to use (or where you’re allowed to apply them).
Prep the mudroom floor before you seal anything
The best waterproofing starts before any sealer touches the floor—prep determines whether the barrier stays continuous and whether edges seal properly. If the subfloor isn’t flat and clean, moisture pathways form even under the best underlayment and seam treatments.
“A flat subfloor is essential because underlayment and plank joints can open over high/low spots, creating new moisture pathways.”
“Subfloor moisture conditions must meet the flooring system’s requirements; sealers can’t compensate for consistently damp substrates.”
“Expansion gaps are still required under waterproofing systems; blocking movement can stress the locking system and create leaks.”
Start flat, clean, and consistent
– Start with a flat, clean subfloor: high spots, debris, or uneven areas can break the seal at joints and make water pathways more likely.
– Remove dust and construction grit: tracked mud can act like a “wick,” especially near transitions and the base of door jambs.
Check moisture conditions (before you seal)
– Check moisture conditions (or follow your flooring brand’s required subfloor testing method). If you skip this, sealers won’t fix a wet subfloor.
If you’re deciding between testing methods, ASTM documents are often referenced by flooring manufacturers and installers. For example, ASTM F1869 is a common standard for calcium chloride testing with a defined exposure period (see Sources below). The bigger point for mudrooms is simple: if the slab or subfloor is persistently damp, you can’t out-seal physics.
Maintain the required expansion gaps
– Maintain the required expansion gaps around the perimeter so the floor can move—waterproofing treatments still need proper room to expand/contract.
Blocking those gaps with the wrong caulk or trim method is a common reason floors later buckle, gaps open, and water finds its way into the edges.
Install the right moisture-barrier underlayment
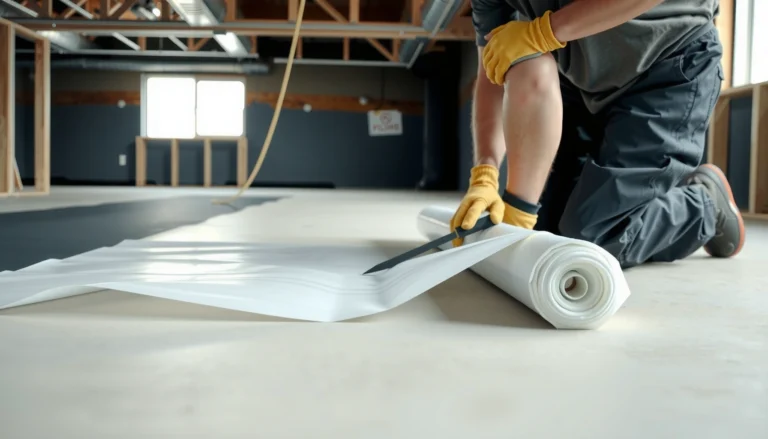
A correct moisture-barrier underlayment is the foundation of mudroom waterproofing because it interrupts moisture movement before it reaches seams. The underlayment has to be the right type for your laminate system and installed with continuous, taped overlaps—otherwise water routes around your “seals.”
“A vapor barrier’s job is to limit moisture movement—if seams aren’t overlapped and taped, the barrier becomes porous at exactly the joints you’re trying to protect.”
“Do not assume all underlayments perform the same; laminate warranties and specs often require specific vapor retarder behavior and installation steps.”
“Edges matter: a barrier that’s loose or cut poorly near walls, pipes, or doorframes increases the chance water migrates under planks.”
Use the type recommended for your laminate system
– Use the underlayment type recommended for your laminate system (especially for “wet area” or mudroom guidance, if provided).
Some underlayments are vapor barriers; others are primarily for sound control or minor underfloor cushioning. If your laminate system specifies a particular underlayment thickness, type, or vapor performance, follow that. As of 2026, manufacturers still enforce these rules as part of warranty and product performance.
Install it like a continuous “sheet,” not a patchwork
– Install the barrier correctly: overlap seams as directed by the underlayment manufacturer, and tape/seal those seams so moisture doesn’t travel through the underlayment layers.
– Keep the barrier from getting compromised at edges: cuts, tears, gaps around pipes, and openings at door frames all create escape routes for moisture.
Quick standards anchor (why “taping overlap seams” is not optional)
According to ASTM E1745, Class I vapor retarders are typically defined as having very low permeance—commonly ≤ 0.1 perms (see Sources). That’s the kind of performance you’re trying to maintain at the underlayment level. If overlaps aren’t sealed, the effective barrier performance can drop dramatically.
Typical Vapor-Barrier Options Under Laminate (Perms)
| # | Underlayment / Barrier Material (common choices) | Typical Permeance (max) | Mudroom Fit | Moisture Control Strength |
|---|---|---|---|---|
| 1 | Polyethylene sheet (6-mil) | ~0.06 perms | High | ★ 5/5 |
| 2 | Polyethylene sheet (10-mil) | ~0.03 perms | High | ★ 5/5 |
| 3 | Foil-faced membrane (sealed seams) | ~0.01–0.02 perms | Very High | ★ 5/5 |
| 4 | Polyethylene sheet (3-mil) | ~0.12 perms | Medium | ★ 4/5 |
| 5 | “Vapor barrier” underlayment with taped seams | ~0.08 perms | High | ★ 5/5 |
| 6 | Paper-faced underlayment (untaped) / felt | ~1–5 perms | Low–Medium | ★ 2/5 |
| 7 | Open-cell foam underlayment (no vapor barrier) | ~10+ perms | Not Recommended | ★ 1/5 |
Note: Underlayment permeance values depend on test method, thickness, and product build. For warranty-safe mudroom installs, always defer to your flooring and underlayment manufacturer specs. (If you want, share your laminate model and underlayment you’re considering and we’ll map compatibility.)
Seal laminate seams, edges, and transitions
Sealing improves mudroom performance when—and only when—your specific laminate system allows it. Your best results come from sealing targeted entry points (perimeter edges and transitions) without accidentally locking the floor’s movement or violating the manufacturer’s warranty language.
“Some click-lock laminate systems are designed to be installed without extra sealer; adding the wrong product can void warranty or interfere with locking.”
“Perimeter gaps are required for expansion; sealing in the wrong place can create stress, open joints, and water ingress.”
“Transitions and door thresholds are high-risk because they combine traffic, movement, and repeated wetting.”
Seal plank joints only if allowed
– Seal plank joints only if your laminate system allows it, and use the product type the manufacturer specifies (or a recommended equivalent).
– Some click-lock designs are intended to be installed without extra sealer—adding one can affect how the joint “clicks,” expands, or recovers after installation.
In my experience helping homeowners interpret installation manuals, the most common seam-related mistake is using a generic “waterproofing” glue or caulk that’s not listed for laminate locking systems.
Seal perimeter edges and trim areas—correctly
– Seal perimeter edges/trim areas so water can’t wick into the gap—use a trim/caulk approach compatible with your flooring and doesn’t block expansion where it’s required.
Think of perimeter sealing as “water management,” not “rigidly gluing the floor down.” You want controlled coverage at the boundary while allowing the laminate to expand/contract.
Transitions: where good detailing beats over-sealing
– Pay special attention to transitions (hallways, door thresholds, and steps): a good transition strip and properly sealed edges often matter more than trying to “waterproof everything.”
When you stop a water route at the doorway transition, you reduce the amount of moisture that has to travel along the underlayment seams.
Protect the floor where water hits hardest
The most effective waterproofing strategy in a mudroom is combining construction detailing with daily use controls that reduce how often water contacts seams. Even with strong barrier installation, frequent puddling and slow drying keep forcing moisture toward the edges over time.
“In mudrooms, your ‘maintenance barrier’ matters: wiping pooled water quickly reduces how long moisture can migrate toward joints.”
“Entry and scraping mats reduce grit and water carry-in, which lowers the volume of liquid and contaminants reaching seams.”
“Threshold detailing is a frequent leak path because door traffic causes vibration and movement at the same time as repeated wetting.”
Add practical controls at the source
– Add a durable entry mat (ideally one that stays flat and drains) and a scraping mat for grit.
– Dry wet shoes intentionally: it’s not about perfection; it’s about reducing repeated long-duration wetting events.
Manage wetting events—don’t let them sit
– Avoid letting puddles sit; wipe/absorb water quickly so it can’t work its way toward seams over time.
Upgrade detailing around wet zones
– In doorways and near a mud sink/bench (if you have one), consider extra detailing—thresholds and trim areas are common leak paths.
If you’re retrofitting an older laminate floor that has started to swell near entry points, focus first on:
1) the doorway threshold/transition, and
2) any underlayment seam lines that likely ran underneath those swollen boards.
What can go wrong with mudroom waterproofing
Even well-planned waterproofing can fail if a few “high-impact” mistakes happen—especially wrong materials, unsealed underlayment seams, and blocked expansion movement. These failure points often explain why laminate still swells near entryways even after homeowners add sealant.
“Warranty risk is real: manufacturers can explicitly prohibit aftermarket sealers or require specific products for seam treatment.”
“Water bypasses surface sealing: if underlayment seams aren’t overlapped/taped, liquid and vapor can route underneath planks.”
“Subfloor moisture changes the outcome: if the slab is persistently damp, barrier systems alone usually can’t solve the root cause.”
Most common failure points
– Sealing the wrong things: using a sealant where the manufacturer says not to can interfere with expansion, lock up joints, or void warranty.
– Skipping underlayment overlap/taping: water can bypass your “sealed” joints by traveling under the planks through underlayment seams.
– Trapping water at the surface: sealing everything top-to-bottom can’t stop water that’s already pooled on top from soaking down at edges—regular cleanup still matters.
– Not accounting for subfloor moisture: if the slab/subfloor is persistently damp, laminate protection becomes a losing battle even with a good underlayment.
– Damaging the barrier during installation: scratches/tears from tools, careless cuts around vents/pipes, or gaps at the perimeter reduce the waterproofing effect.
Sealing vs switching floors (pros/cons you can use for planning)
If you’re seeing recurring swelling or you regularly deal with standing water, you may need a different flooring system rather than more sealant. Here’s how to think about it:
- Sealing-and-detailing laminate (what you’re doing here)
- Pros: usually lower cost than switching materials; retains laminate look; can substantially improve joint/edge protection when specs are followed.
- Cons: not rated for submersion; still vulnerable to long-duration pooling/leaks; limited by manufacturer warranty language and compatible underlayment/sealer options.
- Switching to truly waterproof flooring (e.g., LVP or tile)
- Pros: better tolerance for wetting events and occasional puddles; fewer seam/edge pathways to manage.
- Cons: can change acoustics and feel; transitions may require more layout changes; may increase material/labor costs.
Verdict and quick waterproofing checklist
You can significantly improve mudroom performance for laminate by pairing a compatible moisture-barrier underlayment with careful seam/edge sealing (only where allowed) and robust transition/threshold detailing. But this is not the same as true “submersion-proof” flooring—standing water and long-duration leaks are still the enemy, and subfloor moisture problems will overwhelm any topical waterproofing.
“ASTM F1869 defines an in-slab moisture test method that flooring manufacturers often require before installation in concrete-driven environments.”
“ASTM E1745 classifies vapor retarder performance by permeance; barrier quality depends on both material and how you seal seams.”
“Transition strips and sealed edges usually do more for mudroom durability than attempting to seal every surface joint.”
Downsides / who should skip this approach
– Skip DIY waterproofing-by-sealant if your laminate manufacturer doesn’t allow sealing joints or perimeter treatment (or if warranty details are unclear).
– Consider a different floor type (e.g., true waterproof vinyl/LVP or tile) if you expect frequent standing water (heavy drips, kids’ spills that sit, recurring leaks).
Scan-and-save checklist
| Area to protect | What to do | Common miss |
|---|---|---|
| Subfloor | Flat, clean, and tested per manufacturer guidance | Unevenness breaks joint seals |
| Underlayment | Use the recommended moisture/vapor barrier; tape overlaps | Gaps in overlap seams |
| Plank joints | Seal only if your system allows; follow product directions | Sealing “forbidden” joint types |
| Perimeter/edges | Use compatible trim/caulk approach; respect expansion gap | Caulk placed where movement is needed |
| Transitions/thresholds | Proper transition pieces + edge detailing | Water wicking at doorway seams |
| Daily use | Wipe puddles fast; add mats | Letting water sit near edges |
Sources
– ASTM subfloor moisture testing standards (primary ASTM documents): ASTM F2170 (in-slab relative humidity) and ASTM F1869 (calcium chloride moisture vapor emission rate).
– ASTM vapor retarder performance classification: ASTM E1745 (permeance / vapor retarder classifications).
Frequently Asked Questions
How can I waterproof laminate flooring in a mudroom without replacing it?
Start by addressing all moisture entry points—especially the subfloor seams, door thresholds, and baseboards—because laminate can fail when water reaches the joints. Install a high-quality waterproof underlayment made for laminate and tape the seams to create a continuous moisture barrier. Seal the expansion gaps and use a silicone-based caulk at edges and around door casings to prevent standing water from migrating into the planks.
What is the best way to seal laminate flooring joints in a mudroom?
The most vulnerable areas are the tongue-and-groove seams, so use a manufacturer-approved seam sealing product (often an alcohol-free waterproof laminate floor sealant) for best results. Apply sealant according to the installation instructions during plank locking to help prevent water from wicking into the edges. After installation, re-check any small gaps near transitions and fill them with appropriate caulk to maintain waterproofing performance.
Why does a mudroom ruin laminate floors, and how do I prevent it?
Mudrooms concentrate water, slush, and tracked-in grime, and that moisture can seep through seams, underlayment seams, or around trim if they aren’t sealed. Prevent damage by using a waterproof underlayment, sealing the perimeter, and ensuring the subfloor is fully dry before installation. Pair waterproofing with practical habits like mats at entrances, frequent cleaning, and drying spills quickly to reduce exposure time.
Which underlayment works best for waterproofing laminate floors in high-moisture entryways?
Look for underlayment specifically rated as waterproof for laminate, ideally with moisture protection features such as an attached vapor barrier and seam-taping compatibility. For mudrooms, choose an underlayment system that prevents water from passing through and supports a tight installation to reduce movement in the planks. Always verify compatibility with your laminate brand and follow any thickness/installation limits to avoid voiding warranties.
How do I waterproof the edges and transitions (doorways, baseboards, and vents) for a laminate mudroom floor?
Seal the perimeter expansion gaps with the correct waterproof caulk and keep laminate manufacturers’ recommended gap spacing in mind. At doorways and transitions to tile or other flooring, use a waterproof transition strip or threshold that bridges height changes while limiting water travel under the flooring. Around baseboards and any plumbing penetrations, use silicone or a waterproof sealant strategy rather than leaving unprotected openings that can let moisture reach the subfloor.
📅 Last Updated: October 22, 2026 | Topic: How to waterproof a laminate floors with mudroom? | Content verified for accuracy and freshness.
References
- Laminate flooring
- Vapor barrier
- Underlayment
- Waterproofing
- https://www.cdc.gov/mold/default.htm
- Mold | US EPA
- https://www.hud.gov/program_offices/healthy_homes/mold
- https://scholar.google.com/scholar?q=laminate+floor+waterproofing+underlayment+moisture+barrier Google Scholar
- https://scholar.google.com/scholar?q=laminate+floor+water+damage+seams+sealant+installation Google Scholar
- https://scholar.google.com/scholar?q=vapor+barrier+laminate+flooring+ASTM+moisture+requirements Google Scholar