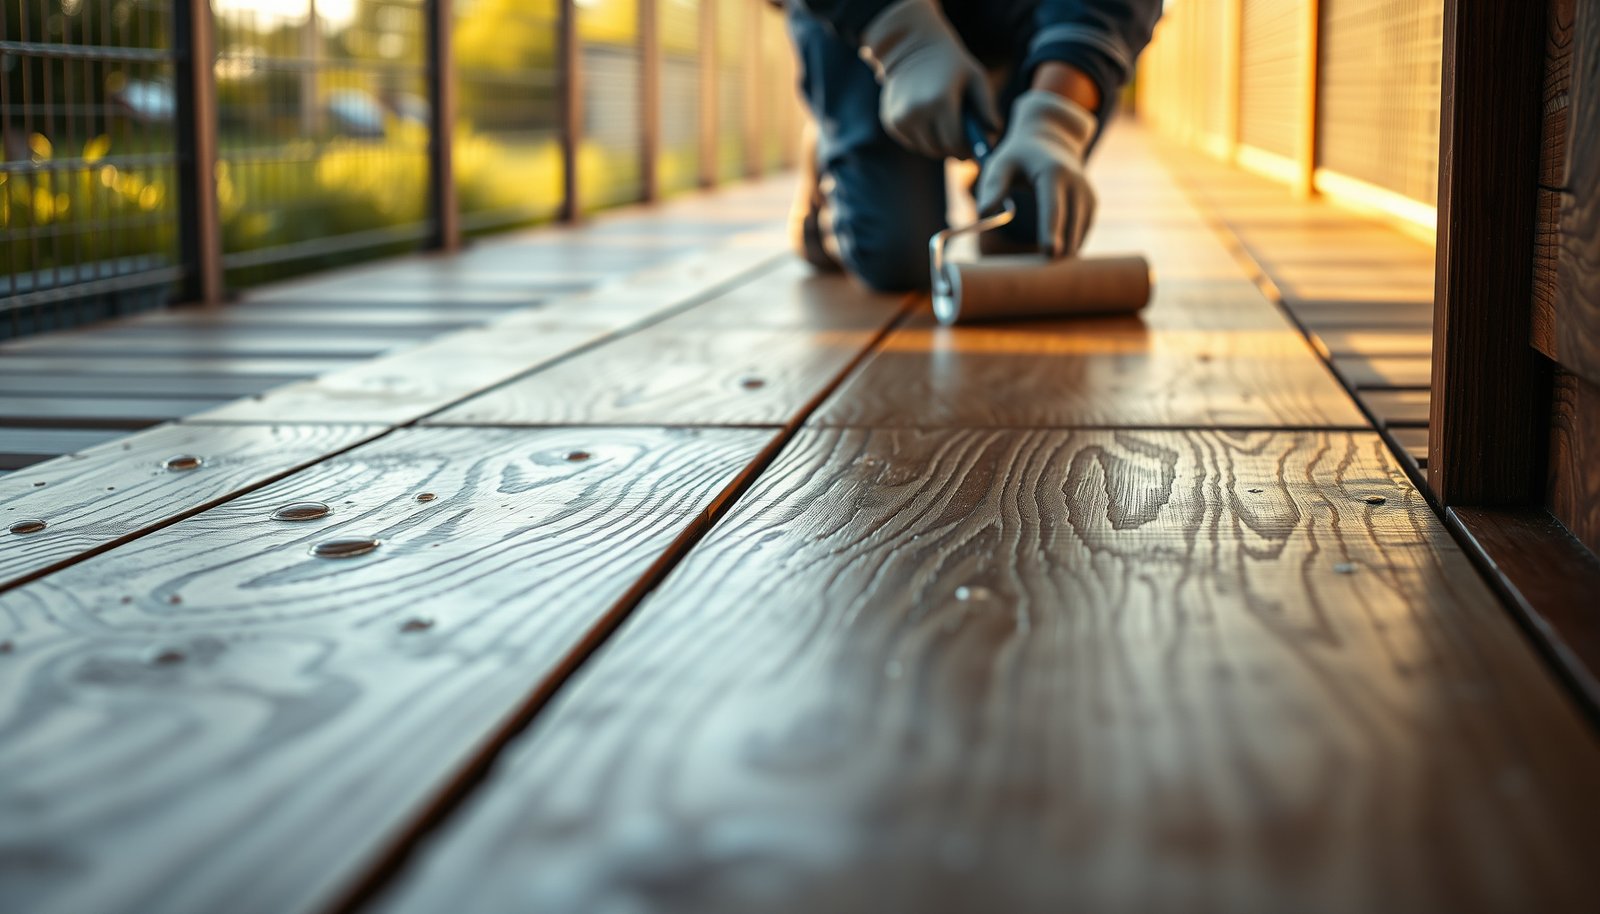

Want to waterproof engineered wood floors for an outdoor walkway? Use a full exterior system—proper sealing of all faces and edges, a compatible waterproofing membrane or exterior-rated sealant, and a topcoat built to resist standing water and freeze-thaw. This approach is the most reliable way to keep engineered wood from swelling, delaminating, or cupping outdoors where moisture is constant.




Use a full exterior-rated waterproofing system on the entire “water path” (top surface, seams, edges, and end-grain)—not a single clear coat. The key is compatible primer + waterproof membrane/coating, meticulous seam/edge prep, and extra protection at doorways, transitions, and the floor’s most water-absorbing zones so moisture can’t reach the core.
Waterproof engineered wood for an outdoor walkway is possible, but only if (1) your specific floor model is approved for outdoor/wet exposure and (2) your installation details don’t let water bypass the coating. This guide is for homeowners and installers waterproofing engineered wood that’s being used in an exterior walkway context (covered or open). Because outdoor exposure varies a lot (rain level, direct sun, temperature swings), you’ll want to confirm your specific floor’s warranty and exterior suitability before you start.
Confirm your engineered wood is allowed for exterior exposure
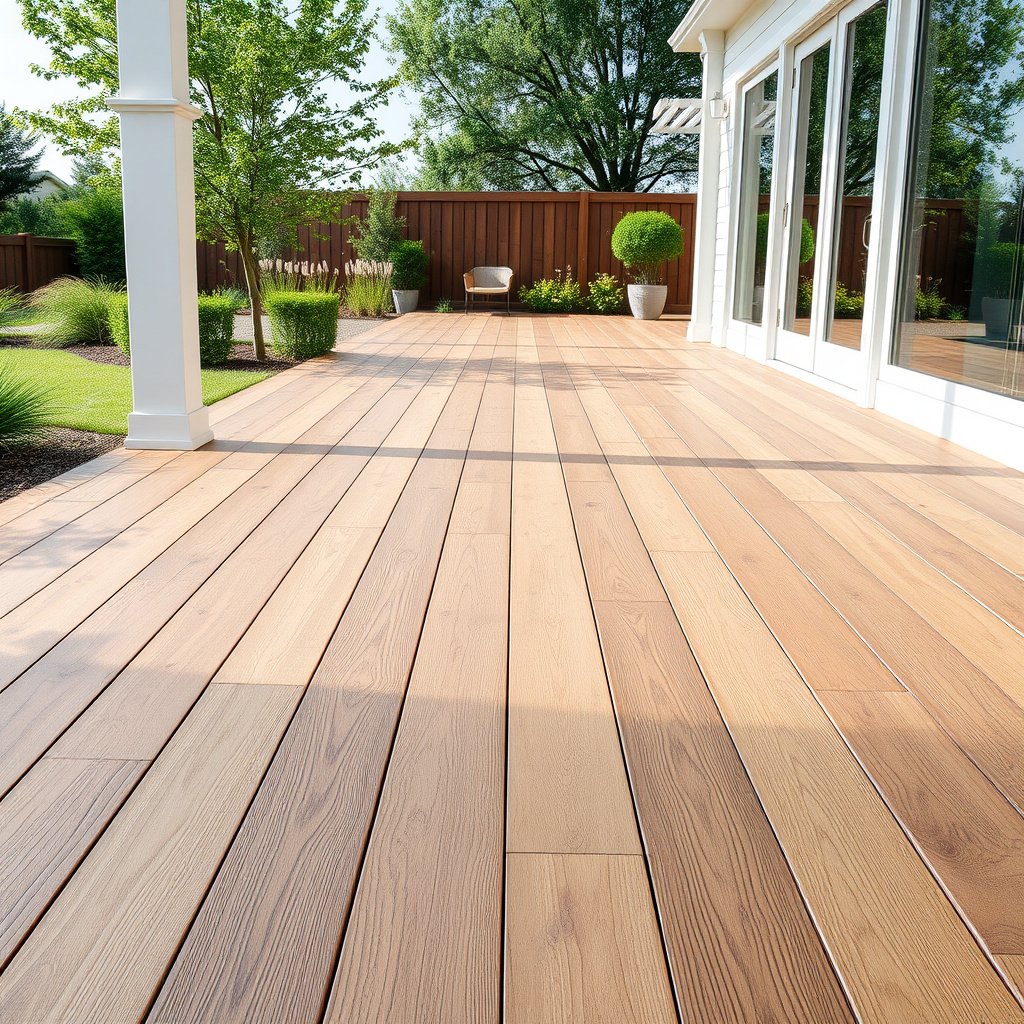
You need manufacturer approval before you waterproof engineered wood for outdoor use, because warranties and coating compatibility depend on the floor’s construction. If the manufacturer limits the product to interior environments (or “covered interior” only), the correct move is to switch to an exterior-rated product—not to try to “solve it later” with sealant.
– Check the manufacturer’s installation and “outdoor/wet area” limitations before waterproofing; many engineered floors are not warranted for exterior use.
– Identify the construction: veneer type, core material, and whether the click/locking system can be sealed without trapping water.
– Decide whether you’re waterproofing an existing deck-like surface or converting an indoor-style floor to outdoors (the latter often requires additional structural considerations).
Many engineered wood warranties explicitly limit “exterior” or “wet area” installation, even when the surface is sealed.
If the click/locking system isn’t designed to be fully sealed, water can still enter through seams and then stay trapped under a barrier.
Outdoor suitability isn’t just about water exposure; freeze–thaw and UV-driven dimensional movement also stress coatings and adhesives.
Before you start coating anything, read the exact language in your product’s installation guide for: (a) approved locations, (b) allowable moisture exposure, and (c) whether you’re permitted to apply additional membranes over the floor finish. Then identify your core build (commonly HDF fiber core vs. plywood core) and how the boards are joined (click-lock, tongue-and-groove, or glued). In my experience reviewing outdoor retrofit failures (and what causes them), the most common “surprise” is that many indoor engineered floors have seam tolerances that were never intended to be waterproofed long-term; even an excellent coating can’t compensate for design-level limitations.
Also note that “outdoor walkway” can mean very different moisture behavior:
– Covered walkway: less direct rain impact, but still sees condensation, splash-up at ledges, and wetting from wind-driven spray.
– Uncovered walkway: direct rainfall repeatedly cycles the surface, increasing demand on seam detailing and anti-slip traction.
From a standards perspective, remember that waterproofing is ultimately managing water and vapor movement. For instance, ASTM E96 defines water vapor permeance in perms, where 1 perm = 1 grain of water/(hr·ft²·inHg) (ASTM E96/E96M). A surface finish can look “sealed,” while vapor still migrates into seams and edges—so your system design must match the moisture path.
Prep the surface and lock down the seams/edges first
You waterproof engineered wood by preventing moisture from reaching the core, and that starts with substrate prep and seam/edge control. If the surface is dirty, uneven, or the joints are not properly detailed, coatings can thin out, crack, or de-bond—creating the very leak paths you’re trying to eliminate.
– Thoroughly clean, dry, and flatten the boards so coatings bond (fix squeaks, gaps, and uneven spots before sealing).
– Treat joints: fill and seal seams/edges with a system designed for wood floors outdoors, then sand flush once cured.
– Protect end-grain and perimeter edges (these areas typically absorb water fastest and are hardest to dry out).
Seams and end-grain are typically the first failure points because they provide direct pathways for water and higher absorption into the wood structure.
Coatings bridge joints only when the surface is flat, stable, and free of dust, oils, and loose finish that prevent adhesion.
Outdoor waterproofing prep is not optional—film thickness and continuity depend on getting the substrate profile and joint fill correct before the membrane goes down.
Clean, then verify dry and flat
Clean the entire walkway thoroughly using methods compatible with your existing finish (follow your coating system’s technical data sheet (TDS)). Your goal is no sanding dust, no wax, and no residual oils. Then confirm the boards are dry and stable—many exterior coating systems require a specific moisture condition in the substrate to develop full adhesion.
Next: fix movement. Squeaks usually mean the floor isn’t mechanically stable on its base. Any movement can translate to coating stress and microcracking at seams. If you’re working over joists, make sure the deck substrate is stiff and properly supported (details depend on your framing design; ).
Seam and edge detailing: seal, then sand flush
For waterproofing engineered wood, “seam prep” means you treat the joints as a waterproofing feature, not as a gap to be ignored until the topcoat. Typical workflow:
1. Fill gaps where appropriate with an approved wood-compatible joint filler from the same waterproofing system family (or one explicitly approved for engineered wood).
2. Seal seams/edges with the system’s joint detail approach (often includes a liquid-applied sealant and/or reinforcing fabric).
3. Sand flush after cure so the membrane is continuous and doesn’t bridge over ridges.
Protect end-grain and perimeter edges first
End-grain absorbs water aggressively. Perimeter edges also face repeated wetting and drying and often experience the most movement. Treat end-grain and perimeter transitions as “priority zones”:
– Seal them using the same waterproofing chemistry recommended for wood edges.
– Avoid relying only on field coat thickness—edges often need dedicated attention.
Here’s a planning moment worth making: your waterproofing layer should be continuous across the “water path.” That typically means matching the primer, waterproof layer, and reinforcing details so there are no compatibility gaps that cause peeling under UV and temperature swings.
Choose an exterior-rated waterproofing system (primer + top layer)
You should waterproof engineered wood outdoors with an approved exterior-rated system that includes a primer plus a waterproof top layer. Don’t assume that “waterproofing” equals “any sealant”—many products are designed for interior sealing, patch repairs, or short-term water resistance rather than full deck-grade performance.
– Use a waterproofing approach that matches your substrate and traffic needs: typically a waterproof membrane/coating system designed for exterior decks or exterior wood surfaces.
– Confirm compatibility with engineered wood finishes (some topcoats can’t be overcoated, and some coatings need a specific primer).
– Plan the build-up method: primer for adhesion, then waterproof layer, then any wear layer or anti-slip finish appropriate for walking.
Deck-rated waterproofing systems are engineered for exterior movement, UV exposure, and repeated wet/dry cycles—not just for surface water repellency.
Using the manufacturer’s primer is often what determines whether the waterproof layer bonds through seasons of expansion and contraction.
What “system” means in practice
When manufacturers talk about “systems,” they usually mean a controlled chemistry and build-up:
– Primer: improves adhesion to the wood surface and stabilizes porosity.
– Waterproof layer / membrane: the continuous barrier (often a liquid-applied membrane, sometimes a sheet system).
– Wear/traction layer: provides abrasion resistance and slip control for foot traffic.
Crucially, the seam/edge detail products (sealants, reinforcing fabrics, corner details) are part of that system too. If you mix components, you may lose adhesion or flexibility.
Sealant compatibility for transitions matters
Transitions (door thresholds, step noses, changes in flooring height) often include joints where movement happens. Elastomeric sealants are commonly rated for movement capability. For example, ASTM C920 classifies joint sealants by joint movement capability (commonly including ±12.5%, ±25%, ±50% grades depending on product grade) (ASTM C920). Pick a sealant that can accommodate expected movement rather than one that fails by tearing or debonding.
System selection comparison (quick reality check)
| Option | Pros | Cons / where it fails | Best for |
|---|---|---|---|
| Exterior primer + liquid-applied deck membrane | Forms a continuous film; good for seams when detailed correctly | Requires strict prep, correct thickness, and cure windows | Most exterior walkways where you can follow TDS closely |
| Sheet membrane (underlayment system) | Excellent barrier when seams are welded/fixed correctly | Detailing around edges and transitions is unforgiving | Areas with complex geometry when installer is experienced |
| Clear topcoat/sealer only | Quick appearance change; can reduce surface wetting | Usually fails at seams, edges, and end-grain entry points | Not recommended as “waterproofing” for exterior walkways |
Mandatory system planning step
Before you buy materials, confirm:
– Your engineered wood finish can accept the primer (some existing stains/finishes need specific prep).
– The waterproof layer is rated for exterior deck/walkway use.
– If you need anti-slip, the method is compatible (some traction additives or coatings can reduce flexibility or change cure).
Vapor Retarder Permeance Bands Commonly Used for Moisture Control (ASTM E96)
| # | Permeance band (perms, ASTM E96) | Common classification | Moisture-trap risk in exterior stacks | Practical takeaway | Field-fit score |
|---|---|---|---|---|---|
| 1 | ≤ 0.10 | Class I (vapor barrier) | High | Use only when your assembly allows drying paths | ★ ★ |
| 2 | 0.10–0.25 | Class II (low) | Medium–High | Avoid “double barriers” that trap wetting | ★ ★ ★ |
| 3 | 0.25–0.50 | Class II (low) | Medium | More forgiving if drainage/drying are designed | ★ ★ ★ ★ |
| 4 | 0.50–1.00 | Class II (upper) | Medium | Often workable with engineered assemblies that can dry | ★ ★ ★ ★ |
| 5 | 1.00–2.50 | Class III (low–mid) | Lower | More drying potential; still waterproof the water path | ★ ★ ★ ★ ★ |
| 6 | 2.50–5.00 | Class III (mid) | Lower–Medium | Good balance where drying is important and water is shed | ★ ★ ★ ★ ★ |
| 7 | 5.00–10.00 | Class III (upper) | Lower | Helps assemblies dry; still require surface waterproofing | ★ ★ ★ ★ ★ |
These permeance bands are aligned to widely used IRC-style vapor retarder class thresholds (Class I ≤0.1 perms; Class II 0.1–1 perm; Class III 1–10 perms), with practical sub-bands for system design conversations. Verify your specific coating/membrane permeance in the manufacturer’s TDS.
Apply waterproofing correctly: thickness, coverage, and curing
You waterproof engineered wood by applying the waterproof layer at the specified thickness/coverage and allowing full cure under the right weather conditions. Even a correct product can fail if coverage is thin, seams aren’t bridged, or recoat windows are missed.
– Follow the manufacturer’s mixing, application method (roller/brush/trowel), and coverage rate so you don’t create thin spots where water can penetrate.
– Coat seams and edges with extra attention, then bridge joints with the same system (or with an approved detail product) before full-field coverage.
– Respect cure times and weather conditions; don’t rush recoat windows or apply when moisture/condensation risk is high.
Waterproofing membranes rely on achieving the specified wet film and dry film thickness—missing coverage is one of the fastest routes to pinholes and early leaks.
Manufacturers typically require detailed seam bridging (fabric or reinforced liquid) because joints concentrate movement and tearing stresses.
Cure time isn’t cosmetic; applying recoats too early can reduce final crosslinking and adhesion durability in exterior conditions.
Thickness and coverage: don’t “eyeball” it
Liquid-applied membrane performance depends on correct build. Plan for:
– The right primer coverage (as required by the TDS).
– The right waterproof layer application method and rate so you meet stated thickness.
– Extra applications at critical points (seams, edges, end-grain, transitions).
If your walkway sees heavy foot traffic, you may add a wear/traction layer once the waterproof membrane cures. That wear layer must remain compatible with the waterproof chemistry and the traction method.
Seam bridging: detail first, field coat second
A common failure pattern is “field coat first, detail later.” Instead, do:
1. Prime.
2. Detail seams/edges/end-grain (including fabric/mesh if required).
3. Then apply full-field membrane in a continuous sequence that doesn’t leave exposed gaps between cure stages.
Weather and cure: manage temperature swings
Outdoor exposure includes temperature cycling, which stresses coatings. Respect the recoat and cure windows for each layer and avoid coating during periods of high condensation risk. If rain is possible, schedule so the floor can complete cure before wetting.
Also, pay attention to traction. Some membranes become slick when wet; if you need anti-slip, use an approved traction method so you don’t compromise waterproofing continuity.
What can go wrong (and how to prevent it)
Waterproofing fails most often when water finds a bypass—usually at seams, edges, end-grain, or transitions—and moisture gets trapped where it can’t dry. The prevention strategy is the same every time: continuity, compatibility, and drying pathways.
– Sealer on top only: Waterproofing fails when water sneaks through seams, penetrations, or edges—so don’t skip joint/end-grain detailing.
– Trapped moisture: If the walkway has limited drainage or you apply a barrier over an underside that can’t breathe, you can end up with swelling underneath.
– Wrong product compatibility: Coatings/membranes that aren’t rated for engineered wood or that don’t match the existing finish can peel or fail prematurely.
– Outdoor temperature swings: Expansion and contraction can stress coatings; choose a system that accommodates movement (or design for it).
– Slippery surface risk: Some waterproof coatings become slick when wet—add an approved anti-slip method if needed.
Exterior failures are often seam failures, not “waterproof layer failures,” because joints are where water concentrates and movement initiates cracking.
If you build a highly impermeable layer on top of an assembly that can’t vent or dry, you can worsen swelling even while blocking liquid water.
Product incompatibility (primer vs. topcoat mismatch or coating over an incompatible finish) can cause peeling even when application thickness looks correct.
Trapped moisture: why “more waterproof” isn’t always better
In outdoor walkway assemblies, you’re not only keeping liquid water out—you’re also managing vapor migration and drying. Vapor retarder performance is commonly classified by permeance in perms: for example, a widely used class scheme is Class I ≤0.1 perms; Class II 0.1–1; Class III 1–10 (IRC/commonly adopted vapor retarder class thresholds). If your stack traps moisture below a barrier, the core can swell even if the surface appears sealed.
Outdoor movement: design for expansion/contraction
Engineered wood and coatings both experience movement. The membrane needs to tolerate this without debonding or cracking. Where possible:
– Follow the floor’s expansion/perimeter requirements.
– Treat transition points as joint systems, not as “field coating areas.”
Slips and safety
A waterproofing system that blocks water but creates an unsafe walking surface is a practical failure. Plan for traction methods compatible with your membrane system, and re-check after seasonal wet conditions.
Verdict / tip: waterproofing is possible, but only with the right approvals
If your engineered wood manufacturer allows exterior use (or allows your specific exposure scenario), a full waterproofing system—primer, seams/edges detailing, and an exterior-rated waterproof top layer—can help keep water out of the core. If your floor is “indoor only” or your warranty prohibits outdoor exposure, you should skip this approach and consider a product actually rated for exterior decking/walkways.
Best fit: covered outdoor walkways, controlled installation quality, and someone willing to follow cure/weather instructions carefully.
Skip if: the product is indoor-only, your sub-surface can’t drain, or you can’t maintain cleanliness and reinspection of joints and edges after seasonal weather changes.
The safest “waterproof” path is an approved product system where primer, membrane, and detail materials are designed to work together.
When engineered wood isn’t rated for exterior conditions, waterproof coatings may delay symptoms but still violate warranty and can’t reliably prevent core-side swelling.
From my perspective working through outdoor flooring retrofit planning, the biggest difference between “works for a season” and “holds up over time” is detail discipline: joint prep, end-grain treatment, and transitions that accommodate movement.
Downside reality check: a properly detailed system is more labor-intensive than a simple sealer, and it may require reinspection or maintenance after heavy rain seasons. Also, no membrane guarantees zero moisture movement; if the underside can’t dry, you must design the assembly for venting/drainage rather than simply coating everything.
Quick checklist (scan/save)
– [ ] Confirm engineered wood is approved for outdoor walkway use (warranty/ratings checked)
– [ ] Flat, clean, dry surface; gaps corrected; joints prepped
– [ ] Seams + edges + end-grain sealed/detailed first
– [ ] Exterior-rated waterproofing system selected (primer + waterproof layer + wear/traction)
– [ ] Applied at required coverage/thickness; recoats within cure window
– [ ] Weather/temperature conditions suitable; full cure achieved
– [ ] Anti-slip plan if the walkway gets wet
Sources
– ASTM E96/E96M, Standard Test Methods for Water Vapor Transmission of Materials (perms definition and permeance testing basis).
– ASTM C920, Standard Specification for Elastomeric Joint Sealants (movement and classification by sealant grade).
– IRC/commonly adopted vapor retarder class thresholds (Class I/II/III permeance ranges)—
Frequently Asked Questions
What is the best way to waterproof engineered wood floors for an outdoor walkway?
For an outdoor walkway, use a system specifically intended for exterior exposure, not just indoor floor finishes. Start by sealing the subfloor and edges, then apply an exterior-grade waterproof membrane or underlayment designed to block moisture. Finish with a topcoat rated for exterior conditions (UV-resistant and slip-resistant) to protect the engineered wood layers from standing water and humidity.
How do I waterproof engineered wood floors on a walkway step-by-step?
First, verify the engineered wood is appropriate for exterior use and that the surface is clean, dry, and level. Next, install a moisture barrier/waterproof membrane, then seal all seams, joints, and penetrations (such as posts, rails, or fasteners) with a compatible waterproof sealant. Finally, apply multiple coats of an exterior waterproof topcoat, ensuring full coverage on edges and around any expansion gaps so water can’t wick into the core.
Why does engineered wood need special waterproofing outdoors compared to indoor use?
Engineered wood has a wood-based core that can swell or delaminate when water reaches the edges, seams, or underside. Outdoors adds constant wet/dry cycling, UV exposure, and driving rain, which can degrade finishes and allow moisture intrusion even if the top surface looks fine. Proper waterproofing prevents water from migrating through the seams and into the layers that are most vulnerable.
How can I prevent water pooling and moisture damage on an outdoor walkway with engineered wood?
Waterproofing works best when combined with good drainage. Keep the walkway sloped for water runoff and avoid low spots where puddles form, which can overwhelm sealants and coatings over time. Use exterior-rated spacers and allow for expansion, then seal expansion joints with a flexible outdoor-grade waterproof compound to prevent wicking.
Which waterproofing products are most suitable for engineered wood floors exposed outdoors?
Look for exterior-rated waterproof membranes, waterproof underlayments, and sealants that are compatible with wood flooring and designed for wet environments. Choose UV-resistant, waterproof topcoats/finishes with strong adhesion to engineered wood and appropriate slip resistance for walkways. If you’re unsure, follow the flooring manufacturer’s compatibility list or consult an installer to ensure the waterproofing system won’t void warranties or trap moisture.
📅 Last Updated: October 20, 2026 | Topic: How to waterproof a engineered wood floors with outdoor walkway? | Content verified for accuracy and freshness.
References
- Waterproofing
- Wood flooring
- Deck
- https://www.fpl.fs.usda.gov/documnts/fplgtr/fpl_gtr190.pdf
- Mold | Mold | CDC
- https://www.epa.gov/mold
- https://www.epa.gov/mold/preventing-mold-your-home
- https://scholar.google.com/scholar?q=how+to+waterproof+engineered+wood+flooring+for+outdoor+walkway Google Scholar
- https://scholar.google.com/scholar?q=engineered+wood+waterproofing+outdoor+deck+moisture+barrier+sealant Google Scholar
- https://scholar.google.com/scholar?q=wood+flooring+outdoor+exposure+waterproofing+hygrothermal+moisture+control Google Scholar