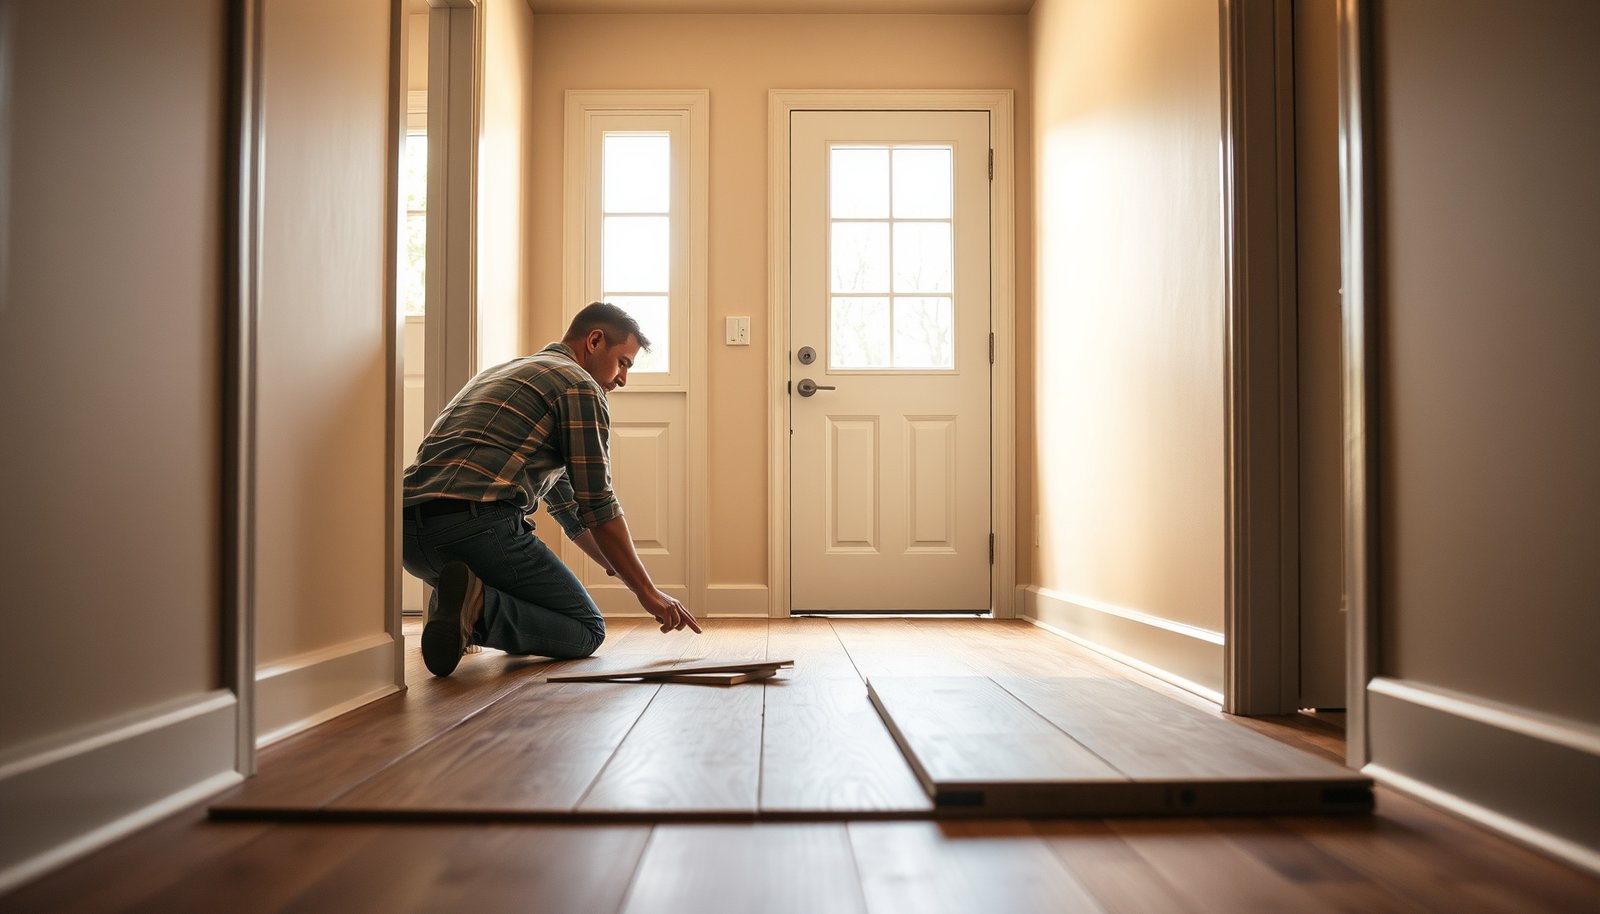

Replacing engineered wood floors in an entryway is straightforward when you follow the right removal and install method for your subfloor and underlayment. This guide tells you exactly what to pull up, how to prep the entryway for flawless click-lock or glue-down planks, and how to finish the edges around doors and transitions for a tight, durable fit. If you want the fastest route with the fewest mistakes, it’s all here.




Replacing engineered wood floors in an entryway comes down to three things: remove the old planks without damaging the subfloor, correct subfloor flatness and moisture risk, and then reinstall using the correct underlayment/vapor barrier with proper expansion gaps. If your entryway gets wet from rain/snow or sees constant shoe traffic, moisture planning and subfloor flatness checks are what keep engineered wood flooring from squeaking, separating, or buckling later.
This is for homeowners tackling a small entryway refresh (often a few boards to a full room) who want a practical DIY roadmap. It’s especially relevant if your engineered floor is worn, buckled, separating at seams, or you’re switching from an older install style.
Assess what you’re replacing (and match the install type)
To replace engineered wood flooring successfully, start by identifying how the existing floor is installed and what layers sit underneath it. That single discovery determines how you remove the old boards, what you can salvage, and which underlayment/vapor system you must match for the new engineered wood flooring.
Engineered wood flooring installs are commonly categorized as floating (often click-lock), glue-down, or nail-down, and each removal method preserves different layers of the subfloor differently.
Manufacturer installation instructions for engineered wood flooring define required underlayment and vapor control, and substituting incompatible underlayment can void warranty and affect performance.
Transition trims at thresholds protect edges and help manage movement where engineered wood flooring meets tile, carpet, or door jambs.
Identify the install type (floating vs glue-down vs nail-down)
– Floating/click-lock: Planks lock together and are not typically fastened to the subfloor. Removal often lifts in manageable sections.
– Glue-down: Boards are adhered to the subfloor. Removal is usually harder because engineered wood flooring is bonded to the substrate.
– Nail-down (or staple-down): Fasteners hold the planks into a suitable subfloor. Removal can expose nail holes and requires different prep for engineered wood flooring.
Practical tip: Before you remove engineered wood flooring, inspect one seam and a closet/under-trim edge. If you don’t see fasteners and you can lift a plank edge, it’s likely floating. If planks look welded to the surface with no seams you can easily lift, it’s likely glue-down.
Check what’s between the engineered floor and the subfloor
Underlayment and vapor barriers matter because entryways are a worst-case environment for engineered wood flooring: tracked moisture + fast foot traffic + occasional spills. Look for:
– Underlayment foam/pad (often used with floating click-lock)
– A separate vapor barrier sheet (common over concrete)
– No underlayment (some products are built to accept specific setups only)
Confirm thickness and plank dimensions
Engineered wood flooring comes in different thicknesses and board widths, and entryways usually require transitions at doorways. Measure:
– Plank thickness (example: )
– Plank width (important for door-jamb clearance and layout)
– Square footage (to confirm if you’re replacing only a section or the full run)
If you’re matching an older engineered wood flooring install, expect slight color variation across batches. That’s normal—but plan your layout so noticeable transitions align with less obvious sightlines when possible.
Remove the existing engineered wood floor safely
The key to removal is controlling how you lift or scrape so you keep the subfloor flat and intact. For engineered wood flooring, the goal isn’t just “get it out”—it’s “get it out without creating new problems” like gouges, loose patches, or damaged moisture layers.
Undercutting door trim and removing shoe molding/baseboards first reduces the chance of tearing the engineered wood flooring edges and damaging jambs during plank removal.
Glue-down engineered wood flooring removal often leaves adhesive residue, and any remaining buildup can prevent new engineered boards from seating flat.
For click-lock engineered wood flooring, removing in rows/sections is typically faster and causes less subfloor damage than trying to pry full boards in one step.
Remove trim and prep access
– Start by removing shoe molding/baseboards as needed.
– Undercut door trim carefully so you can slide planks out without forcing them against the jambs.
– If you plan to reinstall trim, label pieces by location (entry door, hall, closet, etc.)—small differences can affect shoe molding fit around engineered wood flooring expansion gaps.
Pull up planks according to install type
– Click-lock (floating):
– Use a pull bar and tapping block technique to avoid chipping the tongue/groove or click mechanism.
– Work in rows/sections so the engineered wood flooring stays aligned as you lift it.
– Glue-down:
– Expect resistance and remove in a controlled way.
– Use a scraper method that avoids gouging the subfloor. Any deep ridges show up later as squeaks or joint separation in engineered wood flooring.
– Remove all underlayment and any adhesive that could interfere with seating.
Remove residue and check flatness before you stop
Once the old engineered wood flooring is out, scrape thoroughly and vacuum. Then do a quick “truth test”:
– Run your straightedge across the surface.
– Feel for ridges where adhesive scraped off unevenly.
– Remove loose particles—engineered wood flooring can telegraph debris as high spots.
Inspect and prepare the subfloor (this step prevents most failures)
You prevent most failures by ensuring the subfloor is solid, flat, and dry enough for engineered wood flooring to perform. If you correct moisture risk and flatness now, you avoid the most expensive callbacks: squeaks, seam separation, and visible gaps after seasonal humidity changes.
NWFA installation guidance commonly cites subfloor flatness tolerances of 3/16 in over 10 ft (4.8 mm over 3.05 m) and 1/8 in over 6 ft (3.2 mm over 1.83 m) for resilient performance of wood flooring. National Wood Flooring Association (NWFA), installation guidance for subfloor flatness
NWFA guidance also emphasizes matching moisture conditions so the wood subfloor and flooring do not differ significantly, often described as staying within 4 percentage points for wood-on-wood performance. NWFA, wood flooring moisture guidance
NWFA guidance frequently recommends maintaining indoor relative humidity around 35%–55% to reduce wood movement problems. NWFA, recommended service environment for wood flooring
Look for structural and moisture problems first
Before you install new engineered wood flooring, inspect:
– Cupping or warped areas
– Soft spots (a sign of rot, failed patching, or moisture intrusion)
– Protrusions (old fastener heads, ridges, concrete “high spots”)
– Areas that stayed damp or smelled musty after cleaning
If you find damaged subfloor materials, repair/replace before you lay engineered wood flooring. Installing over failed substrates typically guarantees the engineered planks will reflect movement and telegraph defects.
Level for silence and lock performance
Engineered wood flooring—especially click-lock—depends on support that remains flat so joints can seat fully. Leveling is not optional when:
– You see dips that catch a straightedge
– You can feel rocking when you kneel or press
– You have repeated squeaks in the same zones
From my experience with repair walkthroughs (and what we typically see in follow-up inspections): the most frequent “mystery squeak” in entryways comes from a localized high/low area that wasn’t corrected because the homeowner focused only on replacing engineered wood flooring, not the base that supports it.
Moisture risk: concrete and exterior exposure
If the entryway is over concrete or near exterior doors where rain/snow gets tracked in, engineered wood flooring needs a moisture plan.
– Follow your flooring manufacturer’s moisture requirements.
– Consider moisture testing appropriate to your substrate. For concrete, relative humidity testing uses ASTM F2170 for in-slab relative humidity with probes. ASTM International, ASTM F2170 (standard method for in-situ relative humidity)
Mandatory data table (flatness + moisture targets that reduce squeaks and gaps)
Moisture & Flatness Benchmarks Used to Stabilize Engineered Wood Flooring
| # | Installation Check | Target / Standard | Why It Matters for Engineered Floors |
|---|---|---|---|
| 1 | Subfloor flatness (long span) | 3/16 in over 10 ft (≈4.8 mm over 3.05 m) | Reduces squeaks and joint stress |
| 2 | Subfloor flatness (short span) | 1/8 in over 6 ft (≈3.2 mm over 1.83 m) | Helps click-lock joints seat fully |
| 3 | Wood-to-wood moisture match | Keep within ~4 percentage points | Limits seasonal movement that opens seams |
| 4 | Indoor RH during service | ~35%–55% relative humidity | Stabilizes dimensional change in engineered wood flooring |
| 5 | Concrete moisture test method (RH probes) | ASTM F2170 — output in % RH | Supports correct vapor control for concrete-to-floor installs |
| 6 | Concrete moisture test method (calcium chloride) | ASTM F1869 — output in lb/1000 sq ft/24h | Helps determine if vapor mitigation is required |
| 7 | Design focus for entryways | Plan for tracked wetting at the first 3–6 ft from the door | Prevents localized swelling/cupping in high-exposure zones |
(Sources for general targets: NWFA installation guidance for flatness/moisture/environment and ASTM International standard methods for concrete moisture testing. See “Sources” section below for document placeholders to confirm your project’s product-specific limits.)
Choose the right underlayment/vapor barrier and replacement boards
To avoid future gaps and warranty issues, match the underlayment/vapor barrier to both your install type and your substrate (wood subfloor vs concrete). For engineered wood flooring in an entryway, the “right” layer is the one your specific product manufacturer calls for—not a generic alternative.
Floating engineered wood flooring often requires a specific underlayment thickness and vapor-control approach; using the wrong pad can prevent proper lock performance and movement.
Glue-down engineered wood flooring typically relies on an approved adhesive system and surface prep plan, and manufacturer-approved vapor solutions protect against concrete moisture drive.
Expansion gaps around fixed objects are required because engineered wood flooring still expands/contracts with indoor humidity.
Use the exact installation instructions for your new engineered product
Engineered wood flooring brands vary in:
– Underlayment compatibility
– Whether an additional vapor barrier is required
– Minimum/maximum overall thickness
– Approved adhesives and trowel styles (for glue-down)
Keep your new installation sheet accessible while you work. This is where engineered wood flooring jobs are won or lost.
Match underlayment/vapor barrier to install method and subfloor type
– Floating/click-lock: underlayment frequently provides vapor control and sound dampening, but it must meet the manufacturer’s requirements.
– Glue-down: you usually need approved adhesive plus any required moisture mitigation for concrete; some systems do not want overlapping underlayment layers.
Plan expansion gaps and thresholds intentionally
Entryways are movement hotspots because doorways bring seasonal humidity changes and tracked moisture.
– Leave the required expansion space around door frames, cabinetry, posts, and anything that doesn’t move.
– Plan your threshold/transition strip so it hides the gap and protects the edge from abrasion.
If your new engineered wood flooring layout forces narrow cuts near the entry door, consider rotating your plank direction or shifting the starting row. Clean layout reduces future stress points where feet repeatedly land.
Install the new engineered wood floor in the entryway
To get a tight, stable result, install engineered wood flooring in a controlled sequence: acclimate properly, lay out straight, keep expansion gaps clear, and use correct fastening/adhesive rules. Entryways add pressure—so the small details (joint cleanliness, adhesive coverage, and thresholds) matter more here than in a low-traffic hallway.
Acclimation aligns engineered wood flooring moisture content with indoor conditions, reducing early expansion/contraction that leads to gapping.
Floating engineered wood flooring requires maintaining expansion gaps and ensuring click-lock joints fully seat; partially engaged locks are a common source of later separation.
Glue-down engineered wood flooring performance depends on using the approved adhesive, correct trowel notch size, and specified coverage to avoid bond failure.
Acclimate the flooring before you install
– Follow the manufacturer’s temperature/humidity range and time window.
This step is especially important for engineered wood flooring in entryways because the temperature swing near exterior doors can be larger than the rest of the house.
Set your layout first
– Dry-lay a row, confirm straightness, and plan where cuts land relative to foot traffic.
– Avoid tiny “slivers” near the entry door unless that’s intentional and structurally supported by the layout.
Install order based on your engineered floor type
– Floating/click-lock:
– Maintain expansion gaps at perimeter and fixed objects.
– Use the manufacturer’s tapping/bloc kit (the correct block matters for protecting the click profile).
– Keep joints clean—dust or adhesive residue in a joint can prevent full lock engagement.
– Glue-down:
– Use approved adhesive and the spread method from the manufacturer.
– Don’t “guess” coverage: bond thickness affects how the engineered wood flooring holds over seasonal movement.
Reinstall trim and finish with transitions
– Reinstall trim carefully or replace damaged pieces so shoe molding and transitions press evenly.
– Add transitions at doorway thresholds to protect edges and to keep a clean, intentional look where engineered wood flooring meets other surfaces.
What can go wrong (common entryway problems)
Most entryway failures trace back to moisture, a subfloor that isn’t actually flat, or an install mismatch (wrong underlayment/adhesive for the engineered wood flooring system). Fixing engineered wood flooring issues after install usually costs more than doing the prep correctly before planks go down.
Tracked water at exterior doors concentrates risk in the first few feet of flooring, increasing the chance of cupping and edge swelling in engineered wood flooring.
Engineered wood flooring failures that appear as seam separation or clicking sounds usually point back to subfloor irregularities or inadequate joint seating during install.
Skipping the manufacturer-required vapor system or underlayment can create warranty exposure even if the floor “seems fine” at installation.
Quick comparison: click-lock (floating) vs glue-down in high-use entryways
| Criteria | Floating / Click-lock | Glue-down |
|---|---|---|
| Best for entryways with minor subfloor variation | More forgiving if flatness meets spec | Less forgiving—adhesive bond fails over high spots |
| Moisture sensitivity to concrete slabs | Often relies heavily on correct vapor underlayment | Relies on correct moisture mitigation + adhesive system |
| Typical failure symptom when subfloor isn’t flat | Joint clicking/separation | Hollow sound, bond breaks, uneven movement |
| Repair complexity after failure | Can sometimes disassemble section | Often requires removal of affected boards and adhesive cleanup |
| Edge protection at thresholds | Needs clean expansion gaps + trims | Needs proper curing/coverage around edges |
Common mistakes to watch for
– Ignoring moisture: Entryways get rain/snow tracked in; without a correct vapor/moisture plan, engineered wood flooring can swell and gap.
– Not matching install requirements: Wrong underlayment or skipping vapor control can cause performance problems and warranty issues.
– Subfloor not flat enough: Uneven prep commonly returns as squeaks or joint separation even when engineered wood flooring looks fine at first.
– No expansion gap: Seasonal movement can buckle or push up near doorways.
– Trim/door-jamb undercut surprises: Rushing jamb undercuts often forces a “patchy” look later.
Verdict: DIY is doable—if your install type and subfloor are solid
DIY replacing engineered wood flooring in an entryway is usually realistic when the job is localized, your subfloor is flat and repairable, and you’re installing a system that matches the substrate (including the correct moisture/vapor layers). Skip DIY (or bring in a pro) if you discover extensive concrete moisture concerns, widespread subfloor damage, or you’re not confident about how your engineered wood flooring system requires underlayment/adhesive selection and testing.
Quick checklist (scan before you start)
| Step | Do this | Stop if you see… |
|---|---|---|
| Identify install type | Confirm click-lock vs glue-down vs nail-down | Mixed/unknown construction |
| Remove old flooring | Lift/scrape without gouging subfloor | Soft subfloor or water damage |
| Inspect/repair | Fix dips, weak spots, uneven areas | Rot, delamination, obvious moisture |
| Moisture planning | Follow manufacturer guidance; test if needed | Persistent dampness or odor |
| Underlayment/vapor barrier | Use what your flooring spec requires | Missing or incompatible product layers |
| Install new boards | Maintain expansion gaps and accurate layout | Locks won’t seat / repeated gaps |
| Finish transitions | Use correct threshold/trim so edges are protected | Loose transitions or rubbing |
Sources
– National Wood Flooring Association (NWFA) installation guidance (for general wood flooring installation best practices):
– ASTM F2170 (relative humidity testing for concrete):
Replacing engineered wood flooring in an entryway is absolutely manageable as a DIY refresh when you treat prep as the main project and installation details as the finish work. If you remove the old boards carefully, verify subfloor flatness, control moisture with the right vapor/underlayment system, and keep manufacturer-required expansion gaps, your new engineered wood floors should stay quiet, tight, and durable through the harshest part of the house—right at the front door.
Frequently Asked Questions
What tools and materials do I need to replace engineered wood flooring in an entryway?
For a typical engineered wood entryway floor replacement, you’ll want a flooring underlayment (if required by your system), matching engineered wood planks, painter’s tape, a utility knife, spacers, a pry bar, and a pull bar or tapping block for tight joints. You’ll also likely need appropriate flooring adhesive or nails (depending on your installation method), wood filler, and a matching finish or stain for cut edges. Don’t forget safety gear like gloves and eye protection, plus a vacuum for removing dust from the subfloor.
How do I remove an existing engineered wood floor in an entryway without damaging the subfloor?
Start by removing the baseboards and any threshold trim so you can access the perimeter boards and expansion gaps. Then carefully pry up the planks, working from the edges inward; for click-lock engineered wood, use a pull bar and avoid forcing boards that can tear the underlayment. If the flooring is glued or nail-down, use a scraper to lift remnants and pull nails/staples, then check the subfloor for flatness, moisture issues, and remaining adhesive.
How do I install replacement engineered wood planks in a tight entryway layout?
Measure the entryway carefully and plan your starting row so joints avoid small slivers near doorways and openings. Dry-lay several rows first to confirm plank direction and how the seams will land around a threshold or closet entrance. Use spacers to maintain the required expansion gap at walls and transitions, and tap boards together with a tapping block to avoid gaps, especially in high-traffic entryway areas.
Which underlayment and subfloor prep are best for durable entryway engineered wood installation?
The “best” choice depends on your subfloor type and whether your engineered wood has attached underlayment; many manufacturers recommend specific underlayments for sound control and moisture management. Before installing, ensure the subfloor is clean, dry, and smooth—engineered wood performs best when the surface is flat and free of dips, ridges, or loose particles. If you’re installing over concrete, use a moisture barrier system as required to protect the engineered wood from humidity-related problems.
Why do my engineered wood seams lift in entryways, and how can I prevent it during replacement?
Lifted seams usually come from missing expansion gaps, improper acclimation of the planks, an uneven subfloor, or incorrect installation method (like using the wrong adhesive). Before you replace engineered wood flooring, acclimate the materials to the home’s temperature and humidity and keep the floor flat by addressing high spots and low areas. Maintain the required perimeter gap, use the manufacturer-recommended fastening/adhesive technique, and properly tap boards together to keep entryway seams snug under foot traffic.
📅 Last Updated: October 19, 2026 | Topic: How to replace engineered wood floors in a entryway? | Content verified for accuracy and freshness.
References
- 1910.1053 – Respirable crystalline silica. | Occupational Safety and Health Administration
- https://www.cdc.gov/niosh/topics/wooddust/
- https://www.cdc.gov/niosh/topics/formaldehyde/
- https://www.epa.gov/lead/lead-renovation-repair-and-painting-program
- Engineered wood
- Wood flooring
- Floor
- https://scholar.google.com/scholar?q=replace+engineered+wood+flooring+in+an+entryway Google Scholar
- https://scholar.google.com/scholar?q=engineered+wood+floor+installation+guidelines+acclimation+moisture+subfloor Google Scholar
- https://scholar.google.com/scholar?q=engineered+wood+flooring+removal+subfloor+preparation+best+practices Google Scholar