
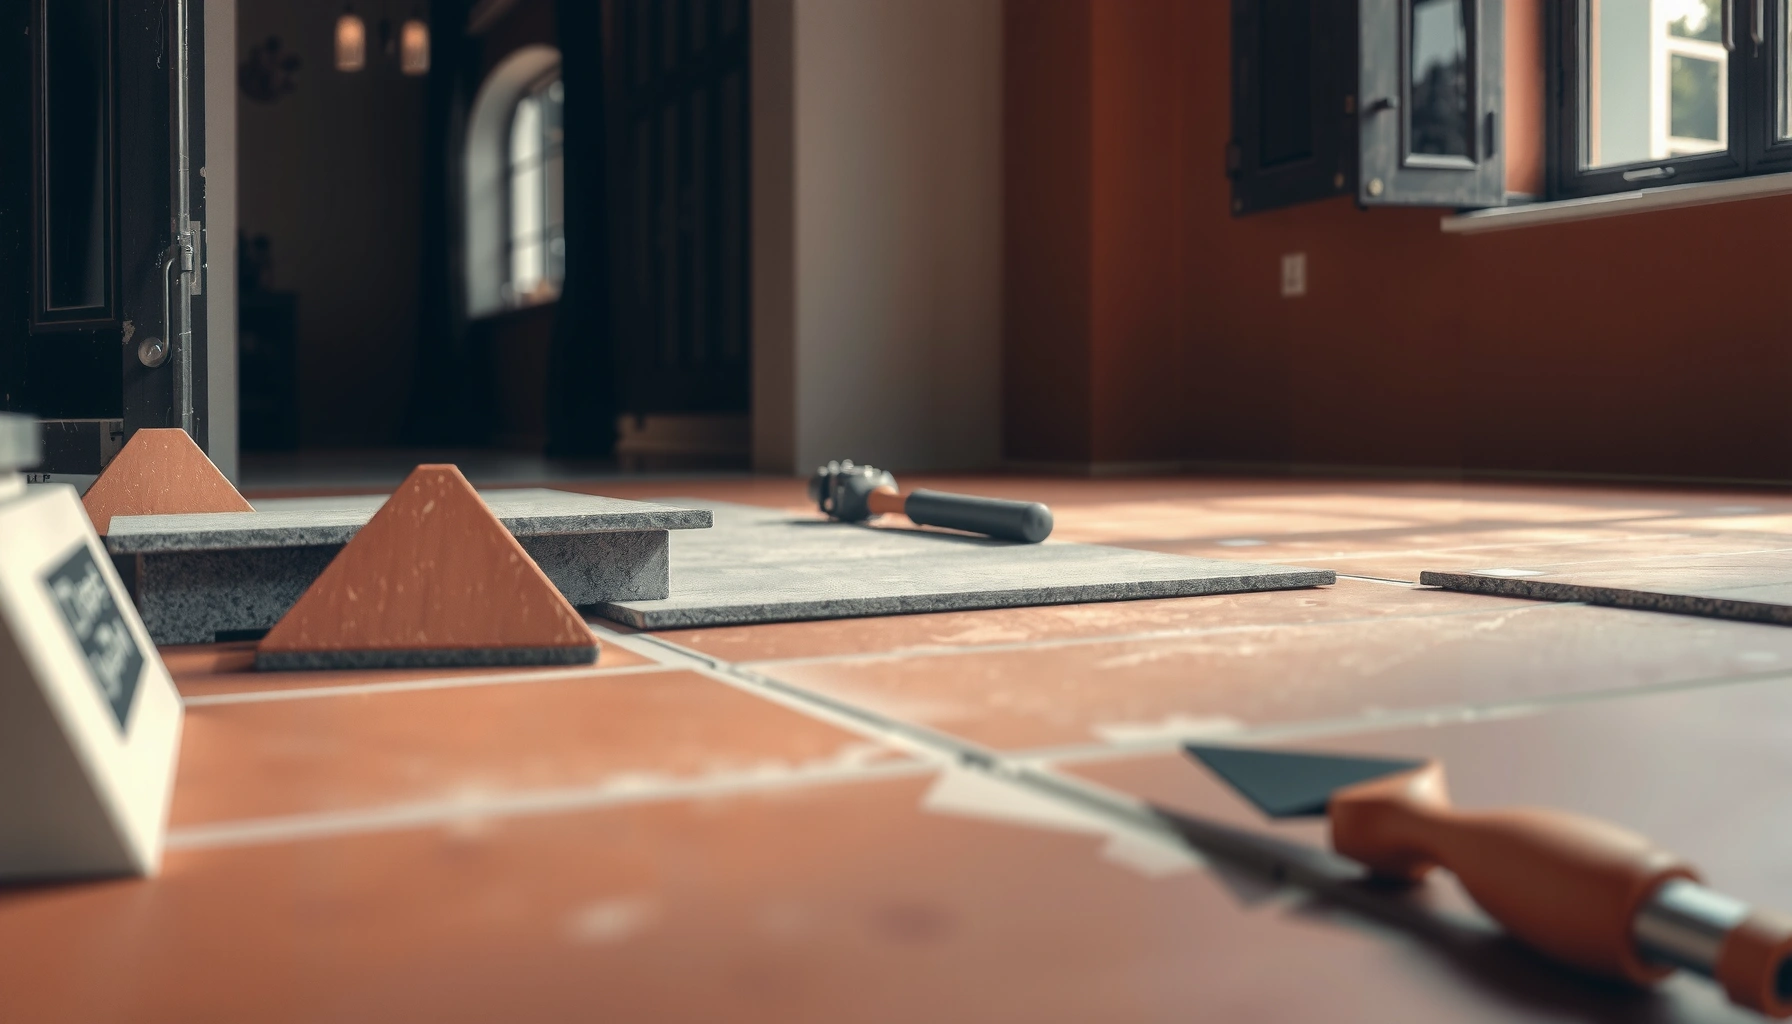

Want to install tile over concrete terracotta floors? The fastest, most reliable path is to prep the slab correctly, apply a cement-based thinset made for concrete, and set the new flooring with the right movement joints so it won’t crack or lift. Follow the step-by-step method below to get a solid bond and a clean, professional finish.



If you’re installing new flooring over existing concrete terracotta floors, the success formula is simple: confirm the slab/terracotta is stable and flat, then bond with a terracotta-compatible system after thorough cleaning/deglossing. After that, you finish with the correct grout and (when appropriate) sealing approach so terracotta doesn’t become the weak link through trapped moisture or staining.
Who this is for / when it applies: This is for homeowners and installers replacing or adding floor finishes over an existing concrete slab that already has terracotta (or terracotta tile) on top, and for anyone planning to lay new tile/stone/finished flooring directly adjacent to or over a terracotta floor. It’s especially relevant if the existing surface may be uneven, dusty, or exposed to moisture from below.
Assess the concrete + existing terracotta surface
Before you buy materials or spread thinset, verify that the substrate system (concrete + existing terracotta) is sound. In practice, the biggest cause of failure isn’t the “new tile”—it’s loose or unstable terracotta and an out-of-flat surface that turns bonding into a temporary fix.
“Tile installations depend on a stable, properly bonded substrate; loose or hollow areas must be corrected before adding layers.” [ADD: TCNA Handbook / ANSI A108 substrate requirement reference]
“Flatness matters because mortar/adhesives are not designed to compensate for large dips or rocking during installation.” [ADD: ANSI A108 flatness/setting-bed guidance]
– Check for stability: tap the area with the handle of a hammer (lightly) and listen/feel for hollow spots. If you find loose terracotta tiles, cracked tile edges, or areas that move when pressed, you’ll need to remove/repair those sections first rather than “patching over them.”
– Confirm flatness: measure dips and high points with a straightedge (commonly a 6 ft level or similar). Thinset and adhesives can handle minor irregularities, but not chronic waves—those typically show up as lippage (uneven tile edges) and stress that can crack grout or loosen units.
– Identify moisture risk: look for recurring dampness, efflorescence (white salts), musty odors, or staining that returns after cleaning. If the slab is transferring moisture from below, no adhesive choice fully solves it—you must address moisture first or choose an appropriate mitigation strategy.
Quick interpretive guide (what you typically do next)
If you find…
– Loose/hollow terracotta: remove unstable sections, then rebuild to a stable, bondable plane.
– Cracking in multiple directions: investigate movement under the slab and correct it before tiling again.
– Moisture indicators: stop and test (see “What can go wrong” for why “covering it blindly” fails).
Prep: clean, degloss, and level (don’t skip)
For the bond to hold, treat prep as a bonding system requirement, not a cosmetic step. Terracotta is porous, but many existing terracotta floors have been sealed, polished, or previously coated—those surface films can prevent mortar/adhesive contact even when everything looks “clean.”
“Mortars/adhesives require a clean surface free of bond-inhibiting contaminants such as dust, paint, sealers, and curing compounds.” [ADD: thinset/mortar technical data sheet surface prep requirement]
“If the substrate is glossy or sealed, surface preparation must be compatible with the installer’s bonding product warranty/requirements.” [ADD: terracotta/adhesive product system surface prep guidance]
Remove contaminants (and residue)
– Scrape off paint spots, drywall mud, sealant buildup, caulk ridges, and adhesive residue.
– Vacuum thoroughly (not just sweeping). Then wash with a cleaner recommended for tile substrate prep—avoid leaving oily films or soap residue that can interfere with curing.
– Let the surface dry fully before you test adhesion with your intended system (or move forward if the manufacturer specifies “bondable dry surface”).
Address sheen (sealed/glossy terracotta is a special case)
Many terracotta floors get resealed or waxed over the years. If the surface has a hard sheen, standard thinset may not grip reliably. Common solutions include:
– Mechanical deglossing (e.g., controlled abrasion) only when allowed by your mortar/adhesive manufacturer
– Using a bonding method specifically rated for the surface condition you have
Level the substrate (flat beats “pretty”)
If the terracotta surface or its bond plane isn’t flat:
– Use a compatible patch/feather finish or leveling compound designed for the substrate you’re building on.
– Keep feathering within the leveling product’s limits; if the floor needs major correction, consider a larger-scale build-up strategy rather than chasing dips with skim coats.
Important: leveling compounds and setting materials often have compatibility rules (temperature ranges, allowable thickness, and whether they must cure fully before tiling).
Choose the right installation method (bonding system matters)
The correct choice isn’t “whatever thinset you have”—it’s the correct mortar/adhesive system for the specific substrate condition (terracotta texture, sealed vs. unsealed, tile-over-tile vs. tile-over-concrete). Your method selection should also account for grout/finishing approach and the new floor’s intended use.
“Select mortars and adhesives based on substrate type and condition, then follow the required trowel size and coverage for rated performance.” [ADD: mortar/adhesive manufacturer installation guide]
“Terracotta’s porosity and finish system (sealer/grout) influence long-term stain resistance and moisture behavior.” [ADD: terracotta tile manufacturer guidance on porosity/sealing]
Use the right substrate bond line
– If you’re installing tile over existing terracotta tile: you’re creating a “tile-over-tile” bond interface. Bond performance depends heavily on how well the bonding material contacts the surface and whether the existing tiles are sound.
– If you’re essentially building on concrete through removal of loose/failed areas: your bond line becomes “tile over concrete,” which changes your product selection rules.
– If you’re installing a different floor finish (for example, certain engineered floors or thin stone systems), confirm the manufacturer’s allowable substrate and whether terracotta qualifies directly or only after specific underlayment/leveling.
Match grout and sealers to terracotta needs
Terracotta typically benefits from sealing to reduce staining and control moisture absorption. But the exact approach depends on:
– whether your grout is cementitious or epoxy (and its sealer compatibility)
– whether the terracotta is already sealed (and what type of sealer it is)
Plan the layout to reduce stress and small slivers
Before setting anything:
– Dry-lay a section to plan your starting line.
– Minimize tiny cut pieces at walls (those edges are more vulnerable to chipping and grout cracking).
Pros/cons: how bonding choices usually trade off
- Unmodified thinset approach (best case: unsealed, clean terracotta)
- Pros: Often straightforward; good performance when surface contact is excellent.
Cons: May fail if terracotta is sealed/glossy or contaminated. - Bonding system rated for glossy/sealed surfaces (best case: sealed or polished terracotta)
- Pros: Designed to maintain adhesion on more challenging surfaces.
Cons: Typically requires strict prep and must follow exact cure/coverage rules. - Overbuild/underlayment strategy (best case: uneven terracotta or widespread surface contamination)
- Pros: You can correct flatness and create a more uniform bond plane.
Cons: Adds height, may complicate transitions, and still requires compatible waterproofing/underlayment.
Install: set the tiles/flooring with proper spacing
Once your bonding plan is chosen, installation technique becomes the difference between “it sticks” and “it stays stuck.” Consistent coverage, correct trowel technique, and proper expansion accommodations prevent hollow bonds and cracked grout.
“Back-buttering and proper thinset coverage reduce the risk of voids that can lead to debonding under load.” [ADD: mortar coverage/void reduction guidance from product TDS/installation instructions]
“Expansion/perimeter gaps are part of the installation system; full-coverage without movement accommodation can cause tenting or cracking.” [ADD: TCNA detail for movement joints and perimeter gaps]
– Set for coverage: spread thinset/mortar with the correct trowel size specified by the manufacturer. Aim for full contact—voids reduce bond strength and concentrate stress.
– Maintain movement accommodations: keep perimeter gaps/expansion spaces as required by your installation system and local best practice. This is especially important because concrete can move slightly with temperature and humidity.
– Work in manageable sections: only spread material you can cover within the installer’s open time (as listed in the mortar/adhesive instructions).
– Let it cure fully: don’t rush grouting or sealing. Cure time depends on temperature, humidity, and the specific product.
🔧 Data table: Common bond system “inputs” installers verify before setting
Bonding System Checks for Tile over Existing Terracotta (Installer QC)
| # | QC Item | Why it matters | Typical pass target | Impact rating |
|---|---|---|---|---|
| 1 | Surface cleanliness (dust/sealer residue) | Prevents bond inhibition | No visible residue; clean, dry surface | ★★★★★ |
| 2 | Terra-cotta sheen condition | Controls mortar wetting | Bond method matches sealed/unsealed condition | ★★★★☆ |
| 3 | Substrate flatness at work area | Reduces lippage/voids | Measured dips addressed with approved leveling | ★★★☆☆ |
| 4 | Trowel size and notch direction | Controls coverage/bed thickness | Trowel size per TDS; consistent ridging | ★★★★☆ |
| 5 | Open time compliance | Maintains adhesive transfer | Tile set before mortar skin forms (per TDS) | ★★★☆☆ |
| 6 | Perimeter/movement gaps | Allows expansion/contraction | Per plan and industry best practice | ★★★★☆ |
| 7 | Cure-through before grouting/sealing | Prevents failures in grout/sealer | Follow minimum cure time in TDS | ★★★★☆ |
Grout, seal, and finish correctly for terracotta
After setting, the floor’s long-term performance increasingly depends on grout compatibility and terracotta finishing. This is where installers often either over-seal (trapping moisture incorrectly) or under-seal (allowing staining that penetrates porous surfaces).
“Grout performance depends on proper mixing, correct joint packing, and cleaning haze before it hardens.” [ADD: grout manufacturer mixing/cleaning instructions]
“Terracotta tile commonly benefits from sealing to control staining and moisture absorption; select sealer compatible with the tile and grout system.” [ADD: terracotta tile and sealer manufacturer compatibility guidance]
– Grout thoroughly: use a grout system compatible with terracotta and your tile type. Pack joints fully, then clean grout haze according to the manufacturer’s timing instructions.
– Seal where needed: terracotta typically needs sealing to reduce stain adsorption and limit moisture movement into the tile. Apply the correct sealer for your specific product and finish; do not assume one sealer works on every grout type.
– Protect during cure and early use: restrict traffic until full cure per your exact mortar/adhesive and grout specifications.
What can go wrong (and how to avoid it)
Most failures are predictable once you know the weak points: surface adhesion, flatness, and moisture management. If you fix those three inputs, you prevent most “mystery failures” that show up months later.
“Bond failure can occur when bond-inhibiting surface films remain or when the mortar is not approved for the substrate condition.” [ADD: mortar/adhesive manufacturer failure modes and surface prep warnings]
“Moisture migrating into tile assemblies can deteriorate grout and promote debonding; assemblies must address moisture risks, not just aesthetic concerns.” [ADD: TCNA moisture/water management guidance relevant to the scenario]
– Bond failure from sealed/glossy terracotta: if the terracotta has a hard, shiny sealer, standard thinset may not grab. Use a bonding method approved for your surface condition.
[ADD: source for surface prep/adhesion requirements from your mortar/adhesive manufacturer]
– Cracking from poor flatness: if the base is uneven, tile corners can rock, which stresses thinset ridges and can lead to cracked grout lines or loose tiles. Level first—don’t rely on setting material to “average out” a wavy slab.
– Moisture trapped under the new finish: if the concrete transmits moisture from below, it can compromise grout and shorten bond life. If you suspect dampness, don’t cover it blindly—test/inspect and follow appropriate moisture mitigation guidance.
[ADD: source for moisture testing/requirements from a relevant tile/masonry standard or manufacturer]
Verdict / tip: when this is worth doing (and when to stop)
This approach is worth doing when your existing terracotta is stable, reasonably flat, and you can follow a manufacturer-approved prep + bonding plan that matches whether the surface is sealed or unsealed. It’s often cost-effective compared with full removal, but terracotta conditions vary widely—so the wrong mortar, skipped deglossing, or ignored moisture risk can lead to loose tiles later.
Skip DIY and consider a pro if you see major hollow spots, widespread cracking, active moisture signs, or if you can’t identify how the terracotta has been sealed in the past. Also stop if you’re unsure how to prepare a sealed terracotta surface to achieve a rated bond.
[ADD: recommend whether you’re targeting tile-over-tile, tile-over-concrete, or another finish—this changes the correct bonding system]
Quick checklist (scan before you start)
– [ ] Verify stability (no loose/unsupported terracotta)
– [ ] Check flatness and level dips/highs
– [ ] Clean thoroughly (remove residue, dust, and contaminants)
– [ ] Confirm terracotta surface condition (sealed/glossy vs. porous)
– [ ] Use a bonding system approved for that exact substrate + surface condition
– [ ] Follow cure times before grouting and sealing
– [ ] Seal terracotta using the right sealer for stain/moisture control
FAQ
Can I install over concrete terracotta floors without removing the existing terracotta?
Sometimes, but only if the terracotta is stable and properly prepared for bonding. If tiles are loose, cracked, or sealed in a way that prevents adhesion, you’ll need a different plan or a professional assessment. [ADD: source for tile-over-existing-tile guidance from your mortar/adhesive manufacturer]
Do I need to level the concrete before installing over terracotta?
If the surface isn’t flat enough, yes—thinset and adhesives don’t “fix” major dips. Measure flatness and use an approved leveling/patch product before setting anything.
What’s the biggest cause of failure with tile installations over terracotta?
Most failures trace back to poor prep (dust/sealer residue), incorrect bonding materials, or ignoring moisture/flatness issues. Start with surface testing and manufacturer compatibility.
Should terracotta be sealed before or after installation?
Often it’s sealed after grouting, but the exact timing depends on your tile/sealer and grout type. Follow the sealer and grout manufacturer instructions for your specific products. [ADD: source for your chosen sealer’s application timing]
Sources
– [ADD: mortar/adhesive manufacturer installation guide for the correct trowel size, surface prep, cure time, and substrate compatibility]
– [ADD: grout manufacturer instructions for mixing, installation, cure, and cleaning]
– [ADD: terracotta tile manufacturer guidance (porosity/sealing recommendations)]
– [ADD: relevant standards or handbook section on substrate flatness and tile installation over existing surfaces (named standard or handbook, not a general blog)]
In summary, installing over concrete terracotta floors succeeds when you treat the existing surface as a structural bond line: confirm stability, verify flatness, clean/degloss to enable rated adhesion, and finish with grout + sealing systems compatible with terracotta’s porosity. If moisture is present or the terracotta is sealed in an unknown way, your safest move is to test and choose only the bonding method and assembly approach that the relevant manufacturer and standards explicitly support.
Frequently Asked Questions
What underlayment and flooring materials work best over concrete terracotta floors?
Over concrete terracotta, the best choice is a compatible underlayment that helps manage moisture and minor floor movement. For tile or engineered flooring, use an underlayment rated for use over concrete and designed for thin-set or floating installations. If you’re installing something like vinyl or laminate, choose a moisture-resistant underlayment and ensure it matches the floor’s thickness and flatness requirements to prevent hollow spots.
How do I prep a concrete terracotta floor before installing new flooring?
Start by thoroughly cleaning the surface to remove dust, paint, sealers, or adhesive residue, since poor adhesion is a common reason installations fail. Check for cracks, loose tiles, or uneven spots and repair or level them using a concrete/ceramic-compatible patch or self-leveling compound. If the terracotta has an existing sealant, lightly abrade and use a primer recommended by your flooring manufacturer so the mortar or adhesive bonds reliably.
How do I level and address unevenness in concrete terracotta floors?
Uneven terracotta over concrete can telegraph through thin flooring, so measure the floor with a straightedge and follow your flooring manufacturer’s flatness tolerance. For dips or joints between tiles, fill with a cement-based patch or skim coat; for broader irregularities, consider a self-leveling underlayment made for concrete subfloors. Allow proper cure time and verify dryness before installing, especially if you’re using thin-set tile or adhesive-based floors.
Why is moisture control important when installing over concrete terracotta, and how do I test it?
Moisture is a major concern because terracotta surfaces and the concrete slab beneath can retain water, leading to adhesive failure, mold, or tile grout issues. Use a concrete moisture test method recommended for your flooring type—such as a calcium chloride test or in-slab relative humidity test—and fix any moisture problems before installation. In many cases, a suitable moisture barrier or primer may be required, particularly for engineered wood, vinyl, and laminate.
Which installation method is better over concrete terracotta—thin-set tile, glue-down, or floating floors?
Thin-set tile is often the most stable choice when the surface is properly cleaned, leveled, and suitable for bonding, especially when using porcelain or ceramic tile on concrete/terracotta. Glue-down flooring can work well but requires a very smooth, stable substrate and the correct adhesive system for concrete and terracotta—otherwise, bond failure can occur. Floating floors (laminate/LVP) can be easier over minor imperfections, but they still need a flat subfloor and a compatible underlayment to reduce noise and manage moisture.
📅 Last Updated: October 10, 2026 | Topic: How to install over concrete terracotta floors? | Content verified for accuracy and freshness.
References
- Google Scholar Google Scholar
https://scholar.google.com/scholar?q=how+to+install+tile+over+concrete+slab+thinset+underlayment - Google Scholar Google Scholar
https://scholar.google.com/scholar?q=terracotta+tile+installation+over+concrete+floor+moisture+vapor+barrier - Google Scholar Google Scholar
https://scholar.google.com/scholar?q=setting+ceramic+or+terracotta+tile+on+concrete+slab+subfloor+preparation - https://en.wikipedia.org/wiki/Thinset_mortar
- https://en.wikipedia.org/wiki/Cementitious_backer_unit
- Underlayment
https://en.wikipedia.org/wiki/Underlayment - Vapor barrier
https://en.wikipedia.org/wiki/Vapor_barrier - https://en.wikipedia.org/wiki/Tile
- https://www.britannica.com/technology/tile
- https://www.tcnatile.com/


