
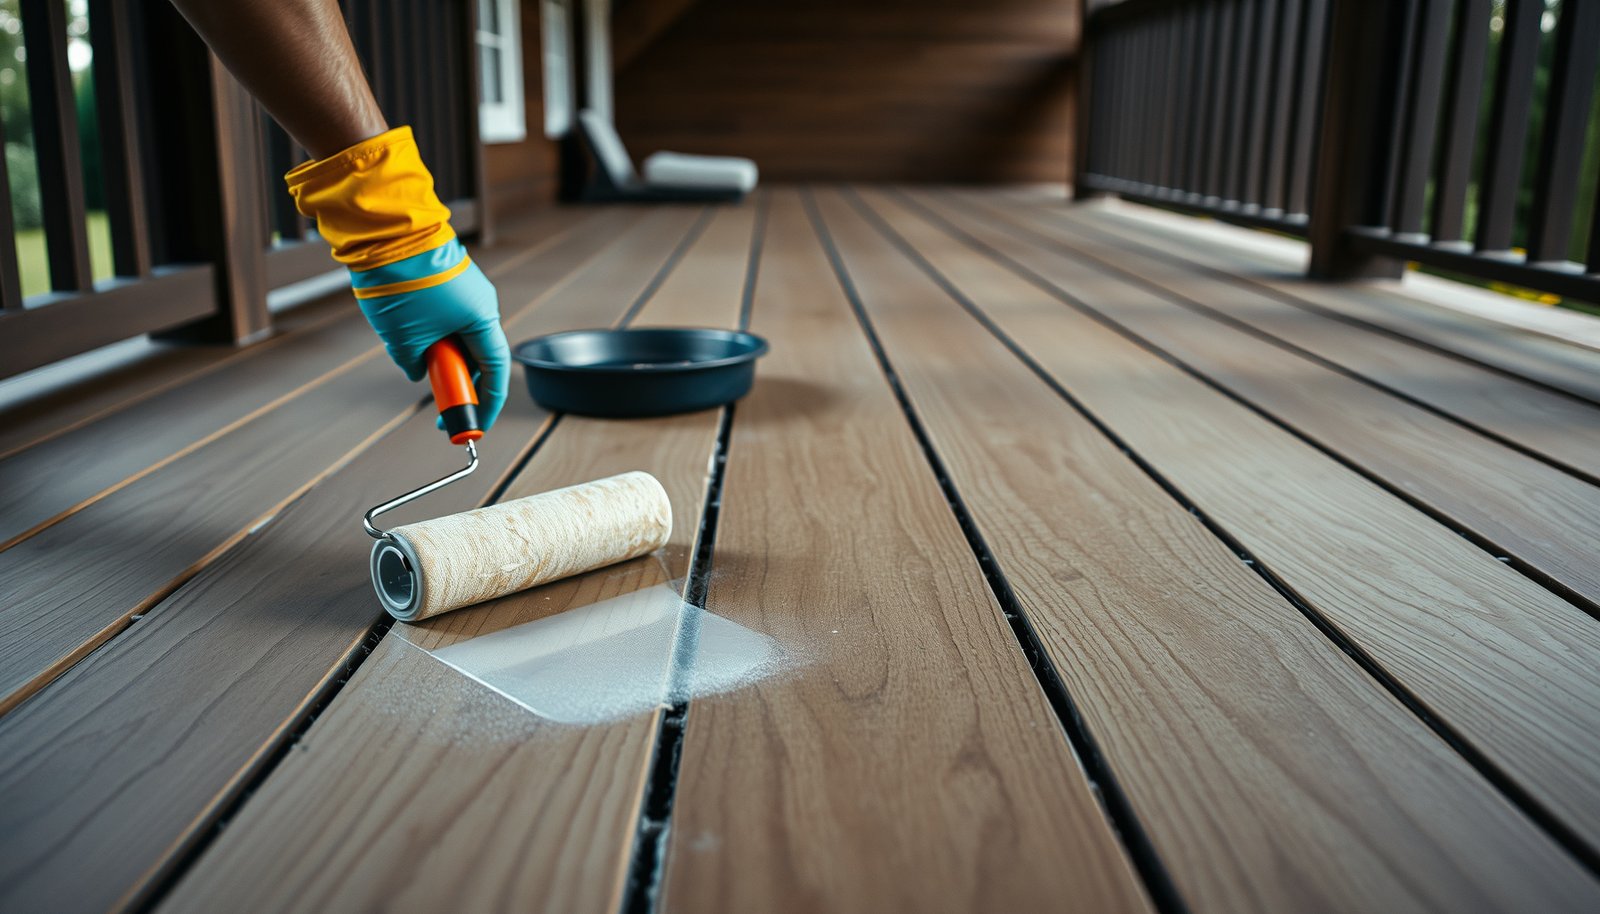

If you need to waterproof engineered wood floors on a porch, the best results come from sealing the surface and edges with a porch-rated waterproof coating plus a strict moisture barrier underneath. This guide answers exactly how to waterproof engineered wood for porch exposure—what to seal first, which products to choose, and how to prevent swelling, cupping, and joint failure. Follow these steps and you’ll create a water-tight system that holds up through rain, humidity, and temperature swings.




To waterproof engineered wood floors on a porch, you need a two-part system: (1) a flooring product that’s actually rated for exterior/continuous moisture exposure, and (2) a compatible waterproof coating system applied as a continuous film—then sealed at every edge, seam, and transition so water can’t get underneath. Most porch failures happen when water-shedding and edge detailing are incomplete, not because the topcoat “isn’t waterproof.”
Waterproofing engineered wood on a porch usually comes down to creating a true “water-shedding” surface plus sealing every joint—especially edges and seams—so water can’t get underneath. Start by confirming your specific engineered wood is rated/approved for exterior or continuous moisture exposure, then use a compatible waterproof coating/system designed for flooring.
If your porch gets standing water, frequent rain exposure, or high humidity swings, you’ll learn what to check first, what materials to look for, and where waterproofing commonly fails.
We’re talking about engineered wood floors installed on a porch/deck where moisture is part of normal conditions—not an indoor subfloor with occasional spills. This guidance is most useful when you’re trying to stop swelling, cupping, and seam gaps before they get worse.
Assess porch moisture and drainage
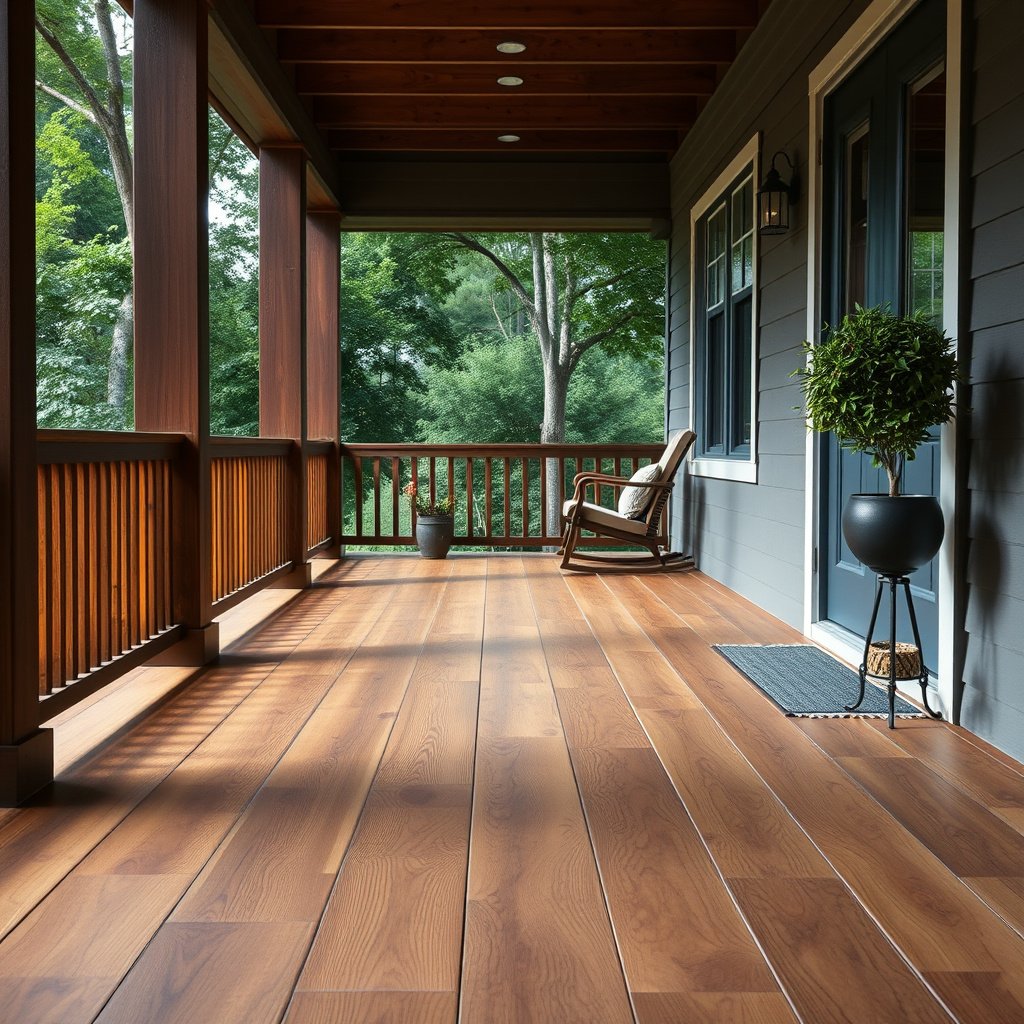
If you don’t fix poor drainage, waterproofing will only slow damage—water will still find its way to seams, edges, and flashing. The fastest path to a durable porch floor is to confirm water sheds off the surface and can’t pool, then waterproof with a continuous coating system.
Most “waterproof deck floor” failures start when water pools or runs behind trim, not when the topcoat is missing.
Wood dimensional movement becomes a major risk once moisture content approaches the fiber saturation point (about 30% MC).
ASTM E96 defines vapor permeance using “grains/(hr·ft²·inHg)” (commonly reported as “perms”), which helps you judge whether a system can handle drying vs. trapping moisture.
– Check whether water pools after rain (along the door threshold, at low spots, or near posts)—if it does, sealing alone often won’t fix the root problem.
Standing water is the enemy of engineered wood on porches because it increases time-of-wetness. In practice, even a good coating can develop pinholes, abrasion failures, or micro-cracks over time; pooled water magnifies the impact of those small defects by keeping pressure and moisture at the edges.
– Confirm the porch has a slope that directs water away from the floor and that flashing/trim aren’t letting water run under the flooring.
Porch decks often fail at the “infrastructure boundary”: ledger flashing, beam-to-post connections, rim boards, and stair/door transitions. If the slope is too flat, water migrates laterally and finds the least-resistant path under board ends.
– Identify where splashes land most (door swings, railings, planters, gutters) so you can prioritize sealing seams and transitions there.
High-splash zones (frequent foot traffic + water) should be treated like “wear zones” during waterproofing. Prioritize perimeter sealing, transitions at doorways, and any location where splash water can wick into gaps via capillary action.
Practical moisture numbers to keep in mind:
According to the USDA Forest Products Laboratory, Wood Handbook, wood swelling-related movement is tied to moisture changes relative to the fiber saturation point (approximately 30% moisture content, MC). Also, according to ASTM E96/E96M, vapor permeance is measured in grains/(hr·ft²·inHg) (reported as “perms”), which matters because exterior systems still need to manage drying potential.
Verify your engineered wood is suitable for porch use
If your engineered wood isn’t approved for exterior or continuous moisture exposure, waterproofing may delay failure but can’t reliably stop it. The first step is to confirm the manufacturer’s written limitations for moisture and warranty conditions—then choose a waterproofing system that respects those rules.
“Water-resistant” claims for indoor spills are not the same as “approved for exterior/continuous moisture,” and porch exposure is closer to the latter.
Engineered wood warranties often require approved primers/coatings and can deny coverage if an untested system traps moisture or voids the substrate limits.
– Look up the flooring manufacturer’s written limitations for moisture/exterior exposure; many engineered wood products are intended for interior use only, even if they claim “water-resistant” for spills.
Engineered wood is still wood-based. If the product’s design assumes occasional wetting followed by rapid drying, your porch conditions (rain + humidity cycling) can push moisture into the core or underside over months, not days.
– If the product allows only “resistant to humidity” (not wet/exterior), waterproofing may not prevent long-term failure—especially if water reaches the core or the underside.
A topcoat can be intact and still lose the battle if water gets under board edges or through perimeter gaps. Once the engineered core or underside stays wet, swelling and loss of flatness can continue even with a well-sealed top surface.
– Match your waterproofing method to the flooring’s warranty rules (unsupported coatings can void coverage).
This is where many DIY projects derail. Some manufacturers specify an approved coating category, minimum surface prep standard, or restrictions on film-forming products that might reduce ventilation or interfere with expansion/contraction behavior.
What I look for in the fine print (and what you should too):
– Whether the floor is explicitly rated for exterior use or continuous moisture exposure
– Whether warranty coverage requires specific installation or coating systems
– Whether the product is designed for standing-water scenarios (often “no”)
Prep the surface so the waterproofing can actually bond
If the coating can’t bond to the engineered wood surface, waterproofing will fail early—often by peeling, blistering, or edge lifting. Proper cleaning, drying, and seam/edge preparation are what convert a coating from “water-resistant” to a continuous waterproof film.
A continuous coating film requires clean, dry substrate conditions; contaminants (dust, wax, residue) interrupt adhesion and create leak paths at seams.
Coating systems only work as well as their weakest interface—edges and joints are where film continuity is most difficult.
– Clean thoroughly and remove anything that blocks adhesion (dust, wax/cleaner residue, old peeling coatings)—then fully dry before applying any sealer.
Porch surfaces pick up everything: algae residue, tire-like grime, sunscreen-type oils, and residue from earlier cleaners. If your surface still “feels oily” or beads water in an inconsistent way, you don’t have a reliable bonding surface yet.
– Sand/level any rough spots and address gaps so the coating can form a continuous film; seams and edges need special attention during prep.
Coatings telegraph texture. If you have raised seams, chipped edges, or uneven board junctions, you’ll get thin spots that are statistically more likely to fail first. During prep, prioritize:
– flattened ridges at seams
– filled/level transitions around fasteners (if present)
– crisp perimeter edges that can receive edge treatment cleanly
– Use painter’s tape/cardboard protection around walls/trim, and plan for a neat, continuous coating line at every edge and transition.
Cleanup matters because sloppy masking often causes “micro-gaps” at the boundaries—exactly where water likes to creep.
Bonding tip that often gets skipped:
After cleaning, don’t rush. Many waterproof coating systems are picky about moisture content and curing window. If you coat too soon, you can trap moisture in the film layer (which can reduce adhesion and cause long-term softening).
Choose a compatible waterproof coating system
If you want true porch-level performance, use an actual waterproof flooring system designed for exterior/wet exposure on floors—not an indoor sealer or a random topcoat. Compatibility (primer/base layer + engineered wood + exterior conditions) is the difference between a system that lasts and one that cracks.
Outdoor-rated waterproof flooring systems typically require a specific primer/base coat to bond reliably to the substrate and manage moisture behavior.
If the coating system isn’t rated for engineered wood and exterior wet-area conditions, you risk adhesion loss, blistering, or cracking during porch movement.
– Use an actual waterproof flooring system (typically a waterproof coating plus the right primer/base layer), and confirm compatibility with engineered wood and your porch conditions.
Look for documentation that explicitly addresses:
– exterior use / wet areas
– suitable substrates (including wood-based engineered flooring)
– expected film flexibility (important for porches)
– Don’t mix “indoor-only” products with outdoor exposure—look for documentation that the product is rated for exterior/wet-area use.
Many “sealers” resist spills for a while indoors but aren’t formulated to handle UV, freeze/thaw cycling (if you get it), abrasion, or long moisture exposure on porch decks.
– Follow the manufacturer’s application requirements exactly (temperature/humidity range, coverage rate, and recoat/curing expectations)—otherwise you risk tackiness, peeling, or micro-cracking.
Application conditions matter because waterproof coatings build their performance through proper curing. Skipping cure time or applying too thick/too thin can change film integrity.
Quick comparison: coating system choices (what’s safer vs. riskier)
| System approach | Pros | Cons / common mismatch |
|---|---|---|
| Exterior waterproof coating system (primer + topcoat) | Designed for wet-area conditions; continuous film target; usually documents exterior performance | Requires correct cure windows and substrate prep; periodic maintenance may be needed |
| Topcoat/sealer used alone (no approved primer/base) | Appears simple; faster installation | Higher risk of adhesion failure and edge lifting—especially on wood-based engineered surfaces |
| Indoor-only floor sealers | Some resistance to short, occasional spills | Not formulated for exterior UV + moisture cycles; often cracks/peels outdoors |
| Membrane systems (where used as a whole-deck assembly) | Can be effective when fully detailed to flash correctly at edges | Complex detailing; wrong substrate prep or edge detailing can create trapped moisture and under-film failures |
As of 2026, the safest planning approach is to treat your porch waterproofing as an “assembly”—primer, coating, edge detailing, and maintenance—rather than a single top layer.
Seal seams, edges, and transitions (where leaks start)
If you do only one “extra” step beyond coating the field, make it sealing seams and transitions. Porches open and close with temperature and moisture cycling, and water intrusion typically begins at the joints where film continuity is hardest.
The perimeter and board seams are the most common leak points because they combine movement + stress + water exposure.
Water can bypass an intact topcoat if it reaches edges, under-trim gaps, or transitions where the waterproof layer isn’t continuous.
– Apply extra material at joints: seams between boards, borders around posts, and the perimeter where movement is most likely.
Think of this as “upgrading the weakest links.” Many waterproofing systems specify seam treatment or recommend additional detailing at borders—follow those rules rather than improvising.
– Pay attention to transitions at doors and any metal/wood interfaces—these areas should be sealed in a way that allows for movement rather than cracking.
Door thresholds and metal transitions often experience repeated mechanical stress (foot traffic and door movement). A rigid seam sealant can crack, letting water wick into the flooring assembly.
– Keep waterproofing continuous up to the edge treatment; if water can get behind trim or under baseboards/edge boards, the floor system can still fail underneath.
If your porch has edge trim, blocking, or skirt boards, treat the “edge detail” as part of the waterproofing system—not as cosmetic finishing.
Below is a quick reference for the quantitative moisture concepts you’ll see referenced in waterproofing specs and testing documentation.
Moisture & Vapor Benchmarks Used in Exterior Wood Waterproofing Specs
| # | Benchmark | Value | Unit/Test | Why it matters on a porch |
|---|---|---|---|---|
| 1 | Fiber saturation point (wood) | 30 | % MC (Wood Handbook) | Helps explain when swelling-related movement becomes likely. |
| 2 | 1 perm definition (vapor permeance) | 1 | grain/(hr·ft²·inHg) | Used to interpret coating/membrane vapor behavior (ASTM E96). |
| 3 | Vapor barrier threshold | 0.1 | ≤ perms | Lower permeance reduces vapor flow—relevant for drying potential vs. trapping. |
| 4 | Upper bound for “vapor retarder” (category) | 1 | ≤ perms | Helpful for interpreting whether a film is too vapor-tight outdoors. |
| 5 | Deck slope for drainage (common guidance) | 0.25 | in/ft | Aids shedding so water doesn’t sit and wick into seams. |
| 6 | Deck slope expressed as percent grade | 2 | % (from in/ft) | 2% grade is the practical scale of 0.25 in/ft drainage. |
| 7 | Nominal “conditioned” framing/lumber MC benchmark | 12 | % MC (reference value) | Used as a baseline moisture level for dimensional behavior discussions. |
[…] National Wood Flooring Association (NWFA) installation & moisture guidance “Controlling standing water and improving site drainage are foundational moisture-control steps before you even consider […]
[…] have a better chance of lifting surface staining without damaging the finish. If the stain is from standing water, pets, or rust, the safest plan is to treat quickly and test every cleaner in an inconspicuous spot […]