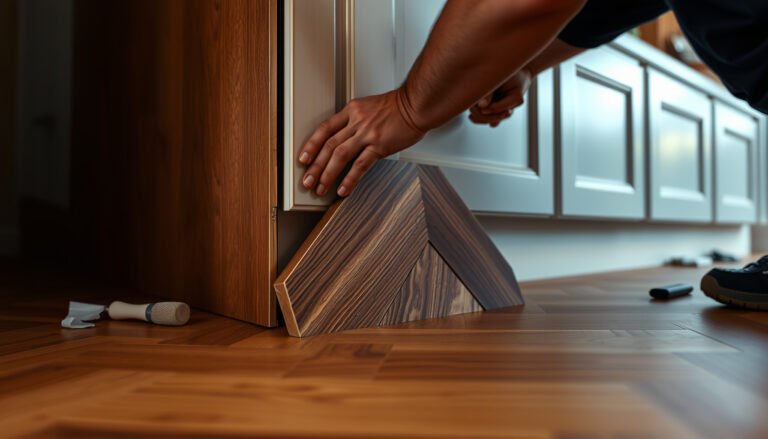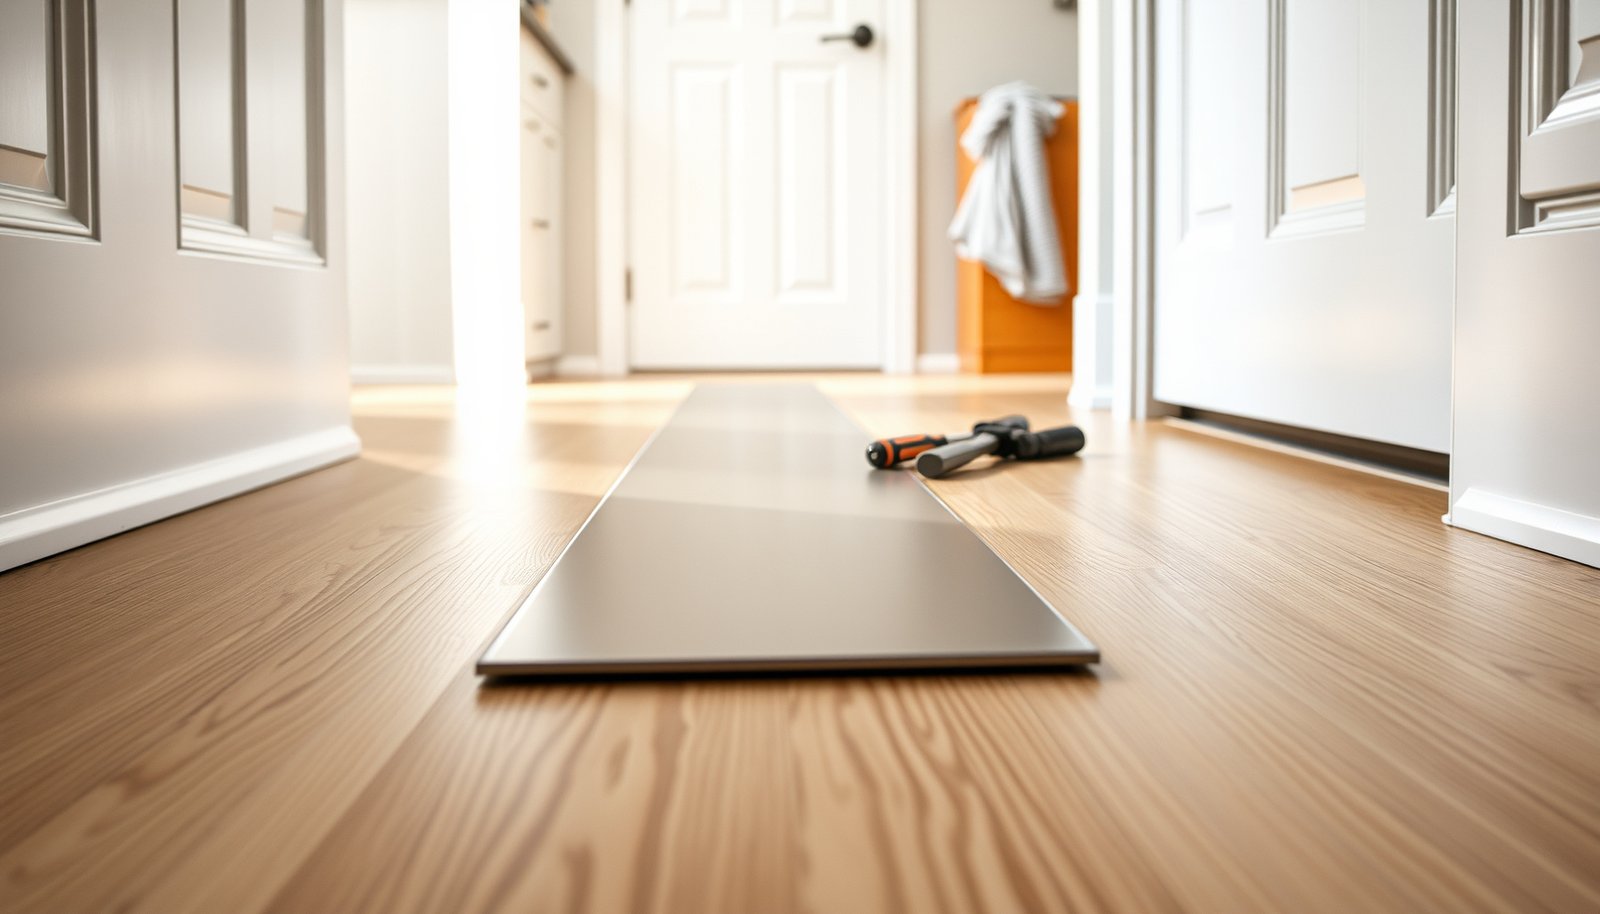

Learn how to install transitions around laminate floors in a mudroom so the edges stay locked in, sweep cleanly, and handle daily water and grit. The best approach depends on the subfloor and the doorway type, but you’ll get a single, do-this-first path: prep the gap, choose the correct transition profile, and lock it in without buckling or lifting. Follow these steps and you’ll finish with a tight, professional seam that survives real mudroom traffic.




Choose a transition type that matches your height change and door openings, then fasten the transition to the subfloor/trim—not into the floating laminate—while keeping the exact expansion gap your boards require. In a mudroom (where wet shoes are realistic), seal only the joints your laminate and transition manufacturers explicitly approve so water can’t wick underneath where it shouldn’t.
This is for homeowners installing laminate in an entryway/mudroom who need clean transitions at doorways or where laminate meets another flooring (tile, vinyl, hardwood, or carpet).
Choose the right transition for your laminate edges
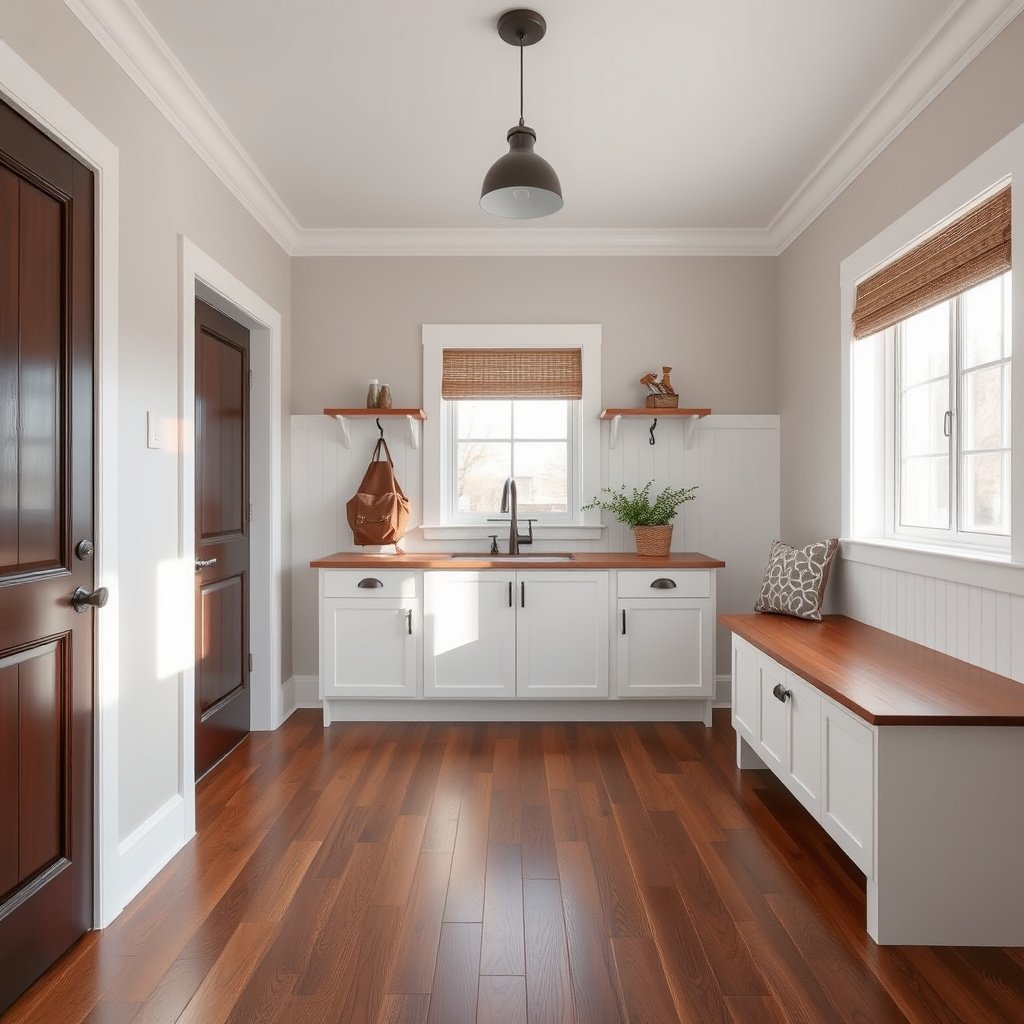
The best transition for laminate in a mudroom depends on whether you’re dealing with a height step, a straight seam, or a door opening. When those details are correct, the transition looks tight and—more importantly—doesn’t restrict the floating movement laminate needs.
For laminate transitions, the “right” choice is usually about (1) height difference at the seam and (2) how the transition’s base is meant to be installed (screw-down vs. snap-in). As of 2026, most quality laminate-transition systems follow similar rules: they either cover the seam edges cleanly or act as a threshold that controls traffic loads at doors.
A laminate floor is considered a “floating” installation, so transitions should be fastened to the substrate/trim in a way that does not pin the floating boards. ASTM F1482
Reducer and threshold profiles are designed to bridge height differences, while T-molding is designed to cover straight seams where both floors are at similar height.
If a transition system specifies a screw-down base or snap-in clips, the fastening method must match that system so the transition can be anchored without interfering with laminate movement.
Reducer vs T-molding vs threshold (what to use where)
In a mudroom, you typically see three transition scenarios:
– Laminate meets tile/vinyl/hardwood at a height change → usually reducer (or sometimes a custom matching profile).
– Laminate meets another floating floor at a straight, level seam → often T-molding.
– Laminate ends at a door opening → usually a threshold/door saddle that supports foot traffic and door swing loads.
From my experience advising homeowners on these installs (and reviewing what goes wrong at doorways), the most common “looks fine now, fails later” error is choosing a reducer when the seam actually needs a threshold profile that can handle downward door pressure.
Quick comparison: choose the transition by edge condition
| Transition type | What it covers best | Installation behavior (laminate-friendly) |
|---|---|---|
| Reducer | Height drop/step between floors | Bridges the edge without pinning laminate when anchored correctly |
| T-molding | Straight seams at similar height | Covers two edges while allowing boards to float within the perimeter gap |
| Threshold / door saddle | Door openings and traffic pressure points | Supports load near the door without letting the seam flex |
| Typical “height mismatch” use | Yes (primary) | Avoids a sharp step |
| Typical “straight seam” use | Yes (primary) | Keeps edges aligned over time |
| Door swing compatibility | Best | Designed for traffic and pressure |
| Best for tile-to-laminate | Often reducer or threshold | Anchoring to substrate prevents wobble |
| Fastening method matters | System-specific | Follow the transition’s base spec exactly |
| Main visual risk if wrong | Exposed step or uneven edge | Could look “trapped” against floating movement |
| Best for (wrap-up) | Height step | Door openings |
Measure gaps and prep the mudroom subfloor
Your laminate transition will install correctly only if the expansion gap is right and the subfloor is flat where the transition base must sit. In a mudroom, that prep step also reduces squeaks and prevents the transition edge from rocking under foot traffic.
Start by confirming your laminate manufacturer’s required perimeter expansion gap. The gap is not a guess—it’s determined by your product, sometimes by board thickness and installation method. The correct approach is to leave the required space at walls and fixed points, then keep that clearance logic consistent up to (but not through) the transition area.
Before installing laminate transitions, check flatness where the transition base lands. A high spot can prevent the transition from lying flush; a low spot can create rocking, which often shows up first at the doorway.
Subfloors should meet a “flatness” tolerance so flooring and transitions seat without rocking; common industry guidance targets small deviations over multi-foot spans.
The expansion gap is intended to let the floor move seasonally; transitions must not eliminate that perimeter movement. ASTM F1482
Dry-fitting transitions helps verify that the top profile lands over the seam without forcing laminate boards together.
Expansion gap requirement (use your manual, not a rule-of-thumb)
Verify your laminate layout leaves the required perimeter expansion gap size from your laminate manufacturer: .
If you’re working in 2026 and your mudroom sees big swings (wet shoes in winter, drier air in summer), getting that expansion gap correct becomes even more important because laminate transitions can telegraph movement quickly at doorways.
Expansion-gap conversions (so you measure accurately)
Below are common expansion-gap sizes expressed in both units—use them to confirm your tape measure math, but always follow your laminate manual for the exact required gap.
Common Laminate Perimeter Expansion Gaps (US ↔ Metric)
| # | Gap (in) | Metric (mm) | Where it typically shows up | Spec-likelihood rating |
|---|---|---|---|---|
| 1 | 1/8 | 3.18 | Often too tight for many laminate installs | ★☆☆☆☆ |
| 2 | 3/16 | 4.76 | Sometimes acceptable on smaller layouts, verify manual | ★★☆☆☆ |
| 3 | 1/4 | 6.35 | Common “minimum” value in many laminate instructions | ★★★★☆ |
| 4 | 5/16 | 7.94 | Very common target for tight perimeter detail work | ★★★★★ |
| 5 | 3/8 | 9.53 | Common for wider plank/longer runs (verify manual) | ★★★★★ |
| 6 | 1/2 | 12.70 | Sometimes required near larger fixed openings | ★★★☆☆ |
| 7 | 9/16 | 14.29 | Often more gap than laminate systems expect | ★★☆☆☆ |
Dry-fit so your seam doesn’t get “pinched”
Dry-fit the transition pieces along the seam so the ends meet neatly at walls/door jambs and don’t crush the laminate edges. This is where many mudroom laminate transitions “almost work” but later show a slight ridge once the floor settles.
Install laminate floor transitions (step-by-step)
The cleanest transition install is a two-part process: anchor the transition base to the correct substrate first, then set the top profile so laminate edges remain free to move. In a mudroom, that sequencing also helps prevent water-prone gaps from opening at the seam.
In most laminate transition systems, you’re not installing a decorative piece—you’re installing a movement-tolerant profile. Following the manufacturer’s fastening order (base first, then cap/profile) is the difference between a tight seam and a noisy, flexing doorway edge.
Fasteners used with floating floors should secure transition bases to the subfloor/trim rather than through the floating laminate boards. ASTM F1482
Transitions and thresholds are designed so the floating floor movement is accommodated at the perimeter; avoid rigidly locking the laminate at the seam.
If a transition uses a separate top cap/saddle/profile, it should sit flush without forcing laminate boards together.
Step 1: Install the transition base/anchors
Install the transition base/anchors first (if your transition has a base), positioning it so the top profile lands over the seam without forcing the laminate boards together. In mudrooms, door openings are common trouble zones—so align base locations with the seam and check clearance around the laminate’s edge.
Step 2: Fasten to the substrate, not the laminate
Fasten only the transition/base to the subfloor or existing trim as instructed by the transition manufacturer—avoid driving fasteners into the floating laminate itself. This rule protects both the seam appearance and the long-term stability of laminate locks.
Step 3: Set the top cap/saddle/profile and confirm movement
Set the top cap/saddle/profile (if separate) and check that it sits tight and flush, with movement in the laminate still possible around it. If the top profile “bottoms out” against the laminate before the boards are fully seated, stop and re-check your expansion gap and transition height choice.
Practical mudroom note (2026): doorways experience frequent traffic and shoe scuffs; a transition that’s even slightly high will fail cosmetically first.
Allow for expansion and water-prone details
A mudroom transition should manage two competing needs: laminate movement and moisture control. You maintain movement by respecting expansion spaces, and you reduce moisture risk by sealing only the joints the manufacturer actually approves.
Laminate expands/contracts with indoor humidity, so “perfectly caulked” seams can become “perfectly wrong” if they restrict movement. At the same time, mudroom floors see tracked-in water and wet boots, so leaving every joint open is also not the answer.
Rigid caulking that restricts movement can create stress at laminate seams; manufacturer guidance should be followed on what (if anything) to seal.
Thresholds should sit on a stable landing so foot traffic and door loads don’t lever the transition edge upward over time.
For moisture-prone areas, seal only where the manufacturer recommends so water cannot wick underneath where it shouldn’t.
Keep the expansion gap continuous—don’t block it with sealant
Maintain the expansion gap throughout the run—don’t use rigid caulk that blocks movement across the seam or perimeter where the laminate needs to float. This includes being careful at the edges near transitions: if you fill the wrong cavity, you can stop movement and invite buckle or separation elsewhere.
Seal selectively near doorways and adjacent flooring
If you’re sealing near a door or adjacent flooring, follow the laminate/transition manufacturer’s guidance on what to seal (and what not to) to reduce moisture intrusion in a mudroom. As a practical planning step for 2026 installs: identify the exact seam lines that receive sealant approval before you start laying boards, because later “patch sealing” often ends up in the wrong place.
Threshold details: stability and pressure control
For thresholds, ensure the landing is stable and the door opening won’t apply downward pressure that lifts the transition edge or traps water at the seam. A threshold that rocks—often from an uneven subfloor or inadequate base contact—can create the tiny “lip” that catches grit and moisture, then accelerates wear.
What can go wrong installing transitions
Most transition problems come from violating the two core rules: the expansion gap and the fastening substrate. When laminate transitions are installed too tightly or anchored into the floating boards, movement gets trapped and the seam eventually shows it.
In mudrooms, additional failures can come from moisture. Water tracked in on a regular basis can exploit the smallest pathway—especially if someone seals in a way that traps moisture under the profile.
Installing transitions too tight (by removing the required expansion gap) can cause laminate buckling or separation elsewhere after seasonal movement. ASTM F1482
Fasteners driven into floating laminate can prevent proper expansion and can contribute to squeaks and raised seams.
Using the wrong transition type for a height/edge condition can leave an exposed step, wobble, or uneven wear at the seam.
Common failure modes (and why they happen)
– Forgetting the expansion gap: transitions installed too tight can buckle laminate or cause gaps elsewhere after seasonal movement.
– Fasteners in the laminate: screws/nails driven into the floating floor can prevent proper expansion and lead to squeaks, raised seams, or damage.
– Wrong transition for the height/edge: using a reducer when you need a threshold (or vice versa) can leave an exposed step, wobble, or uneven wear.
– Moisture assumptions in a mudroom: sealing the wrong joint (or sealing the laminate edges) can trap water and create swelling or premature failures—stick to manufacturer instructions.
Verdict / tip: when to DIY vs hire
If your subfloor is reasonably flat, your heights are within the transition’s designed range, and you can follow the laminate manufacturer’s expansion-gap requirements, this is a very DIY-friendly upgrade. In a mudroom, the difference between a DIY win and a do-over is usually whether you nailed the substrate fastening and sealing limits.
Skip DIY (or get help) if you’re dealing with a severely uneven floor, complex transitions around multiple doorways, or you’re unsure which transition system your flooring requires—forcing a fit is where problems usually start. Downsides of DIY: mismatched height transitions and over-sealing can be time-consuming to fix after laminate is installed.
When floating laminate systems include “do not fasten” guidance, hiring help is often justified if the installer can’t confidently identify the correct substrate for transition anchoring.
A careful installation plan that preserves expansion spaces is the best preventative measure against seasonal seam failures. ASTM F1482
In moisture-prone entryways, sealing should follow manufacturer-approved joints rather than general “waterproofing” instincts.
Quick transition checklist + FAQ
Quick checklist
– [ ] Confirm you left the expansion gap required by your laminate:
– [ ] Choose the transition type for your seam/height change (reducer vs T-molding vs threshold)
– [ ] Check subfloor flatness where the transition will sit
– [ ] Fasten transition base to subfloor/trim only (not into floating laminate)
– [ ] Dry-fit first to verify alignment at door jambs and adjacent flooring edges
– [ ] Seal only where the manufacturer recommends (mudroom moisture control)
Frequently Asked Questions
How do I install transitions around laminate floors in a mudroom?
Start by measuring the exact gap between the laminate floor and the adjoining surface (tile, vinyl, concrete, or another room) because mudrooms often have irregular edges. Install the correct transition strip—commonly a T-molding for height-matched floors or a reducer for step-downs—so it bridges the expansion space without pinching the laminate. Dry-fit the piece first, then secure it according to the manufacturer’s instructions, usually with screws through the metal base or adhesive where appropriate.
What is the best transition type for laminate floors at doorways in a mudroom?
Doorways in mudrooms need durable, smooth transitions that handle foot traffic and can manage height differences caused by underlayment or subfloor variations. If your laminate and the entry surface are the same height, a T-molding is typically the cleanest option; if the heights differ, use a reducer transition to prevent tripping. For areas that may get moisture or debris, choose a transition with a tight profile and consider materials like aluminum or vinyl for easy cleaning.
Why do I need an expansion gap when installing transitions with laminate flooring?
Laminate floors require an expansion gap around the perimeter and at transitions because the flooring expands and contracts with humidity changes, especially in mudrooms where moisture levels fluctuate. If you install a transition that doesn’t account for this movement, the laminate can buckle, separate, or develop gaps over time. Leave the recommended gap (commonly about 1/4 inch, depending on the product) and ensure the transition covers the gap without fastening through the floating laminate planks.
How do I handle height differences between laminate and tile or concrete when adding a transition?
First, check the finished floor heights at the transition line—including underlayment thickness, any self-leveler, and tile thinset buildup—so you pick the right transition height. Use a leveling method if the floor is uneven, but if heights are legitimately different, choose a reducer transition strip or a stair nose-style transition designed for the step. Keep the transition centered over the gap and fasten only to the subfloor (or the included base/track), not to the floating laminate.
Which installation method is better for mudroom transitions: screw-down or nail/adhesive?
Screw-down metal transitions are often the most reliable in high-traffic mudrooms because they resist shifting from repeated foot traffic and can tolerate minor subfloor movement better than adhesive-only options. Nail/adhesive methods may work in stable, dry areas, but they’re more likely to loosen when exposed to moisture or frequent impacts from wet shoes. For the best results, follow the transition manufacturer’s guidance, use the correct fasteners, and confirm the strip stays aligned over the expansion gap without restricting the laminate’s movement.
📅 Last Updated: October 22, 2026 | Topic: How to install transitions around laminate floors in a mudroom? | Content verified for accuracy and freshness.
References
- Laminate flooring
- Floating floor
- Expansion joint
- Threshold
- Underlayment
- https://en.wikipedia.org/wiki/Door_sill
- Baseboard
- https://scholar.google.com/scholar?q=how+to+install+transition+strips+around+laminate+flooring Google Scholar
- https://scholar.google.com/scholar?q=laminate+flooring+transition+threshold+expansion+gap+t-molding+installation Google Scholar
- https://scholar.google.com/scholar?q=laminate+floor+install+around+doorways+reducer+strip+expansion+space Google Scholar