
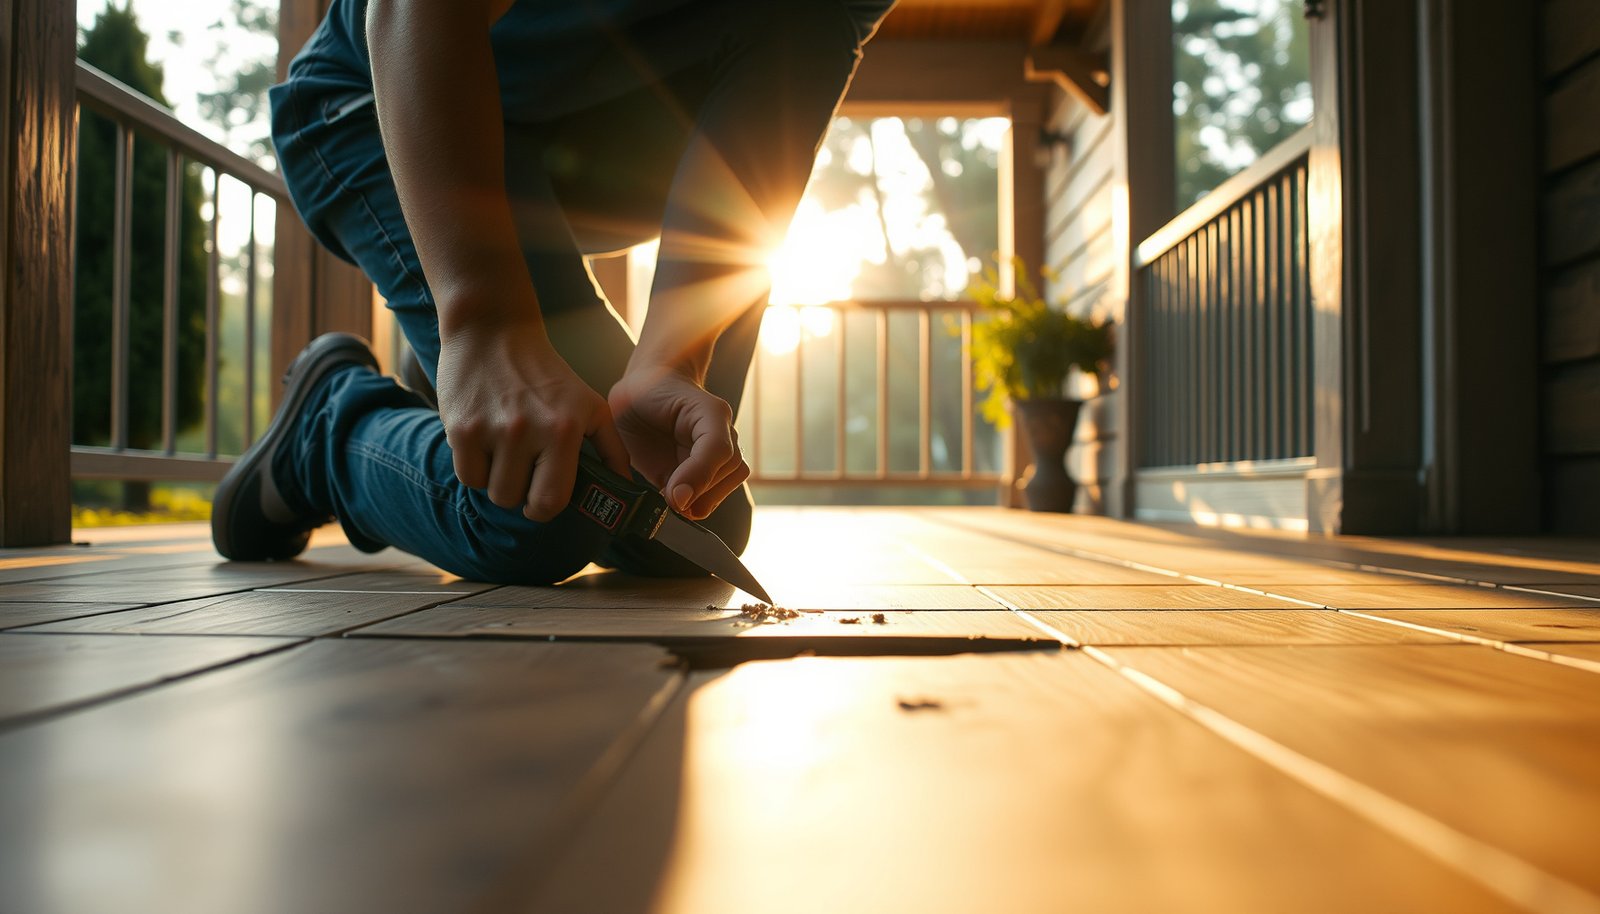

If your porch’s engineered wood floor is chipped, lifting, or separating, this step-by-step repair guide shows the quickest way to restore it before damage spreads. You’ll learn how to assess moisture and subfloor issues, remove and replace the damaged boards, and secure them so the floor holds up to porch conditions. Follow these steps for a clean, durable fix that won’t leave your porch looking worn.




Stop the moisture problem first, then repair only what’s still structurally sound—tighten/relayout loose boards, patch the surface, or replace individual planks as needed. On porches, engineered wood can fail quickly if water keeps getting under the flooring, so your repair should focus on drying + preventing repeat exposure before you refinish anything.
If your porch gets heavy humidity, rain splash, or frequent wet/dry cycles, this guide will help you decide whether a simple fix is realistic or whether you’ll need to replace affected boards. It’s aimed at homeowners handling spot repairs (not full overhauls) while still following the flooring system’s basics.
Assess the damage (and the porch exposure)
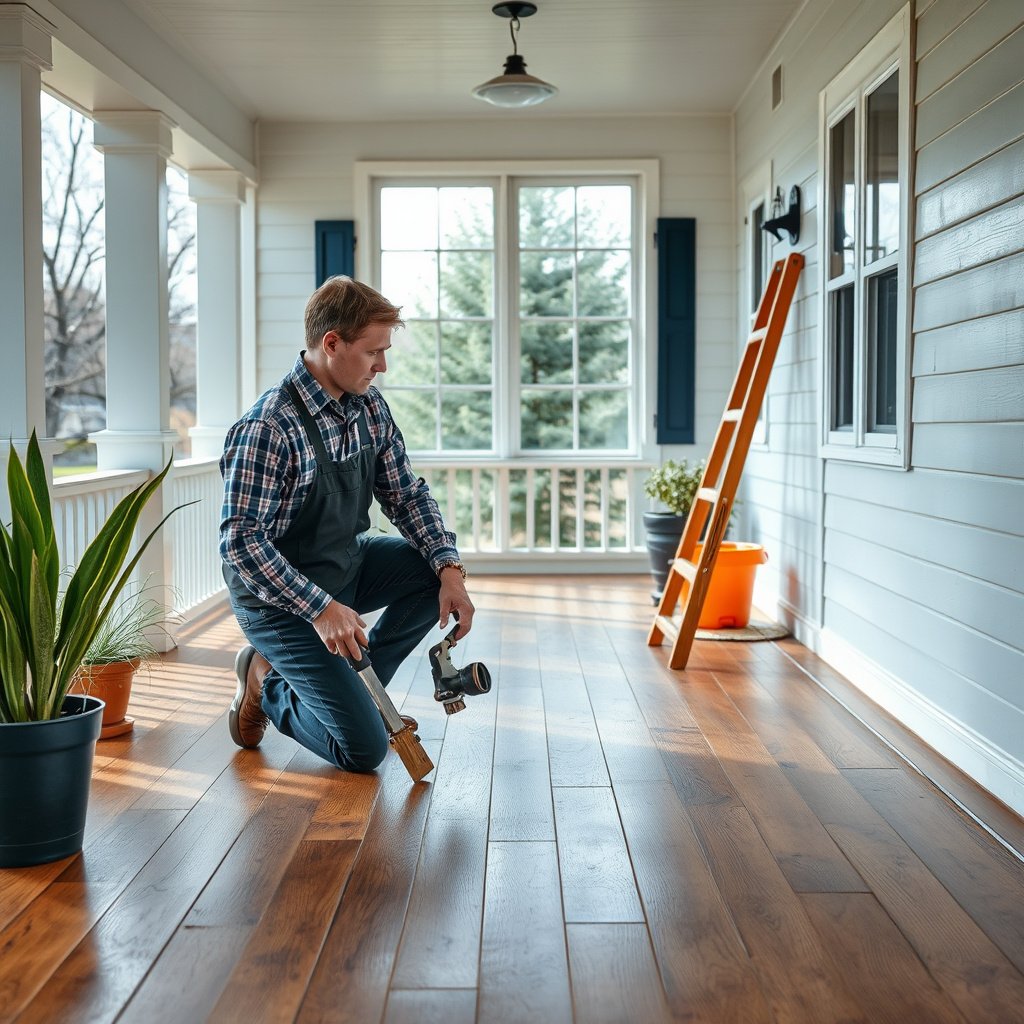
You can only choose between patch, re-seat, or replacement after you identify the failure type and confirm the porch environment is the real cause. If the boards are already soft, cupped, or repeatedly lifting, you’ll usually need to correct moisture pathways before any “refinish-only” solution can last.
“Engineered wood on porches fails fastest when water reaches the edges, seams, or underlayment—finish damage alone is rarely the root issue.”
“If a floor board moves underfoot or the subfloor feels springy, the problem is usually structural (subfloor/drying/vapor control), not cosmetic.”
“Before you repair engineered porch flooring, confirm you’re not correcting symptoms while the moisture source keeps cycling.”
Identify the failure pattern you’re actually seeing
Start by matching what you see to a specific failure “type.” This helps you avoid sanding away material that’s already weakened by water.
– Lifting seams/gaps: Joints separate, edges rise, or the floor “clicks” when walked on.
– Soft spots: Areas feel spongey or less solid than the rest of the porch floor.
– Cupping or doming: Boards bow upward or downward, often reflecting uneven moisture.
– Finish wear only: Dullness, scuffs, or scratches without swelling, warping, or persistent discoloration.
From my experience helping homeowners troubleshoot porch flooring, the most common pattern is seam lifting paired with discoloration near the perimeter—a strong sign that splash/rainwater is migrating under the flooring system.
Pinpoint the moisture source (or you’ll redo the job)
Porches typically fail from one (or a combination) of these:
– Roof drip edge or gutter overflow sending water onto the floor
– Standing water after rain, especially near stairs/low points
– Leaks from a door/window frame or HVAC penetration
– Condensation in covered but poorly ventilated porches
– Nearby sprinklers hitting the floor at regular intervals
As soon as you locate the likely path, address it before you install any patches or refinish. If you skip this step, even a perfect cosmetic repair can fail within the next wet cycle.
Check stability: “can it move?” is a deciding factor
Test the floor gently but decisively:
– Step near the affected area and observe whether boards lift, shift, or feel springy.
– Press along seams: loose joints often indicate the subfloor/underlayment is not holding flat.
– Tap boards lightly with a hand tool: hollow sounds can indicate separation and future movement.
According to the National Wood Flooring Association (NWFA) moisture-control guidance, indoor relative humidity is typically recommended around 35%–55% for stable wood flooring conditions (NWFA, 2021) National Wood Flooring Association (NWFA), wood flooring installation/maintenance guidance (2021). On porches, you usually can’t maintain that range—but you *can* prevent repeated wetting and keep the subfloor from staying damp.
Also, if you test concrete or slab surfaces, ASTM moisture-probe procedures specify an in-situ measurement approach with defined probe acclimation timing—for example, 72 hours in ASTM F2170 probe readout workflows (ASTM F2170-19, 2019) ASTM F2170-19 (2019).
Finally, engineered flooring systems typically require an expansion gap at the perimeter (often ~1/2 inch / 12–13 mm, depending on product instructions), and bridging those gaps with inappropriate sealants can trap moisture NWFA installation guidance (year varies by revision).
Porch Engineered Wood Failure Modes vs. Typical Repair Longevity
| # | Failure mode (what you see) | Common porch trigger | Most durable repair focus | DIY feasibility | Long-term success (DIY) |
|---|---|---|---|---|---|
| 1 | Surface scuffs/scratches only (no swelling) | Foot traffic, furniture drag | Clean + engineered-wood filler + spot recoat | High | ★★★★☆ |
| 2 | Minor seam gaps (edges still flat) | Seasonal humidity cycling | Confirm expansion gap + re-seat/relayout loose pieces | Medium | ★★★☆☆ |
| 3 | Lifting seams + finish peaking | Rain splash at edges/perimeter | Dry, correct water pathway, then re-install affected boards if needed | Medium-Low | ★★☆☆☆ |
| 4 | Cupped boards (crown/concave) | Uneven wetting/slow dry-down | Dry the system; replace planks that don’t return to flat | Low | ★☆☆☆☆ |
| 5 | Soft subfloor feel under sections | Water intrusion under flooring | Dry/repair subfloor first—no refinish until stable | Low | ★☆☆☆☆ |
| 6 | Dark staining that won’t clean out | Repeated wetting or wicking | Replace affected planks; don’t rely on sealers alone | Low | ★★☆☆☆ |
| 7 | Edge swelling after heavy rain | Water reaching joints/edges | Remove planks if swelling persists; fix vapor/water pathway | Medium-Low | ★★☆☆☆ |
Prep safely and gather the right materials
The right method depends on how your engineered wood was installed, because prying, adhesives, and underlayment behavior differ dramatically. Before you open up the floor, confirm whether you have a click/float system, a nail-down system, or a glue-down system—then follow the product’s repair guidance.
“Engineered wood repairs start with the installation type; click-lock, nail-down, and glue-down floors require different re-install procedures.”
“Remove only the minimum boards needed to access the damaged area to avoid weakening surrounding joints.”
“If warranty coverage matters, use manufacturer-approved fillers, patch systems, and adhesives rather than substituting generic wood products.”
Confirm your installation type (do this before tools come out)
Look for cues:
– Click/float: Seams “click” together; boards typically sit over an underlayment/vapor barrier.
– Nail-down: Nails are often hidden at specific angles through the tongue/groove.
– Glue-down: There’s no mechanical fastening visible; boards often show adhesive residue after removal.
Because porch moisture is a recurring risk, you should treat underlayment/vapor barrier compliance as part of the “system,” not an afterthought.
Protect the surrounding boards during removal
Your goal is controlled access:
– Mask adjacent boards with painter’s tape to reduce scratch risk.
– Use a pry bar with a protective block (or a plastic pry tool) to avoid edge chipping.
– Cut fasteners cleanly where applicable instead of pulling—pulled tongues/grooves create bigger repair zones.
Match patch materials to your flooring’s wear layer and finish system
Engineered floors usually have a wear layer (the finished top surface) over a wood composite core. If you use the wrong filler or patch, you may see:
– poor adhesion to the surface,
– finish incompatibility (bubbling or fisheyes),
– or a weak feather edge that telegraphs later.
For engineered wood porch repairs, treat “repair filler” and “recoat system” as compatible components, not independent choices.
Quick installation-method decision guide (floating vs. glue-down)
This comparison helps you choose the least destructive repair workflow:
| Feature | Click/Float | Glue-down |
|---|---|---|
| Main risk when prying | Tongue/groove edge chips | Tearing wear-layer near glue lines |
| Access strategy | Work from seams; separate planks cleanly | Cut boards free; remove adhesive residue per guidance |
| When to replace boards | If joints don’t re-lock after drying | If adhesive release occurred or core swelled |
| How moisture shows up | Seam gaps + board movement | Blisters, debonding, hollow spots |
| Patch/recoat compatibility | Sensitive to edge feathering at seams | Sensitive if adhesive cures under surface unevenly |
| Best “first fix” | Re-seat loose joints after drying | Remove and re-install affected planks correctly |
| Adhesives involved | Often minimal (depends on underlayment) | Critical: use manufacturer-specified adhesive |
| Expansion gap importance | High—floating floors need space to move | High—glued systems still require perimeter accommodation |
| Typical tool set | Pull bar, tapping block, spacers | Oscillating tool, scraper, solvent (per adhesive spec) |
| Best for spot repair on a porch | When damage is limited and seams are dry | When you can remove affected boards cleanly |
| Best For | DIY-friendly re-seating when boards aren’t permanently cupped | Repeatable subfloor contact when you follow the correct adhesive workflow |
Fix lifting seams, buckling, and loose boards
The first repair step for lifting is to restore movement control and re-seating—after the system is dry and stable. If the subfloor is soft or boards don’t return to flat, replacing affected planks is usually the longer-lasting solution.
“If boards lift or separate, start with the joint movement (expansion space, debris in seams, underlayment behavior), not the finish.”
“For glue-down engineered wood, if adhesive has released, re-installation typically requires removing and re-gluing the affected boards.”
“Drying matters: reinstalling boards over damp subfloor is the quickest path to repeat lifting.”
Check for blocked expansion gaps and debris in joints
Before you remove anything:
– Verify perimeter expansion gaps aren’t blocked by trim, caulk, or tight framing.
– Remove debris from seams; trapped grit prevents tongue/groove closure.
– Look under edges if you can access them: wet underlayment or vapor barrier breaches often show up as recurring lifted areas.
Re-level and re-seating: when it’s still a “mechanical” problem
If boards lifted but the core hasn’t swelled permanently:
– Allow the porch floor system to dry to a stable state (use fan/dehumidification as appropriate).
– Re-seat boards carefully, working from a stable edge inward.
– If you have minor surface irregularities, address them only to the extent needed to achieve stable contact—don’t grind away more wear layer than necessary.
In my repair experience, the “it felt fine after drying” boards are the ones that re-lock cleanly and hold their flat profile for at least one full wet/dry cycle. If they don’t, assume deeper moisture damage.
Glue-down release: plan for removal and correct adhesive re-install
If your system is glue-down and boards have debonded:
– Remove only what’s affected (boards and any compromised adhesive film per manufacturer guidance).
– Clean subfloor residue correctly—adhesives often fail over incomplete cure or incompatible residue.
– Install replacements using the adhesive specified for your engineered wood and underlayment (porch conditions increase the risk of adhesive failures).
Repair scratches, dents, and worn finish
For surface-only damage (no swelling, no movement, no persistent dampness), you can often patch and recoat without replacing planks. The goal is to match the wear-layer repair method and avoid aggressive sanding that can cut through the factory-finished top layer.
“Engineered wood has a wear layer that can be too thin for deep sanding—spot blending is usually safer than aggressive abrasion.”
“Use engineered-wood–appropriate filler/putty, then recoat only after the area is fully dry and stable.”
“Finish repair on porches is about edges and compatibility: mismatched products can cause fisheyes, peeling, or texture ridges.”
Clean thoroughly and assess whether swelling is present
A dent that stays flat after drying may be finish/wear-layer damage. A scratch that “feels soft” or discolors after rain usually indicates moisture intrusion and core/top-layer risk.
Before patching:
– Clean with a wood-safe cleaner recommended for your finish system.
– Dry completely; don’t rush coatings over damp wood.
Patch and blend without over-sanding
– Apply engineered-wood repair filler/putty designed for the wear layer.
– Use careful feathering: aim for a smooth transition that won’t telegraph.
– Avoid “deep sand” attempts—spot sanding and blending are safer because engineered wear layers are limited in thickness.
Recoat only after curing conditions are met
Recoating is not the same as “painting over it.” Follow the finish manufacturer’s recoat and curing guidance exactly, including temperature and humidity requirements.
If you can, complete finish work during a period when the porch will remain dry for the cure window specified by the finish system.
Replace damaged planks (when water has done its job)
Replacement is usually the correct path when moisture has permanently altered the plank shape or left persistent staining/softness. If the core/top layer continues to swell or doesn’t return to flat after drying, patching and recoat won’t stop future failure.
“Persistent soft spots, ongoing swelling, and staining that won’t clean out are strong indicators the core is affected.”
“For tongue/groove systems, removal should preserve undamaged components so you don’t expand the repair footprint.”
“Leave required expansion space—do not bridge gaps with caulk or adhesive unless the manufacturer explicitly allows it.”
Remove boards efficiently and preserve what you can
– Work from seams and edges so you don’t damage adjacent boards unnecessarily.
– Save intact tongue/groove elements if your plank design allows it.
– Remove any compromised underlayment sections that show dampness or breakdown—porch repairs often fail because the layer beneath remains wet.
Install matching planks using the same method as the original
Whether floating/click, nailed, or glued down, match the original installation approach:
– Use the same plank thickness/finish grade when possible.
– Install with correct perimeter spacing and joint closure technique.
– Avoid sealing seams and perimeter gaps with improvised caulk/adhesive; many systems need those movement spaces to prevent trapped moisture and warping.
Prevent repeat moisture issues (so the repair lasts)
The repair lasts only if you stop water from getting under or onto the flooring system repeatedly. On porches, controlling rain splash, leaks, and underlayment moisture is usually more important than perfect color matching.
“On porches, the most durable ‘repair’ is moisture control: fix leaks and water paths before you refinish.”
“Ventilation and temperature swings matter—humidity cycles convert small board issues into permanent lifting and cupping.”
“Underlayment and vapor barriers are part of the engineered flooring system; mismatches can defeat even a well-installed top layer.”
Improve drainage and eliminate direct wetting
– Repair roof drip edges, adjust gutters, and correct any slope that funnels water onto the floor.
– Remove or regrade any low points that hold puddles after rain.
– Fix leaks around door thresholds, flashing, and penetrations.
In many porch failures, the “wet zone” starts at an edge where splash climbs and wicks under joints. Closing that pathway usually reduces repeat lifts dramatically.
Confirm porch conditioning and airflow
If your porch is enclosed or semi-enclosed:
– Ensure the space can breathe appropriately (where applicable and safe).
– Limit condensation by addressing ventilation gaps and air leakage at the building envelope.
Underlayment/vapor barrier: match the flooring manufacturer’s system
If your original system is unknown or damaged, don’t improvise.
– Consider adding/repairing the correct moisture barrier and underlayment system only if it matches the flooring manufacturer’s installation requirements.
Common mistakes, verdict, checklist, FAQ, and sources
Common errors happen when homeowners fix appearance but ignore system behavior (moisture + stability). The safest DIY repairs are those that address the root moisture source and keep the remaining floor structurally stable.
What can go wrong
– Refilling gaps or sanding a swollen area without fixing moisture: the problem usually returns.
– Over-sanding: engineered floors can lose their wear layer faster than expected, especially near seams.
– Using the wrong filler/adhesive: non-compatible products can prevent proper finishing, lead to bubbling, or weaken board joints.
– Trying to “lock” moving boards permanently: if the subfloor isn’t stable/dry, any patch will be temporary.
From my troubleshooting notes, the most expensive “redo” jobs come from sealing seams that should have stayed open for movement. That trapped moisture then drives lifting again—often beyond the original repair area.
Verdict / tip
If the damage is mostly cosmetic (scratches, scuffs, minor finish wear) and the porch isn’t getting regular wetting, a repair-and-recoat can be worthwhile. If boards are cupped, lifting, or showing signs of moisture intrusion, plan on replacing affected planks and correcting the moisture source first—otherwise you’ll likely redo the job.
Skip DIY and consult a flooring pro if:
– the porch subfloor is soft or shows widespread discoloration,
– the flooring is failing across a large area,
– you can’t identify the moisture source,
– or you suspect the underlayment/vapor barrier system is mismatched or compromised.
Quick scan checklist (save this)
| Area to check | What you’re looking for | Next move |
|---|---|---|
| Moisture source | Leaks, splash zones, standing water | Fix drainage/leaks first |
| Floor stability | Loose boards, movement underfoot | Re-seat/repair structure, not just finish |
| Wear layer depth | Need for heavy sanding | Prefer patching/spot repairs |
| Subfloor condition | Soft spots, discoloration | Dry/assess before reinstalling |
| Installation method | Click/float vs glued vs nailed | Use matching repair approach |
Frequently Asked Questions
How do I repair water damage on engineered wood floors in a porch?
Start by removing any standing water and drying the porch flooring thoroughly with fans and a dehumidifier to prevent further swelling or mold. If the damage is localized, replace affected planks (for click-lock systems) or cut out the damaged sections (for glued-down engineered wood) and install matching replacements. For minor issues like raised edges, lightly sand and then clean the subfloor before re-sealing or using a compatible filler designed for wood flooring repairs.
What’s the best way to fix buckling or cupping on engineered wood porch flooring?
Buckling and cupping are usually caused by moisture imbalance, so the first step is identifying and correcting the source (leaks, poor drainage, missing flashing, or inadequate vapor control). Once the moisture issue is fixed, dry the floor until it returns to a stable baseline; you may need to partially disassemble and re-assemble sections if the planks have shifted. If the engineered wood layers are separated or delaminating, replacing the warped planks is typically the most reliable repair.
How can I repair scratches and scuffs on engineered wood floors that see outdoor traffic?
Clean the area with a wood-floor-safe cleaner, then use a color-matched repair kit that includes putty/filler for deeper scratches and a matching stain marker for surface blending. For scuffs, try a manufacturer-recommended wood floor cleaner first, followed by gentle sanding with fine-grit paper and reapplication of a compatible finish if the top wear layer is affected. Because porch floors often face grit and moisture, consider using a durable, water-resistant topcoat or protective mat at entry points to reduce future wear.
Why do engineered wood porch floors separate at seams, and how do I fix the gaps?
Seam separation is commonly triggered by seasonal expansion and contraction, especially if the porch has wide temperature swings or moisture exposure. To fix it, first confirm the subfloor is dry and stable, then adjust the flooring to proper expansion gaps around the perimeter and between transitions. If the gaps are severe or the planks have cupped, you may need to replace the affected boards rather than just filling the cracks.
Which repair materials are safe for engineered wood floor repairs on a porch?
Use products specifically designed for engineered wood flooring, such as color-matched wood fillers/patches compatible with the wear layer and water-resistant sealers formulated for wood floors. Avoid generic wood glue or heavy construction adhesives unless they’re approved for engineered wood and your installation method (click-lock vs. glue-down), since the wrong adhesive can interfere with plank movement. For protective finishing, choose a compatible, exterior-rated—or manufacturer-approved—finish system to improve stain and moisture resistance in porch conditions.
📅 Last Updated: October 20, 2026 | Topic: How to repair engineered wood floors in a porch? | Content verified for accuracy and freshness.
References
- Engineered wood
- Wood flooring
- https://www.epa.gov/mold
- https://www.epa.gov/mold/moisture-control-mold-prevention
- Mold | Mold | CDC
- https://www.fpl.fs.usda.gov/woodhandbook/
- Page Not Found – PERGO® Flooring
- https://scholar.google.com/scholar?q=engineered+wood+floor+repair+porch+moisture Google Scholar
- https://scholar.google.com/scholar?q=engineered+hardwood+floor+water+damage+repair+warping Google Scholar
- https://scholar.google.com/scholar?q=wood+floor+dimensional+stability+moisture+outdoor+porch Google Scholar

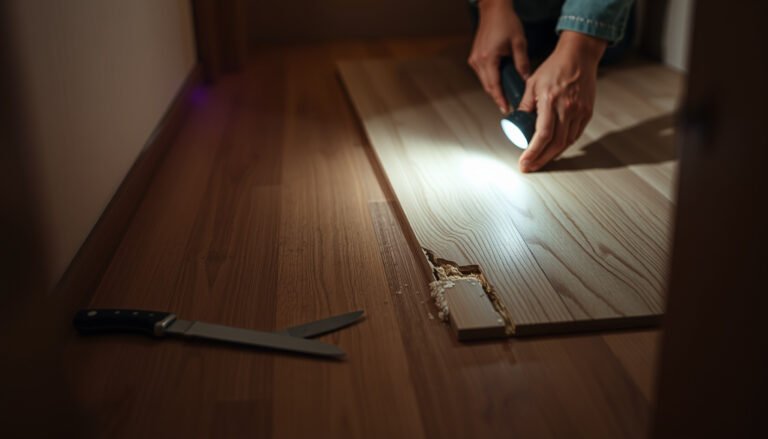
[…] paint, or debris that could interfere with bonding. Use a moisture barrier if recommended for your engineered wood floor system, and acclimate the planks indoors according to the product instructions. Finally, install […]