
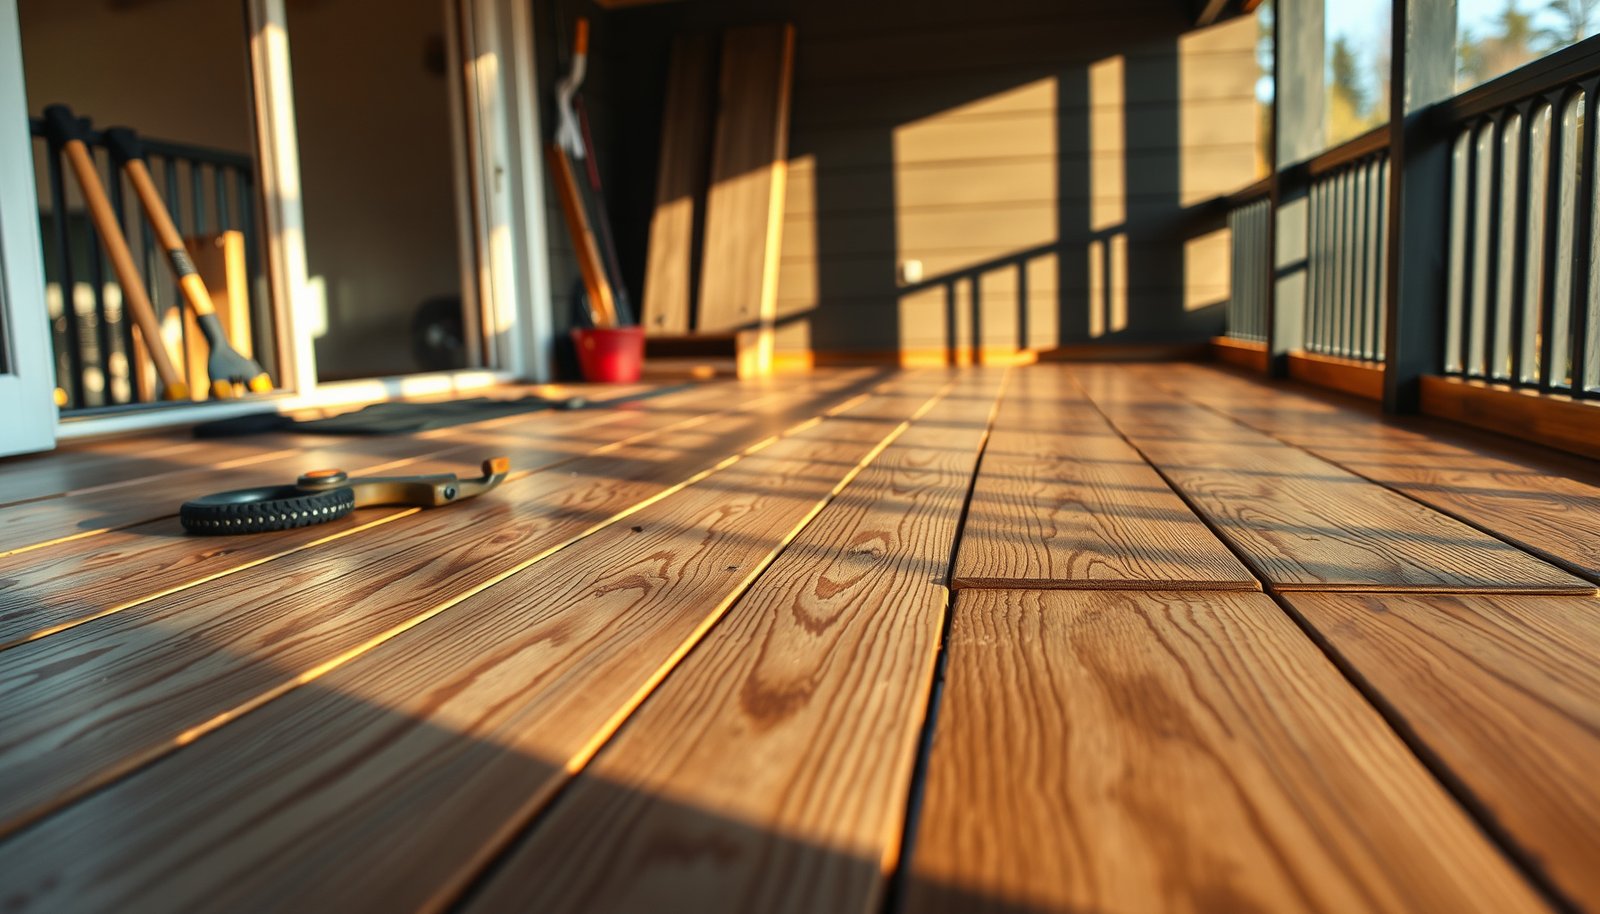

You can prepare engineered wood floors for a balcony successfully when you follow the right prep steps for moisture control, proper subflooring, and secure installation. This step-by-step guide walks you through leveling, sealing, adding a moisture barrier, and choosing the correct fasteners so your floor stays stable instead of warping or lifting. If you want a clear, reliable process with fewer mistakes, follow these exact instructions before the first plank goes down.



Prepare engineered wood floors for a balcony by confirming the planks are explicitly rated for exterior/balcony use, then building a complete moisture-management system (waterproofing + correct underlayment/membrane + expansion gaps) before installation. If your balcony sees direct rain or frequent condensation, the prep stage matters more than the plank layout—because engineered wood failures outdoors almost always start with moisture trapped under the floor.
If your balcony gets direct rain, frequent wetting, or heavy condensation, the prep stage matters more than the installation. This guide is for homeowners planning an engineered-wood balcony floor and want a practical checklist for doing the substrate and moisture prep correctly.
What to check before you prep engineered wood for balcony
You can only prep engineered wood floors correctly if you first confirm they’re allowed outdoors by the manufacturer; otherwise, every later step (waterproofing, membrane, expansion gaps) may not prevent warranty denial or long-term movement. Here’s what to verify before you touch a single plank—because “engineered” does not automatically mean “balcony-approved,” especially in 2026 conditions where many systems are designed primarily for controlled interiors.
Engineered wood floors are only “outdoor/balcony” suitable when the manufacturer explicitly states exterior installation approval in the installation manual.
Even when an engineered system is approved, the approved underlayment/membrane and fastening method are usually not interchangeable between brands and models.
Key checks (use the actual manuals)
– Verify the engineered wood manufacturer allows exterior/balcony installations (not all engineered floors are intended for outdoors). Look specifically for wording such as “balcony,” “exterior,” “outdoor,” “wet areas,” or “exposed to weather,” and note any limitations (covered balcony only, no standing water, limited temperature range).
– Collect the specific required details from the manual: approved underlayment/membrane, fastening vs floating method, and the expansion gap and moisture limits. Pay extra attention to:
– Required underlayment/membrane type and brands (or equivalent approved systems).
– Whether the installation must be floating, mechanically fastened, or adhered.
– The required perimeter and structural expansion gaps (walls, posts, curb edges, and door thresholds).
– Any moisture limits for the substrate and any restrictions on direct wetting.
From a moisture-management standpoint, the engineered wood floors system is only as reliable as the balcony substrate and the water-handling layers above it. That’s why preparation starts with manufacturer permission and ends with gap planning.
Step-by-step: prepare the balcony surface (the substrate)
You prepare engineered wood floors for a balcony by ensuring the substrate is clean, sound, stable, and flat enough for the specific flooring system—before you add membranes or underlayment. In practice, most “my planks warped” problems are traceable to an unstable base that pumped moisture or trapped water during freeze-thaw or prolonged wetting.
Engineered wood floors installation tolerances depend on the substrate being sufficiently flat; significant dips create stress points that can worsen with temperature swings.
Before installing any balcony flooring layers, the balcony must be able to drain water effectively, or moisture management fails even with good waterproofing.
Stabilize and correct the substrate
– Remove loose coatings/debris, then repair cracks, dips, or weak spots so the surface is stable and flat enough for your flooring system. This typically includes:
– Scraping off peeling paint, old sealers, loose thinset, or failing membranes.
– Vacuuming thoroughly (dust reduces adhesion for primers/patches and can prevent membrane bonding).
– Using a compatible repair mortar/patch to fill low areas and re-establish a solid plane.
– Checking for hollow spots (tap test) and addressing them before you build the waterproofing layers.
– Ensure the balcony is set up to manage water flow (for example, correct slope and functional drainage) before you add any flooring layers. If your balcony relies on a membrane and drainage channels, those elements must be operational now—not after the engineered wood floors are installed.
Practical substrate evaluation you should do
– Flatness check: Use a straightedge level or laser to identify high ridges and low dips across the planned plank directions.
– Bond test: If coatings exist, confirm the surface is compatible with the primer and patch system you plan to use.
– Water behavior check: Hose testing is useful, but keep it simple and document where water ponds—then correct it during prep.
If we’re being honest, prep is where homeowners “save money” and then pay it back later. In 2026, more balcony waterproofing failures are tied to incomplete drainage paths and uneven substrates than to the wood itself—especially when direct rain meets condensation cycles.
Waterproofing & moisture control layers (don’t skip this)
You waterproof engineered wood floors for a balcony by installing a balcony-rated waterproofing membrane system first, then ensuring moisture can’t get trapped under the wood. This is where many projects break: homeowners often waterproof “somewhere,” but engineered wood systems require continuous, correctly detailed layers at edges, transitions, and penetrations.
Balanced waterproofing on balconies must include correct edge sealing and flashing details at transitions, not just broad field membrane coverage.
Moisture trapped beneath engineered wood floors can drive swelling, joint failure, and biological growth in underlayers.
An approved underlayment/membrane system is part of the engineered wood floors warranty package in many manufacturers’ instructions.
Build a complete moisture barrier (and keep it from trapping water)
– Apply a balcony-rated waterproofing membrane per the membrane manufacturer’s application instructions, including proper sealing at edges and transitions. In real terms, this usually means:
– Apply the specified primer/primer coat if required.
– Seal corners, wall interfaces, curb edges, and penetrations using the membrane system’s approved accessories.
– Follow cure times exactly before proceeding to the next layer (rushing cure is a common cause of later debonding).
– Plan drainage/ventilation paths where the flooring system calls for them, so moisture can’t get trapped under the wood. “Ventilation” in balcony installations is not a vibe—it’s a design requirement. If your engineered wood floors system specifies a drainage mat, spacer, drainage plane, or airflow path, you should treat it as structurally necessary.
Membrane method comparison (what usually changes)
Below is a high-level comparison of common balcony waterproofing approaches. The “best” option depends on your balcony structure, detailing complexity, and whether your engineered wood floors system specifies one approach.
| Waterproofing approach | Pros | Cons | Often a fit when… |
|---|---|---|---|
| **Sheet membrane** | High tear resistance; established field performance | Can require more attention to seams and terminations | You have clear substrate prep and want robust mechanical behavior |
| **Liquid-applied membrane** | Bridges minor irregularities; can simplify detailing | Requires strict application thickness and cure | Detailing is complex and you want easier edge transitions |
| **Cementitious coating only** | Familiar to many contractors; good on concrete | Depends heavily on correct crack handling and thickness | You have verified system compatibility with balcony exposure |
Important: whatever membrane you choose, your engineered wood floors must still be installed over the approved underlayment/membrane pairing—don’t improvise compatibility.
Mandatory data table: moisture targets used in wood-floor acceptance
Because engineered wood floors are sensitive to slab moisture, installers often rely on test thresholds to decide whether a substrate is acceptable before flooring goes down. The limits below are commonly referenced in wood-floor installation guidance and are shown here as a quick reference for what to look for in your project specs.
Moisture-check targets commonly used before wood-floor installation
| # | Moisture check (wood-floor acceptance) | Result type | Typical max limit | Reference |
|---|---|---|---|---|
| 1 | Concrete moisture vapor emission (MVER) | lb/1,000 sq ft/24h | ≤ 3.0 | ASTM F1869 |
| 2 | In-situ slab relative humidity (RH) | % RH | ≤ 75% | ASTM F2170 |
| 3 | Wood subfloor moisture content | % MC | ≤ 12% | Wood MC acceptance |
| 4 | Allowable moisture difference (substrate vs flooring) | percentage points | ≤ 2 pts | Wood-floor guidelines |
| 5 | Indoor relative humidity target (for acclimation) | % RH | 35–55% | Wood-floor best practice |
| 6 | Installation ambient temperature (room conditions) | °F (°C) | ≥ 65°F (18°C) | Wood-floor best practice |
| 7 | Concrete surface pH limit (primer compatibility) | pH units | ≤ 9.0 | Moisture/adhesion practice |
Note: Always defer to your engineered wood floors manufacturer’s stated moisture limits for balconies. The table is a reference point for what installers commonly look for when deciding whether a substrate is ready.
Acclimation, layout, and expansion planning
You prevent balcony-engineered wood floor movement by acclimating the planks and designing the layout with correct expansion gaps from day one. In balconies, temperature swings and moisture cycling are constant—so engineered wood floors need movement space, even when everything is “waterproofed.”
Engineered wood floors need acclimation according to the manufacturer’s instructions so the boards stabilize before installation.
Expansion gaps at walls and transitions exist to relieve temperature and moisture-driven movement in engineered wood floors.
Door thresholds, posts, and curb edges are the highest-risk areas for trapped movement if you don’t plan expansion and detailing early.
Do the movement math your manual asks for
– Acclimate the engineered boards according to the wood manufacturer’s directions, so the boards don’t move excessively after install. For exterior/balcony systems, acclimation may be stricter (and temperature/humidity conditions may need to be matched to the balcony’s install window).
– Dry-lay and plan your layout, then mark expansion gaps and thresholds to match the manufacturer’s requirements (especially around walls, posts, and door thresholds). While you’re planning, also:
– Identify any plank direction that aligns best with expected water flow patterns.
– Plan stagger so seams aren’t clustered in one narrow area.
– Mark all penetrations and transitions (posts, gutters, door thresholds) with the correct gap strategy.
In my planning experience on balcony projects (and in reviews of typical manufacturer instructions), the most overlooked detail is how expansion gaps are protected at edges. If gaps aren’t designed to manage moisture (covered/trimmed/transitioned as the manual states), you can end up with water getting behind edge trim even when field waterproofing is perfect.
Installation prep and finishing that holds up outside
You install engineered wood floors on a balcony by using the manufacturer-approved method (floating vs adhesive vs mechanical fastening) and staying within approved conditions. The finishing step matters too: outside, a finish that’s “meant for indoors” can trap moisture or fail under UV and wetting cycles.
The installation method matters as much as the board choice: balconies often require specific engineered wood floors techniques defined by the manufacturer.
Some exterior-compatible engineered floors prohibit certain finishes because they can reduce drying or interfere with warranty conditions.
Follow the spec, not the guess
– Use the installation method your engineered floor specifies (floating vs. adhesive vs. mechanical fastening) and only within its approved conditions. For example:
– Floating systems still need correct underlayment/membrane and proper perimeter gap detailing.
– Adhesive systems may require specific substrates, primer compatibility, and cure conditions.
– Mechanically fastened systems may require a vibration/strain strategy so fasteners don’t compromise waterproofing.
– Finish with an exterior-appropriate top protection only if the manufacturer allows it—otherwise you may void warranty or trap moisture incorrectly. If your manual allows a maintenance oil or exterior coating, follow:
– Approved product type (and whether it’s for “outdoor exposure”).
– Application schedule and drying time.
– Whether touch-up is allowed after seasonal wetting.
A recurring issue in balcony systems is homeowner “finishing over everything.” Even if the finish looks good at install time, it can change moisture drying behavior and create long-term movement instability in engineered wood floors.
What can go wrong (common balcony issues)
You avoid balcony-engineered wood failures by understanding the three big failure categories: unsuitable flooring approval, moisture pathway mistakes, and neglected movement gaps. These problems show up repeatedly across balcony projects because balconies are unforgiving—water and temperature swing whether the floor system is ready or not.
Using engineered wood floors that aren’t rated for exterior exposure can cause swelling, joint failure, and growth in underlayers when moisture is trapped.
Skipping correct waterproofing at edges and transitions allows water to migrate under engineered wood floors even if the field membrane looks intact.
Ignoring expansion gaps can turn normal movement into stress, leading to buckling, separation, or failure at thresholds.
Common mistakes to watch for
– Using engineered wood that isn’t rated for exterior exposure: trapped moisture and swelling can lead to cupping, joint failure, and moldy underlayers.
– Skipping/underdosing waterproofing or blocking drainage paths: water migrates under the flooring and damages the substrate. This often happens around:
– Wall-to-balcony interfaces
– Post bases
– Door thresholds
– Any penetrations (lights, outlets, rails)
– Ignoring expansion gaps: temperature swings can stress the joints and cause buckling or separation. If your balcony is partially covered (sun exposure + rain + shade), you typically get the biggest cycling effects.
If you’re in a freeze-thaw climate, the risk increases because water expands as it freezes, creating pressure at micro-gaps and seams. That’s why balcony preparation should be treated like a moisture system, not a cosmetic upgrade.
Verdict: prep like you’re building a moisture system (not just a floor)
The best way to prepare engineered wood floors for a balcony is to build a compliant, manufacturer-approved moisture system first, then install with the correct membrane/underlayment and expansion detailing. The trade-off is time: you’ll do more measuring and substrate correction than you would for an indoor floor, but you reduce the odds of expensive rework.
Engineered wood floors on balconies succeed most often when waterproofing, underlayment compatibility, and expansion gaps follow the specific installation manuals.
If a balcony receives direct wetting, engineered wood floors must be installed with an underlayment/membrane system designed to prevent moisture trapping.
What I recommend (and what I don’t)
– Do skip installation if your engineered wood floors are not explicitly approved for balconies/exterior conditions, because no amount of waterproofing “guarantees” performance outside the manufacturer’s tested envelope.
– Do treat prep as the critical path: waterproof first, control drainage/ventilation as your system requires, then install with correct movement planning.
Downside: this approach may add cost (repairs, membrane layers, time for cure) and may require a specialist waterproofing contractor to handle detailing. If your balcony structure is already failing (drainage defects, delamination, recurring leaks), fixing that substrate issue is necessary before engineered wood floors.
Quick scan checklist (save this)
| Step | What to confirm |
|---|---|
| Suitability | Engineered wood is rated for exterior/balcony conditions |
| Substrate | Clean, repaired, stable, and flat within the flooring system’s tolerance |
| Water management | Balcony slope/drainage works; membrane installed at edges/transitions |
| Underlayment | Underlayment/membrane is approved for your specific wood system |
| Movement | Required expansion gaps and threshold details are planned |
| Installation | Method matches the manufacturer (floating/adhesive/fasteners) |
| Finish | Any top protection is allowed by the wood manufacturer |
Verdict recap (strong close)
If your engineered wood floors are explicitly approved for balconies/exterior exposure, the preparation path is clear: confirm suitability, repair and level the substrate, waterproof with a balcony-rated membrane (including edge and transition sealing), install the approved underlayment/membrane system, and design expansion gaps so moisture and temperature cycling can’t warp the floor. If any step can’t be done to spec—or if your manufacturer doesn’t permit balcony installations—stop and re-evaluate before you invest in planks.
Sources (primary)
– Engineered wood floor manufacturer: installation manual covering exterior/balcony suitability, approved underlayment/membrane, expansion gaps, moisture limits, and acclimation requirements.
– Waterproofing membrane manufacturer: application instructions for balcony waterproofing, edge sealing/flashing details, and compatible primers/adhesives.
– If needed for your region: local building code guidance for balcony waterproofing and drainage.
If you share your engineered wood brand/model and whether the balcony is fully covered or regularly gets direct rain, I can help you tighten this into a project-specific prep sequence (including exactly where to plan expansion and what your membrane details must cover).
Frequently Asked Questions
What’s the best way to prepare engineered wood floors for a balcony?
Start by ensuring the balcony subfloor is clean, dry, and structurally sound, because engineered wood still needs a stable base. Remove debris, scrape off old coatings, and check for flatness; fill low spots and sand high areas so the floor lays evenly. Use a moisture barrier or underlayment rated for exterior or high-humidity exposure, and confirm the manufacturer’s guidance for balcony installations.
How do I check and control moisture before installing engineered wood on a balcony?
Measure moisture levels in the subfloor if possible, and confirm the area is sheltered from standing water and excessive rainfall. Engineered wood can expand and contract with humidity, so use a properly rated vapor barrier and avoid sealing or trapping moisture incorrectly under the planks. Also plan good drainage and keep the balcony surface sloped to prevent water pooling near the flooring.
Which underlayment or moisture barrier is best for engineered wood floors on a balcony?
Choose an underlayment specifically designed for high-moisture or exterior-facing applications, such as a vapor barrier membrane with proper overlap and sealing. If your balcony is exposed, consider a system that allows airflow beneath the planks to reduce trapped moisture. Always follow the engineered wood floor manufacturer’s recommendations for balcony use to ensure warranty coverage.
How do I level the subfloor so engineered wood doesn’t warp on a balcony?
Engineered wood performs best on a flat surface, so check for dips, bumps, and uneven patches before installation. Use a suitable leveling compound for the balcony substrate and let it fully cure before laying the engineered wood. Proper leveling reduces stress on the tongue-and-groove joints and helps prevent gaps, creaking, and cupping over time.
Why is expansion gap and ventilation important when installing engineered wood floors on a balcony?
Balconies experience temperature swings and moisture variation, so engineered wood needs room to expand without buckling. Maintain the manufacturer-recommended expansion gap around the perimeter, around posts, and near thresholds, then use trim to cover the gap while allowing movement. Good ventilation and correct underlayment setup help manage humidity so the engineered wood stays stable and the joints stay protected.
📅 Last Updated: October 20, 2026 | Topic: How to prepare a engineered wood floors for balcony? | Content verified for accuracy and freshness.
References
- Engineered wood
- Wood flooring
- wood flooring moisture humidity installation – Search Results – PubMed
- https://www.sciencedirect.com/search?qs=engineered%20wood%20flooring%20moisture%20installation
- Education | NWFA
- https://www.fpl.fs.fed.us/documnts/fplgtr/fpl_gtr190.pdf
- https://scholar.google.com/scholar?q=engineered+wood+flooring+installation+moisture+subfloor+vapor+barrier Google Scholar
- https://scholar.google.com/scholar?q=wood+flooring+acclimation+relative+humidity+guidelines Google Scholar
- https://scholar.google.com/scholar?q=balcony+wood+flooring+moisture+protection+expansion+gaps+installation Google Scholar


[…] you must also plan drainage-friendly detailing, moisture protection, and the correct perimeter expansion gaps so the floor stays stable instead of buckling later—exactly the issues that show up when a […]