


Preparing engineered wood floors for an entryway is straightforward—this step-by-step guide shows you exactly how to get the subfloor ready, protect the surface, and install the right moisture barriers for long-lasting results. If your goal is a stable, gap-resistant entryway floor that survives daily traffic and tracked-in moisture, follow these prep steps in order. By the end, you’ll know what to check, what to fix, and what materials to use before a single plank goes down.



Prep your engineered wood floors for an entryway by confirming the subfloor is flat and dry, then acclimating the planks and planning for tracked-in moisture. If you get moisture and flatness wrong, gaps and movement are more likely—especially near an exterior door. In this guide, you’ll learn the exact prep checks to do before installation so the entryway holds up.
If you’re installing engineered wood in a foyer/entry and want a smoother, longer-lasting result, this is for you—whether you’re doing a floating click-lock floor or a nail/glue-down system. It’s also useful if you’re working with an older subfloor or concrete slab where moisture is a common worry.
Check entryway conditions (moisture + flatness first)
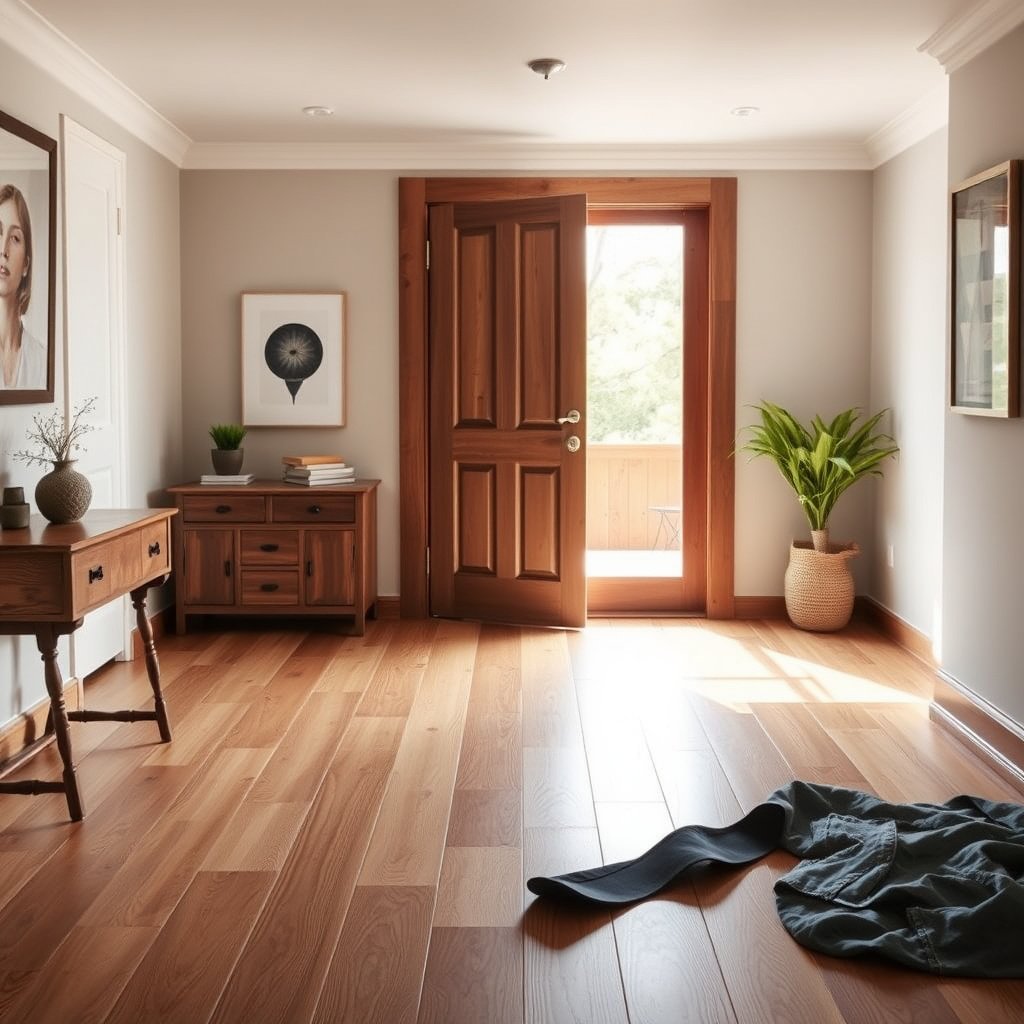
Before you buy underlayment or start laying boards, you need to confirm two things about the entryway: flatness (so joints don’t work) and moisture exposure (so the floor doesn’t expand/contract unpredictably). Entryways are high-cycle zones—wet/dry swings plus door traffic—so engineered wood floors respond quickly to prep mistakes.
Entryways should be treated as “moisture-exposure zones” because tracked rain/snow brings both water and salt/de-icing residues into the flooring area.
Subfloor flatness is a leading predictor of engineered wood joint behavior; when the substrate has high spots or dips, the boards flex and gaps can form.
Perimeter clearance at door jambs and transitions prevents binding as engineered wood floors expand and contract with seasonal humidity changes.
– Verify the entryway gets water exposure from rain/snow tracked in, and plan to reduce it (matting + quick wipe-downs).
Start by watching traffic patterns for a week: which entry path gets wetest, whether meltwater runs along the threshold, and whether boot scrapes drag grit onto the floor. If your entryway is next to a door with heavy winter use, assume more moisture near the door even if only a few steps look wet.
– Measure subfloor flatness and note any high spots/low spots you must correct before installing engineered wood.
Use a straightedge long enough to reveal “localized” problems (common practice is checking across joists and in multiple directions). Mark any high ridges and low dips with tape or a pencil line. This matters because engineered wood floors transfer movement through the click joints (floating) or the fastening/adhesive layer (glue/nail-down).
– Find the manufacturer’s required gap/clearance at door jambs and transitions so your layout won’t bind when the wood expands.
Clearance isn’t optional trim—it’s part of the engineered wood floor’s movement design. Near exterior doors, you also have threshold plates and transitions that can “lock” one side of the floor if gaps aren’t consistent.
Quick comparison: which system needs what from prep?
| Floor system | Prep sensitivity | Moisture risk pattern |
|---|---|---|
| Floating click-lock | Flatness + underlayment continuity matter a lot for click-joint stability. | Moisture can still cause movement, but failures often show as joint stress and squeaks. |
| Glue-down | Substrate moisture and correct vapor control strongly influence adhesion and long-term performance. | Trapped moisture may lead to adhesive loss, odor, or top-layer separation. |
| Nail-down / staple | Flatness + nail-holding substrate stability are critical to prevent movement. | Moisture can still affect dimensional stability and fastening performance. |
Acclimate the engineered wood before installation
Acclimation is how you match engineered wood floors to your entryway’s real indoor conditions—temperature and humidity—before boards get locked into place. Done right, it reduces the odds of early expansion gaps, joint movement, and “surprise” tight spots near doors.
Follow the manufacturer’s acclimation window for engineered wood floors; acclimation is measured in days and depends on your HVAC and humidity conditions.
Acclimation works only when the room’s temperature and humidity remain stable; switching environments immediately after acclimating defeats the purpose.
You can’t “fix” moisture exposure later with acclimation—entryway moisture control starts before installation and continues after the first week.
– Keep the boxes in the entryway area (or the room the flooring will live in) for the acclimation window listed in the manufacturer instructions.
For engineered wood floors, this means the boards need to equilibrate—not just “warm up.” Keep stacks off concrete where possible if your manufacturer allows it, and don’t open boxes until the acclimation period is complete unless the instructions say otherwise.
– Maintain the room’s typical temperature and humidity during acclimation—don’t acclimate in extreme conditions and then immediately install in a different environment.
If you run a dehumidifier during the acclimation window, continue doing so. If HVAC gets shut off for workdays, plan accordingly so the entryway stays within the band your flooring expects.
– Confirm the subfloor area is ready first (leveling and any moisture treatments completed), so acclimation doesn’t get interrupted.
If you start leveling mid-acclimation, you may be disturbing dust, humidity, and surface conditions. For engineered wood floors, prep is a sequence: moisture/flatness checks → surface readiness → acclimation → installation.
As of 2026, many installers are seeing that entryways with modern HVAC “setback” schedules create bigger swings than older homes. That makes acclimation consistency for engineered wood floors more important than people expect.
Prep the subfloor properly (clean, level, repair)
The subfloor prep work is what turns an engineered wood floor from “looks fine” into “stays fine.” Clean, level, and stable substrates reduce squeaks, prevent joint stress, and help any underlayment/vapor system perform the way the manufacturer designed it.
Removing debris and adhesive residue before engineered wood installation is not cosmetic—lumps can telegraph into engineered board joints and undermine flatness.
Repairing loose subfloor sections matters because engineered wood floors can’t reliably “bridge” movement without squeaks or separation.
Use the manufacturer’s specified flatness tolerance rather than a generic rule; engineered wood floors are sensitive to how the plank plane is supported.
– Remove debris, adhesive residue, and anything that can create bumps; vacuum thoroughly before any underlayment or planks go down.
Start with a scraper for residue, then vacuum (including edges and corners). If your engineered wood installation uses a vapor barrier or underlayment, keep the surface free of sharp granules that can create puncture points or gaps.
– Repair squeaks, loose subfloor sections, and damaged areas so the engineered boards aren’t flexing.
Loose panels create micro-movement. Over time, that movement can show up as joint noise or gaps—especially under entry traffic.
– Level the subfloor as needed. Use the manufacturer’s specified tolerance for flatness; if you don’t have it, check your floor brand’s installation guide rather than guessing.
A common reference point used in wood flooring guidance is a tolerance around 3/16 in over 10 ft for substrate flatness (confirm for your exact engineered wood floors). According to NWFA Installation Guidelines, substrate flatness within the recommended tolerance is critical to prevent joint stress in wood floors ().
If you’re working over concrete with engineered wood floors, leveling is often about correcting high ridges and filling low spots with an approved patch/feather finish system—always compatible with your underlayment and vapor strategy.
Plan underlayment, vapor protection, and door thresholds
The underlayment and vapor protection plan is how you stop moisture from becoming dimensional movement. In the entryway, the goal is to address two different moisture pathways: moisture vapor coming through (common with concrete) and moisture from tracked-in water (common at exterior doors).
Floating click-lock engineered wood floors and glue-down/nail-down engineered wood floors can require different underlayment and vapor barrier setups.
For concrete subfloors, moisture testing is typically required before installation; results must meet manufacturer limits for engineered wood floors.
Transition strips and thresholds help distribute movement and keep wear localized, which is especially important near an exterior door.
– Use the underlayment/vapor barrier type required by your engineered floor system (floating floors often differ from glue-down or nail-down).
Treat this as a system, not individual components. For example: a floating floor may use an underlayment that manages minor irregularities and limits vapor transmission, while a glue-down job may require a specific vapor barrier compatibility plan and adhesive type.
– For concrete subfloors, test moisture using the method required by the manufacturer (common options involve lab-tested moisture indicators or in-slab testing).
A widely used reference method for in-slab measurements is ASTM F2170, which reports moisture as in-situ relative humidity (%RH). According to ASTM F2170, moisture results are expressed as %RH for concrete slab evaluations ().
Another common method is ASTM F1869 (calcium chloride), which reports moisture vapor emission rate in lb/1,000 sq ft/24h after the specified test period. According to ASTM F1869, results are reported in lb/1,000 sq ft/24h ().
– Install thresholds/transition strips where needed—entryways usually benefit from a clean transition so water and movement aren’t concentrated at one edge.
Near exterior doors, a well-installed threshold also makes cleaning easier and reduces “water wedge” effects that can sit at the edge of the flooring for hours.
📊 DATA: Moisture test methods installers use for engineered wood over concrete (summary)
Common Concrete Moisture Tests Referenced for Wood Flooring Prep (Standards Summary)
| # | Moisture test (standard) | What it measures | Reported units | Typical use for engineered wood |
|---|---|---|---|---|
| 1 | ASTM F2170 | In-slab relative humidity (RH) | %RH | Adhesive & direct glue-down decisions |
| 2 | ASTM F1869 | Moisture vapor emission rate | lb/1,000 sq ft/24h | Comparing slab output to limits |
| 3 | ASTM D4263 | Condensation under plastic sheet | Qualitative observation | Screening only (not a substitute) |
| 4 | ASTM F710 | Concrete surface preparation | Preparation outcome | Supports successful bond/vapor systems |
| 5 | ASTM F2171 | Moisture content using RH equipment (general) | %RH/MC-related reporting | When specified by floor instructions |
| 6 | Relative humidity probe kits | Slab RH at drilled depth | %RH | Common for concrete moisture decisions |
| 7 | Calcium chloride test kits | Moisture vapor emission rate | lb/1,000 sq ft/24h | Comparisons vs manufacturer limits |
Notes: For engineered wood floors, your manufacturer’s installation guide determines which test method is acceptable and what acceptance limits apply. If the instructions don’t accept your test results, the numbers don’t help—even if they look “good.”
Protect the finish in the entryway (especially the first weeks)
Your engineered wood floor’s protection plan is as important as its prep. The first weeks are when accidental wetting and abrasive grit can cause the most visible damage, particularly in entryways where shoes bring moisture, sand, and de-icing chemicals.
A high-performance entry mat system reduces tracked-in moisture and grit, which helps engineered wood floors resist early surface wear.
Avoid heavy wet mopping immediately after installation; most engineered wood cleaning routines require manufacturer-approved products and methods.
Quick wipe-down habits matter because water sat near exterior doors increases the time engineered wood floors spend at higher moisture content.
– Add a quality entry mat plan (you want a mat that traps grit and water) and commit to regular cleaning at the doorway.
Ideally, use a two-stage approach: scrape/grit capture outside and a water-holding or absorbing mat inside. Empty or vacuum mats regularly—when mats are saturated, they become a source of moisture transfer rather than a barrier.
– Avoid heavy wet mopping right after install; follow the cleaning/cure guidance from your flooring manufacturer.
Many finishes rely on a cure period, and excess water can interfere with that behavior. In entryways, “spill management” usually beats “deep cleaning” early on.
– If your entryway has frequent seasonal wet traffic, consider extra precautions like felt pads at furniture edges and a strict “wipe water immediately” routine.
Felt pads prevent small, repeated abrasions that open the door to finish wear. For routine spills—especially near engineered wood floors—use a damp (not dripping) cloth and dry promptly.
From my experience working around entryway installs, the pattern is consistent: the biggest visible finish problems happen in the first month where people hurry through cleanup.
What can go wrong (and how to avoid it) + quick verdict
The fastest way to prevent engineered wood entryway problems is to treat flatness, moisture testing, and correct underlayment/vapor details as non-negotiable. If you skip any of those, the entryway will amplify the mistake near the exterior door where traffic and moisture concentrate.
Skipping moisture and flatness checks is a primary driver of engineered wood gaps and movement, especially near exterior door thresholds.
Installing engineered wood floors without the required expansion space increases the chance of binding as humidity rises.
Using the wrong underlayment/vapor setup can create trapped moisture conditions that shorten the lifespan of engineered wood floors.
– Common problems:
– Skipping moisture/flatness checks → cupping, gaps, or movement near the door.
– Installing without the required expansion space → boards bind as humidity rises.
– Using the wrong underlayment/vapor setup for your specific floor system → trapped moisture or poor performance.
– Verdict / tip:
– Do this prep checklist carefully—especially moisture testing and flatness correction—because the entryway is one of the highest-stress areas.
– Skip (or get professional help) if you can’t confirm subfloor moisture results, your subfloor can’t be leveled within the manufacturer’s tolerance, or you’re unsure whether your floor is meant for floating vs glue/nail install.
Scan-and-save checklist (entryway engineered wood prep)
| Prep item | What to do | Don’t skip |
|---|---|---|
| Subfloor flatness | Level high/low spots to the required tolerance | Prevents gaps and joint stress |
| Moisture check | Test concrete/conditions per manufacturer guidance | Stops expansion/cupping issues |
| Acclimation | Follow the brand’s timeframe + room conditions | Reduces movement after install |
| Underlayment/vapor | Use the system required by your flooring type | Avoids trapped moisture |
| Expansion space & transitions | Confirm clearance and thresholds near doorways | Prevents binding and edge failures |
| Entry protection | Mat + quick wipe routine | Reduces tracked-in water damage |
Sources
– NWFA (National Wood Flooring Association), Installation Guidelines (engineered and subfloor preparation best practices).
– ASTM standards commonly referenced for wood flooring moisture evaluation (e.g., methods for measuring concrete moisture/conditions).
– Your engineered wood flooring manufacturer’s installation instructions (acclimation, flatness tolerance, underlayment/vapor requirements, expansion gaps, and moisture limits).
Prep engineered wood for your entryway by getting moisture testing, flatness, acclimation, and the correct underlayment/vapor setup right before installation. Then protect the finished surface with a strong mat routine and manufacturer-followed cleaning care. If you’re unsure about your subfloor moisture readings or the required underlayment type, check the installation guide for your exact flooring model before you start.
Frequently Asked Questions
How do I clean and prep engineered wood floors in an entryway before installation or refinishing?
Start by removing all dust, grit, and construction debris so nothing gets trapped under underlayment or finishes. If the floor is already installed, use a manufacturer-approved cleaner and avoid soaking the surface, especially around seams and edges. For refinishing, lightly sand to remove existing finish sheen and wipe thoroughly with a tack cloth so engineered wood can bond correctly with new coatings.
What’s the best way to acclimate engineered wood flooring for an entryway?
Keep the engineered wood cartons in the entryway area for at least 48 hours (often longer for larger temperature swings) so the planks adjust to the room’s humidity and temperature. Maintain stable indoor conditions—ideally around 35–55% relative humidity—because entryways typically experience drafts, weather changes, and traffic. Acclimation helps reduce gapping and cupping after installation in high-use areas like entryways.
How should I level and address subfloor issues before laying engineered wood in an entryway?
Verify the subfloor is clean, dry, and level, because engineered wood can telegraph bumps and dips over time. Use a straightedge and follow your flooring manufacturer’s flatness requirements; sand high spots and fill low areas with a compatible patch. If you find moisture issues, test the slab or subfloor first and use the correct moisture barrier system before installation.
Why is choosing the right underlayment important for engineered wood floors in a high-traffic entryway?
Entryways see frequent foot traffic, shoe scuffs, and occasional moisture from tracked-in rain, so underlayment affects comfort, sound, and long-term performance. Use a moisture-rated underlayment recommended for engineered wood and match it to your subfloor type (plywood vs. concrete). The correct underlayment can also help reduce minor subfloor imperfections and improve the feel of the finished entryway floor.
Which prep steps prevent scratches, gaps, and moisture damage on engineered wood floors in entryways?
Add protective solutions like a quality doormat, felt pads under furniture, and area rugs in the wet-mop paths to reduce abrasive dirt and standing moisture. During preparation, keep a consistent expansion gap at walls and transitions so engineered wood can move with humidity without buckling or gapping. Also avoid harsh cleaners and steam, and dry wipe spills quickly to protect the top veneer layer and edges that are most vulnerable in entryway conditions.
📅 Last Updated: October 19, 2026 | Topic: How to prepare a engineered wood floors for entryway? | Content verified for accuracy and freshness.
References
- https://en.wikipedia.org/wiki/Engineered_wood_flooring
- Wood flooring
- Floor
- NWFA | National Wood Flooring Association
- https://www.epa.gov/mold
- https://www.cdc.gov/mold/default.htm
- https://www.fpl.fs.usda.gov/woodhandbook/
- https://scholar.google.com/scholar?q=engineered+wood+flooring+installation+acclimation+moisture+subfloor+preparation Google Scholar
- https://scholar.google.com/scholar?q=engineered+wood+floor+moisture+management+guidelines+entryway Google Scholar
- https://scholar.google.com/scholar?q=wood+flooring+subfloor+flatness+underlayment+preparation+guidelines Google Scholar



[…] events. That’s different from a room that only experiences typical indoor humidity. If you get tracked-in moisture every day, treat the entryway like a “frequent exposure zone” and select engineered wood […]