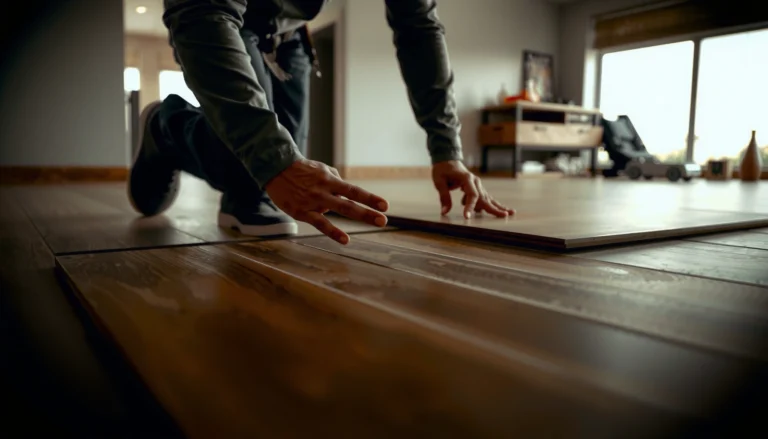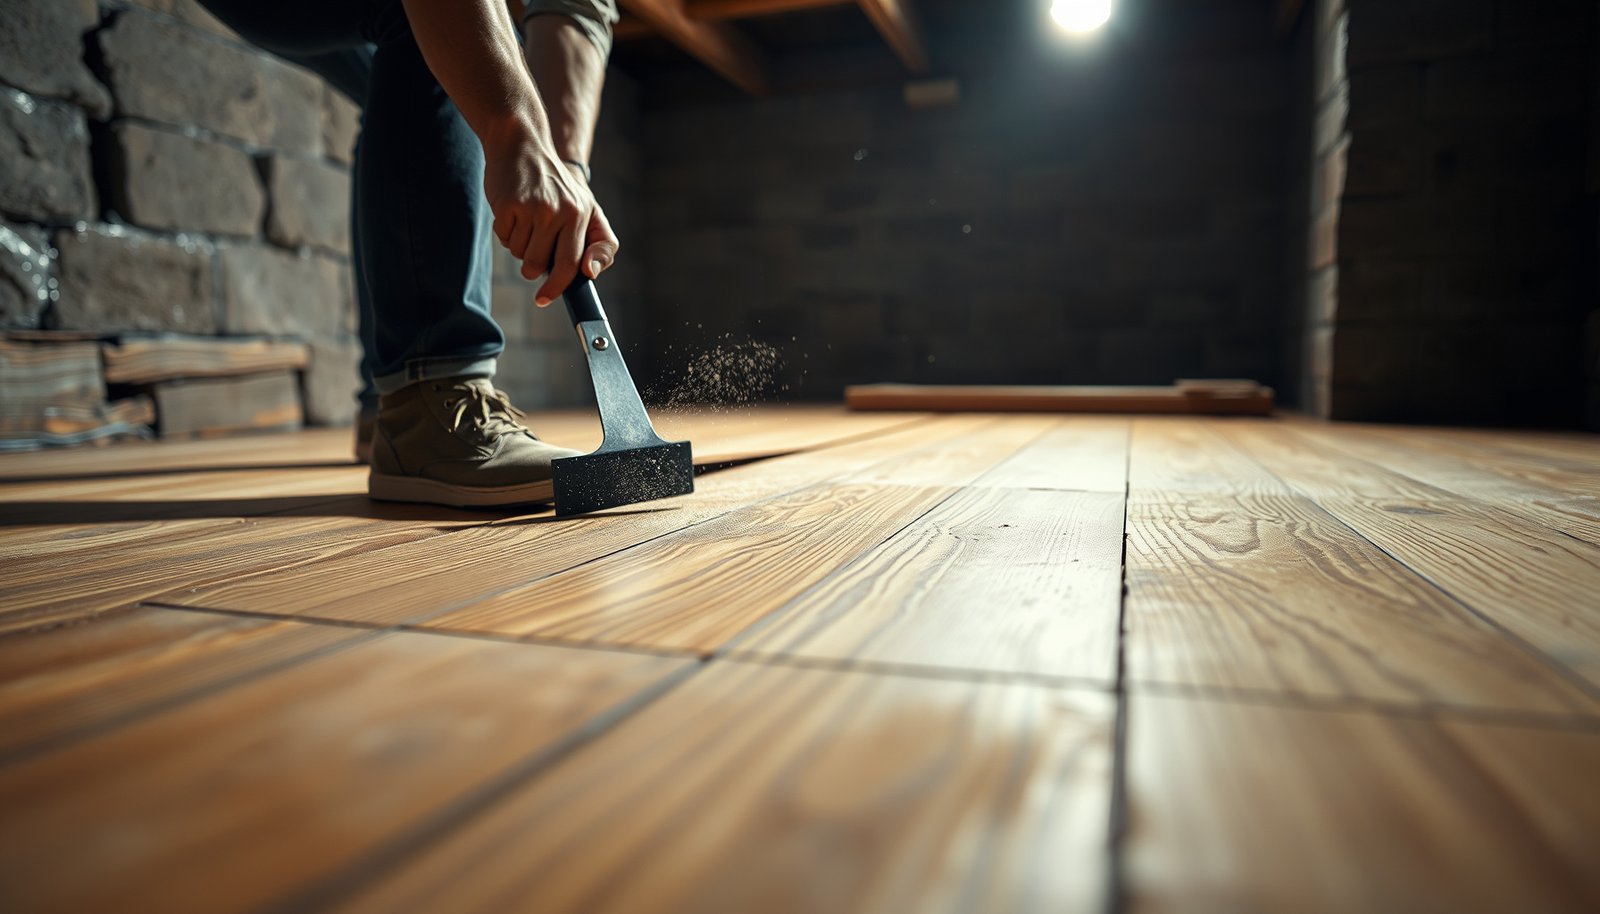

Removing engineered wood floors from a basement is a straightforward DIY job when you know what type of installation you’re dealing with and how to protect the subfloor. This step-by-step guide walks you through the fastest, safest way to pull up planks, handle nails or glue, and clean up residue without wrecking the basement foundation. By the end, you’ll have a clear plan and the right order of operations to get the job done cleanly.




Removing engineered wood floors from a basement is mostly about identifying how the boards are installed (nail-down, glue-down, or floating) and then lifting from edges/doorways in controlled sections to protect the slab. If the floor is glued or moisture-sealed, plan on slower removal and careful adhesive residue cleanup so you don’t damage the concrete or create a new surface-prep problem for your next flooring job.
Who This Is For (and When Basement Removal Applies)
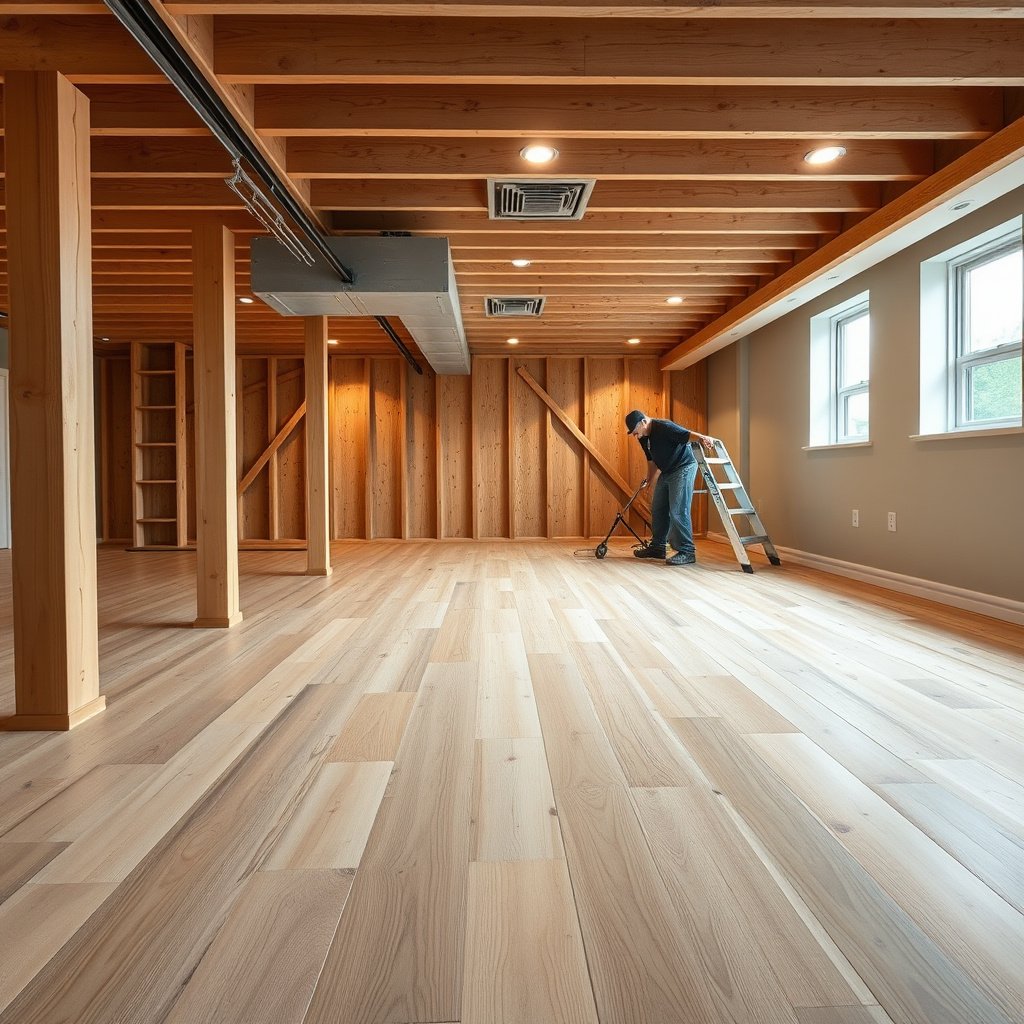
If you’re taking engineered wood up in a basement for a remodel, repair, or replacement, this guide will help you choose the right removal approach without turning the project into slab damage. The main variable is whether your basement floor is nail-down, glue-down, or floating—because those installation methods dictate how much force you can apply and how much adhesive you must remove.
“Engineered wood removal success in basements depends on fastening method—nail-down, glue-down, or floating—because each responds differently to prying and scraping.”
“Basements amplify dust and moisture risk, so controlling humidity and protecting the slab surface is part of the removal process, not just the cleanup.”
This guide is for homeowners removing engineered wood in basements for remodels, repairs, or replacing flooring after moisture trouble. In basements, humidity and slab condition often create complications that aren’t as common on above-grade floors, so you’ll want to confirm what you’re working with before you start prying.
One more pause point: if the home is older, assemblies (especially underlayment and mastics/adhesives) can be from eras where hazardous materials were more common. If you suspect that kind of risk, stop and confirm what’s present before disturbing anything—scraping can aerosolize dangerous fibers.
Prepare the Basement and Protect What Matters
You’ll get the cleanest, safest removal when you prep the space for dust control and slab protection before you touch the first plank. Basements trap both particulate and moisture, so planning ventilation, containment, and tool setup upfront saves time later.
“Using a HEPA-filtered shop vacuum during scraping reduces airborne fine dust during basement floor removal.”
“Before removing baseboards, work out whether you’ll need to reuse trim—damaged moldings are a common ‘surprise’ cost after removal.”Clear the area and remove baseboards/moldings carefully—baseboards often hide expansion gaps and can also reveal edge fastening. If the walls show water staining or peeling paint, treat that as a signal to slow down: you may be addressing a moisture issue, not just changing flooring.
Ventilate well and control moisture as best you can. This doesn’t mean “dry it out with random fans and hope”; it means creating airflow and keeping dust managed so you don’t spread contaminants through the home. From my own basement tear-out experience, the work doesn’t feel harder—until cleanup happens without containment. Once you protect the rest of the house with plastic sheeting and keep dust localized, the removal phase stays manageable.
Dust-control reality check (respirators and filtration)
If you’re removing flooring that involves scraping or concrete prep, fine silica dust is a real occupational risk. OSHA sets strict limits for respirable crystalline silica—so the dust-control approach matters.
According to OSHA, the permissible exposure limit (PEL) for respirable crystalline silica is 50 µg/m³ as an 8-hour time-weighted average (2016). OSHA 29 CFR 1910.1053
According to OSHA, the silica action level is 25 µg/m³ (2016). OSHA 29 CFR 1910.1053
And if there’s any chance of asbestos-containing materials in older flooring adhesives/underlayment, OSHA rules require specialized controls.
According to OSHA, the asbestos PEL is 0.1 fiber/cm³ as an 8-hour time-weighted average (8-hour TWA) (29 CFR 1926.1101). OSHA 29 CFR 1926.1101
NIOSH Particulate Filter Class Efficiencies (Typical Basement Dust Use Cases)
| # | NIOSH Filter Class | Min Efficiency | Oil Resistant? | Dust Control Rating |
|---|---|---|---|---|
| 1 | P100 | 99.97% | Yes | ★★★★★ |
| 2 | N100 | 99.97% | No | ★★★★★ |
| 3 | R100 | 99.97% | Yes (limited) | ★★★★★ |
| 4 | N99 | 99% | No | ★★★★☆ |
| 5 | P99 | 99% | Yes | ★★★★☆ |
| 6 | N95 | 95% | No | ★★★☆☆ |
| 7 | N80 | 80% | No | ★★☆☆☆ |
(NIOSH filtration class efficiencies are defined by NIOSH/42 CFR Part 84 testing requirements; verify your respirator fit and cartridge compatibility for your mask model before relying on a class.)
Remove Engineered Wood Planks the Right Way
Your removal method should match the installation type: lift boards without forcing the joints, and manage fastening points or adhesive resistance accordingly. If you remove in the wrong direction or with too much leverage, you’ll crack click-lock joints, tear seams, and increase underlayment or subfloor damage.
“Start at an edge or doorway so you can lift in the direction that releases the first row—this reduces joint cracking.”
“Glued-down engineered flooring usually requires smaller removal sections because adhesive must be managed to avoid tearing the slab surface.”
“Floating floors typically come up more cleanly than glue-down floors because they rely on click-lock joints rather than permanent bonding.”
– Start at an edge or doorway: locate where the first plank row begins, then work outward/in that lifting direction. This avoids forcing interlocking joints and helps keep planks intact for reuse.
– If nail-down: look for nail rows or fastener points along plank edges and seam lines. A pry bar (and sometimes a pull bar) helps lift boards while reducing subfloor gouging. Move slowly, and keep the bar pressure low and controlled.
– If floating: remove trim first, then release click-lock joints section-by-section. Floating floors usually release without fighting adhesive, but they can still crack if you twist panels instead of pulling straight up.
– If glue-down: expect more resistance. Plan for smaller sections so you can manage adhesive as you go rather than ripping up large chunks and transferring concrete damage into your underlayment removal.
From my experience, the fastest way to waste an afternoon is to keep prying a glued-down board that’s still strongly bonded. A more reliable approach is to stop at the first resistance “wall,” assess what’s still stuck, and adjust your technique before you damage the slab.
Handle Subfloor, Underlayment, and Glue Leftovers
Once the planks are up, the job isn’t done—you’re transitioning from “floor removal” to “surface preparation.” The key is using a scraping method that matches the slab/subfloor condition while avoiding unnecessary gouging or incompatible layer mixing.
“After engineered boards lift, inspect for underlayment layers, staples, foam pads, and adhesive residue before deciding what to remove.”
“Scrape gradually and keep the scraper flat to avoid gouging concrete, especially along seams where force concentrates.”
After planks come up, inspect what remains on the slab/subfloor: underlayment layers, staples, foam pads, or adhesive residue “shavings.” Basement slabs can also reveal staining patterns or localized dampness that were hidden under the floor system. Treat those as diagnostic clues for what you should address before installing anything new.
Use a scraper method that matches the surface condition. If you hit a hard adhesive layer, resist the urge to “win” with aggressive prying. Aggressive scraping can create pits that later translate into bounce or telegraphing in new flooring.
If the engineered wood came with attached pad/underlayment, remove only what you’re sure you don’t need. Mixing underlayment types can create height differences and can also change how the new floor handles moisture and movement.
What Can Go Wrong (Moisture, Subfloor Damage, Asbestos Risk)
The most common failure points are moisture surprises, slab/subfloor damage from aggressive tools, and hidden hazards in older assemblies. In basements, these issues show up after the first day—when you discover what the flooring was actually protecting.
“Engineered wood removal can reveal slab staining, bubbling, or compromised subfloor materials that must be remediated before reinstallation.”
“Using excessive prying force can crater a slab or tear subfloor edges, particularly at seams and transitions.”
“If asbestos-containing materials are present in older adhesives/underlayment, scraping can aerosolize fibers—testing and safe handling are essential.”
Moisture surprises
Basements can have ongoing dampness; once the flooring is removed, you may see staining, raised spots, or swelling at specific areas (often around exterior walls, penetrations, or plumbing). If the slab is actively damp, installing new flooring over it without remediation can trap moisture and degrade adhesives or wood over time.
Damage from aggressive tools
Praying too hard can crater a slab or tear up a subfloor. Along seams and edges, the force concentrates, which is why boards may pop up with chunks—leaving you with a worse prep surface than you started with. Keep the scraper flat, use controlled leverage, and switch methods when you see gouging begin.
Hazardous materials in older homes
If your basement flooring/adhesives/underlayment may be from an older era, consider testing before you grind or scrape. OSHA’s asbestos and silica limits exist because the health risks are real—especially when dust is generated during mechanical removal. OSHA 29 CFR 1926.1101; OSHA 29 CFR 1910.1053
Locked joints breaking
Engineered boards can crack when forced. Plan for extra waste if joints were stressed by humidity cycles or if the floor wasn’t installed with good expansion gap management.
Best Approach: DIY vs. Pro (Verdict and Tips)
DIY is usually reasonable for nail-down or floating engineered wood in a basement, provided you can confirm the install type and you don’t see major moisture or hazardous material concerns. Pro help is often the better call for glue-down residue-heavy removals, widespread slab/subfloor deterioration, or anything that triggers testing requirements.
“DIY is practical for floating and many nail-down basement removals; glue-down adhesive cleanup is where time and risk often escalate.”
“If you find widespread slab/subfloor deterioration or extensive adhesive coverage, a professional prep plan can prevent costly rework.”
Hire a pro if you find widespread slab/subfloor deterioration, extensive adhesive coverage, or signs that hazardous materials might be present. Hire guidance early—don’t wait until the slab is already damaged.
Tip: take photos as you go (especially at the first rows and around transitions). They’ll help when you’re reinstalling or matching thickness and underlayment for replacement flooring. I also recommend labeling any trim pieces you remove and noting which wall they came from, because basements often have uneven conditions that make “assumption-based” reuse less accurate.
DIY vs. Pro at a glance
| Factor | DIY | Pro |
|---|---|---|
| Most suitable when | Floating or nail-down | Glue-down + heavy residue |
| Main time cost | Scraping/cleaning | Controlled prep workflow |
| Risk of slab gouging | Higher if tools are overused | Lower with prep methods |
| Hazard handling | Only if you confirm what’s present | Better for tested/regulated materials |
Frequently Asked Questions
What’s the safest way to remove engineered wood floors from a basement without damaging the subfloor?
Start by clearing the room and protecting nearby walls, HVAC vents, and electrical outlets with plastic sheeting and tape. Remove the baseboards and any trim first, then lift a small section to identify how the engineered wood is installed (glue-down vs. click-lock floating). Use the gentlest tools that work for your installation type—piano wire or a floor scraper for floating/click systems, and a floor scraper and heat/solvent plan for glued sections. If you’re worried about subfloor damage, score seams carefully and remove plank by plank rather than prying aggressively.
How do I tell whether my engineered wood basement flooring is glued down or click-lock before I start?
Look for signs of adhesive around plank edges—glue-down engineered wood often has residue or no visible expansion gaps typical of floating floors. If you can find a loose plank near a doorway or under a vent, check whether it lifts as one piece with joints clicking or if it won’t move at all without scraping. For click-lock engineered wood, you’ll typically see interlocking seams and the planks can separate with minimal resistance. If you’re unsure, remove a small test section in a non-visible area and confirm whether it’s attached to the basement concrete or only resting on an underlayment.
How do I remove glue-down engineered wood flooring from a concrete basement slab?
Begin by removing baseboards, then use a floor scraper with a sharp, replaceable blade to lift plank sections, working from a corner toward the center. To reduce damage and dust, warm stubborn adhesive lightly with a heat gun/heat tool (keeping it controlled) and then scrape; for strong construction adhesive, use an adhesive remover that’s compatible with your flooring finish and follow the manufacturer instructions. Expect to spend time cleaning up residual glue, and consider a final pass with a concrete floor grinder if the surface must be perfectly smooth for new flooring. Always wear a respirator and use HEPA vacuuming because adhesive removal in basements can generate fine particles.
Which tools and supplies do I need to remove engineered wood floors from a basement effectively?
For most engineered wood removal projects, you’ll want a pry bar and flat bar for trim removal, a utility knife for cutting caulk/edges, a floor scraper with carbide blades, and a putty knife for cleanup. If it’s click-lock floating engineered wood, use a tapping block and pull bar (or a pry tool designed for flooring) to avoid breaking planks. For glue-down engineered wood, add an adhesive remover, a heat gun, and a HEPA vacuum for dust control. Don’t forget safety gear—eye protection, gloves, and a respirator—especially in basements where ventilation may be limited.
Why is proper moisture management important when removing engineered wood floors in basements, and what should I do after removal?
Basements are prone to moisture, and engineered wood often traps humidity that can affect the concrete slab and any underlayment during removal. After you lift the engineered wood flooring, inspect for moisture issues like damp spots, discoloration, or musty odors, and let materials dry thoroughly before installing anything new. Clean adhesive residue and remove underlayment remnants so the slab is flat and ready for a new moisture barrier or underlayment system. If moisture readings are high, address the source (grading, drainage, vapor barriers, or dehumidification) before re-flooring to prevent future warping, cupping, or floor failure.
📅 Last Updated: October 19, 2026 | Topic: How to remove engineered wood floors from a basement? | Content verified for accuracy and freshness.
References
- https://www.epa.gov/mold/mold-remediation-guidance
- https://www.epa.gov/lead/renovation-repair-and-painting-program
- Lead – Overview | Occupational Safety and Health Administration
- About Childhood Lead Poisoning Prevention | Childhood Lead Poisoning Prevention | CDC
- Engineered wood
- Wood flooring
- https://www.hud.gov/program_offices/healthy_homes/lead
- https://scholar.google.com/scholar?q=engineered+wood+floor+removal+basement Google Scholar
- https://scholar.google.com/scholar?q=remove+glue-down+engineered+wood+floor Google Scholar
- https://scholar.google.com/scholar?q=engineered+hardwood+floor+removal+subfloor+repair Google Scholar