


Choosing engineered wood floors for a bathroom comes down to one decisive question: will they handle everyday moisture without cupping, gapping, or failure? Use engineered wood with a fully waterproof core, a water-resistant finish, and proper bathroom-ready installation details, and it’s the clear winner for lasting performance. If those specifications aren’t met—especially in wet areas—your floor’s longevity drops fast.
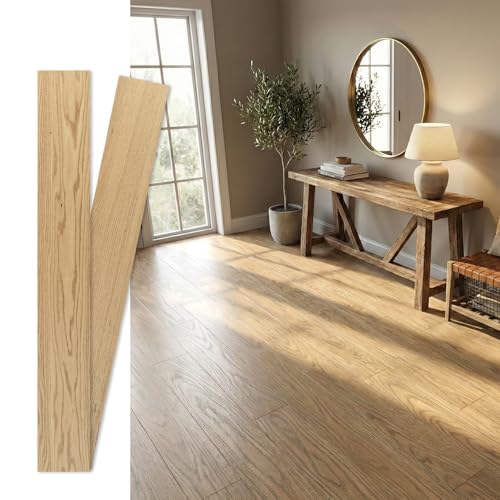



Engineered wood can work in a bathroom, but only if you choose a product that’s explicitly approved for high-humidity spaces and install it with proper moisture control. The best approach is to verify the manufacturer’s bathroom/warranty language first, then match the core construction, finish, and underlayment/vapor barrier to your subfloor conditions. In this guide, you’ll learn what specs to look for and which installation details make the difference.
If you’re planning a bathroom remodel (especially near sinks, toilets, or tubs), this is for you. It’s also useful if you’ve already picked “engineered wood” but aren’t sure how to judge whether it’s truly suitable for moisture and splashes.
What to check first: bathroom approval and warranty language
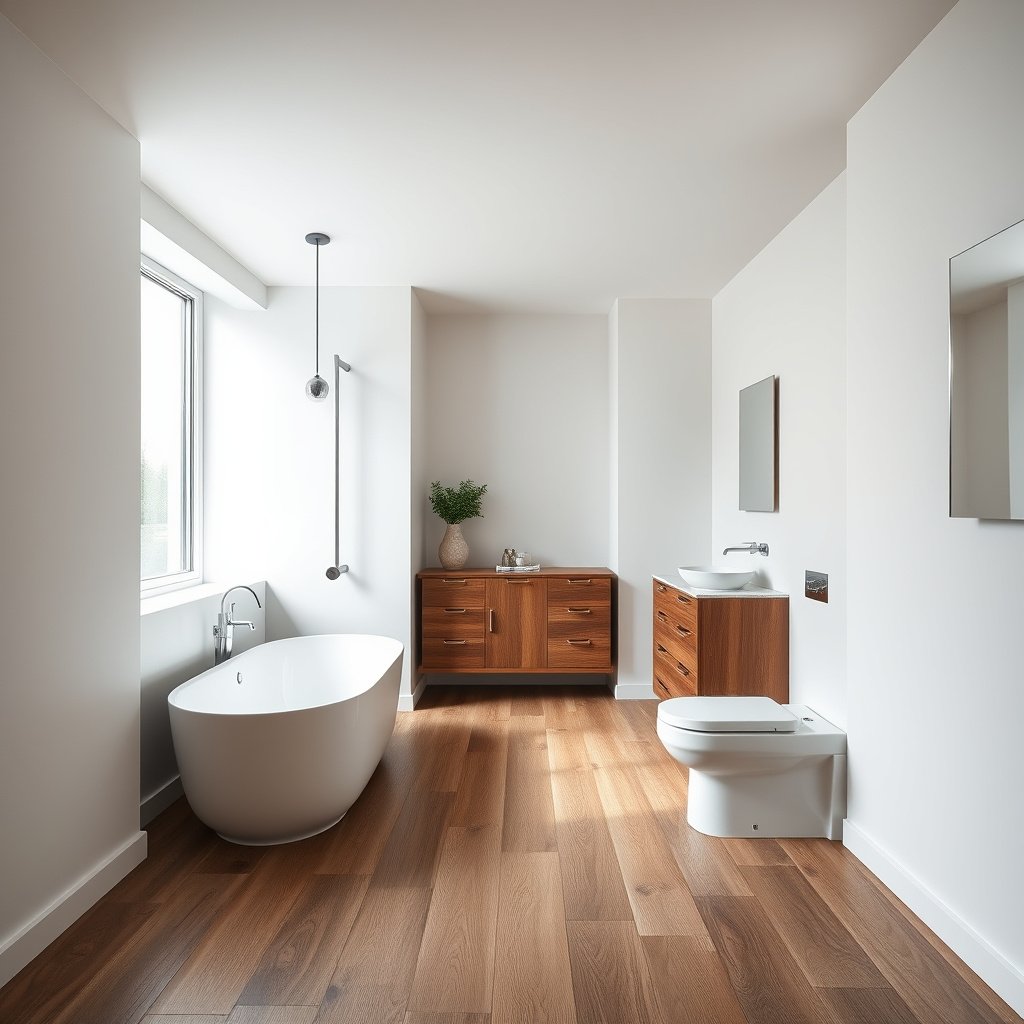
The quickest way to avoid a bathroom flooring failure is to confirm the manufacturer explicitly approves the product for bathrooms or “high humidity” (and understand any limits) before you buy. If the warranty doesn’t cover your specific bathroom conditions, even a great-looking floor can become a liability after a leak or seasonal humidity swing.
A bathroom-ready engineered wood product should state approval for “bathrooms,” “high humidity,” or “moisture-prone areas,” often with “not for direct wet areas” limits.
Warranty coverage frequently changes when installation is outside the approved method (for example, floating vs glue-down), even if the floor is the same model.
If the manufacturer requires a specific underlayment or vapor barrier system, substituting a different one can void warranty even when the floor is installed “correctly.”
Before you dive into specs, get the two documents that actually matter in bathrooms: the installation guide and the warranty. In my own workflow, I’ve learned that bathroom waterproofing and floor-system requirements live there—especially around “wet area” boundaries and what counts as “moisture exposure.”
Bathroom approval language (what to look for)
– Look for wording that the flooring is approved for “bathrooms,” “high humidity,” or “moisture-prone areas,” including any limits (e.g., not for direct wet areas).
– Check whether approval is tied to typical household use (sinks/toilets/tubs) versus continuous wetting (inside showers, steam rooms, or floor drains that regularly get water).
– Confirm whether “indirect splash” is included (near vanities) and whether the product is restricted around tub/shower perimeters.
Warranty exclusions (where bathroom floors often get denied)
– Read the warranty exclusions—many products cover humidity, but void coverage for standing water, leaks, or installation outside approved areas.
– Look for phrasing like:
– “Not warranted for standing water”
– “Damage due to plumbing leaks is excluded”
– “Warranty void if installed outside manufacturer instructions”
– Pay attention to how the warranty defines “moisture,” “water exposure,” and “improper installation.” These definitions are usually more specific than shoppers expect.
Approved installation method (floating vs glue-down changes everything)
– Confirm the approved installation method (floating/click vs glue-down) because the “right” underlayment and sealing approach depends on it.
– Many bathroom-friendly engineered floors are approved only when paired with a manufacturer-specified underlayment or vapor barrier system that controls moisture movement correctly.
The engineered-wood specs that matter most in moisture
Choosing the right specs is the difference between “looks good” and “stays stable.” In bathrooms, the most important technical factor is dimensional stability—how well the wood core resists swelling, shrinking, and edge-lifting when moisture conditions change.
Engineered wood uses layered construction (typically a plywood-style core) to reduce expansion and contraction compared with solid wood.
A more durable factory finish can resist everyday splashes, but it does not replace correct subfloor moisture testing and a compliant vapor barrier system.
Manufacturers often limit bathroom installs by specifying core type, thickness, and installation method, so “thicker” is not automatically “safer.”
Stable core construction (your best moisture insurance)
– Prioritize a stable core: most bathroom-suitable engineered floors use a multilayer wood construction (often plywood-style) designed to resist movement better than solid wood.
– Look for a core made of multiple cross-layer plies (or similarly stable structures). This usually improves resistance to cupping and gapping when humidity shifts.
Wear surface + factory finish (splash protection, not a waterproof seal)
– Check the wear surface and finish: a more protective factory finish helps with day-to-day splashes, but it won’t replace real moisture control.
– Pay attention to whether the finish is meant for “residential traffic” versus “heavy commercial,” because scuffing and wear can reduce the floor’s ability to shrug off water at seams over time.
Thickness: don’t assume “more” always wins
– Don’t assume “thicker is always better”—use the thickness and construction the manufacturer supports for your installation type and subfloor.
– Bathroom performance depends as much on the system (core + underlayment + vapor barrier + sealing + subfloor condition) as it does on total thickness.
Moisture control plan: subfloor, vapor barrier, and sealing details
If you want a dependable bathroom installation, treat moisture control as a plan—not a single product. The floor only performs as well as the subfloor moisture level, the vapor barrier/underlayment match, and the sealing strategy at transitions and edges.
Concrete slab moisture limits are typically verified with standardized tests (for example, ASTM F2170 in-situ relative humidity probes or ASTM F1869 calcium chloride vapor emissions).
Many warranty claims trace back to incorrect or missing vapor barrier/underlayment systems rather than the flooring itself.
Sealing perimeter edges and transitions matters because water often migrates through small gaps before it ever “puddles” on the surface.
Here are three concrete data points that come up frequently in installation guidance (and are worth discussing with your flooring supplier and installer):
– According to NWFA wood flooring moisture guidance, in many installations the acceptable concrete RH via in-situ testing is often ≤ 75% RH (exact limits can vary by product) ().
– According to ASTM F1869, a commonly used acceptance target for wood flooring installations is ≤ 3.0 lbs/1000 sq ft/24 hrs vapor emission rate (product- and system-dependent) ().
– According to ASTM E96 testing practices, vapor retarder performance is expressed as perm ratings (lower perm = less vapor transmission), which is why the “right” barrier matters in moisture-prone rooms ().
Subfloor dryness: verify before you install
– Verify subfloor dryness before install, following the flooring maker’s moisture-testing requirements and limits. If you skip this step, you’re gambling with cupping/gapping later.
– For concrete slabs, moisture testing is often required; for wood subfloors, moisture content targets and acclimation practices usually apply.
– If your bath has older framing or past leaks, plan for more than a quick visual check—moisture can be hidden behind vanity bases or under door thresholds.
Vapor barrier / underlayment: use only what the manufacturer permits
– Use a vapor barrier/underlayment only when the manufacturer permits it (and use the correct type/thickness if they specify). Some underlayments can trap moisture instead of managing it.
– “Compliant” matters because underlayment choices change airflow/moisture vapor pathways under floating floors.
– If the product is approved for floating installation, confirm whether the system expects an attached pad, a separate vapor barrier sheet, or both.
Seal the right transition points (bathrooms love “edge leaks”)
– Seal the right transition points: follow the manufacturer’s guidance around edges near wet fixtures (tub base, shower surround, vanity toe-kicks) and at doorways—small gaps can become channels for water.
– Common problem areas:
– Perimeters next to tub skirts
– The seam strategy at vanity kick plates (where water is wiped and re-wet)
– Doorway transitions where traffic pushes water and debris into edges
Installation method: floating vs glue-down (and what to avoid)
The “right” installation method for engineered wood in a bathroom is the one that matches both the product approval and the moisture-control system. Floating and glue-down can both work, but the tolerances for underlayment/vapor barrier choices and jobsite conditions are not interchangeable.
Floating (click-lock) engineered floors depend on proper expansion gaps and compliant underlayment systems to manage humidity-driven movement.
Glue-down engineered flooring can be more forgiving when the adhesive and jobsite conditions match the manufacturer’s installation instructions.
Installing a product outside its approved method is a common warranty denial trigger in high-humidity applications.
Pros/cons comparison: floating vs glue-down in bathrooms
| System | Best for | Pros in bathroom humidity | Common risk if done incorrectly |
|---|---|---|---|
| Floating / click-lock | Remodeling projects where full removal and adhesive work are difficult | Easier to install/replace sections; often approved with specific vapor barriers | Moisture intrusion under edges if gaps, underlayment seams, or perimeter clearances are wrong |
| Glue-down | Areas needing rigid anchoring or where floating tolerances are hard to meet | More stable feel; can reduce movement across some subfloor variations | Adhesive mismatch or incorrect substrate conditions can trap moisture or cause bond failure |
What to do (and why it matters)
– Floating/click systems can work, but only when paired with the approved underlayment and with expansion gaps handled exactly as directed.
– Glue-down can be more tolerant when done correctly, but you must use the adhesive system the manufacturer recommends (including jobsite conditions and glue spread rules from their instructions).
Avoid “shortcut” installs that quietly break the system
– Avoid “shortcut” installs: nail-down methods are often restricted in bathrooms, and DIY substitutions of underlayment/vapor barriers are a common cause of warranty denial and later movement.
– Don’t assume that “water-resistant underlayment” is compatible with your specific engineered floor. In bathrooms, mismatched vapor strategies are a frequent failure point.
What can go wrong (common bathroom edge cases)
Even bathroom-approved engineered wood has limits, and bathrooms are where those limits show up fastest. The most common failures come from repeated wetting, leaks behind fixtures, barrier mismatches, and subfloor problems that the floor can’t compensate for.
Standing water and recurring slow leaks can exceed what “high humidity” warranties are designed to cover.
Using the wrong underlayment or skipping a required vapor barrier can cause moisture to move unpredictably under the floor.
Wood flooring movement is driven by moisture gradients—so subfloor non-uniformity can cause cupping even when average moisture tests “look okay.”
Standing water and hidden leaks
– Standing water or slow leaks: engineered wood can handle humidity, but repeated wetting (or a leak behind a vanity) can still damage the core and cause swelling.
– Bathroom plumbing is a frequent risk multiplier: a tiny leak under a sink can go unnoticed until subfloor conditions deteriorate.
Vapor barrier/underlayment mismatches
– Skipping or mis-matching the vapor barrier: the wrong barrier (or none, when required) can lead to trapped moisture and movement.
– If the manufacturer uses a specific barrier thickness or type, treat that requirement like part of the structural design—not optional “padding.”
Subfloor moisture that exceeds limits
– Incorrect subfloor moisture: even a great floor can fail if the subfloor is too wet or not uniform—this is where manufacturer moisture limits matter.
– If your bathroom includes a fresh slab pour or partial demolition, re-test moisture levels when the jobsite has dried out and acclimated.
Cleaning habits that shorten finish life
– Cleaning habits: abrasive cleaners or lots of standing water can wear through the protective finish and increase the chance of swelling at seams.
– Use damp—not saturated—mopping practices, and address puddles quickly.
Verdict: what’s a smart choice—and who should skip it
If your bathroom has good ventilation, you address spills quickly, and you can follow the manufacturer’s installation + moisture-control instructions, engineered wood can be a practical, good-looking option. The downside is that it’s not the same as true water-proof flooring—direct wet areas (like inside a shower) typically require different materials.
Engineered wood is generally intended for moisture-prone conditions, not continuous water exposure, unless the manufacturer’s warranty explicitly states otherwise.
The safest bathroom engineered wood installs match the manufacturer’s approved system: core type, finish expectations, underlayment/vapor barrier, and sealing details.
Who should choose it
Engineered wood is usually a smart fit when:
– You have reliable bathroom ventilation (exhaust fan sized for the space)
– You can control puddling behavior around sinks, tubs, and toilet splash zones
– You’re willing to follow moisture testing and compliant underlayment/vapor barrier requirements
Who should skip it (or delay the decision)
Skip engineered wood (or at least delay it) if:
– You expect frequent standing water (or have a high likelihood of it)
– You have ongoing leak risk or unresolved plumbing moisture history
– You can’t meet the subfloor moisture requirements
– You can’t commit to careful installation details (especially sealing transitions and maintaining correct expansion gaps)
Quick scan checklist: engineered wood for a bathroom
Use this checklist before you schedule install.
| Check | Why it matters | Where to confirm |
|---|---|---|
| Bathroom/high-humidity approval | Prevents warranty issues and movement problems | Flooring warranty + installation guide |
| Approved installation method (floating vs glue-down) | Underlayment/adhesive compatibility | Same manufacturer docs |
| Subfloor moisture testing + limits | Reduces swelling/cupping | Moisture-testing instructions |
| Vapor barrier/underlayment type | Controls moisture flow correctly | Underlayment/vapor barrier requirements |
| Sealing/edge-transition approach | Stops water from migrating under edges | Installation instructions for trim/edges |
| Maintenance routine | Protects finish and seams | Care instructions |
Moisture-Control Targets Commonly Used for Wood Flooring Systems (Key Metrics)
| # | Moisture metric (what you test/control) | Standard / expression | Typical target for wood floors | Impact on bathroom risk |
|---|---|---|---|---|
| 1 | Concrete slab RH at time of install | ASTM F2170 (% RH) | ≤ 75% RH (often used limit) | ★★★★★ |
| 2 | Concrete vapor emission rate | ASTM F1869 (lbs/1000 sq ft/24 hr) | ≤ 3.0 lbs | ★★★★★ |
| 3 | Wood subfloor equilibrium moisture content | Moisture content matching interior | Target: within ~4% MC of living space | ★★★★☆ |
| 4 | Installed indoor relative humidity (RH) | HVAC setpoint range | 30–50% RH common target | ★★★★☆ |
| 5 | Vapor retarder “Class I” threshold | Perm rating (building science) | ≤ 0.1 perm (Class I) | ★★★☆☆ |
| 6 | Floor flatness for stable installation | Subfloor deviation | Often target ≤ 3/16" over 10 ft | ★★★★☆ |
| 7 | Perimeter expansion gap allowance | Manufacturer clearance | Commonly 1/4"–1/2" (6–12 mm) | ★★★☆☆ |
> Note: Always follow your specific engineered wood manufacturer’s moisture limits, flatness requirements, and expansion-gap instructions; these targets reflect widely used industry guidance and are not universal for every product system.
Sources
Engineered wood in a bathroom can be a smart design choice—but only when the flooring is specifically approved for humidity conditions and installed as a complete moisture-controlled system. Start with warranty language, verify your subfloor moisture using the manufacturer’s required test approach, and lock down the correct underlayment/vapor barrier and sealing details at transitions. If any of those steps are uncertain, it’s often better to select a true wet-area flooring solution or postpone until you can meet the documented requirements.
Frequently Asked Questions
What thickness and plank size should I choose for engineered wood floors in a bathroom?
For bathroom engineered wood floors, look for a thickness of about 3/8 to 1/2 inch for good stability, especially if the subfloor is uneven. Thicker floors generally handle moisture-related movement better and feel more solid underfoot. In terms of plank size, narrower planks (around 3 to 5 inches) can help minimize visible expansion gaps, while wider planks may show movement more readily.
How do I choose a water-resistant core for engineered wood bathroom flooring?
Prioritize engineered wood with a moisture-resistant core such as HDF or, ideally, a high-quality waterproof/“water-resistant” core designed for bathrooms. Check that the top wear layer (often 2–6 mm) is sealed well, and verify the product is specifically rated for damp areas or bathrooms—not just kitchens. Always confirm the finish system (cured coatings, added wax or sealant options) because the right sealing significantly reduces swelling at joints.
Which installation method is best for engineered wood floors in bathrooms—glue-down, click-lock, or nail-down?
For bathrooms, glue-down installation is often the most reliable choice because it reduces water infiltration at seams by eliminating gaps that can open with humidity changes. Click-lock (floating) engineered wood can work if it’s a true water-resistant system and you follow manufacturer-approved underlayment, but it’s generally more sensitive to standing water. Avoid nail-down methods unless the manufacturer explicitly allows it for bathroom conditions, since fastener holes can become weak points.
Why do bathroom engineered wood floors fail, and how can I prevent warping or cupping?
Most failures come from excessive moisture exposure, poor subfloor prep, and inadequate sealing of edges and joints. To prevent warping, ensure the subfloor is dry and level before installation, and address any bathroom moisture sources like leaks or poor ventilation. After installation, keep spills cleaned quickly, use a damp-mop approach instead of wet mopping, and consider adding seam sealing if the manufacturer recommends it.
Best practices aside, which features should I look for when buying engineered wood bathroom flooring?
Choose engineered wood products with a waterproof or bathroom-rated warranty, a durable top wear layer, and an installation system that matches your bathroom moisture levels. Look for a sealed finish on all sides (including the core), tight joint design, and clear guidance on maintenance and humidity limits. If your bathroom has high humidity or frequent steam, select water-resistant engineered wood specifically tested for those conditions and pair it with proper ventilation to protect the floor long-term.
📅 Last Updated: October 19, 2026 | Topic: How to choose engineered wood floors for a bathroom? | Content verified for accuracy and freshness.
References
- Engineered wood
- F1482 Standard Practice for Installation and Preparation of Panel Type Underlayments to Receive R…
- F2170 Standard Test Method for Determining Relative Humidity in Concrete Floor Slabs Using in sit…
- F1869 Standard Test Method for Measuring Moisture Vapor Emission Rate of Concrete Subfloor Using …
- https://www.fpl.fs.fed.us/documnts/fplgtr/fplgtr113.pdf
- https://www.epa.gov/mold/preventing-mold
- https://www.who.int/publications/i/item/9789241547856
- https://scholar.google.com/scholar?q=engineered+wood+flooring+bathroom+moisture+resistance Google Scholar
- https://scholar.google.com/scholar?q=engineered+hardwood+floor+installation+moisture+content+relative+humidity Google Scholar
- https://scholar.google.com/scholar?q=engineered+wood+flooring+moisture+barrier+underlayment+and+subfloor+testing+ASTM Google Scholar

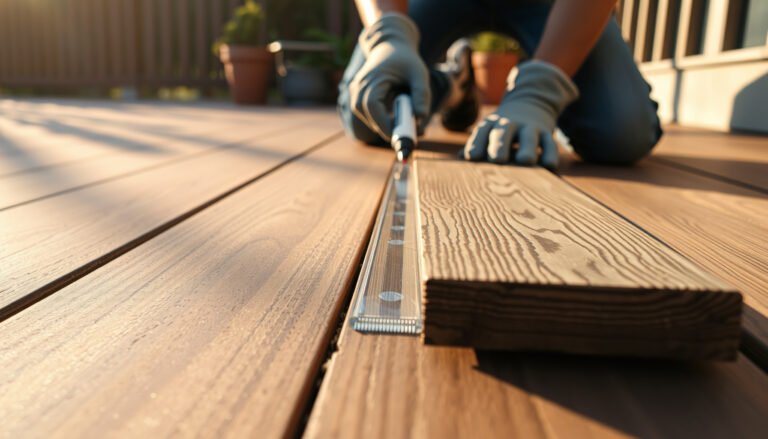

[…] for vinyl flooring waste based on layout complexity. Always defer to your specific manufacturer’s installation guide for the final overage […]