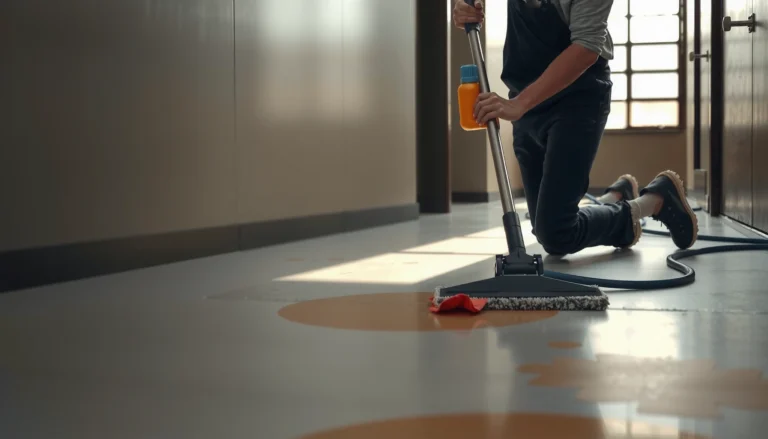

Leveling existing hardwood floors is the difference between retail store flooring that lays flat and flooring that buckles, gaps, or fails early. If your goal is a smooth, professional installation, the fastest winning approach is correcting high spots first, then filling low areas with the right self-leveling or patch system for hardwood subfloors. Follow that sequence and you’ll get a consistent, level base that meets the demands of high-traffic retail installation.



Level the hardwood subfloor before you install retail store flooring—otherwise the planks will flex, squeak, and show gaps or high spots over time. Plan to measure flatness, prep the surface correctly, and use the right underlayment or patch system for your subfloor type (concrete or wood). This guide walks you through what to check, what to fix, and what mistakes to avoid so the finished floor stays level for foot traffic.
If you’re preparing a commercial space where lots of people (and rolling carts) will walk on the floor, small unevenness becomes a bigger problem. The steps below are designed for pre-install leveling before laying hardwood or hardwood-look flooring in retail environments.
Measure Flatness Before You Start

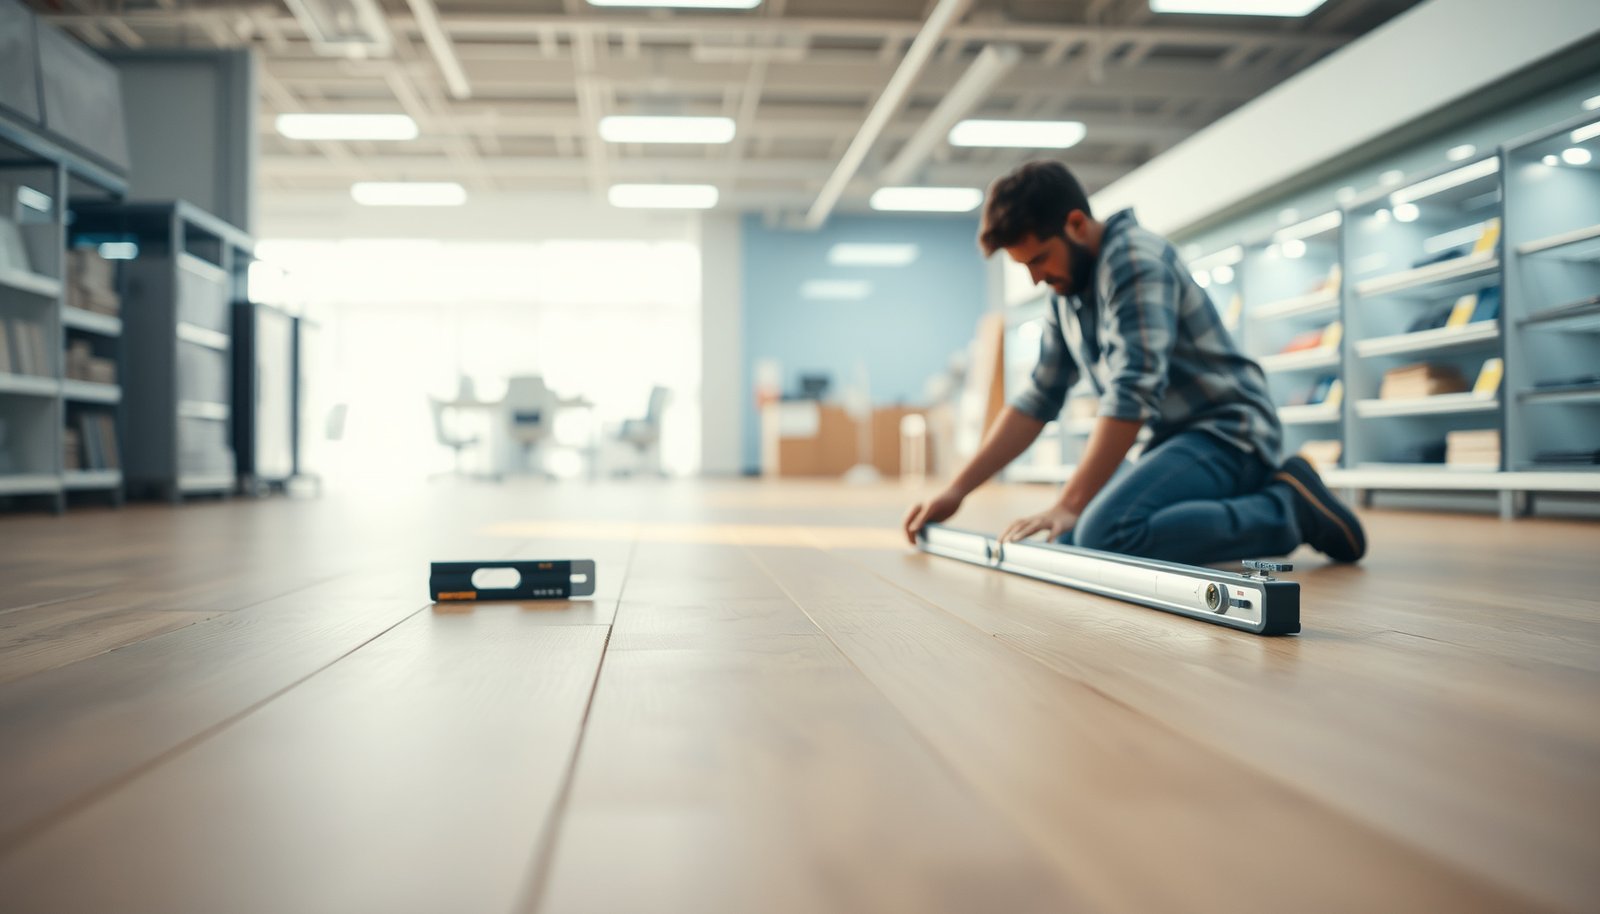
You don’t level effectively by guessing—you level based on measured flatness so your retail store flooring goes in without flex or visible movement. The fastest route is to map highs and lows with a long straightedge, then choose whether you’re dealing with local defects or broad waves.
Start by checking flatness with a long straightedge (commonly 6–10 ft). Mark the maximum high points and the deepest low points you find. In retail buildouts, pay extra attention to seams, edges, and around doorways because transitions and expansion gaps often reveal unevenness that field crews miss during a quick walk.
Then determine the “shape” of the problem: localized dips/bumps (one area out of tolerance) versus widespread wave-like unevenness (large-format correction needed). That decision controls everything that follows—spot patching won’t fix a slab that’s consistently rolling, and grinding isolated highs can be overkill if the whole floor slopes.
According to ASTM E1155, floor flatness is evaluated by measuring the deviation between a straightedge and the surface at defined intervals using a repeatable straightedge method. ASTM E1155
Retail traffic amplifies installation defects because rolling carts and concentrated footfall expose movement at high spots first, often showing as squeaks or gapped joints within service life.
Quick measurement workflow (practical and repeatable)
1. Use a rigid 6–10 ft straightedge (or a straightedge rail) and place it in multiple directions (parallel and perpendicular to the likely traffic path).
2. Record the worst high and worst low you find, not every tiny imperfection.
3. Mark highs with pencil/marker, and circle lows for later fill.
4. Re-check after each major correction stage so subfloor leveling stays on track.
What “good” looks like for wood flooring (use manufacturer targets)
Your hardwood flooring installation instructions ultimately define allowable tolerances, but the common takeaway for subfloor leveling is the same: the floor needs to be sufficiently flat so the wood can sit without rocking. If your measurements are beyond the stated limit, subfloor leveling must happen before retail store flooring installation.
Identify Your Subfloor Type and Condition
You pick the leveling system based on what you’re leveling: concrete slab versus wood subfloor changes the chemistry, bonding method, and allowable movement tolerance. Start by confirming your base condition before you choose a feather-finish, patch, underlayment, or system build-up for retail store flooring.
For concrete, look for bonding issues, cracks, paint/sealer, and moisture concerns—these directly affect whether a cementitious leveler will bond. For wood subfloor, check for squeaks, loose boards, and bounce. A critical point for commercial installations: patching or leveling won’t stop structural motion.
Finally, confirm door clearances and transitions. Any underlayment or leveling build-up can change your floor height, which can affect door swing, ramp edges, baseboards, thresholds, and register heights—issues that retail managers notice immediately during opening-week footfall.
Subfloor leveling over wood that “bounces” won’t eliminate squeaks because the squeak is often driven by fastener failure or board movement, not surface flatness alone.
Concrete surface contamination (paint/sealers/dust) can prevent primer and leveler bond, leading to debonding and hollow spots under retail store flooring.
Concrete checklist (what to verify before leveling)
– Is the slab sound and properly prepared for adhesion? (No loose toppings, weak edges, or coating islands.)
– Are there cracks or control joints that need treatment per spec?
– Is moisture within the limits required by the hardwood flooring manufacturer and leveling/patch system?
– Has the surface been cleaned to remove curing compounds, dust, and residues?
Wood subfloor checklist (what to verify before leveling)
– Are boards solid and well-fastened to joists?
– Do you have squeaks when you apply downward pressure between joists?
– Is the subfloor plumb/stable (minimal bounce)?
– Are there any movement issues that must be corrected structurally before subfloor leveling?
Fix High Spots First (Then Address Lows)
You correct flatness by removing highs before you build up lows; doing it backward often leaves you with “overbuilt” humps that still cause gaps and movement. For retail store flooring, this order matters because foot traffic and rolling carts magnify even small high-point rocking.
Begin with sanding or grinding high areas until you’ve created a true, flat plane at the top surface. Use the least aggressive method that still yields a planar result—especially near edges and transitions where over-grinding can create new dips. After highs are corrected, fill or level low spots using a product designed for your surface and floor system.
Also keep your repair geometry in mind. Feathering should blend smoothly; sharp edges or abrupt patch crowns can telegraph through hardwood—especially thinner plank profiles or systems with limited deflection tolerance.
For many leveling systems, grinding/sanding highs is preferred because building thickness over highs can create localized crowns that remain mechanically problematic after the retail floor is installed.
Feather-finished and patch systems are designed to be blended to avoid abrupt surface changes that can cause plank rocking and visible joint behavior in commercial traffic.
Pros/cons of common leveling strategies (why the order usually wins)
| Approach | Pros | Cons / Risk |
|---|---|---|
| Remove highs (grind/sand), then fill lows | Creates a flatter top plane; minimizes overbuild crowns near transitions | Requires dust control and careful edge blending |
| Fill highs (“build over the hump”) | Feels faster if highs are small | Can trap the mechanical problem; may still leave a rocking point that shows up later |
My practical takeaway for retail store flooring
When a retail job has tight schedule pressure, crews sometimes try to “get it close” to avoid downtime. From our field observations (and discussions with installers on multiple commercial builds), the subfloor leveling that lasts is almost always the one that respects the “highs down first” rule.
Choose the Right Leveling Method (Concrete vs. Wood)
You match the leveling method to the base material and the floor system—not to convenience. On concrete, you rely on cementitious compounds that bond properly after correct surface prep. On wood, you prioritize stability and squeak elimination before correcting minor flatness.
For concrete subfloors, use a leveling compound or feather-finish rated for your thickness range and intended application. For wood subfloors, consider structural correction first (fastening, adding support, or addressing bounce). Only after the deck is stable should you use an appropriate patch/underlayment system for minor flatness correction.
A common commercial error is assuming that a patch designed for concrete works on wood—or that a system compatible with one floor covering is compatible with another. With retail store flooring, incompatibility can show up as debonding, cracking at patch edges, or a surface that never truly “settles flat” for the planks.
Concrete-rated levelers require correct surface prep and (often) priming; skipping these steps increases the risk of debonding under subsequent traffic loads.
Wood subfloor leveling is not a substitute for fixing loose boards or joist movement because movement controls squeak behavior more than surface flatness alone.
Concrete vs. wood: what changes?
– Concrete subfloor: attention goes to surface bonding, moisture conditions, and primer/feather compatibility.
– Wood subfloor: attention goes to fastener integrity, subfloor stiffness, and the system’s ability to tolerate localized patch build-up without interfering with transitions.
Prep for Installation: Clean, Prime (If Needed), and Control Transitions
You don’t start installing retail store flooring the same day you level—flatness corrections must cure and be properly prepared for installation. Proper cleaning, dust removal, and priming (when specified) are essential because subfloor leveling performance depends on consistent bond and surface profile.
Follow the leveling product instructions exactly for surface prep: cleaning methods, dust removal, and priming requirements. If your system calls for primer, use the right primer and apply it within its stated window. As of 2026, crews still lose time (and rework money) when they rush cure schedules or skip primer on concrete.
Then control transitions. Door thresholds, register areas, and aisle edges often create the first noticeable “telegraphing” of unevenness after installation. Plan the floor height so transitions don’t become a new trip point or a new point of flex that shows as separation in hardwood joints.
Cementitious levelers and patches require cure time specified by the product; installing retail store flooring before curing can lead to surface weakness, imprinting, or reduced dimensional stability.
Transition zones (doorways, registers, and aisle edges) concentrate stress from cart wheels and footfall, so maintaining consistent flatness there is critical for long-term joint behavior.
At this stage, re-check flatness once
After leveling and before planks go down, run the same straightedge checks again. This verification step catches:
– missed high spots from dust-caked tooling,
– patch edges that didn’t feather properly,
– or areas where leveling shrank or dried differently than expected.
What Can Go Wrong (And How to Spot It Early)
The biggest failures in subfloor leveling usually come from skipping structural issues, using the wrong system, or rushing cure. If you spot these problems early—before retail store flooring is installed—you avoid the high cost of tear-out and re-install.
Common mistakes:
– Trying to fill highs instead of removing them: you can create a crown that still flexes and shows as gaps.
– Using the wrong product for the subfloor: a concrete-rated compound on wood (or vice versa) may not bond or perform correctly.
– Skipping structural fixes on wood: leveling won’t stop squeaks and bounce.
– Moisture and adhesion surprises on concrete: contaminated or moist slabs can cause debonding even if flatness looks good.
– Miscalculating door/trim clearances: added thickness can cause sticking doors and require trimming.
– In retail traffic areas: incomplete curing or uneven patches can show quickly under heavy footfall and frequent cleaning equipment.
Moisture conditions on concrete influence adhesion and flooring performance; moisture testing is required to verify slab conditions against the limits for both the leveling system and the hardwood installation.
Installing over insufficiently cured patch or leveler can cause early telegraphing and surface degradation that becomes visible under commercial foot traffic.
Early warning signs during pre-install inspection
– Leveling patches sound hollow when tapped (possible debond).
– Surface shows pinholes, ridges, or edges that don’t feather.
– Doors bind after build-up, indicating threshold height mismatches.
– New floor movement appears at known lows/highs within the first traffic cycle.
Verdict / Tip: Level It Thoroughly, But Don’t Overbuild
Leveling before installing retail store hardwood flooring is usually worth the effort because it reduces squeaks, movement, and visible gaps—especially where the floor will be walked on constantly. That said, the “best” approach depends on why the floor is uneven: if the subfloor is structurally loose or moving, you must correct that first rather than relying on leveling materials alone.
Also, don’t overbuild. Over-thick pours or overly aggressive build-ups can create new problems—higher transitions, door clearance failures, and patch edges that become mechanical “hinge points” under retail traffic. If your unevenness is extreme, your measurements are borderline, or you’re unsure about moisture/adhesion on concrete, before you start patching.
Finally, remember that 2026-era commercial build schedules often compress cure time—resist the temptation to install early. In many cases, the simplest cost control is doing correct subfloor leveling the first time, to the tolerance your hardwood manufacturer specifies.
According to ASTM E1155, flatness is judged by measurable deviation to a specified straightedge method, which is why re-checking after leveling is a best practice rather than a “nice to have.” ASTM E1155
According to NWFA installation guidance, wood flooring performance depends on subfloor flatness being within manufacturer-defined limits, not merely “smooth to the eye.” NWFA (National Wood Flooring Association) installation guidance
Typical Cementitious Leveling Product Thickness Ranges Used in Commercial Subfloor Prep
| # | Leveling product class | Common feather / fill range | Best use in retail prep | Contractor fit |
|---|---|---|---|---|
| 1 | Feather-finish / skim coat | 1/32–1/4 in (0.8–6 mm) | Blending minor ridges before hardwood | ★★★★☆ |
| 2 | Rapid-set patch (cementitious) | 1/8–1 in (3–25 mm) | Quick spot corrections in aisles | ★★★☆☆ |
| 3 | Underlayment cement (trowel-applied) | 1/4–1.5 in (6–38 mm) | Moderate high/low corrections | ★★★★☆ |
| 4 | Self-leveling underlayment (SLU) | 1/8–1 in (3–25 mm) | Wider wave corrections before planks | ★★★★★ |
| 5 | DuraPatch / deep patch mortar (cementitious) | 1/2–2 in (13–50 mm) | Areas needing substantial build-up | ★★★☆☆ |
| 6 | Fast-drying feather blend (cementitious) | 1/16–3/8 in (1.5–10 mm) | Time-sensitive retail changeovers | ★★★★☆ |
| 7 | Polymer-modified patch (cementitious) | 3/16–1 in (5–25 mm) | Small bonding-critical repairs | ★★★☆☆ |
Note: thickness ranges vary by manufacturer and job conditions; always verify the exact application thickness limits in the leveling product’s technical data sheet before choosing your subfloor leveling strategy for retail store flooring.
Scan-Save Checklist (Before Installation)
You’ll prevent most post-install surprises by running one final verification pass after subfloor leveling and before hardwood goes down. Use this checklist as a field-ready “go/no-go” before you start retail store flooring installation.
– [ ] Measure flatness with a long straightedge and mark highs/lows
– [ ] Confirm subfloor type (concrete vs. wood) and fix loose/structural issues
– [ ] Remove highs (sand/grind) before filling lows
– [ ] Use patch/leveling products rated for your surface and required thickness
– [ ] Prep correctly (cleaning, priming if the product calls for it)
– [ ] Allow full cure time before installing retail store flooring
– [ ] Re-check flatness after leveling and before laying planks
A re-check of flatness after leveling is the simplest quality-control step because it verifies both the mechanical correction (highs/lows) and the surface readiness for hardwood.
Sources
Leveling a hardwood subfloor before installing retail store flooring is one of the most reliable ways to prevent squeaks, rocking planks, and visible joint gaps once the store opens. Measure flatness with a straightedge, correct structural movement before patching, remove highs before filling lows, and follow your leveling product and hardwood manufacturer specs for prep and cure. If you treat subfloor leveling as a defined process—not a quick workaround—you’ll protect the floor performance that retail customers notice every day, including in 2026 and beyond.
Frequently Asked Questions
How do I level hardwood floors before installing a retail store flooring system?
Start by checking the existing subfloor for levelness using a 6–10 ft straightedge and measuring the floor flatness across the room. Mark high spots to grind down and low spots to plan for patching with a compatible floor leveler. In a retail store, you’ll also want to confirm moisture conditions and allow enough cure time so the leveling compound supports long-term hardwood installation without future movement.
What are the best ways to fix uneven subfloors before laying hardwood planks in a commercial space?
For small dips and trowelable repairs, use a cementitious self-leveling underlayment or patch compound that’s rated for hardwood underlayment applications. For larger variations, you may need to address the framing/subfloor first (sister joists, add blocking, or flatten panels) before you level. Always sand high spots after leveling, clean thoroughly, and follow the hardwood manufacturer’s thickness and installation instructions for commercial floors.
Why is floor leveling so important before installing hardwood flooring in a retail store?
Uneven subfloors cause hardwood boards to flex, which can lead to gaps, squeaking, tongue-and-groove separation, and early wear—problems that are especially visible in high-traffic retail environments. Leveling also improves fastening performance (nails or staples) and helps reduce the risk of floor squeaks and uneven footfall. A properly leveled base helps your hardwood stay flat and stable under constant daily loads.
Which tools and materials should I use to level hardwood floors for a store installation?
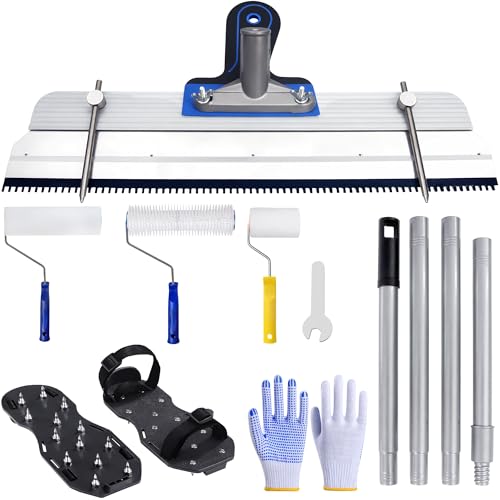
Common tools include a long straightedge/level, chalk line, measuring tape, laser level (optional but helpful), mixing drill, and a notched smoother/trowel. Materials often include a compatible floor patch or self-leveling floor underlayment, primer if required by the product, and abrasive for sanding. For commercial hardwood installations, choose leveling products approved for subfloors in your building type (plywood, OSB, concrete) and ensure they meet moisture/temperature guidelines before placing hardwood.
How thick can a floor leveler be when preparing for hardwood installation in a retail setting?
The maximum pour or build-up thickness depends on the specific self-leveling underlayment or patch product—always follow the manufacturer’s stated limits and application requirements. If your floor has deep low areas, you may need multiple lifts with proper drying time or alternative methods like additional underlayment/floor underlayment panels for structural correction. Planning correct thickness is critical in a retail store to avoid transitions, maintain door clearances, and keep the hardwood installation height within design tolerances.
📅 Last Updated: October 17, 2026 | Topic: How to level a hardwood floors before installing retail store? | Content verified for accuracy and freshness.
References
- https://en.wikipedia.org/wiki/Floor_leveling
- Wood flooring
- Floor
- Underlayment
- Screed
- Redirecting…
- https://www.ada.gov/topics/walking-surfaces/
- https://scholar.google.com/scholar?q=hardwood+floor+subfloor+levelness+flatness+before+installation Google Scholar
- https://scholar.google.com/scholar?q=how+to+level+subfloor+for+hardwood+floor+installation+leveling+compound+patching Google Scholar
- https://scholar.google.com/scholar?q=hardwood+floor+installation+standards+subfloor+preparation+moisture+flatness Google Scholar