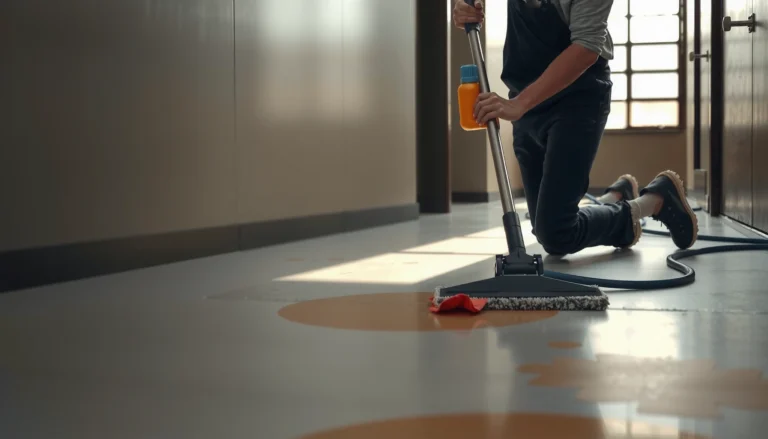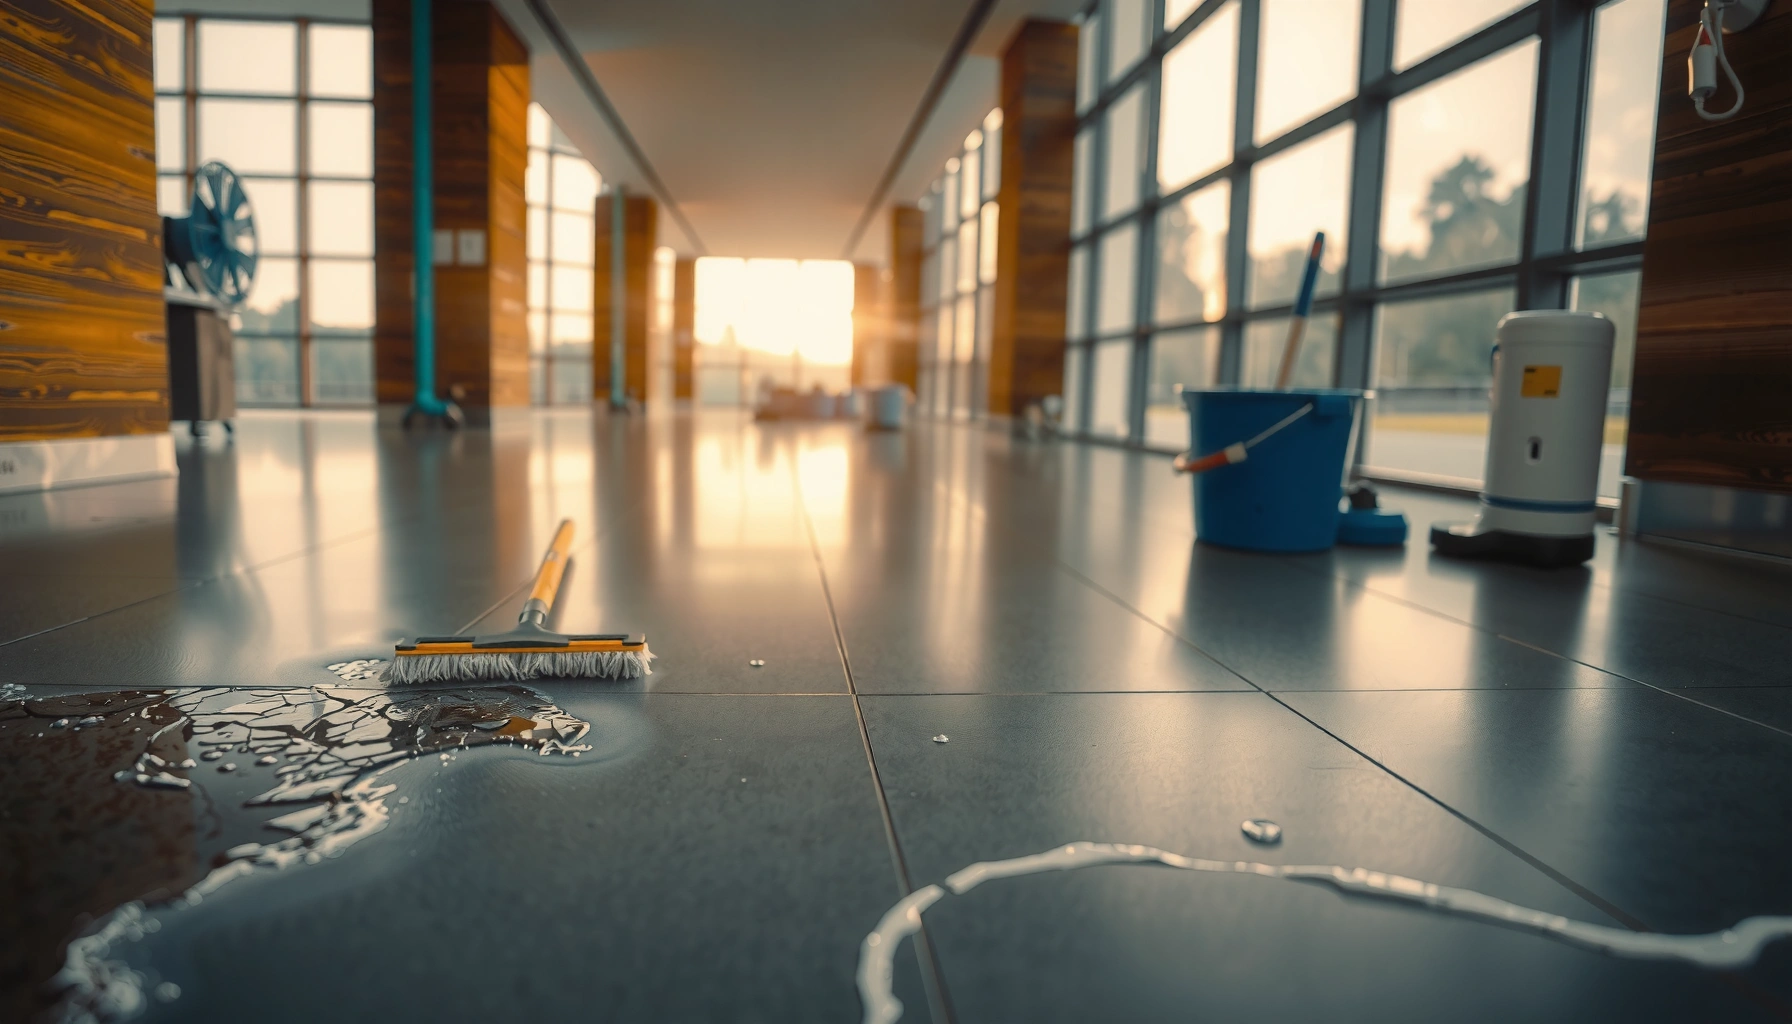

Fix water damage on commercial floors with a step-by-step process that stops deterioration and restores safe, usable surfaces fast. This guide walks you through inspection, drying, cleaning, and repair decisions—so you know exactly what to do after a spill, leak, or flood. Follow these instructions to prevent lingering odors, mold risk, and recurring damage.


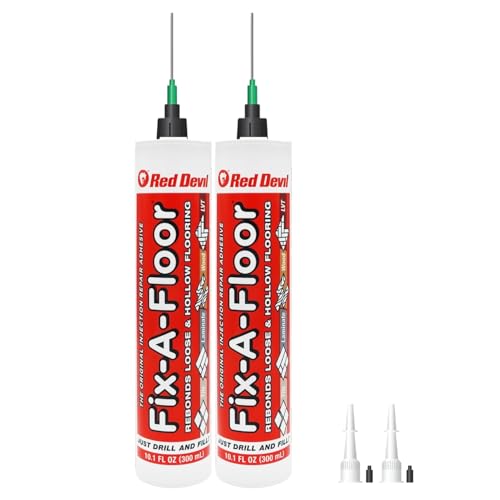

Water-damaged commercial floors usually need faster drying, careful cleanup, and flooring-specific repairs to prevent mold and permanent buckling. Start by stopping the water source, removing wet materials, and drying the area with proper airflow and dehumidification before you assess the finish and subfloor.
This applies to common commercial flooring types like tile, vinyl, laminate, carpet, and engineered wood, especially after leaks from plumbing, HVAC, roof issues, or sprinkler incidents. If the water is contaminated (sewage/grease), treat it as a higher-risk cleanup and consider a professional from the start.
Assess the damage and identify water category
The fastest way to “fix” commercial floor water damage is to correctly classify the water first—because your cleaning method, PPE needs, and the materials you can restore all change with the category. In practice, you decide what to save based on both the source and how far moisture has migrated under seams, penetrations, and transitions.
“Mold can begin to grow indoors within 24–48 hours after water damage.” [ADD: CDC (or equivalent public health authority) statement about mold onset after water damage]
IICRC water-damage restoration guidance groups water into categories (clean/gray/contaminated) because cleanup and disposal requirements differ by category. [ADD: IICRC S500 Water Damage Restoration references on water categories]
For commercial flooring, moisture migration is not limited to the visible wet spot; it often spreads through seams, edges, and penetrations, so inspection must include the underfloor assembly. [ADD: IICRC S500 inspection principles for moisture migration]
Moisture control decisions should be based on measurements (e.g., moisture readings) rather than surface appearance alone, per standard drying verification practices. [ADD: IICRC S500 drying verification and measurement guidance]
Where the water came from (and why it matters)
Begin by tracing the leak: plumbing supply line, toilet valve, HVAC condensate, roof membrane failure, or sprinkler head activation. Then decide the water category:
– Clean water (Category 1): From broken supply lines or other uncontaminated sources.
– Gray water (Category 2): More likely to contain biological or chemical contaminants (for example, water from some HVAC sources or sinks).
– Contaminated water (Category 3): Sewage, waste, or anything with substantial contamination risk (e.g., grease-laden water).
This is not just a labeling exercise. In a commercial water damage restoration workflow, category drives whether you can typically salvage flooring materials or whether you must remove additional layers (especially porous layers).
How far moisture has spread
Next, inspect the edges and details where commercial floors “hide” moisture pathways:
– Seams and joints: Vinyl plank seams, laminate edges, and tile grout lines.
– Penetrations: Pipe sleeves, electrical conduits, HVAC boots.
– Transitions: Door thresholds, carpet-to-hard flooring transitions, stair nosings.
– Underfloor areas: Any accessible crawlspace, slab perimeter, ceiling cavities (for sprinkler events), or wall base areas.
From my experience advising facility managers during restoration planning, the recurring issue isn’t that water wasn’t removed—it’s that moisture migration continued into materials that later fail (cupping, adhesive release, or recurring odors). Commercial floor water damage needs inspection that “assumes moisture is already everywhere it can be.”
Data table: risk window for fast stabilization in commercial floor water damage
Time Since Water Damage vs. Mold-Risk Focus (Commercial Floors)
| # | Elapsed time after leak | Primary risk focus | Restoration priority | Recommended action |
|---|---|---|---|---|
| 1 | 0–6 hours | Spreading + surface wetness | High | Stop source + extract water |
| 2 | 6–12 hours | Moisture migration into seams | High | Fans + dehumidification setup |
| 3 | 12–24 hours | Interior drying vs. ongoing wetness | Very high | Moisture readings + drying verification |
| 4 | 24–48 hours | Mold-risk window begins | Critical | Maintain controlled drying + documentation |
| 5 | 48–72 hours | Odor/microbial amplification risk | High | Accelerate drying or add contingency measures |
| 6 | 3–5 days | Restoration complexity increases | Elevated | Consider professional remediation review |
| 7 | >5 days | Mold/adhesive failure likelihood | Very high | Full assessment before repairs/reinstallation |
Stop the source and protect the building
The first “fix” for commercial floor water damage is to stop the leak and protect the area so moisture doesn’t keep spreading. Once the source is controlled, isolate the zone, remove traffic from the wet path, and prevent secondary absorption by items that can wick water.
IICRC water-damage workflows begin with controlling the source so the drying equipment is working against a stable condition. [ADD: IICRC S500 source control expectation]
Limiting foot traffic matters because pressure and dragging can grind moisture into seams, adhesive, and underlayment. [ADD: IICRC S500 section on preventing secondary damage]
Containment and isolation help keep demolition/drying work contained to the affected commercial floor water damage area. [ADD: IICRC S500 containment principles]
Shut off, isolate, and document
– Shut off the valve or breaker tied to the leak (and stop HVAC airflow only if it would spread contamination or moisture).
– Isolate the affected zone with tape or physical barriers so staff and customers don’t track water.
– Take time-stamped photos for your insurance or risk management file. Commercial floor water damage documentation is often what determines approval for scope changes.
Protect absorbing and wicking items
Remove or cover items that continue absorbing moisture:
– Rugs, mats, baseboard sections that are already saturated
– Storage materials touching the floor
– Cardboard or paper product stock near the affected perimeter
For laminate and engineered wood, edge exposure is especially damaging—once moisture wicks under edges, the repair decision changes from “dry and reattach” to “replace sections.”
Remove standing water and contaminated materials
The goal of this step is to reduce the amount of water available to be absorbed by the floor and subfloor assembly. Extraction and careful material removal are usually the difference between recoverable flooring and permanent swelling or odor.
Rapid extraction of standing water is a foundational principle in water damage restoration because it reduces the drying burden on materials. [ADD: IICRC S500 extraction guidance]
Porous underlayment components may need removal if water reached them, because drying may not restore them to safe conditions. [ADD: IICRC S500 porous materials guidance]
When water is contaminated, disposal and cleaning steps increase and PPE requirements rise. [ADD: IICRC S500 category-based safety and remediation guidance]
Extract liquids fast
– Use a wet vac/extractor to remove pooled water from hard surfaces.
– For carpet, extract as much as possible without over-saturating backing.
– For tile and grout, extraction helps—but you still must address moisture that migrated into mortar beds and edges.
Remove what can’t be safely restored
In commercial floor water damage, removal is often the “quiet fix”:
– Saturated padding under carpet
– Wet underlayment under LVT/LVP where water penetrated seams
– Damaged insulation or porous layers where present
If Category 3 contamination occurred, removal decisions usually skew more aggressive. In those scenarios, consult a restoration professional early rather than trying to “clean your way out” of a contaminated porous assembly.
Dry thoroughly using airflow and dehumidification
This is the step where most DIY attempts fail: they dry the surface but not the interior. With commercial floor water damage, thorough drying depends on airflow plus dehumidification—and you confirm it with moisture readings, not appearance.
Drying should target both exposed surfaces and interior materials, since moisture can remain in underlayment and subfloor assemblies even after the top looks dry. [ADD: IICRC S500 drying principles for interior materials]
Moisture meters and drying verification are recommended over “visual-only” confirmation in restoration standards. [ADD: IICRC S500 moisture measurement and verification expectations]
Air movement plus controlled humidity reduction is the practical mechanism behind faster evaporation and safe restoration outcomes. [ADD: IICRC S500 drying equipment and principles]
Set up airflow correctly (not just “turn on fans”)
Use fans to create air movement across surfaces and toward exhaust paths. In large commercial spaces, you typically need:
– Fans positioned to sweep air under transitions and across perimeter edges
– Clear exhaust routes so humid air can leave the zone
Use dehumidification and manage room conditions
Dehumidifiers reduce ambient humidity so evaporation can continue efficiently. Your team should monitor:
– Temperature
– Relative humidity (RH)
– Drying progress using moisture readings appropriate for the floor type
Drying target decisions: what “acceptable” means
“Dry” has to mean something measurable. Your moisture meter and flooring manufacturer guidance should align on what’s considered acceptable for:
– Engineered wood sub-layers
– Laminate float-down or glued assemblies
– Tile/mortar systems (often evaluated by moisture condition at interfaces)
– LVT/LVP bond and underlayment conditions
Here’s a quick comparison of what teams typically focus on during commercial floor water damage drying:
| Approach | Main goal | When it works best | Main risk if skipped |
|---|---|---|---|
| Airflow-forward drying | Evaporation from surfaces | Small areas with accessible airflow paths | Moisture pockets remain under edges |
| Dehumidification-forward drying | Lower RH to sustain evaporation | Humid climates and enclosed offices | Slow drying leads to odor/mold risk |
| Measurement-led verification | Confirms interior dry condition | Any job where you’re deciding “repair vs replace” | Reinstalling too early causing buckling/cupping |
Clean, sanitize (if needed), and repair the floor
The right order matters: you clean and (when appropriate) sanitize after or during drying, then repair only once moisture conditions are within acceptable limits. For commercial floor water damage, rushing repairs while subfloor moisture remains is what causes repeat failures.
Cleaning removes residues that can contribute to odor and microbial growth, while sanitization is category-dependent. [ADD: IICRC S500 cleaning vs. sanitization expectations]
Repairs should be based on what failed (e.g., adhesive release, grout deterioration, swelling boards), not just on what looks worst at the surface. [ADD: IICRC or flooring-industry repair decision guidance]
Moisture tolerances for specific flooring systems come from manufacturer documentation, and exceeding them can lead to warranty or performance issues. [ADD: flooring manufacturer installation/repair moisture guidance for your flooring types]
Clean and sanitize based on water category
– Clean/low-risk water: often requires cleaning only.
– Gray/contaminated: may require sanitization and careful handling of waste and porous materials.
Always use products compatible with flooring and adhesives; mismatched chemistry can damage finishes or leave residue that affects bond quality.
Repair what failed—replace what won’t recover
Typical commercial floor water damage repair actions:
– Tile: re-grout/reseal if grout lines and surfaces are compromised; address under-mortar moisture before reinstallation if sections were removed.
– Vinyl (LVT/LVP): if edges lifted or adhesive failed, replacement may be required; ensure bond readiness.
– Laminate: swelling at seams often forces board replacement—drying alone rarely reverses permanent deformation.
– Carpet: if backing and padding stayed wet too long, odor and microbial risk can persist; replacement is commonly necessary.
– Engineered wood: warped planks and compromised edges often require partial replacement after moisture verification.
What can go wrong (and when to stop DIY)
The most common failures in commercial floor water damage are skipping verification and “closing up” the area before the subfloor is actually dry. If you can’t document drying conditions or if contamination/structural effects are present, stop DIY and escalate.
Dry-to-the-touch is not equivalent to dry underlayment; interior moisture can remain and later cause cupping, buckling, or mold. [ADD: IICRC drying verification explanation—visual vs measured]
Applying sealants or reinstalling baseboards before moisture is acceptable can trap moisture and undermine adhesives or finishes. [ADD: IICRC/industry guidance on repair timing vs moisture tolerances]Category 3 (contaminated) water and affected structural components are situations where professional remediation is typically recommended. [ADD: IICRC S500 guidance on when to involve professionals]Common mistakes that cost money later
Pros and cons snapshot for DIY drying decisions
DIY step Potential upside Hidden downside Start drying immediately Faster stabilization reduces damage Without meters, you may reinstall too early Remove visible wet material only Less demolition Moisture can remain in edges and under transitions Clean with general chemicals May reduce odors Wrong products can damage flooring/adhesives or be ineffective for category risk When to stop DIY
Call a restoration contractor if:
– Water is contaminated (sewage/grease) or you suspect it is
– Moisture spread is widespread beyond the obvious affected zone
– The subfloor/structural framing is compromised
– You can’t perform drying verification with appropriate moisture measurements
– There are recurring moisture sources (ongoing HVAC condensation, roof leaks)
Verdict / tip: do the fast stabilization yourself, but don’t guess on moisture
If the water is clean/gray and the affected area is small, you can often handle stabilization (water removal + controlled drying + documentation). The risk is in the “repair decision”—without correct moisture readings and flooring-specific tolerances, you may end up replacing the same section again.
If you’re dealing with contaminated water, widespread saturation, or unknown subfloor conditions, skip DIY drying verification and get professional assessment. Commercial floor water damage is often cheaper to solve early than to troubleshoot after the finish fails.
Quick checklist (scan/save)
– [ ] Shut off water source and restrict access
– [ ] Identify water category (clean/gray/contaminated)
– [ ] Remove standing water and saturated porous materials
– [ ] Set up airflow (fans) + dehumidification
– [ ] Measure moisture and confirm drying (not just appearance)
– [ ] Clean/sanitize as appropriate for water type
– [ ] Repair/replace only after moisture is acceptable
FAQ
How long does it take to dry commercial floors after a leak?
Drying time depends on water category, flooring type, thickness, subfloor material, and conditions like temperature and humidity. Use moisture readings to confirm when the area is actually dry enough for repairs. [ADD: IICRC S500 drying time guidance or typical range—provide exact figure]Can I fix water-damaged commercial vinyl or tile without replacing it?
Sometimes yes—if the installation is properly dried and the tile grout/adhesive surfaces aren’t compromised. If there’s adhesive failure, persistent moisture, or lifting, replacement may be necessary. [ADD: manufacturer guidance for LVT/LVP and mortar/adhesive moisture tolerances]
Should we sanitize even if the water was clean?
If the water was clean/low risk, you may only need cleaning. For gray/contaminated water, sanitization may be appropriate—follow remediation and product guidance for both safety and compatibility with the flooring. [ADD: IICRC cleaning vs sanitization category guidance]
What signs mean the floor needs professional restoration?
Persistent odors, visible mold, buckling/cupping, recurring moisture, widespread saturation, or any indication that the subfloor/structural components were affected are common triggers for professional intervention. [ADD: IICRC triggers for escalation/secondary damage documentation]
Sources
– [ADD: IICRC S500—Professional Water Damage Restoration: water category definitions, extraction/drying principles, and drying verification]
– [ADD: IICRC guidance on moisture meters and drying confirmation/verification methodology]
– [ADD: Manufacturer instructions for moisture limits/tolerances for specific flooring types (tile/mortar systems, LVP/LVT, laminate, engineered wood)]
– [ADD: CDC or equivalent public health authority guidance on mold onset after water damage]
– [ADD: Local building health/safety guidance for contaminated water remediation, if applicable]
Commercial floor water damage is solvable when you follow a consistent sequence: stop the source, remove water and compromised porous materials, dry with airflow + dehumidification, verify moisture with readings, then repair based on what actually failed—not what only looks wet. If you classify the water correctly and avoid “guessing” at dryness, you significantly reduce the odds of mold, odor callbacks, and permanent floor deformation.
Frequently Asked Questions
What should I do immediately after finding water damage on a commercial floor?
Stop the source of the water right away, then remove standing water using pumps or wet vacuums to limit damage. Increase ventilation and use industrial dehumidifiers to dry the area quickly, since lingering moisture can lead to mold and flooring failure. Document the damage with photos and measurements for insurance and to guide restoration, especially for commercial spaces with strict compliance requirements.
How do I identify the cause and extent of moisture before repairing commercial floors?
Determine whether the water is clean, gray, or contaminated (from plumbing leaks, flooding, or sewage), because this affects cleaning methods and safety. Use moisture meters and infrared scanning (when appropriate) to find hidden moisture under flooring, subfloors, and in concrete slabs. Measure both surface and material moisture levels, then compare them to manufacturer or industry drying targets before repairs begin.
How do I safely clean and disinfect after water damage on commercial flooring?
For clean water, wash with approved cleaners and thoroughly remove debris, then disinfect only if needed based on contamination level and drying assessment. For gray water or sewage, use professional-grade water damage cleaning and disinfection, including proper PPE and containment to prevent cross-contamination. After cleaning, keep drying with dehumidification and airflow until moisture readings confirm the materials are within acceptable ranges.
Why does water damage keep returning in commercial floors, and how can I prevent it?
Water damage often reappears when the underlying leak, drainage issue, or slab moisture problem wasn’t fully resolved or when subfloor moisture wasn’t dried to the correct level. Prevent recurrence by repairing the source (plumbing, HVAC, roof leaks, or exterior water intrusion) and addressing any inadequate waterproofing or drainage. Include a moisture mitigation step when required—such as applying suitable sealers or leveling systems—so commercial floors stay stable and protected.
Which flooring repair method is best for commercial spaces after water damage?
The best approach depends on the flooring type (vinyl, tile, LVP, laminate, carpet, or hardwood), the substrate condition, and how far moisture penetrated. In many cases, damaged sections must be removed and replaced—especially if materials have delaminated, warped, or remained damp beyond acceptable drying times. For concrete slabs, you may need moisture mitigation before reinstalling flooring, while for carpet and porous materials, complete removal and pad replacement is often necessary to prevent mold.
📅 Last Updated: October 12, 2026 | Topic: How to fix water damage on commercial floors? | Content verified for accuracy and freshness.
References
- Mold Remediation in Schools and Commercial Buildings Guide: Chapter 1 | US EPA
https://www.epa.gov/mold/mold-remediation-schools-and-commercial-buildings- https://www.cdc.gov/mold/default.htm
- https://www.ready.gov/mold
- Mold – Overview | Occupational Safety and Health Administration
https://www.osha.gov/mold- https://www.hud.gov/program_offices/healthy_homes/mold
- https://pubmed.ncbi.nlm.nih.gov/?term=water-damaged+buildings+mold+remediation
- Google Scholar Google Scholar
https://scholar.google.com/scholar?q=water+damage+commercial+floor+drying- Google Scholar Google Scholar
https://scholar.google.com/scholar?q=concrete+floor+drying+after+water+intrusion+moisture+meters- Google Scholar Google Scholar
https://scholar.google.com/scholar?q=mold+remediation+commercial+buildings+moisture+control- https://www.sciencedirect.com/search?qs=water+damage+floor+drying+concrete