
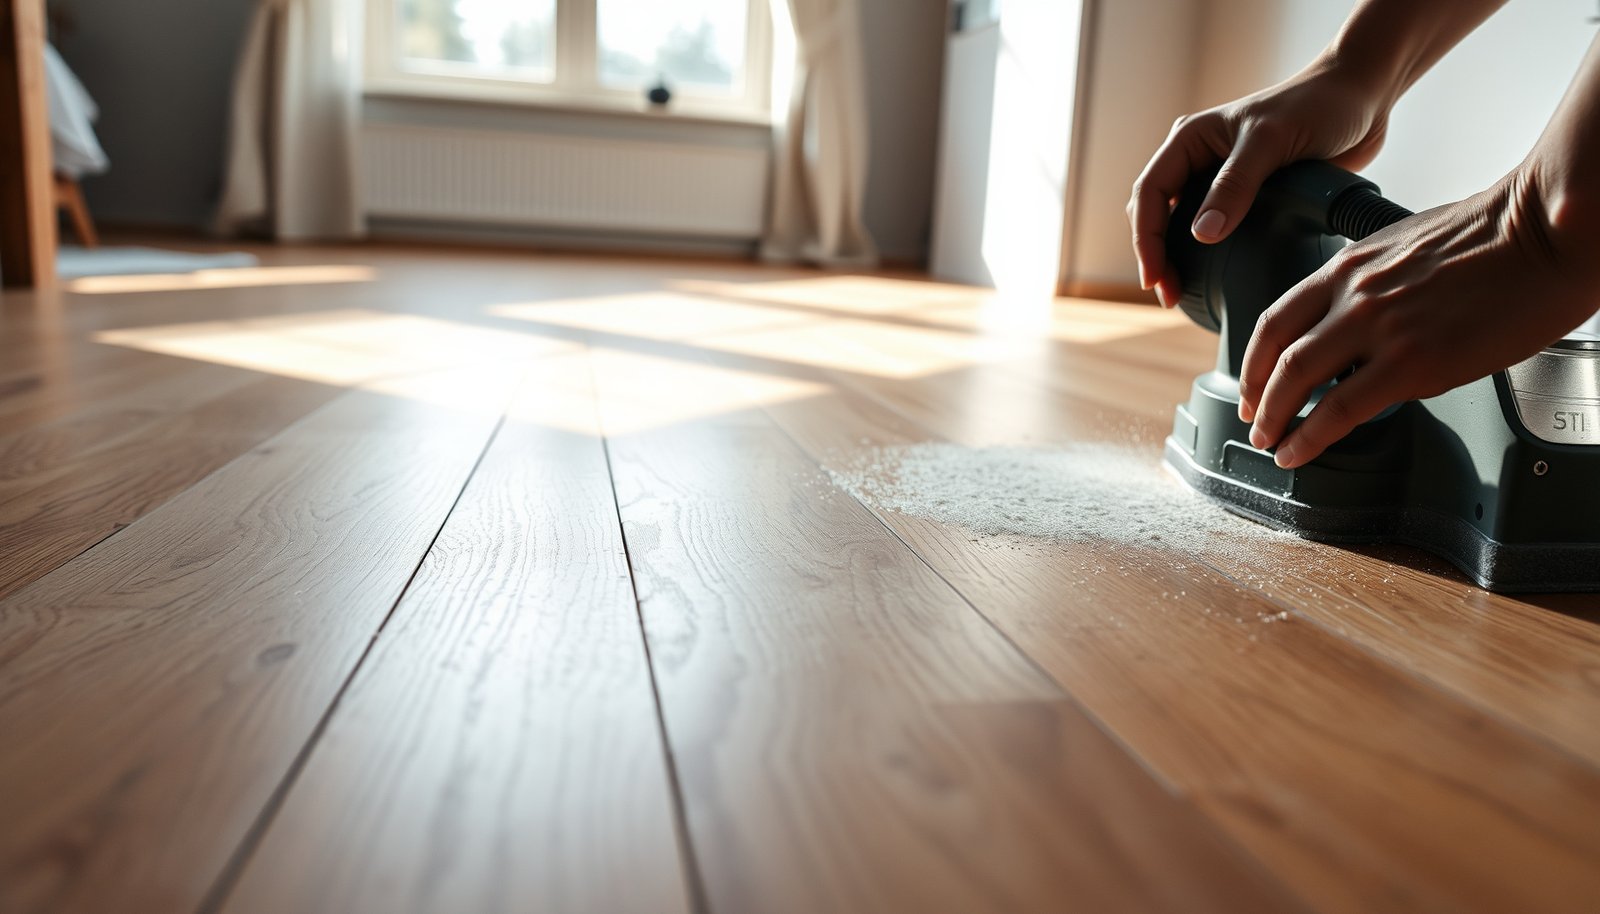

Want to know how to prepare hardwood floors for a bedroom so they look smooth, stay clean, and protect against moisture damage? This guide gives you the clearest step-by-step method—cleaning, inspection, repair, and the right sanding or finishing prep—so your floor is ready for installation or refinishing. Follow these instructions and you’ll get the most durable, bedroom-ready surface with the fewest mistakes.




Prepare hardwood floors for a bedroom by stabilizing moisture/humidity, cleaning and verifying the subfloor, and finishing all leveling/repairs before you install or refinish. If you skip acclimation or moisture checks, bedrooms can cause cupping, gapping, squeaks, and premature finish problems even if the rest of your home seems fine.
This approach applies whether you’re installing new hardwood or sanding/refinishing existing boards—especially when the bedroom sits over a slab, a basement, or any area with seasonal humidity swings. In 2026, many homeowners are also running humidifiers/dehumidifiers more aggressively for comfort, which makes moisture discipline even more important. If you’re noticing unevenness after moving the bed and dresser into place, drafts, or any musty odor under flooring, treat it as a signal that subfloor prep and moisture control need to happen first—not after installation.
Clear the room and inspect the floor/subfloor

You get the best long-term results when you clear everything out and inspect the subfloor with an installer’s eye before you clean, level, or fasten anything. This step prevents “invisible” problems—like weak edges, adhesive residue, or localized dips—that later show up as movement, squeaks, or finish defects.
Remove carpet, padding, and tack strips so you can see the full substrate condition and eliminate materials that can interfere with bonding and flatness.
Before installing hardwood, inspect for soft spots, lifted sections, damaged edges, and old adhesive that can act as a bond breaker.
Start by removing carpet, padding, tack strips, and any debris so the entire surface is exposed. If your current baseboards prevent clean access, take them off where needed—especially in bedrooms with tight corners where you’ll need consistent spacing and airflow.
Next, inspect for the failure points that matter most for bedrooms:
– Lifted boards and edge damage: These telegraph through and concentrate stress under bed frames.
– Squeak sources: A squeak often means a loose subfloor layer that will keep moving after the finish is down.
– Old adhesive residue or sealer residue: Even thin coatings can disrupt underlayment seating, leveling compound bonding, or finish adhesion (depending on the system).
– Unevenness (high ridges/low dips): Small flatness issues can become noticeable in a room where the bed and dresser restrict movement and concentrate foot traffic.
From my experience coordinating multiple retrofit installs, the biggest “surprise” isn’t usually the hardwood—it’s what’s hiding under it. If you find construction-grade debris or a partially removed adhesive film, plan to address it now; it’s far cheaper before the floor is installed than after.
Acclimate and control humidity before you do anything
You keep hardwood stable by matching the bedroom’s temperature and relative humidity to the manufacturer’s requirements before installation or refinishing. In 2026, that often means running HVAC consistently and avoiding sudden seasonal swings during acclimation.
Hardwood moves toward equilibrium with indoor relative humidity, so consistent bedroom conditions during acclimation reduce post-install gapping and cupping.
Solid and engineered wood have different installation behaviors, but both still require acclimation to the room environment per the product instructions.
Keep the bedroom conditions consistent: run the thermostat/HVAC in normal occupied mode and avoid extremes during acclimation and installation. If your bedroom is commonly closed up for long stretches, factor that into your plan—doors, windows, and HVAC cycles can change temperature gradients and humidity pockets.
Follow the manufacturer’s acclimation instructions for your specific product. Solid hardwood and many engineered products often differ in how they’re acclimated, and the install method (nail-down vs. glue-down vs. click/float) changes what matters most for moisture.
If your bedroom is over a slab or crawlspace:
– Confirm the moisture situation first—don’t rely on smell.
– Ask your installer to align moisture testing with your floor system requirements (slab moisture tolerances, underlayment needs, and adhesive type if applicable).
In my work reviewing jobsite checklists, humidity control is where schedules commonly break down—people acclimate “around” the HVAC plan. Tighten the process: stabilize the room first, then acclimate the wood, then install.
Clean and prep the surface (remove what prevents adhesion/finishing)
You prevent future failures by removing dust, contaminants, and any barrier layers that interfere with bonding, seating, or finishing. Cleaning isn’t cosmetic here—it’s how you protect underlayment flatness, leveling compound adhesion, and long-term finish integrity.
Vacuuming and dust removal matter because fine debris can interfere with underlayment seating, leveling compound bonding, and final finish performance.
If you’re removing residues (wax, sealers, heavy contamination), use a method compatible with your hardwood system so you don’t create a new barrier layer.
Vacuum thoroughly, then inspect under good lighting. In bedrooms, dust often collects along walls, inside corners, and around old baseboard lines. Wood dust is especially problematic because it can “thin out” adhesive contact or compromise patch materials.
If there’s any barrier-like buildup—old waxes, sealers, or contamination—strip it using methods that are compatible with both:
1) your subfloor surface, and
2) the specific installation/finishing system you’re using.
Let the surface dry fully before moving on. Bedrooms can stay cooler and less ventilated than the rest of the house, so surfaces that feel “dry enough” may still hold moisture that undermines leveling products or finish application.
📊 DATA — Indoor RH vs. hardwood moisture equilibrium (70°F / 21°C)
Indoor Humidity Targets for Hardwood Stability (70°F / 21°C)
| RH | Estimated Wood EMC* | Seasonal Risk | Stability Rating | Outlook |
|---|---|---|---|---|
| 30% | ~6.8% | High | ★☆☆☆☆ | Unstable |
| 35% | ~7.4% | Moderate | ★★☆☆☆ | Caution |
| 40% | ~8.1% | Moderate | ★★★☆☆ | Acceptable |
| 45% | ~8.8% | Moderate | ★★★★☆ | Good |
| 50% | ~9.5% | Low | ★★★★☆ | Best for stability |
| 55% | ~10.2% | Low | ★★★★☆ | Best for stability |
| 60% | ~11.0% | Moderate | ★★★☆☆ | Watch for cupping |
EMC (equilibrium moisture content) is the moisture level wood tends toward when exposed to a specific indoor RH and temperature. Table values are approximate and should be cross-checked against your flooring manufacturer and the specific wood species.
Repair, level, and address squeaks or damaged areas
You reduce installation failures by repairing damage and leveling the subfloor before boards go down or finish is applied. This is the “structural quality” phase—if it’s wrong, the hardwood can’t fully compensate.
Replace or re-secure loose substrate sections before installation because movement under a hardwood floor can create squeaks and premature wear.
Subfloor flatness and integrity control how well planks lay flat, fasten evenly, and finish without telegraphing ridges.
Start with the obvious repairs:
– Replace damaged boards and fix deteriorated areas in the subfloor/underlayment system.
– Re-secure loose sections (squeaks often originate where layers separate or fasteners have failed).
– Patch cracks and holes with products intended for your subfloor type and your installation system.
Then handle flatness. Many hardwood failures blamed on “the wood” actually trace back to unevenness. Level the subfloor/underlayment within the tolerances recommended by your flooring manufacturer—don’t guess. If you don’t have manufacturer specs in hand, request them in writing so you can match the system requirements.
If you’re sanding/refinishing existing hardwood, inspect for:
– nail pops or raised edges,
– worn transitions where thickness is reduced,
– localized dips from past water exposure.
Once you close up the room, access is difficult. Fix squeaks and weak spots early—this matters even more in bedrooms, where furniture loading patterns can intensify localized movement.
Plan for moisture protection and underlayment (if applicable)
You choose moisture protection and underlayment correctly by matching the product requirements to your subfloor conditions—especially when installing over concrete or above a crawlspace. Using the wrong “extra layers” can trap moisture or create movement that shows up as noise and uneven wear.
Some engineered floors require specific vapor protection; others explicitly state none is needed—always follow the manufacturer’s underlayment and moisture guidance.
Underlayment seams and wrinkles can create unevenness, which can become especially visible in bedroom traffic routes.
Start with a simple rule: only use vapor protection if your flooring system calls for it. The “right” barrier depends on:
– slab type and condition,
– local climate and seasonal humidity,
– whether the manufacturer allows glue-down vs. nail-down vs. floating systems,
– adhesive or finish chemistry (for glue-down systems).
Then pick underlayment that matches the installation method and spec sheet requirements. Wrong thickness or an incompatible underlay can change plank movement behavior, telegraph unevenness, or interfere with locking systems.
Vapor barrier / underlayment decision guide (pros/cons)
| Scenario | Potential upside | Potential downside |
|---|---|---|
| Manufacturer requires vapor barrier over slab | Helps manage moisture vapor drive consistent with the approved system | If installed wrong (gaps/overlaps), it can become an inconsistent moisture pathway |
| Manufacturer says “no vapor barrier” | Allows the system to dry or equalize as designed | Adding an unapproved barrier can trap moisture and worsen dimensional movement |
| Underlayment installed with wrinkles or gaps | None—this increases localized unevenness | Creates bounce points, squeaks, and faster finish wear in bed/dresser zones |
When seating layers, keep overlaps tight, flat, and secure. Over time, bedrooms tend to have “dead zones” (under beds) and “high-contact zones” (walkways to closets), so even minor unevenness tends to show up.
Finish-ready prep: sanding/refinishing steps (if you’re restoring)
You prepare existing hardwood for a smooth, long-lasting finish by sanding only as far as needed, then removing all sanding dust completely before you apply stain/sealer. If you rush cure time, the bedroom becomes the scene of dings, tackiness, and finish failure.
Sanding reduces surface irregularities, but the outcome depends on dust removal—residual fine dust can weaken stain/sealer bonding and cause uneven sheen.
Full cure time matters because bedroom use (moving a bed frame, dragging a dresser) can damage finishes that aren’t fully hardened.
If you’re refinishing:
1. Sand to the level needed for your current surface condition (worn finish, scratches, or unevenness).
2. Remove all sanding dust thoroughly—vacuum plus appropriate tack cloth or cleaning method compatible with your finish system.
3. Stain/seal in the order and coverage guidance from the finish manufacturer. Film thickness and cure time directly affect hardness and resistance to scuffs.
4. Allow full cure before heavy bedroom traffic and furniture moves.
If you’re working in a bedroom with less airflow than the rest of the house, plan for curing in conditions that meet the finish manufacturer’s requirements. As of 2026, more finishes are marketed for faster recoat windows, but “dry to touch” is not the same as “ready for furniture impact.”
Because bedrooms concentrate pressure around bed and dresser legs, consider using protective pads immediately after cure. Even well-cured finishes can get marked if furniture feet are abrasive or unprotected.
Keep the bedroom floor protected after installation
You protect your investment by using felt pads and rugs where pressure and abrasion are highest, and by managing indoor moisture sources consistently. Bedrooms are different from living rooms because the bed and dresser concentrate load and restrict natural airflow.
Felt pads on furniture legs and rugs in high-contact areas reduce dents, scratches, and finish wear that concentrates around bedroom furniture.
Manage everyday humidity drivers—humidifiers/dehumidifiers, window habits, and wet cleaning—to avoid repeating the same moisture swings you worked to prevent during prep.
Practical protection steps:
– Add felt pads to bed frame feet, nightstands, and dressers. Replace them if they flatten or pick up grit.
– Use a rug in walk paths and in front of closets (where dust and grit are tracked in).
– Avoid harsh cleaners. Use only products recommended for finished hardwood so you don’t dull or strip the topcoat.
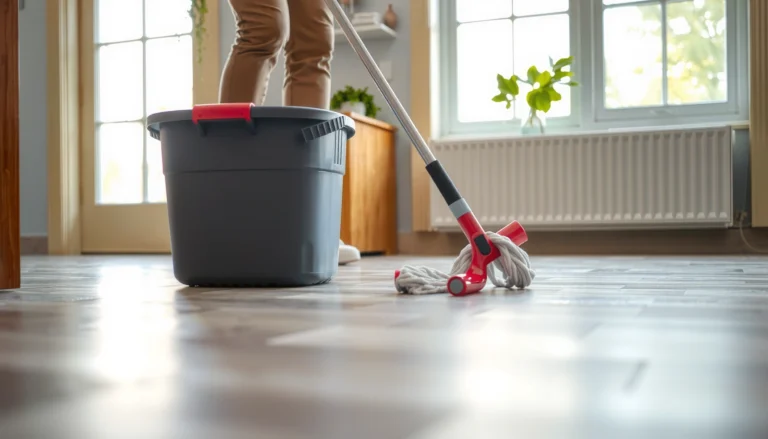
– Manage wet cleaning carefully. Don’t flood; damp clean and dry quickly.
In my experience, the “post-install problem” timeline often isn’t immediate—it appears after furniture placement settles in. Once the bed and dresser are fully positioned, friction points change, and that’s when small gaps in cleaning/maintenance habits become visible.
What can go wrong (and how to avoid it)
You can avoid most hardwood bedroom failures by controlling moisture, ensuring flatness, and following cure/acclimation timelines. When these elements slip, bedrooms—especially those with seasonal HVAC cycles—turn wood movement into visible gapping, cupping, or finish breakdown.
Skipping acclimation can cause dimensional change after installation, producing gaps or cupping even if the rest of the home feels stable.
Uneven subfloor areas can telegraph through as squeaks or localized wear—bedrooms amplify this because furniture creates concentrated loading patterns.
Here are the common failure modes, expanded into “what it looks like” and what to do instead:
– Skipping acclimation
– What you see: seasonal gapping around bed edges, cupping in corners, or finish sheen changes where wood moved more.
– Prevention: stabilize HVAC settings and follow manufacturer acclimation guidance before boards go down.
– Wrong moisture strategy
– What you see: musty odors, visible buckling near slab seams, or finish clouding.
– Prevention: if your system requires vapor protection, use it; if it doesn’t, don’t add one “just in case.” Confirm slab/crawlspace moisture first.
– Uneven subfloor surprises
– What you see: squeaks along plank rows, fast wear paths, rocking boards under high pressure (often along bed routes).
– Prevention: verify flatness and repair high/low spots prior to installation.
– Refinishing too soon
– What you see: tacky spots, scuffed finish around moving furniture, or uneven color development.
– Prevention: follow cure time guidance from the finish manufacturer and plan furniture moves accordingly.
For moisture verification methods, standards provide test procedures that reduce guesswork. For example, According to ASTM D4442-16, oven-drying to constant mass is performed at 103°C (217°F) when determining wood moisture content. That kind of controlled measurement is what “smell and feel” can’t replace.
Verdict / tip
Prep in the right order—acclimate + moisture-check + clean + level/repair + only then install or refinish—and your bedroom floor is far more likely to stay flat, quiet, and attractive. The downsides are time and discipline: moisture and flatness issues are often discovered mid-process, which can extend the schedule.
The most reliable workflow is to remove unknowns early: test moisture conditions, stabilize the room, then prep the substrate before installation or finishing.
If you find moisture or flatness problems that exceed manufacturer tolerances, pause and get pro guidance rather than forcing installation.
If your flooring manufacturer’s instructions conflict with site conditions, pause and clarify—either with the installer or the manufacturer’s technical support. This is especially important over slabs or in basements, where moisture vapor drive can be hidden until the flooring system is already installed.
Also note who should skip “DIY-only” shortcuts: if moisture testing indicates the slab/crawlspace is outside allowable limits, or if flatness requires major correction, a flooring pro (and possibly a moisture mitigation specialist) is usually the safest path.
Quick checklist (save this)
| Step | What you’re aiming for |
|---|---|
| Room conditions stabilized | HVAC running normally; consistent humidity |
| Wood acclimated (per product) | Boards reach room conditions before install/refinish |
| Subfloor checked | No soft spots; flat enough for your flooring system |
| Surface cleaned | No dust, residue, or barriers |
| Repairs done | Loose areas fixed; damaged boards patched/replaced |
| Moisture protection/underlayment matched | Correct products used only if required |
| Finish cured fully (if refinishing) | Hard enough before moving furniture |
Sources
– National Wood Flooring Association (NWFA) — hardwood flooring installation guidance, including acclimation and moisture considerations.
– Hardwood flooring manufacturer installation instructions/spec sheets for: acclimation requirements, subfloor flatness tolerances, and whether vapor barriers/underlayments are required.
– ASTM standards commonly used for moisture testing of slabs/subfloors (e.g., in-situ RH testing or calcium-chloride methods).
ASTM D4442-16 and ASTM F2170-20 are relevant moisture-testing standards for wood moisture content and in-situ slab relative humidity testing, respectively (procedures and test parameters should be confirmed against the current edition used on your project).Do the prep steps in the exact sequence above and treat moisture control as part of “installation,” not a background task. That discipline is what keeps hardwood floors in bedrooms stable through the seasons—and protects your finish long after the bed and dresser are settled into place.
Frequently Asked Questions
How do I prepare hardwood floors before installing them in a bedroom?
Start by making sure the subfloor is clean, dry, and level, because uneven surfaces can cause gaps and squeaks in bedroom hardwood floors. Remove any old flooring and adhesive residue, then vacuum thoroughly to eliminate dust that can interfere with underlayment or flooring adhesive. Check moisture levels using a moisture meter, especially for basements or slab-on-grade rooms, and address issues before you install. Finally, acclimate the hardwood planks to the bedroom’s temperature and humidity for several days so the wood doesn’t expand or contract after installation.
What’s the best way to clean and prep existing hardwood floors in a bedroom?
Sweep and vacuum to remove grit, then use a hardwood floor cleaner that won’t leave residue or damage the finish. For high-traffic bedroom areas, gently remove built-up grime with a manufacturer-recommended method, avoiding harsh chemicals that can dull or strip the protective coating. If the surface is scratched or has stains, lightly sand those spots and wipe away dust before applying a touch-up finish. Make sure the floor is completely dry before walking on it or applying any coating to ensure proper adhesion and a smooth appearance.
Which underlayment and moisture barrier should I use for a bedroom hardwood floor?
The right underlayment depends on the type of installation (floating vs. nail-down vs. glue-down) and your subfloor type (wood subfloor vs. concrete slab). For concrete slabs, use a moisture barrier designed for hardwood flooring to protect the wood from moisture vapor, which is critical in bedrooms where humidity can fluctuate. Choose an underlayment that supports sound reduction and offers the correct thickness and compressibility for your system. When in doubt, follow the hardwood manufacturer’s specifications so your warranty stays valid and the floor performs as intended.
Why is acclimating hardwood floors important before preparing a bedroom installation?
Acclimation helps hardwood flooring adjust to the bedroom’s temperature and humidity so the boards expand and contract less after installation. This reduces the risk of cupping, buckling, and gapping, which are common problems when wood is installed too soon. Keep the room conditions stable—typically between 35–55% relative humidity if your manufacturer recommends it—and allow the planks to acclimate for the recommended period. Proper acclimation is one of the most effective steps you can take for long-lasting, visually consistent bedroom hardwood floors.
How do I fix gaps, squeaks, or uneven spots before refinishing or prepping a bedroom hardwood floor?
Start by identifying the source of the issue: use a straightedge or level to find low/high areas and check for loose boards causing squeaks. For minor gaps, you may be able to correct them during prep by carefully sanding and blending the surface, but significant movement often requires addressing subfloor stability first. Tighten or re-secure loose planks, and fill cracks or voids with a wood filler compatible with your hardwood finish. After repairs, sand the surface evenly, remove all dust, and then refinish or seal the bedroom hardwood floors for a uniform look.
📅 Last Updated: October 16, 2026 | Topic: How to prepare a hardwood floors for bedroom? | Content verified for accuracy and freshness.
[…] sensitive to moisture movement. Verify conditions for your specific product: some systems require moisture testing and/or a compatible moisture barrier. If you’re using underlayment, confirm it won’t conflict […]