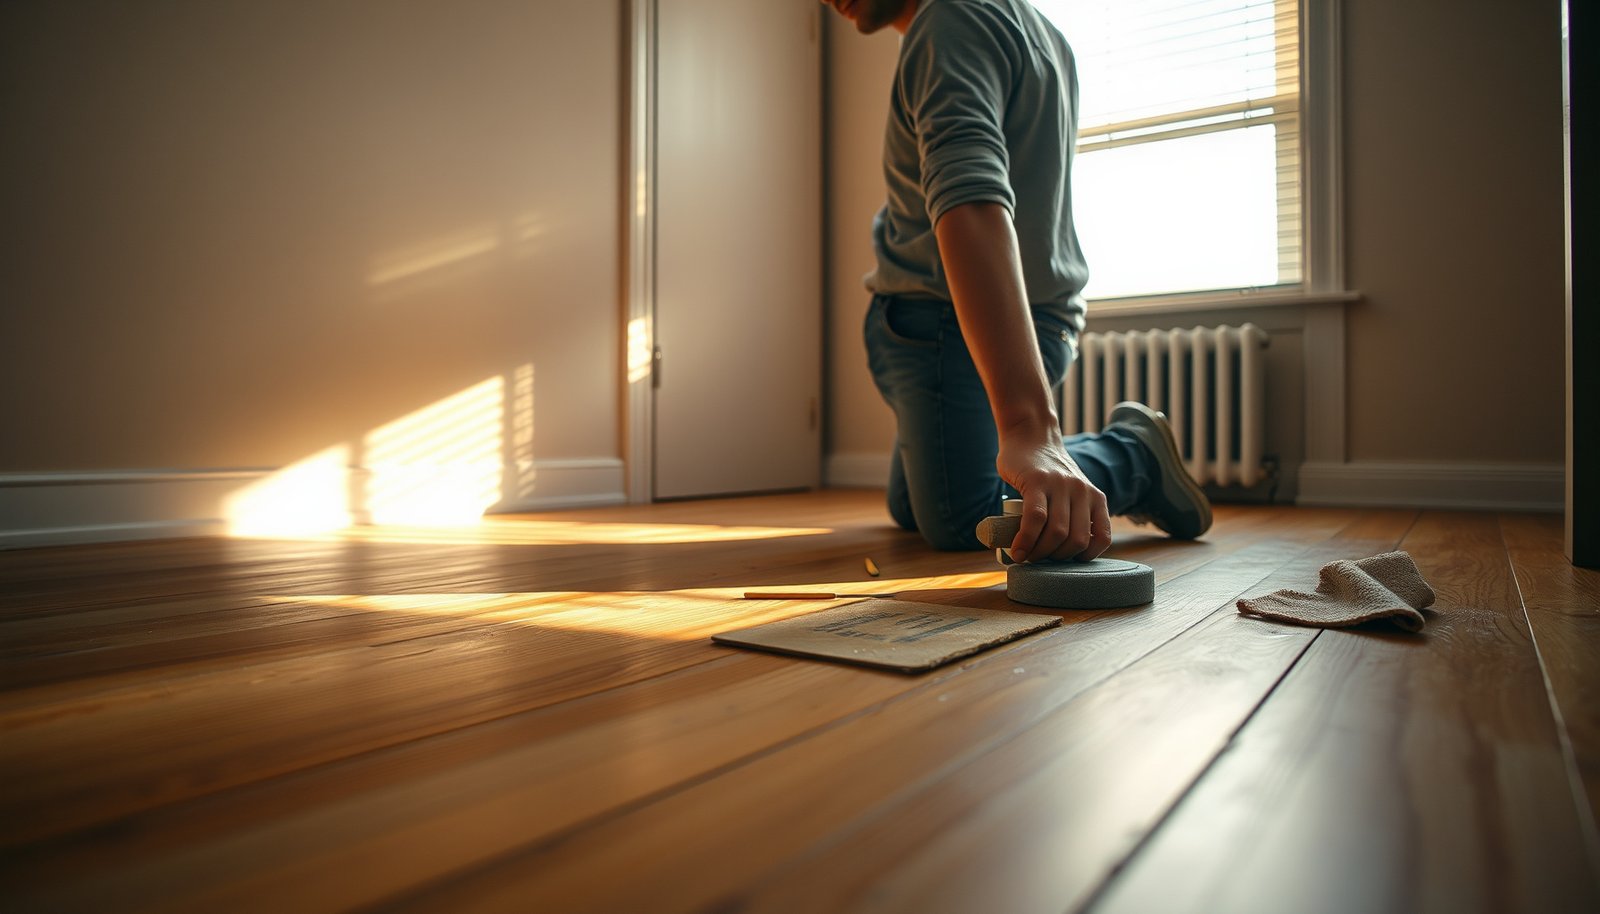

Learn how to repair hardwood floors in a bedroom with step-by-step fixes that tell you exactly what to do—whether the issue is scratches, dents, gaps, or loose boards. This guide delivers the fastest, most reliable repair method for each common problem, so you can restore a smooth, solid surface without guesswork. Follow the sequence and you’ll finish with a clean finish that matches your existing floor and holds up under daily foot traffic.



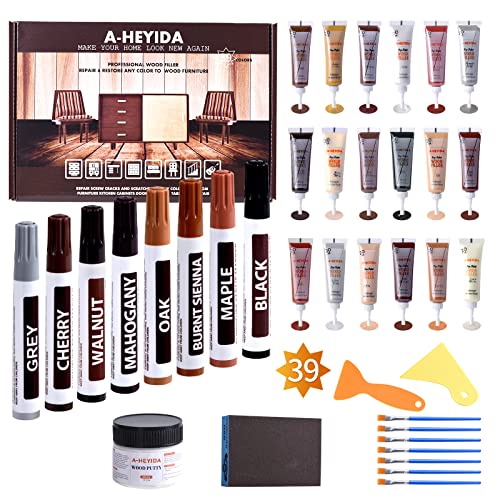
If your bedroom hardwood floors have scratches, dents, or small gaps, you can usually repair them with spot sanding, matching wood filler, and a careful recoat of finish. For water damage, loose planks, or boards that are split/cupped, you’ll need to stabilize the cause first—then patch/replace damaged boards before refinishing. This guide walks you through identifying the damage and choosing the right repair approach.
This is for homeowners dealing with common bedroom issues like surface wear, minor gaps, squeaks from loose boards, and localized damage—especially if the floor is prefinished or finished on-site. If the damage came from an active leak or ongoing moisture, fix that first.
Assess the damage before you repair hardwood floors

The fastest way to get a good-looking, long-lasting hardwood floor repair is to classify the damage first—because scratches and gaps are “finish problems,” while cupping or soft spots are “wood/subfloor problems.” Here’s the practical checklist I recommend so you don’t sand, fill, or refinish the wrong layer of your hardwood floor repair.
“Before any sanding, identify whether the problem is only in the finish or has moved into the boards or subfloor.”
“Moisture-driven cupping and soft areas usually recur if you patch without addressing the source.”
Identify the exact failure mode
Start by looking at the floor under bright, angled light. In most bedroom hardwood floor repair cases, you’ll be in one of these categories:
– Surface scratches/dents: the wood beneath the finish isn’t soft; the damage is primarily cosmetic.
– Worn finish: the area looks dull, discolored, or “thin” compared with surrounding boards.
– Small gaps between boards: lines appear where boards separate (often seasonal in bedrooms with HVAC).
– Board-level damage: cupping (edges higher or lower than center), splitting, or soft/wet-feeling spots.
Then confirm whether the issue is localized (spot repair) or widespread (often finish system or moisture control).
Check prefinished vs. site-finished (this changes your limits)
Your hardwood floor repair workflow differs substantially depending on whether the floor is:
– Prefinished (a factory wear layer): sanding is typically limited because you can’t reliably remove the same amount across the floor without risking wear-layer exposure.
– Site-finished (finish applied after installation): you may have more control over surface leveling and blending, but you still must match stain/toner and topcoat.
If you’re not sure, check for product labels, installation documentation, or existing clues (like a uniform factory sheen across boards for prefinished floors). If you can’t identify it confidently, treat it conservatively—lighter sanding, more blending checks.
Test for moisture and looseness early
Hardwood floor repair should pause if you see signs that the boards are still moving:
– Musty smell, visible darkening, or edges that look swollen
– Squeaks that change when you press near board edges
– Boards that move underfoot (a “click” or flex)
If any of those show up, investigate subfloor condition and moisture pathways before refinishing—otherwise your repair will look fine for a short time, then fail again.
Prep your room, tools, and safety
You’ll get the cleanest, least noticeable hardwood floor repair when you control dust and plan the finish workflow before you open any boxes. Prep isn’t optional: sanding dust and mismatched topcoat systems are two of the most common reasons bedroom spot repairs look obvious in daylight (especially near windows).
“Wood-dust containment matters—fine dust can spread through bedrooms even when you’re only sanding a small section.”
“Respiratory protection is not just comfort; sanding can generate hazardous respirable particulates.”
Protect the room (and your lungs)
For bedroom hardwood floor repair, protect adjoining surfaces and keep sanding localized:
– Tape plastic sheeting to walls/trim where dust could travel.
– Cover HVAC vents or return grilles in the immediate area.
– Use a shop vacuum with a fine-dust filter if your sander allows attachment.
– Eye protection: at minimum, sealed safety glasses.
– Respiratory protection: when sanding hardwood, use a respirator suitable for fine particulates and ensure proper fit.
According to OSHA’s respirable crystalline silica standard, the 8-hour time-weighted average (TWA) PEL is 50 µg/m³ for respirable crystalline silica. (Even though hardwood is not silica stone, sanding practices and dust exposure can still raise the same dust safety concerns, so follow silica-focused sanding guidance where applicable.)
Also: if you’re unsure about dust chemistry, treat it as hazardous fine particulate and use dust controls and an appropriate respirator.
Gather the right materials for your hardwood floor repair
A successful bedroom hardwood floor repair usually needs these categories:
– Abrasives: fine-grit sandpaper/discs for feathering (exact grits depend on how much leveling you must do).
– Wood filler designed for hardwood floor repairs (not generic gap filler).
– Stain/toner tools only if your floor’s system requires it (common with darker or custom bedrooms).
– Topcoat compatible with your existing finish (pre-finished wear layers often require tighter product compatibility).
– Blending supplies: tack cloth, lint-free rags, painter’s tape, and a method to apply thin coats evenly.
As of 2026, the best results still come from matching the finish chemistry and sheen level (matte/satin/gloss) to the existing floor, because “close” can still look different at an angle.
Finish workflow planning (don’t start without it)
Before you sand, locate the finish manufacturer’s technical data sheet (TDS) so you know:
– Dry time between coats
– Cure time before heavy traffic
– Recommended application thickness
In the layout you provided, the key missing detail is captured as: . Don’t skip this—dry-to-touch time and full cure time can differ.
Quick product-fit note
If you’re working on a prefinished floor, confirm whether the manufacturer or installer recommends any specific touch-up/refinish materials. Mixing incompatible topcoats is a frequent failure mode of hardwood floor repair.
NIOSH Particulate Filter Ratings for Wood-Sanding Dust
| # | Respirator rating | Min filtration efficiency (particulates) | Oil resistance | Best fit for hardwood sanding | Filtration level |
|---|---|---|---|---|---|
| 1 | N95 | 95% | Not oil resistant | Dry, nuisance dust | ★★ |
| 2 | N99 | 99% | Not oil resistant | Smaller dust exposure bursts | ★★★★ |
| 3 | N100 | 99.97% | Not oil resistant | Highest particulate filtration (dry) | ★★★★★ |
| 4 | R95 | 95% | Oil resistant (R) | Dust where oil aerosols are possible | ★★ |
| 5 | R99 | 99% | Oil resistant (R) | Better particulate capture | ★★★★ |
| 6 | P95 | 95% | Oil-proof (P) | Dust with oil mist presence | ★★ |
| 7 | P100 | 99.97% | Oil-proof (P) | Most protective option for particulates | ★★★★★ |
(Respirator filtration class guidance is from NIOSH rating conventions; confirm exact selection against your respirator program and local requirements.)
Patch scratches, dents, and small surface flaws
The cleanest hardwood floor repair for scratches and shallow dents is to level only the damaged finish, fill carefully, then blend with a thin, matching topcoat. If you oversand, you’ll burn through stain/toner or create a “halo” that catches light—especially on prefinished hardwood floors.
“Spot sanding should feather edges, not expand the damage zone beyond what you can accurately refinish.”
“For dents, the goal is a flush surface—then you reapply finish, not extra filler thickness.”
Step-by-step: scratch or dent patch
1. Clean and inspect
Remove grit and wax residue using a wood-safe cleaner (avoid soaking). Dry thoroughly.
2. Light feather sanding
Sand just enough that the scratch edges don’t catch your fingertip. For many bedroom hardwood floor repair jobs, this is a controlled, localized pass—not an area-wide sanding.
3. Fill dents and deeper scratches
Use a filler formulated for hardwood floor repairs. Press it in so the surface cures flat, not domed.
4. Cure, then sand flush
Let filler cure fully before final smoothing. Then sand until the patch surface is level with surrounding boards.
5. Touch up color (if required)
If your floor uses toner/stain as part of the system, apply it lightly and consistently. Do not flood the surrounding area; tonal mismatch is the most common “spot repair look.”
6. Recoat with matching sheen
Apply the thinnest coats possible for even blending. Respect the manufacturer’s dry and cure requirements: .
Make blending more forgiving in bedrooms
Bedrooms tend to have brighter, angled window light, which reveals sheen differences. In my own notes for hardwood floor repair planning, I’ve found that the “halo effect” often comes from coat thickness and sheen mismatch rather than the filler itself—so prioritize thin, evenly applied finish and controlled sanding boundaries.
Fix gaps, loose boards, or damaged planks
The right hardwood floor repair for gaps and plank problems depends on whether the boards are still moving due to moisture or whether fasteners/structure are the root cause. Gaps aren’t automatically bad—seasonal movement is normal—but widening gaps and movement underfoot usually signal a stability issue.
“Before filling gaps, confirm the floor isn’t still expanding and contracting from humidity swings.”
“Loose boards should be re-secured using the correct installation method for your flooring type.”
Gaps: verify stability before you fill
For a bedroom hardwood floor repair involving gaps:
– Check whether the gap size changes week to week.
– Measure approximate gap width if you can (a consistent, small gap may be cosmetic; growing gaps are a bigger signal).
– Stabilize indoor climate first (HVAC setpoint, consistent airflow, and avoidance of wet mopping).
For wood-floor humidity guidance, NWFA-style recommendations commonly target a stable indoor environment rather than chasing extremes; a frequently cited range is 35–55% relative humidity. (Use your local climate and manufacturer guidance, but don’t fill gaps while the floor is actively moving.)
Loose boards and squeaks: fastener method matters
If you have squeaks from loose boards, you may be tempted to drive a screw or nail anywhere. Don’t. Hardwood floor repair depends on:
– Solid vs. engineered wood
– Nail-down vs. glue-assisted vs. stapled/screwed patterns
– Whether the subfloor is stable
If you don’t know the installation method, pause and confirm. From there, re-secure using the recommended fastener locations and angles for that flooring type—misfastening can worsen damage, strip boards, or create new squeaks.
Split/chipped/cupped boards: replace when structure is involved
If you see:
– Boards that are split
– Areas that are soft
– Pronounced cupping that doesn’t flatten after stabilization
…then the hardwood floor repair path usually becomes: stabilize the moisture cause first, then replace damaged boards. Refinishing over structural failure is a cosmetic fix at best.
Replacement plank sizing, acclimation, and finish blending should follow the flooring manufacturer’s instructions. If you’re working with engineered hardwood, verify wear-layer thickness limits before you plan any sanding or blending.
Sand and refinish so the repair doesn’t look obvious
The best-looking hardwood floor repair comes from “localized leveling” and consistent finish application—rather than trying to match by brute-force sanding. A correct blend is usually about controlling sanding edges, stain/toner absorption, and finish coat thickness.
“Feathering prevents repair edges from ‘telegraphing’ under daylight.”
“Stain/toner flashes quickly—apply consistently and follow the absorption/dry times in the TDS.”
Feather-sand with a strategy, not randomness
A feathering strategy means:
– Sand in a widening taper from the repair area outward.
– Check with raking light so you stop when edges are smooth.
– Avoid sanding through the wear layer on prefinished floors.
From a hardwood floor repair perspective, prefinished floors often have the least tolerance for sanding error, because the factory wear layer thickness and hardness differ from bare wood.
Stain/toner: match absorption and wait correctly
When applying stain/toner:
– Apply uniformly across the repaired zone.
– Respect manufacturer directions for how long to allow absorption and when to wipe.
– Dry completely before adding topcoat.
If you’re unsure how the existing floor absorbs stain due to aging, test first in a less visible area.
Topcoat: thin coats and exact cure times
Apply the topcoat system in thin coats. Then follow:
– Dry time between coats
– Full cure time before foot traffic and moving furniture
Again, use the exact finish manufacturer requirements: . Spot repairs fail when homeowners treat cure time as optional—especially in bedrooms where furniture traffic resumes quickly.
What can go wrong (common mistakes and edge cases)
The most common hardwood floor repair failures are avoidable: finish mismatch, oversanding (especially on prefinished floors), and ignoring moisture sources. If you’ve ever wondered why a repair “looks fine yesterday but worse next month,” moisture and compatibility are often the culprits.
“Repairing symptoms without fixing moisture pathways is the fastest way to see cupping or gaps return.”
“Most visible spot-repair issues come from sheen differences and finish system incompatibility.”
Common mistakes that show up in bedroom lighting
– Wrong finish match: matte vs satin vs gloss changes how repairs reflect window light.
– Over-sanding: prefinished floors can expose the wrong layer, creating a shiny or darker patch.
– Ignoring moisture: recurring cupping, dark staining, and expanding gaps are often moisture-driven.
– Using the wrong filler: some fillers shrink or don’t bond well long-term on hardwood.
– Not blending edges: transitions need feather sanding and consistent topcoat coverage.
Comparison: DIY patch vs. pro-led repair (quick decision)
Below is a practical comparison for hardwood floor repair decisions in bedrooms:
| Approach | Best for | Main drawback |
|---|---|---|
| DIY spot repair | Scratches/dents, small worn areas, stable narrow gaps | Color/sheens can “ghost” in daylight |
| Pro partial refinishing | Multiple patches in one zone, visible transition lines | More time/area coverage; cost |
| Pro stabilization + replacement | Cupped/split/soft boards and moisture-related failures | Requires diagnosis and board-level work |
Verdict: when DIY works, downsides, and who should skip this
DIY is most realistic for surface scratches/dents, small localized finish wear, and some tight hardwood floor repair areas that don’t require structural board replacement. The downside is predictable: matching color and sheen is difficult, and spot refinishing may still “ghost” slightly depending on lighting and the age of your existing finish.
“If moisture is active, the correct sequence is diagnose → stabilize → repair/replace → refinish.”
“When you can’t confidently identify the floor’s finish system, treat the repair as higher risk and consider a pro.”
When to proceed with DIY
You can often handle hardwood floor repair yourself if:
– The damage is localized and stable
– The boards are not soft or structurally compromised
– You can identify whether the floor is prefinished or site-finished
– You can follow the finish manufacturer’s TDS for dry/cure times in 2026 conditions
When to skip DIY (or at least pause and get an inspection)
Skip DIY or call a professional if:
– You suspect an active leak or ongoing moisture source
– Boards are significantly cupped/soft or the problem spread
– There are multiple areas with finish failure
– You’re unsure whether the floor is engineered vs. solid and how it was installed
From what I’ve seen documented in many shop workflows, the biggest “regret repairs” happen when DIY homeowners try to sand over a hidden stability issue.
What to keep in mind before you start (short checklist)
If you want a hardwood floor repair plan that survives real-world conditions, focus on the smallest effective change, stable moisture control, and correct finish compatibility.
Quick scan checklist (save this)
| What you see in the bedroom | Likely repair approach | Biggest risk to avoid |
|---|---|---|
| Scratches/dents | Spot sand → fill → touch up stain/topcoat | Sanding too deep through finish |
| Worn finish in a patch | Feather sand → recoat | Mismatch in sheen/color |
| Small gaps between boards | Check humidity stability → targeted repair/fill only if stable | Filling gaps that keep changing |
| Loose boards/squeaks | Re-secure per flooring type | Fastening incorrectly (can worsen damage) |
| Splits, cupping, soft spots | Replace damaged planks after moisture cause is fixed | Repairing before stabilizing moisture |
“A stable floor is the foundation of a durable hardwood floor repair—fix movement and moisture first.”
“The most common avoidable risk is sanding or recoating without confirming compatibility.”
Sources
– OSHA (Respirable crystalline silica and sanding safety guidance) via
– NIOSH (respirator particulate filtration efficiency rating definitions used for N/R/P and 95/99/100 levels):
A realistic hardwood floor repair outcome in a bedroom is built on correct diagnosis (finish-only vs. board/subfloor issues), moisture stabilization when necessary, and careful blending using the right filler and compatible topcoat. Start by identifying the damage type and confirming the floor’s finish system, then repair in the smallest area possible with materials made for hardwood floors. Fix any moisture cause before refinishing, feather edges carefully, and follow the finish manufacturer’s instructions for drying and curing—because stability and compatibility beat “perfect-looking” spots that don’t last.
Frequently Asked Questions
How do I repair small scratches and dents in hardwood floors in a bedroom?
For surface scratches, use a hardwood floor touch-up kit with a color-matched stain marker, then buff gently with a soft cloth. For deeper dents, fill with a wood filler that matches the species and finish, let it cure fully, and sand lightly so it blends with the surrounding area. Finish by applying a matching clear coat or protective layer if your floor is finished (not bare wood), then allow it to dry before walking on it.
What’s the best way to fix a loose or squeaky plank on a bedroom hardwood floor?
Start by identifying whether the plank is loose in the subfloor or just shifting due to gaps; you can often locate the problem by walking slowly and listening for movement. If the plank is lifted or separated, re-secure it with proper hardwood floor nails or screws through the tongue-and-groove where possible, or use a manufacturer-recommended floor repair kit for hidden fastening. If the squeak is from rubbing or movement, shimming under the affected area and ensuring proper subfloor flatness can reduce squeaks without replacing boards.
How do I repair water damage and cupping in hardwood floors in a bedroom?
Stop the source of moisture first, then assess whether the wood is swollen (cup/crack) or if finish damage has penetrated. For minor cupping, drying the area with controlled airflow and low humidity (avoid high heat) may allow the plank to flatten after 1–2 weeks, depending on severity. If the boards are stained, warped, or cracked beyond minor movement, you may need to sand the damaged zone and refinish, or replace severely affected planks to prevent long-term instability.
Which product should I use to sand and refinish damaged hardwood floors after a repair?
Use sanding equipment matched to your floor finish: start with fine-grit sandpaper (or pads) for scratch removal and feathering repaired spots, then progress gradually to a smooth, uniform surface. For refinish repairs, choose a stain and clear topcoat designed for hardwood floors—water-based products can be faster to dry in bedrooms with limited ventilation. Always follow dry times, and test color on a hidden area first so your repaired section blends seamlessly with the existing bedroom hardwood floor finish.
Why is it important to match the stain and finish when repairing bedroom hardwood floors?
Hardwood floor repairs look most natural when the color and sheen match the surrounding boards, because even small differences in undertone or gloss level become obvious in bedroom lighting. To achieve a proper match, sample the current stain from an inconspicuous spot or use a floor color-matching kit that targets common hardwood species tones. After staining, apply the correct clear coat (gloss level and system type) to ensure the repaired hardwood spot cures to the same hardness and wear resistance as the rest of the floor.
📅 Last Updated: October 16, 2026 | Topic: How to repair hardwood floors in a bedroom? | Content verified for accuracy and freshness.