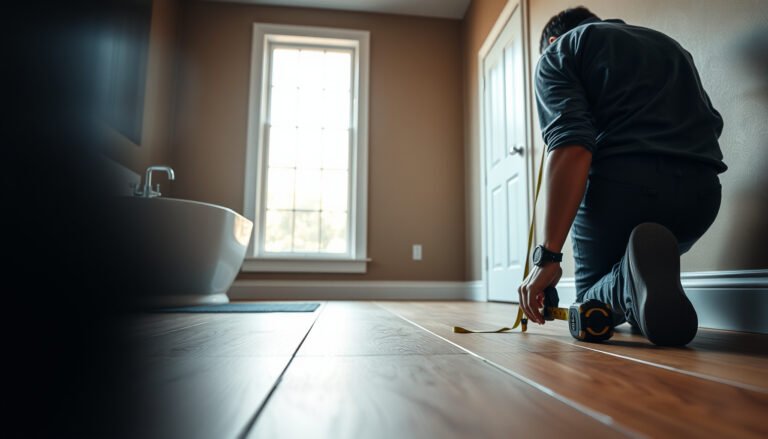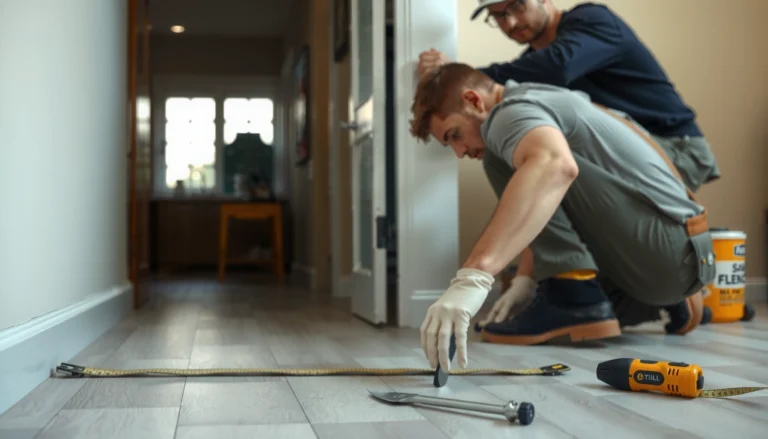

Wondering how to install over tile chevron floors without lifting your existing tile or wasting time—follow these step-by-step instructions and you’ll get a secure, level result. This guide walks you through surface prep, flattening, underlayment choice, layout, and fastener or adhesive methods so your new flooring locks in correctly. If you want the fastest path to a durable installation, this is the playbook to use.
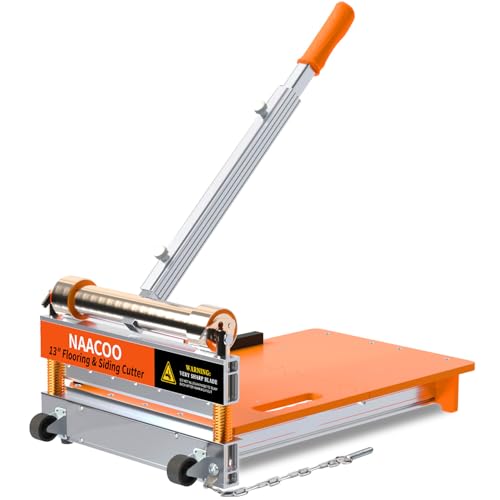



If your tile chevron floor is solid and level, you can often install new flooring over it by using the right surface prep and an underlayment strategy. The safest route is to check for loose or uneven tiles first, then choose a compatible “over tile” method (like LVP/laminate with proper prep, or thinset/patch systems where required). Below is a practical process that helps you avoid hollow spots, cracking, and poor adhesion.
This is for homeowners tackling a refresh over an existing chevron tile pattern—especially when you want to avoid demo. It also helps if you’re deciding whether you can go directly on top or need leveling/repair before installing your new floor.
Check the existing chevron tile is a stable base
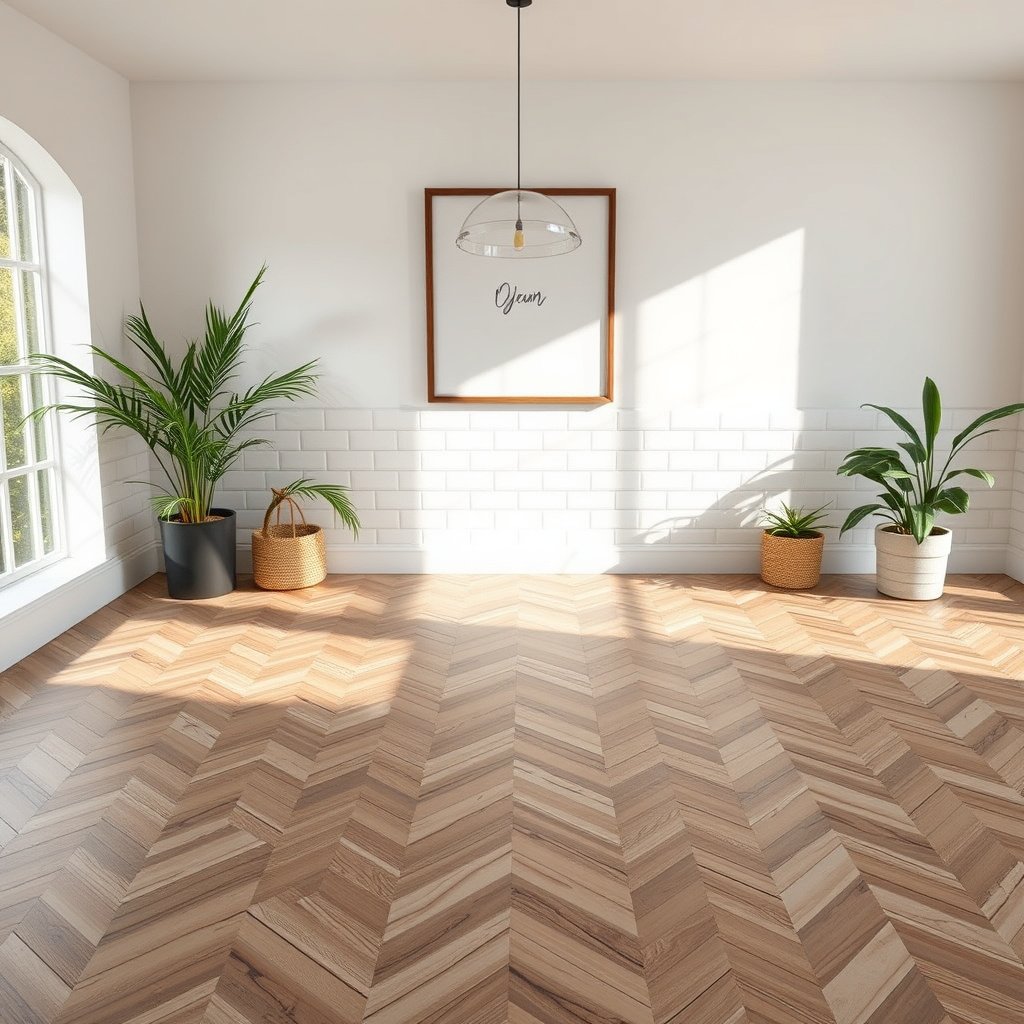
You can only install over a chevron tile floor if the tile assembly is tightly bonded and flat enough to support your new surface. The first step is confirming tiles are not loose and measuring the floor’s flatness so your new click-lock or adhesive system doesn’t fail later.
Tap-testing individual tiles helps identify areas that are hollow; loose tiles are a primary cause of cracking and clicking sounds when covered.
Subfloor flatness targets for resilient and floating floors are typically measured over a 6 ft or 10 ft span using a straightedge, not by eye.
If you find systematic highs/lows in a chevron pattern, grout ridges and mortar voids can telegraph through and prevent proper locking or adhesion.
Start with stability checks, because “over tile” only works when the tile behaves like a single rigid slab. In my own remodeling inspections, the most common failure mode on chevron tile overlays is not the tile itself—it’s the hidden movement from a few poorly bonded tiles along grout lines or corners.
– Confirm the tile is firmly bonded: tap tiles with a tool handle and remove anything that sounds hollow. If you hear a dull, hollow sound, treat that tile as suspect.
– Measure flatness: use a straightedge/level to find high or low spots that will telegraph through new flooring. Check along the chevron direction and across it—pattern floors can “nest” bumps in more than one direction.
– Decide if you need leveling: if the floor is significantly uneven, plan on a patch/skim coat approach before installing. A thin skim is often preferable to trying to “float over” the issue.
Prepare the surface for installation over tile
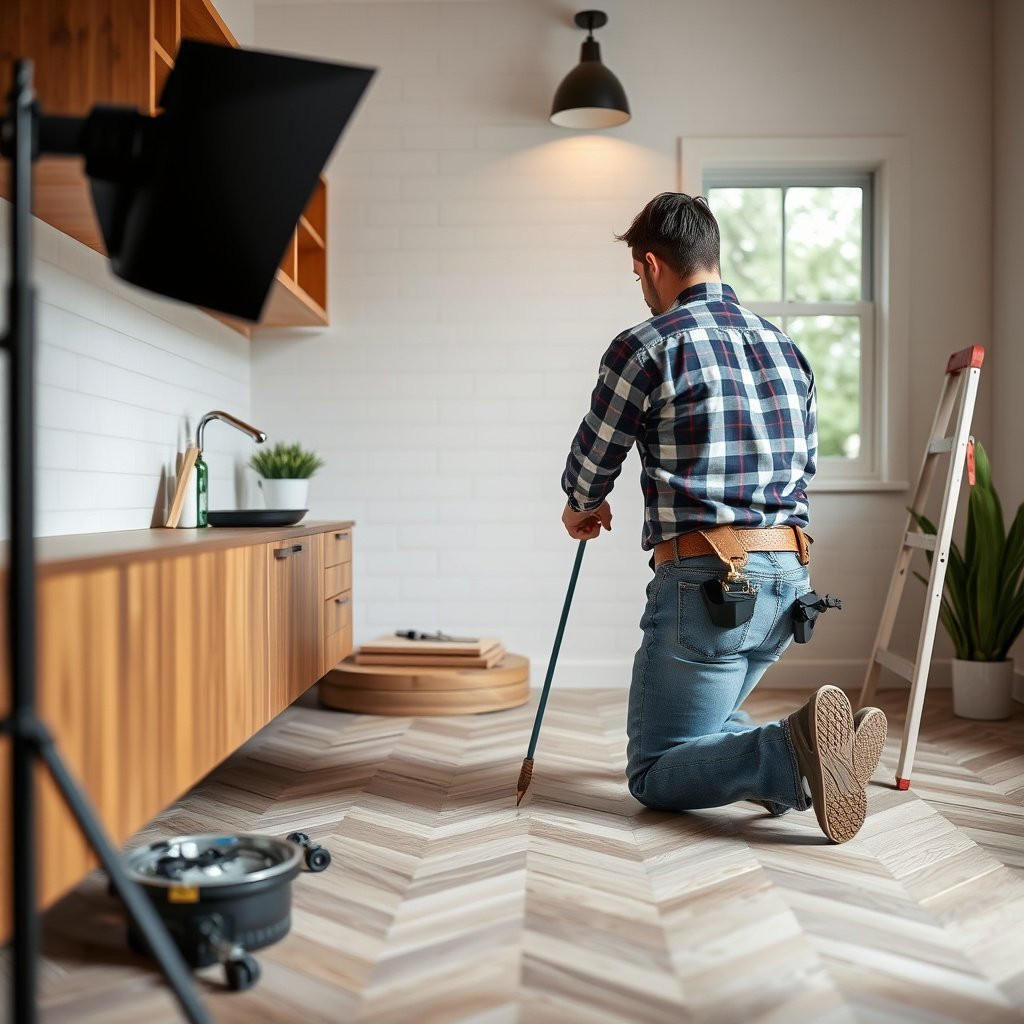
You prepare tile for over-installation mainly so your new system can either (a) lock and sit flat on a smooth plane or (b) bond securely through a compatible primer/mortar. That means cleaning contaminants, flattening grout ridges when required, and repairing chips that create rocking points.
Oil, wax, sealers, and construction residue reduce adhesion for glue-down and thinset systems and can also interfere with primers recommended for ceramic/porcelain.
Many over-tile installation workflows require abrading or grinding glossy glaze in localized areas to improve mechanical bond.
Repairing chipped edges and spalls is critical because even small “teeter points” can create noise and stress in floating installations.Preparation steps differ depending on whether your new flooring is floating (LVP/laminate) or glue-down/thinset-based (some LVP and most adhered systems). As of 2026, manufacturers increasingly specify “tile substrate approval” plus a specific prep method, so follow the instructions for your exact product rather than relying on general rules.
– Clean thoroughly: remove grime, wax, paint overspray, and any sealers that prevent bonding (use the method recommended for your tile type). If your chevron tiles were sealed, you may need a sealer-removal step—then a clean water rinse—before proceeding.
– Roughen where bonding is required: if your chosen system needs adhesion, lightly abrade or use the manufacturer-approved primer/grinding approach. For glossy ceramic glaze, adhesion failures often come from skipping this step.
– Repair grout and chips: patch damaged edges/corners so the new floor sits flat without rocking. For grout, consider leveling compounds or patch materials compatible with your tile surface and your final flooring.
Practical tip: if your chevron grout joints are raised or irregular, that can be more problematic than a few surface scratches. Raised grout can create lock failures for click products and “print-through” bumps for resilient floors.
Choose the correct “over tile” method for your new flooring
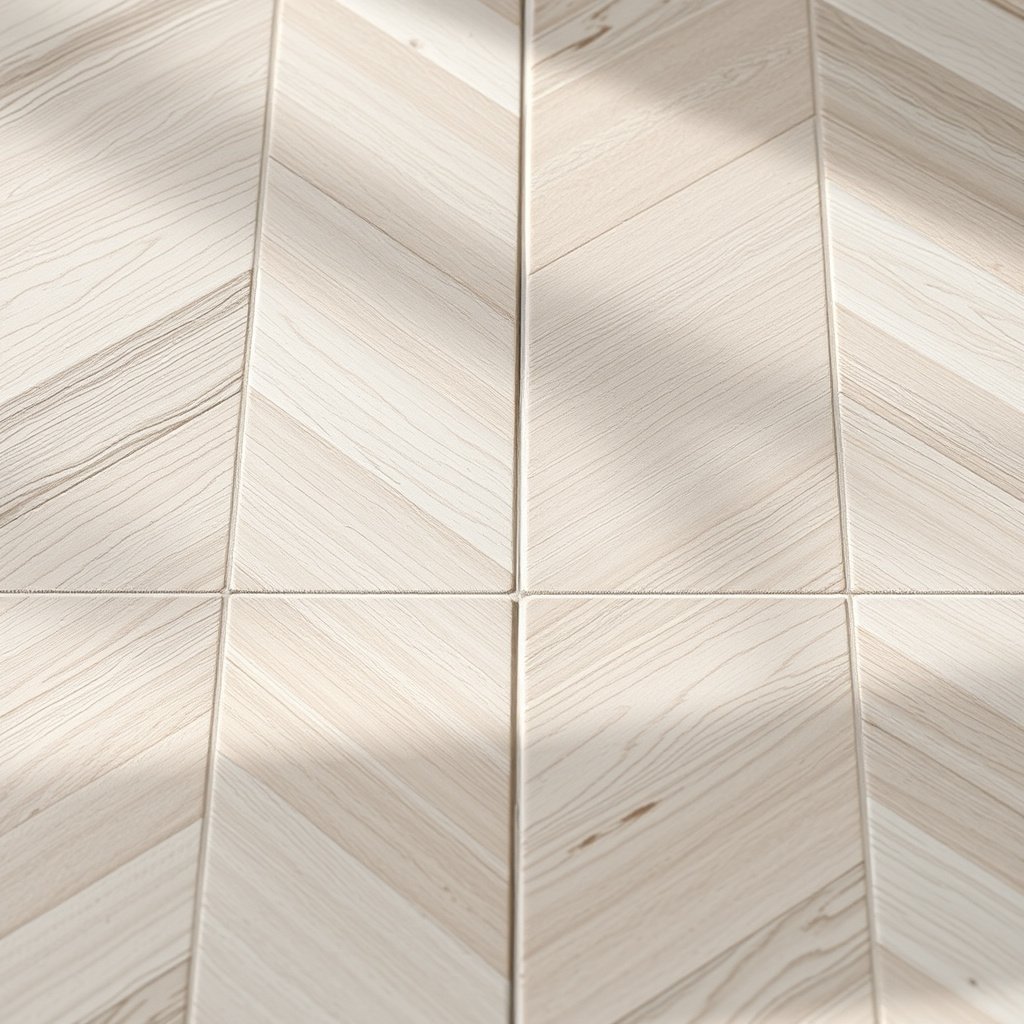
The best over-tile strategy depends on how your new flooring transfers loads—floating systems distribute weight through the underlayment, while glue-down and thinset systems rely on chemical/mechanical adhesion to the substrate. Choose the method your flooring manufacturer explicitly approves for ceramic/porcelain tile.
Floating LVP/laminate assemblies depend on an underlayment that can’t be “fooled” by uneven grout ridges or insufficient flatness.
Glue-down or thinset installation over ceramic/porcelain requires an approved primer and mortar/adhesive, because most adhesives designed for plywood aren’t automatically compatible with glazed tile.
Transition height matters: the combined thickness of tile + any patch/primer + underlayment + flooring can affect door clearances.
To make this decision analytically, separate “tile as a substrate” from “chevron as a geometry problem.” Chevron grout lines change how flat support feels, so the right method often isn’t the same across flooring types.
– For floating floors (commonly some laminate/LVP): follow the product’s underlayment and spacing rules for tile substrates. Typically, you’ll need a vapor barrier strategy (if required) and a flatness-ready surface to prevent clicking and movement.
– For glue-down or thinset systems: use the specific primer/mortar/adhesion solution approved for ceramic/porcelain tile. This is where many DIY installs go wrong—adhesives chosen for wood subfloors do not necessarily bond to tile glaze.
– For transitions and height control: account for grout lines and thickness so door clearances and transitions stay workable. Plan transitions before you start—especially in entryways, hallways, and near steps.
Over-tile compatibility snapshot (flatness targets & typical suitability)
Below is a practical “starting point” comparison. Always confirm these match your exact flooring instructions, because manufacturers can tighten or change requirements.
Typical Flatness Targets When Installing Over Existing Tile (Rule-of-Thumb by System)
| # | Flooring system (over tile) | Common flatness target | Prep focus | Over-tile readiness |
|---|---|---|---|---|
| 1 | Click-Lock LVP/LVT | ≤ 3/16 in over 10 ft | Flatten grout ridges | ★★★★☆ |
| 2 | Floating laminate | ≤ 3/16 in over 10 ft | Verify tile substrate approval | ★★★★☆ |
| 3 | Floating engineered wood | ≤ 1/8 in over 6 ft | Control telegraphing | ★★★☆☆ |
| 4 | Glue-down LVP/LVT (adhesive set) | ≤ 1/8 in over 6 ft | Use tile-approved primer | ★★★☆☆ |
| 5 | Sheet vinyl (adhered) | ≤ 1/8 in over 6 ft | Flatness for print-through | ★★★☆☆ |
| 6 | Tile/plank over tile (thinset-based) | Follow thinset spec + flatness | Mechanical bond + lippage control | ★★☆☆☆ |
| 7 | Unapproved “underlayment-only” installs | Not recommended | Missing adhesion/flatness steps | ★☆☆☆☆ |
That “flatness target” column is a starting point, not a guarantee. In 2026, many flooring warranties will specifically require you to meet their numeric flatness tolerance and to use only approved prep materials for tile.
Install in sections and manage chevron pattern challenges
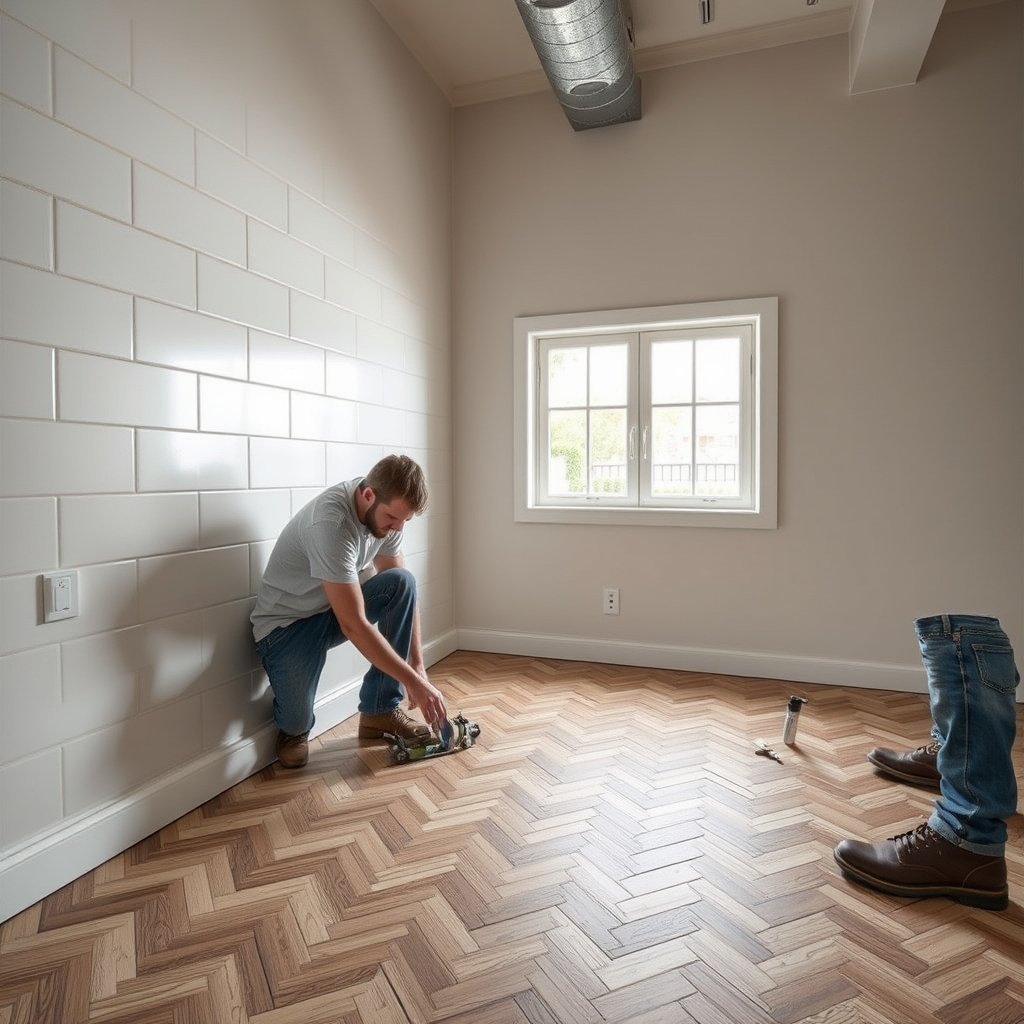
You should install over tile in controlled sections because chevron floors magnify alignment errors and unevenness—tiny issues become visible as the pattern repeats. Good sectioning also helps you detect localized high/low tiles before the whole room locks in.
Chevron layouts increase the visual impact of minor misalignment, so a dry-fit and careful seam planning prevents awkward slivers.
Floating floors require expansion gaps around walls and fixed objects to allow movement, even when installed over tile.
If repeated rocking occurs near the same tile/grout line, the fix is to patch/flatten the substrate—not to force-lock planks.
Pattern management is where most DIY overlays consume time. Chevron grout lines create a “grid” your eyes track, so you want consistent plank direction, consistent offset, and a measured approach at doorways.
– Plan layout to avoid tiny slivers: chevron grout lines can visually magnify alignment issues. Dry-fit rows and mark reference lines using chalk so you’re not relying on eyeballing.
– Use proper spacers/expansion gaps: floating installations typically require room for movement around walls and fixtures. Keep gaps consistent; inconsistent gaps can cause pattern drift at the end.
– Keep your subfloor flat during installation: if you notice repeated rocking at specific tiles, stop and address the low/high spot before continuing. Locking planks over a bump often leads to later separation or noise.
A practical approach: work from your center reference line outward and check alignment every few rows. On chevron, checking alignment is not just cosmetic—it helps prevent torsion that can stress click mechanisms.
What can go wrong (and how to prevent it)
Over-tile installations fail when the tile substrate isn’t rigid enough, the surface isn’t flat enough, or the chosen flooring system isn’t approved for tile. The good news is these are predictable failure modes with clear prevention steps.
Hollow tiles create flex points; new flooring can crack, separate, or squeak when the substrate moves under load.
Raised grout ridges can prevent proper locking in click systems and can cause print-through in resilient finishes.
Moisture can still be an issue beneath tile depending on the building assembly, so follow moisture testing methods referenced in flooring instructions.
In 2026, the most avoidable errors are warranty-breaking prep shortcuts. If you skip primer/adhesion steps for a tile substrate, you can get delamination or adhesive bond failures without immediate warning.
– Hollow tiles leading to flex: if any tile is loose, new flooring can crack, separate, or squeak—repair/remove before proceeding. Replace the tile or re-bond/mortar bed as needed to eliminate movement.
– Unevenness from chevron grout: grout ridges can cause bumps, poor locking (for click systems), or cracked finishes—flatten/skim if needed. Flattening grout is usually easier and more reliable than trying to “adjust” underlayment.
– Using the wrong adhesive/underlayment: “works on wood” products often fail on tile—always follow the flooring manufacturer’s over-tile requirements. If the adhesive spec doesn’t mention ceramic/porcelain tile substrates, don’t assume it’s compatible.
– Moisture problems: tile may trap moisture depending on the subfloor system; address moisture testing if the flooring instructions call for it. Some vinyl/laminate warranties require specific moisture limits and testing methods.
Quick pros/cons: common over-tile methods
| Method | Pros | Cons / watch-outs |
|---|---|---|
| Floating LVP/Laminate (approved underlayment) | No glue bond to tile required; faster install; easier to replace individual boards. | Requires strict flatness; grout ridges can cause noise/failed locking. |
| Glue-down or thinset-based set (approved primer/mortar) | Can improve stability; fewer movement-related issues than floating. | Harder prep; incorrect primer/mortar can fail adhesion to glazed tile. |
Verdict / tip: when over-tile installation is worth it
Over tile chevron floors can work well when the surface is solid, well-bonded, and within the flatness limits of your new flooring system. If your tile is cracked/loose, badly out of level, or your product instructions don’t permit tile substrates, skip the over-tile approach and plan controlled removal or a proper underlayment/leveling system instead.
Here’s the most practical “best recommendation” by common flooring type (as of 2026, following typical manufacturer constraints):
– LVP (click/float): Often the easiest “over tile” option when the flooring brand explicitly approves tile substrates and your chevron grout ridges are flattened enough to meet the flatness tolerance. Choose an underlayment that your product approves for tile and moisture conditions.
– Laminate (floating): Similar to LVP—works when tile is stable and flat enough, with correct underlayment and expansion gap rules. If the manufacturer restricts tile overlays, don’t improvise.
– Engineered wood: Often less forgiving than LVP/Laminate. Floating engineered wood may be acceptable if approved for tile and you meet flatness requirements, but glue-down engineered systems typically demand more exact bonding and surface prep.
– Tile/plank installed with thinset (or adhered vinyl): Generally the hardest route over tile because it requires the right primer/mortar system and a surface prepared for bond—meaning time spent grinding/patching is common.
In short: over-tile is usually worth it for floating LVP/laminate when the tile is stable and you flatten what needs flattening. It’s not worth it when the substrate is moving, heavily cracked, or outside the manufacturer’s numeric flatness limits.
Quick checklist before you start
– [ ] Tap-test tiles for hollow spots
– [ ] Check flatness with a straightedge (note high/low areas)
– [ ] Clean and remove contaminants; confirm any required priming/roughening steps
– [ ] Repair chips/spalls; level grout ridges if needed
– [ ] Verify your flooring product is explicitly approved for installation over tile
– [ ] Confirm required underlayment, expansion gaps, and transitions plan
– [ ] Dry-fit a layout to avoid awkward end pieces
Sources
– ASTM F710, Standard Practice for Preparing Concrete Floors to Receive Resilient Flooring (for general concrete/substrate prep and flatness expectations used across resilient flooring guidance)
– ASTM F1869, Standard Test Method for Measuring Moisture Vapor Emission Rate of Concrete Subfloor Using Anhydrous Calcium Chloride (for moisture testing methods referenced in flooring instructions)
– ASTM F2170, Standard Test Method for Determining Relative Humidity in Concrete Using in situ Probes (for relative humidity moisture testing methods)
– RFCI (Resilient Floor Covering Institute) / resilient flooring installation prep guidance (for flatness and substrate preparation principles used by installer training)
A solid chevron tile floor can often serve as a workable base—provided the tile is tightly bonded, the surface meets your new flooring’s flatness tolerance, and you follow tile-approved prep and system requirements. If you treat the chevron grout ridges and any loose tiles as “must-fix” items, your overlay has a much better chance of staying quiet, flat, and well-supported through real daily traffic.
Frequently Asked Questions
What preparation steps should I take before installing over tile chevron floors?
Start by checking that the existing chevron tile is firmly bonded—try a few gentle taps and look for any cracks or loose areas. Clean thoroughly (use a degreaser if needed) and remove wax, soap scum, and grout haze so thinset and underlayment can bond. If the surface is glossy, lightly abrade it and vacuum dust completely. Finally, measure the floor height changes to confirm your door clearances and transitions will work.
How do I know whether I should tile, vinyl, or use underlayment when installing over tile chevron floors?
The right approach depends on how level your chevron tile surface is and what finish you’re installing. For new tile, you typically need a flat substrate—if the chevron pattern creates high/low spots, you may need a leveling system or a thinset leveling base. For LVT/vinyl plank, you usually need a smooth, stable surface; minor texture can be managed with proper underlayment only if the product allows it. Always follow the new flooring manufacturer’s “install over tile” instructions, including approved primers, leveling compounds, and minimum bond conditions.
Why is leveling so important when installing over tile chevron floors?
Chevron tile floors often have grout ridges and angled transitions that can telegraph through new flooring, leading to uneven walking feel, gaps, or premature wear. Unevenness can also prevent proper thinset coverage for tile installs and can cause vinyl to stress, lift, or separate at seams. Using a straightedge across multiple directions (including along and across the chevron lines) helps you identify dips and ridges. Leveling with an approved patch or self-leveling underlayment creates a consistent base for better adhesion and a professional finish.
What underlayment or bonding method works best for installing flooring over tile chevron patterns?
For tile-on-tile, a common solution is using a high-bond thinset mortar and ensuring full coverage, often with the correct trowel size to avoid voids. For LVT or other floating floors, you may need a compatible underlayment that addresses minor imperfections while respecting the waterproofing and warranty requirements. In many cases, applying a primer made for bonding to existing tile improves adhesion and reduces the risk of delamination. Choose products labeled for installing over ceramic or porcelain tile, especially when installing over a chevron tile layout.
Which tools and materials do I need to install over tile chevron floors without causing hollow spots or lippage?
Plan on using a grinder or oscillating tool for any needed prep edges, a vacuum for dust control, and a quality straightedge/level to verify flatness before you start. For tile installs, you’ll need the right thinset, mixing tools, and a notched trowel that matches the tile thickness and your substrate conditions to achieve full thinset coverage. For leveling, have a cementitious patch or self-leveling compound (approved for tile-over-tile) plus mixing equipment and a gauge rake/spiked roller if required. Taking time to address high grout ridges and achieving consistent coverage helps prevent hollow spots and reduces lippage on the new floor.
📅 Last Updated: October 15, 2026 | Topic: How to install over tile chevron floors? | Content verified for accuracy and freshness.
References
- Tile
- Thinset
- https://www.tileusa.com/
- https://www.schluter.com/schluter-us/en_US/learn/installation-guides/tile-over-tile
- https://www.mapei.com/us/en-us/resources/install-guides/tile-installation-over-existing-tile
- https://www.ansi.org/standards/index.html
- https://scholar.google.com/scholar?q=installing+tile+over+existing+tile+floor+thinset+flatness Google Scholar
- https://scholar.google.com/scholar?q=chevron+tile+floor+layout+installation+guidelines+pattern+alignment Google Scholar
- https://scholar.google.com/scholar?q=tile+over+tile+substrate+preparation+grinding+bond+coat+thinset Google Scholar