
Wondering how to measure hardwood floors for a bathroom the right way? Follow these step-by-step measurements to get accurate square footage, handle tricky cuts around toilet and vanity areas, and plan for proper waste. You’ll leave with a clear sizing method that prevents costly underbuying and guarantees a clean, professional fit.




To measure hardwood floors for a bathroom, calculate the net installable square footage (gross area minus vents, plumbing clearances, and permanent cut-outs), then convert that net number to box count using the manufacturer’s coverage and add a realistic waste allowance for trimming. Measuring hardwood floors for a bathroom is all about getting the usable “net” square footage after accounting for odd shapes, doors, and plumbing clearances. Start by measuring the room and then subtract anything the wood won’t cover (like vents, built-ins, or toe-kick areas), so you can order the right amount of flooring plus a little extra for cuts. In this guide, you’ll learn exactly what to measure, how to handle bathroom obstacles, and how to plan for waste.
This is for homeowners and flooring DIYers preparing to install (or estimate) hardwood in a bathroom—especially rooms with alcoves, angled walls, door jambs, or fixtures that interrupt full-board layouts.
Gather what you need before measuring
You’ll get the most accurate hardwood-for-bathroom estimate by using consistent measuring references and recording everything as you go. This step prevents common ordering errors caused by mixing trim-level dimensions with true floor-level dimensions.
A tape measure plus a simple room sketch lets you turn “net square footage” into an orderable quantity without relying on memory.
For bathroom hardwood floor measurement, record locations of vent grilles, plumbing penetrations, and door openings at floor level—not at baseboards.
According to the National Wood Flooring Association (NWFA), starting with subfloor measurements and accounting for obstructions helps reduce rework caused by incorrect material counts (National Wood Flooring Association (NWFA), Wood Flooring Installation Guidelines (2021)).
– Use a tape measure, pencil, paper (or a sketch app), and a calculator to keep measurements consistent.
– Bring a notepad for details like door swing direction, vent locations, and where plumbing enters the room.
– Decide how you’ll record measurements (e.g., perimeter notes + room sketch) so ordering won’t be based on a “best guess.”
What to write down (so you don’t forget mid-calculation):
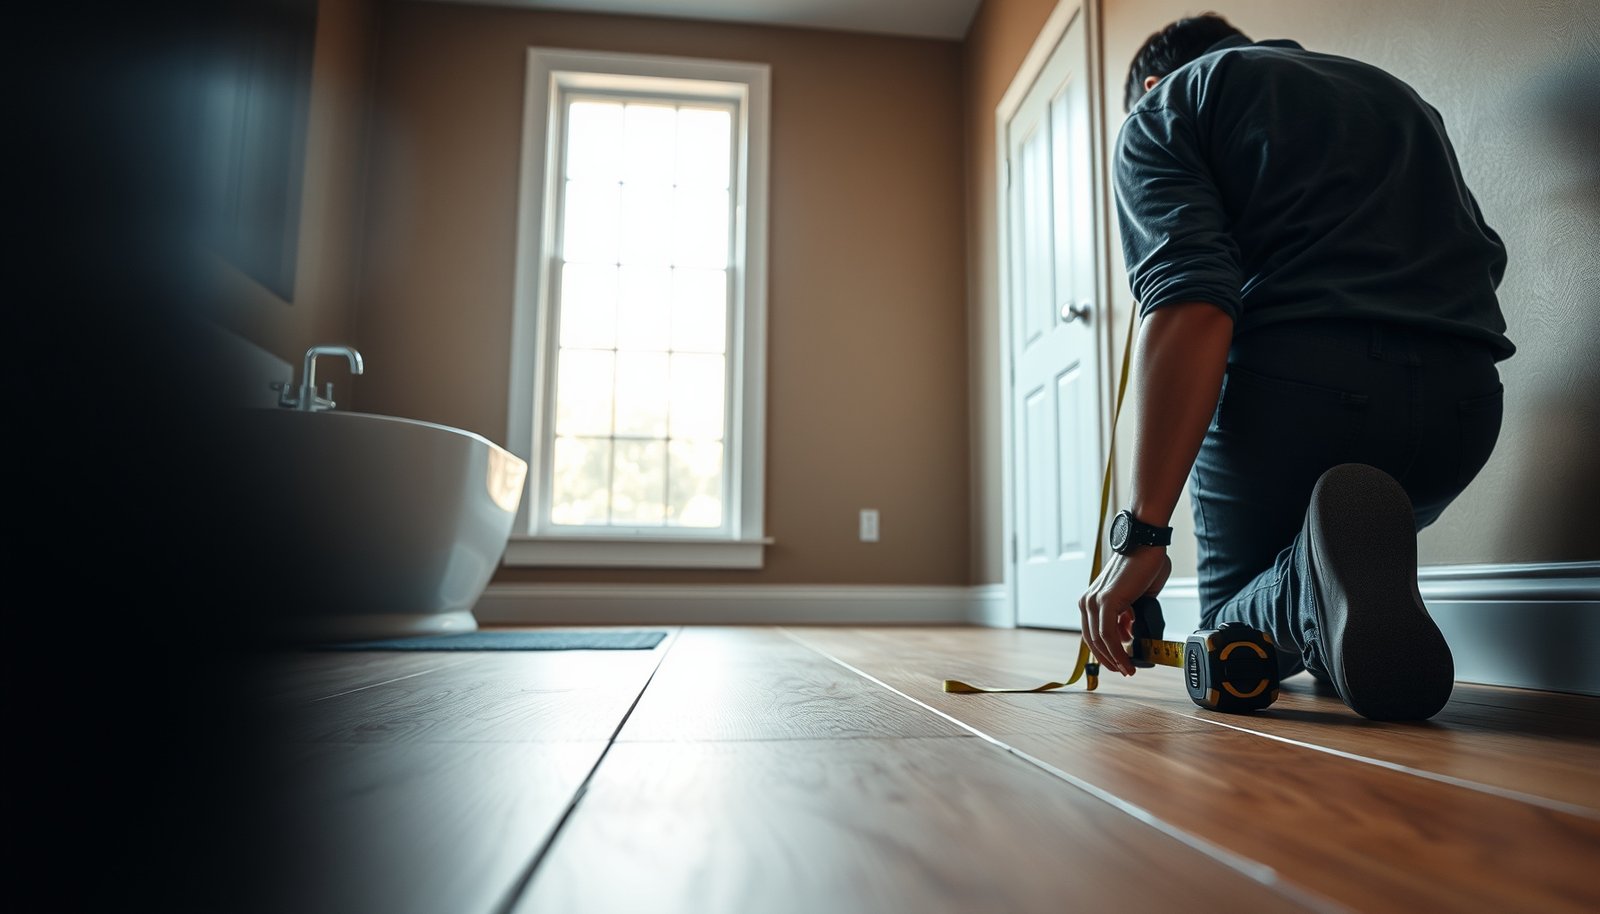
– Room dimensions at floor level: Measure where the boards will actually lie (usually edge-to-edge of the subfloor, not along the finished wall edges).
– Obstacle locations: Sketch and label vents, floor registers, toilet footprint boundaries, vanity toe-kick zones, and any built-ins.
– Door and threshold notes: Note whether a door swings into the room and whether you’ll be installing up to a threshold strip.
Bathroom-specific tip (saves time later):
If the bathroom has angled walls or alcoves, measure those “interruptions” early and split the room into simple shapes while you’re still standing in the room. That keeps your net-area math accurate and reduces the chance you’ll re-measure after you’ve already started cutting plans.
Measure the bathroom space for the “net” floor area
You should begin with gross square footage using the room’s longest usable wall-to-wall lines, then plan to subtract what the wood can’t cover. For bathroom hardwood floors, the “net” number is what actually drives box count.
Net square footage for a bathroom hardwood floor is the gross install area minus the regions you will not cover (vents, plumbing cut-outs, and permanent fixtures).
In irregular bathroom layouts, splitting the room into rectangles and triangles is usually more accurate than forcing everything into one rectangle.
According to NWFA installation guidance, wood flooring must be planned around movement and clearances, which starts with accurate perimeter measurement (NWFA, Wood Flooring Installation Guidelines (2021)).
– Measure length and width along the longest usable wall-to-wall lines, then calculate the base square footage.
– If the room isn’t a perfect rectangle, split it into simple shapes (rectangles/triangles) and add the areas together.
– Record the measurements carefully at the floor level (not at trim or baseboards), since bathroom walls are often not perfectly square.
How to measure correctly when walls aren’t square
Bathrooms frequently have walls that are slightly bowed or not perfectly perpendicular, so “measuring at the baseboard” can drift your totals by enough to matter when you’re ordering. A practical method is:
1. Pick two points on each long wall (where boards will run).
2. Measure at the floor plane (or directly above where boards sit).
3. Take two measurements per side (near and far) if the space seems off—use the measurement that represents the board path.
When you should split the room into shapes
Split the bathroom whenever you have:
– Alcoves or recesses (including shower niches)
– Angled walls
– Corner cut-ins around columns or built-ins
– Any area that will be excluded entirely and needs a clean boundary for subtracting
If you’re ordering by box count, this is the difference between “close enough” and a finish you can complete without scrambling for extra planks.
Account for bathroom obstacles and cut-outs
You should subtract every area you won’t cover before you calculate how many boxes to order. In bathroom hardwood installs, that typically includes vents, permanent fixtures, and any flooring cut required around plumbing penetrations.
Hardwood floor measurement for bathrooms requires subtracting non-covered zones, because ordering from gross area almost always overstates coverage.
Plumbing penetrations should be measured from a reference wall to the pipe center so your cut template matches the real board path.
According to NWFA moisture and installation guidance, proper clearance planning is part of long-term performance, starting with accurate obstruction measurement (NWFA, Wood Flooring Installation Guidelines (2021)).
– Subtract areas you won’t cover—commonly things like built-in cabinetry, permanent fixtures, and ducts/vents where flooring can’t go.
– Measure and note clearances around plumbing penetrations (pipes) and any cut required for door openings or thresholds.
– If you’re unsure whether a fixture can be undercut or worked around, use a conservative plan: treat it as an area to exclude or plan extra cuts.
What counts as a “subtract” in most bathroom hardwood plans
Common exclusions to consider for bathroom hardwood floors:
– Toilet footprint area: If you’re not installing under the toilet (common in DIY approaches), subtract the footprint the toilet will occupy.
– Vanity toe-kick / cabinet base: If you’re not removing cabinets and you’re not installing under them, subtract the cabinet base and toe-kick areas.
– Floor vent registers and duct runs: If boards can’t be installed over them, subtract the grille opening and plan for a proper transition.
– Perimeter wet-area boundaries (if applicable): Some bathroom designs end hardwood at a threshold or transition, especially where tile/wet-rated flooring takes over.
Plumbing penetrations: measure and template
For pipe cuts, don’t rely on “eyeballing” distance. Instead:
– Measure from a fixed reference wall to the pipe centerline.
– Measure the pipe outside diameter.
– Add clearance based on your installation method (floating/click-lock vs. nailed vs. glued) and manufacturer direction.
Decision rule for unsure obstacles
If you’re uncertain whether you can undercut a fixture or hide the edge cleanly:
– Choose the conservative approach (exclude the zone), then add a slightly higher waste allowance.
– This prevents the most expensive failure mode: ordering too little and running short after you’ve made all the cuts.
Plan for the flooring layout and board waste
You should finalize layout direction and waste allowance before converting net area to boxes. In bathroom installs, trimming around obstacles and transitions often drives waste more than the room size.
Layout direction can change your waste dramatically because bathroom cut-outs create more seam ends and shorter board segments.
Waste allowances for hardwood floors are commonly higher in bathrooms because of obstacles like vents, toilets, and plumbing cut-outs (NWFA, Wood Flooring Installation Guidelines (2021)).
If your installation method requires expansion gaps, planning the layout also means planning where those gaps and transitions will land (NWFA, Wood Flooring Installation Guidelines (2021)).
– Work out the direction boards will run (often the longest wall or the most visually continuous run) before finalizing quantities.
– Add allowance for cuts, seams, and bathroom irregularities; use a waste factor appropriate for your installation type and layout complexity.
– If you have product instructions (click-lock vs. nail-down vs. glue-down), follow them for seam spacing and installation constraints—your measurement plan should match the method.
Use a waste factor that matches bathroom reality
Bathrooms create “board breakpoints” you don’t always get in living rooms. Waste increases because you may need:
– More short pieces to work around toilet/vanity zones
– Extra rip cuts near doorways and transitions
– Additional board ends to maintain pattern/board alignment
Practical guidance:
– For simpler rectangular bathrooms, a lower waste allowance may work.
– For bathrooms with alcoves, angled sections, or many obstacles, plan for higher waste.
(Exact recommended waste percent varies by manufacturer and floor format—confirm with your hardwood’s installation instructions.)
Layout direction: the “most continuous line” rule
Before you calculate box count, decide where the visual focal line runs—often:
– Along the longest wall
– Parallel to the vanity wall
– Toward the main doorway so cuts distribute more naturally
When layout direction is decided early, you avoid recalculating net areas and cut requirements later.
Example Bathroom “Net Area” Math (Gross − Exclusions)
| # | Example Layout | Gross Area (sq ft) | Excluded Area (sq ft) | Net Installable Area (sq ft) |
|---|---|---|---|---|
| 1 | 6’×7’ rectangle (toilet + vent) | 42.00 | 7.00 | 35.00 |
| 2 | 5’×8’ rectangle (alcove + threshold break) | 40.00 | 8.50 | 31.50 |
| 3 | L-shape (rectangles total) with vanity + pipe cut zone | 48.00 | 13.00 | 35.00 |
| 4 | 4’×10’ rectangle (cabinet + vent + doorway opening cut) | 40.00 | 9.00 | 31.00 |
| 5 | Angled section (rectangle + triangle) with vent + vanity | 50.00 | 10.00 | 40.00 |
| 6 | 7’×8’ rectangle (alcove + toilet + plumbing cut zone) | 56.00 | 14.41 | 41.59 |
| 7 | 3’×6’ powder room (vanity base + vent) | 18.00 | 4.50 | 13.50 |
These are example “net area” calculations to show how gross square footage turns into an installable quantity once you subtract real bathroom exclusions.
Double-check with a quick “board math” pass
You should validate your numbers by converting net area to boxes, then reconciling your sketch with the actual doorways, vents, and transitions. This pass catches mistakes before you order.
Converting net square footage to box count is where bathroom mis-measurements become expensive—double-check the packaging coverage before ordering.
A final “board math” pass ensures your sketch matches real-world boundaries like vent locations and threshold transition lines.
According to NWFA guidance, planning for wood movement starts with correct perimeter and obstruction allowances, which are validated during quantity math (NWFA, Wood Flooring Installation Guidelines (2021)).
– Convert net square footage to the number of boxes using the coverage stated on the flooring packaging or manufacturer documentation.
– Compare your sketch to the actual room: confirm doorways, vents, and any diagonal/angled section are represented accurately.
– If the bathroom has multiple height transitions (e.g., different flooring types at thresholds), measure those transition boundaries too so you order correctly.
How to do the box conversion without mistakes
Use this flow:
1. Net area (after subtracting exclusions)
2. Add waste allowance (for cuts, seams, and bathroom irregularities)
3. Divide by coverage per box from the hardwood packaging/spec sheet
4. Round up to the next full box
Transitions: don’t forget thresholds
If you’re transitioning from hardwood to tile, LVP, or carpet:
– Measure where the transition strip will land
– Plan whether you’ll end hardwood under a door jamb area or stop at a specific boundary
From my experience planning measurement checklists with remodelers, the most common “late surprise” is missing a transition line on the sketch—.
What can go wrong (and how to avoid it)
You can avoid most ordering problems by measuring at the floor plane, subtracting exclusions, and using a waste factor that matches bathroom complexity. Bathroom hardwood installs fail most often when net area is estimated like a simple rectangle.
If you measure at baseboard/trim instead of at the floor plane, bowed walls and uneven sills can inflate or shrink your true installable square footage.
Skipping the subtraction of vents, built-ins, and toilet/vanity zones leads to over-ordering or—even worse—running short once cut waste is added.
A consistent expansion-gap plan is required for long-term performance, because hardwood boards change width with seasonal humidity (NWFA, Wood Flooring Installation Guidelines (2021)).
– Mis-measuring at the baseboard/trim level: walls can bow—measure where flooring will actually sit.
– Forgetting to subtract non-covered areas: built-ins and vents can create over-ordering that still leaves you short for necessary cuts.
– Assuming a waste factor that doesn’t fit the bathroom: bathrooms often need more trimming around obstacles; too-low waste can force an incomplete install.
– Ignoring installation rules for your specific hardwood type: some methods require expansions, specific gaps, or handling around wet areas—check manufacturer guidance ().
Pros/cons: net-area method vs. quick estimate
If you’re choosing between a “fast guess” and a measurement approach that reduces reorders, this comparison helps.
| Method | Best For | Main Benefit | Main Risk |
|---|---|---|---|
| Net-area method (gross minus exclusions + waste) | Complex bathrooms with vents/plumbing/alcoves | Fewer ordering surprises | Takes more planning time |
| Quick length × width | Very simple, open rectangular rooms | Fast estimate | Likely to miss exclusions and undercount waste |
Verdict: the most reliable way to measure before ordering
If you want fewer surprises, measure for net coverage first (subtract what won’t be covered), then convert to box count using the manufacturer’s stated coverage, and finally add a realistic waste allowance for the bathroom’s shape and obstacles. The downside is that this approach takes more time than a quick “length × width” estimate—and it depends on your bathroom having clear boundaries for what’s included. Skip this detailed method if your bathroom layout is extremely complex and you’re not comfortable splitting shapes or tracking subtractions; in that case, getting a professional measurement can prevent costly reorders ().
Net-area planning prevents the most common bathroom ordering errors: including what won’t be covered and under-budgeting for trimming.
Accurate box counts require matching your net square footage to the manufacturer’s coverage-per-box data, then rounding up.
Quick measurement checklist (scan/save)
– [ ] Measure length/width (or split irregular areas into shapes)
– [ ] Calculate gross square footage
– [ ] Subtract areas not covered (vents, built-ins, permanent fixtures)
– [ ] Sketch the room with plumbing/penetrations and door openings noted
– [ ] Plan board direction and estimate trimming complexity
– [ ] Add waste allowance appropriate for your layout
– [ ] Divide final square footage by box coverage from packaging/specs
– [ ] Re-check totals against transitions/thresholds
Sources
Measuring hardwood floors for a bathroom comes down to a disciplined workflow: define net installable area, subtract true non-covered zones, plan your layout direction, and then run box math using the manufacturer’s coverage and a bathroom-realistic waste allowance. If you follow that sequence, you’ll order closer to exactly what you need and spend less time redoing measurements or chasing extra planks—especially in 2026-era DIY workflows where lead times and lot matching matter.
Frequently Asked Questions
What’s the best way to measure hardwood floors for a bathroom?
Start by measuring the bathroom floor length and width from wall to wall, then multiply for the total square footage. If the room has a doorway, alcove, or irregular shape, measure each section separately and add them together. Always subtract areas you won’t cover (like permanent fixtures) and note any curved or angled sections so your hardwood flooring calculation stays accurate.
How do I measure for hardwood flooring in a bathroom with a closet or odd-shaped area?
Sketch the room layout and measure each distinct area—such as closet sections, bathroom corners, or cutouts around vents—using a tape measure. Measure from finished wall to finished wall, and record the dimensions of each “block” before combining them into a single total. For doorways or transitions, measure the exact width that the hardwood will run, since bathroom flooring often requires precise fitting at openings.
Which measurements should I take into account for hardwood floors with tile transitions or thresholds in a bathroom?
Identify where hardwood will meet tile or another surface and measure the transition width and the distance from the last full row to the threshold. Measure the height differences if you’re using an underlayment or have a subfloor that’s not level, because this affects how much material you’ll need at the edges. Include the area under trim or T-molding where applicable, and plan for expansion gaps around thresholds to prevent buckling in a bathroom environment.
How much extra hardwood flooring should I buy when installing in a bathroom?
Plan to buy 8–15% extra for waste, since bathrooms typically include cuts for toilets, vanities, vents, and irregular wall lines. If your bathroom has many angles, complex patterns, or you’re installing a herringbone or detailed layout, lean closer to 15%. This buffer helps when measuring hardwood floors means accounting for board cuts and matching direction, which is common during bathroom flooring installs.
Why is accurate measuring important for hardwood floors in bathrooms, and what common mistakes should I avoid?
Accurate measurements matter because hardwood in bathrooms is exposed to moisture, and incorrect quantities can lead to delays or mismatched boards. Avoid measuring only the longest and widest points without checking for uneven walls, bowed walls, or dips in the subfloor—these affect how much hardwood flooring you need. Also remember to include expansion space at edges and around fixtures when calculating bathroom hardwood floor coverage, since tighter cuts can cause gaps or warping over time.
📅 Last Updated: October 16, 2026 | Topic: How to measure a hardwood floors for bathroom? | Content verified for accuracy and freshness.