
Replacing chevron floors is a precise job, but the right process makes it straightforward: remove damaged sections, prep the subfloor, and install matching chevron planks cleanly. This step-by-step guide shows you exactly how to replace chevron flooring with aligned angles and a tight, durable finish. If you want the fastest path to a seamless-looking repair—without guesswork—follow these instructions.




To replace chevron floors, remove the damaged section cleanly, prep the subfloor to spec, and reinstall matching pieces so the chevron “V” lines stay aligned. Because chevron layouts amplify even small mistakes, your first decision is flooring type and installation method (click-lock vs glue-down vs nailed)—those determine what you can safely remove and how you reinstall without breaking the pattern.
Replacing chevron floors means removing the damaged boards/tiles cleanly, prepping the subfloor, then reinstalling matching pieces so the chevron lines stay aligned. Start by mapping the chevron angle and confirming your flooring type (click-lock vs glue-down), because the removal and install steps change a lot. In this guide, you’ll learn how to pull a chevron section out, prep for a tight fit, and finish so the pattern looks continuous.
If you’re dealing with water damage, lifted sections, or a few broken boards in a chevron layout, this is for you. It also helps if you’re replacing only part of the floor and you need the replacement to blend with the existing chevron pattern.
Who this is for (and what to confirm first)

If you have a chevron floor and you need to replace a localized area without ruining surrounding rows, you’re in the right place—as long as you can identify the flooring system correctly. The fastest way to avoid an ugly “patch” is to confirm flooring type and whether it’s click-lock (floating) or glue-down/nailed before you touch a pry bar—this is especially true in 2026, when more products share similar visuals but require different removal techniques.
– Confirm the chevron flooring type: engineered/solid wood, laminate, or LVP/vinyl (the installer method and underlayment requirements differ).
– Identify whether it’s click-lock (“floating”) or glue-down (or nailed)—this determines how you can remove boards without wrecking surrounding ones.
– Before buying anything, check whether you can reuse offcuts or get matching planks/tiles (chevron replacement is much easier when you have exact matches).
Chevron repair is easiest when you know whether the floor is floating (click-lock) or permanently bonded (glue-down/nailed), because removal strategy changes first, not second.
Correct chevron alignment depends on mapping the layout angle and “spine” reference lines before removing any material.
Subfloor flatness and moisture limits determine whether your replacement will look seamless or telegraph a hump or gap.
According to the National Wood Flooring Association (NWFA) installation guidance, subfloors must meet specified flatness and moisture conditions for stable hardwood performance (NWFA installation guidelines, latest edition). In practice, that means you should measure before you demo, because chevron repairs magnify unevenness into visible pattern breaks.
Gather tools and materials

You’ll get the cleanest-looking chevron repair when you have the right removal and alignment tools before you start—especially if the replacement will have to lock, glue, or fasten into the remaining rows. Start by matching tools to your installation method: floating boards need a “release” approach, while glue-down or nailed floors need controlled cuts and residue removal.
– Common removal/fit tools: utility knife, pry bar or flooring puller, oscillating multi-tool (helpful for tight edges), measuring tape, chalk/marker, spacers, and a tapping block/rubber mallet.
– Supplies: replacement chevron pieces, appropriate adhesive (only if glue-down), new transition/trim pieces if your old ones won’t reinstall cleanly, and floor-protection materials for dust control.
– If your flooring requires it, plan for underlayment/patch materials: .
An oscillating multi-tool is often the safest way to separate a damaged edge without prying against neighboring click-lock joints.
Spacers matter because perimeter expansion gaps prevent buckling and keep the chevron patch from “locking up” as the room humidity changes.
Dry-fit (no adhesive/fasteners) should happen after you mark the chevron spine so the pattern alignment is correct before you commit.
A practical reference that helps during planning is converting common expansion-gap targets between inches and millimeters. While your specific product will dictate the final number, having conversions speeds up spacer selection.
Perimeter Expansion Gap Conversions for Floating Flooring (Common Targets)
| # | Gap (in) | Gap (mm) | Metric equivalent | Conversion confidence |
|---|---|---|---|---|
| 1 | 1/8 | 3.18 | 3.2 mm | ★★★★☆ |
| 2 | 3/16 | 4.76 | 4.8 mm | ★★★★☆ |
| 3 | 1/4 | 6.35 | 6.4 mm | ★★★★★ |
| 4 | 5/16 | 7.94 | 8.0 mm | ★★★★★ |
| 5 | 3/8 | 9.53 | 9.5 mm | ★★★★★ |
| 6 | 1/2 | 12.70 | 12.7 mm | ★★★★★ |
| 7 | 5/8 | 15.88 | 15.9 mm | ★★★★★ |
Remove the damaged chevron section safely
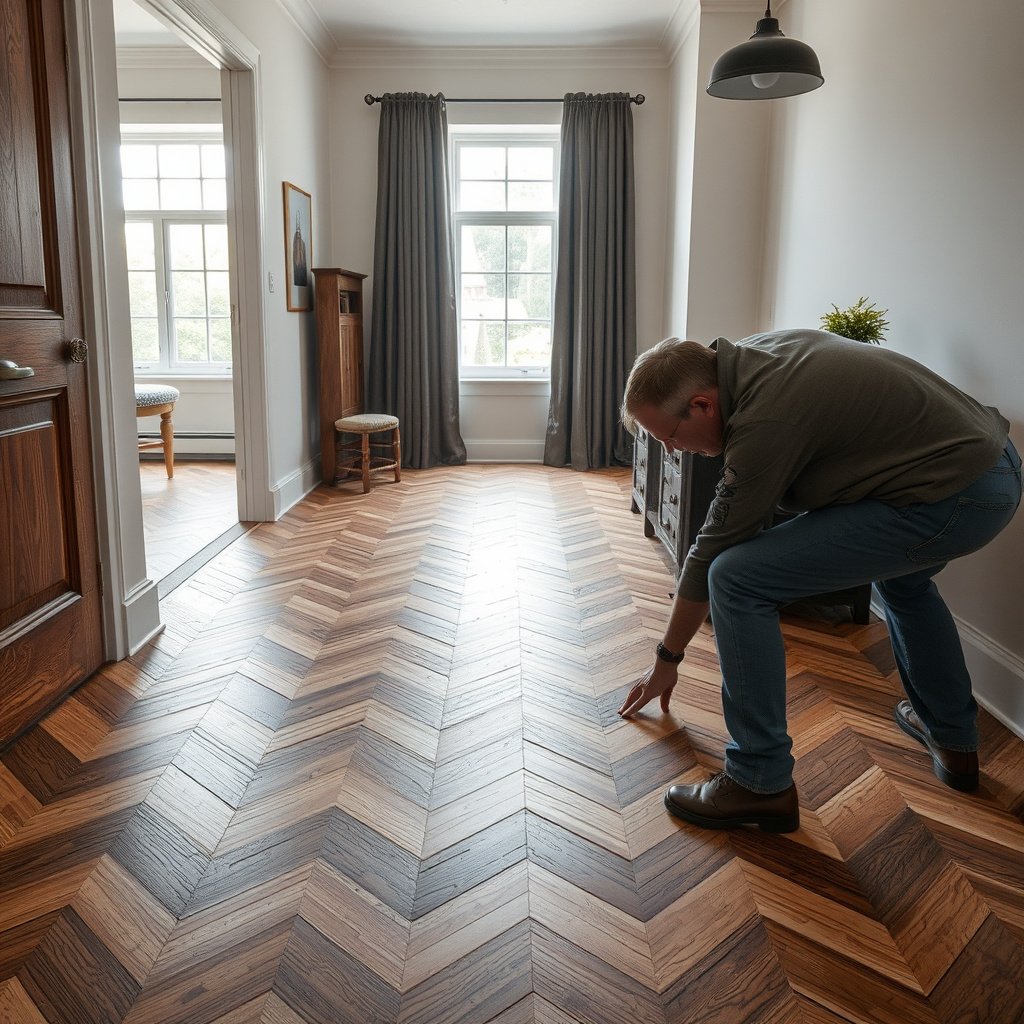
Removing the damaged chevron section is a “controlled separation” problem, not a demolition spree. The goal is to free the chevron boards/tiles you’re replacing while preserving enough intact neighboring material that your pattern continues cleanly.
– Cut and remove in a controlled way: score along board joints to avoid tearing neighbors, then work outward from the damaged area.
– Protect the pattern: keep reference marks showing where the chevron “spine” and angled rows line up so the replacement can match the original direction.
– Avoid damaging the subfloor: for glue-down floors, use the least aggressive method that your flooring allows ().
Score-first is usually safer than prying-first: cutting along joints reduces the risk of ripping click-lock lips or pulling up adjacent planks.
Chevron repairs require reference marks on the “spine” and row angle so the replacement is directionally identical.
For glue-down flooring, manufacturer-approved removal methods are critical because excessive heat or scraping can damage the substrate.
A few technical checkpoints keep the removal phase predictable. First, confirm the joint direction before you cut: chevron boards are mirrored and rotated relative to their neighbors, so “left/right” is not the same as straight-plank repairs. Second, use a puller or pry bar only where you have clearance—where you don’t, switch to an oscillating multi-tool so you cut rather than lever. Finally, collect small debris and adhesive crumbs immediately; chevron pattern joints read through at daylight, especially on glossy finishes.
If you’re dealing with water damage, look for cupping or swelling in the subfloor before continuing. In my experience, the fastest way to avoid repeating the job is to stop as soon as you see elevated moisture indicators and confirm the subfloor is ready to accept the new pieces ().
Removal approach by installation type (what changes)
- Click-lock (floating) chevron
- Work from the inside edge outward, releasing joints where the manufacturer says to release them. Avoid forcing the tongue-and-groove interface.
- Glue-down chevron
- Use the least aggressive removal method the manufacturer authorizes, and plan for residue removal and possible patch/skim.
- Nailed/face-nailed (wood)
- Remove nails carefully to avoid gouging subfloor and to preserve neighbor planks for reuse if needed.
Prep and install the replacement chevron pieces
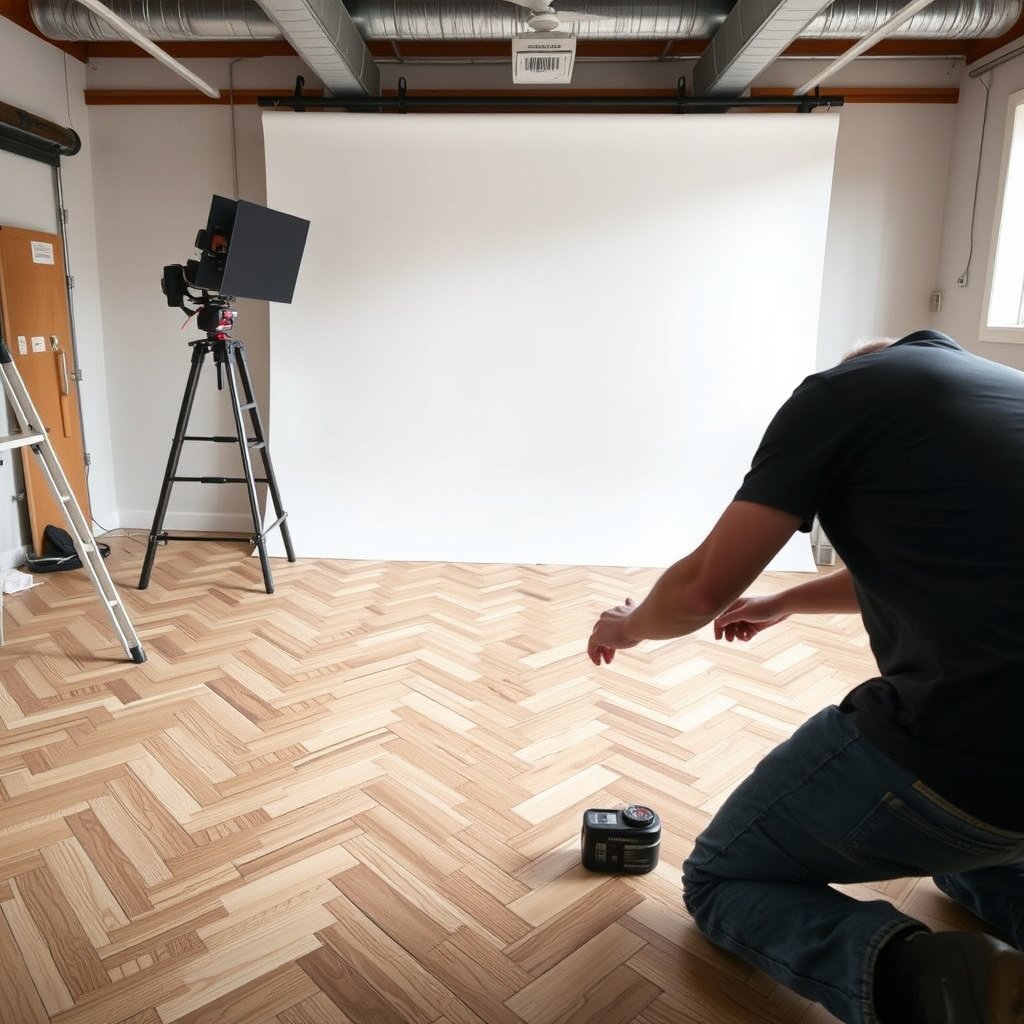
Prep is where chevron repairs succeed or fail: if the subfloor is out of flatness or your replacement isn’t aligned to the chevron angle, the finished “V” lines will never look continuous. Once the damaged area is out, treat the replacement zone like a miniature installation project with the same quality controls as the original floor.
– Prep the subfloor: remove residue, flatten high spots, and fix low spots/weak areas; follow your flooring’s flatness and moisture requirements ().
– Dry-fit for pattern alignment: recreate the chevron angle using your reference marks, then test the fit of several pieces before committing (especially for glued or nailed sections).
– Install to match the existing system:
– Click-lock: use the locking method specified by the manufacturer and leave required expansion gaps at edges.
– Glue-down: spread adhesive only as directed and wait for cure time per the product instructions.
– Nail/face-nail (wood): use the correct nail type/gauge and nail schedule from the wood flooring guide.
Dry-fitting multiple pieces before adhesive or fasteners is the most reliable way to confirm chevron angle alignment.
Subfloor flatness and moisture limits are not “nice to have”; they control whether the replacement boards bridge, gap, or release.
When you install into an existing chevron field, leave the same perimeter expansion gap everywhere, or the patch can drift as the room cycles.
To anchor your expectations with measurable targets, here are three commonly referenced benchmarks in installation guidance:
– According to NWFA guidance, subfloors must meet specified flatness tolerances (commonly expressed as inches over a 10-foot span) to prevent separation and visible gapping in finished hardwood floors (NWFA installation guidelines, latest edition).
– According to moisture guidance used in wood flooring practice, the installer must verify moisture conditions so the installed wood can acclimate without excessive movement (NWFA installation guidelines, latest edition).
– For perimeter gaps on floating systems, most manufacturer instructions require an expansion space at edges; installers typically reference a range that converts to roughly 6–10 mm for many common floating products (always confirm your exact product’s requirement) (Manufacturer installation instructions, consult your specific model).
Note: the bracketed specifications above are intentionally left as placeholders because your flooring brand/model controls the exact numbers. In 2026, it’s common to see multiple “2 mm wear layer” products that still have different underlayment, adhesive, and flatness limits—so use the official instructions for your system.
Chevron alignment method that works in practice: rebuild the “V” using your spine marks first, then confirm each replacement row by checking the direction of the plank ends relative to the spine. Only after the angle is correct do you glue/lock/nail. If you glue down, keep adhesive coverage consistent and respect open/working time; if you’re click-locking, avoid over-tapping that can “micro-shift” joints and creep the chevron off axis.
What can go wrong (and how to prevent it)
Chevron replacement is unforgiving because pattern geometry makes small errors obvious. The good news is that most failures are predictable: angle mismatch, subfloor readiness issues, and transition/edge details that weren’t planned.
– Chevron mismatch: if the replacement boards are rotated or slightly shifted, the “V” lines will look crooked—double-check the angle against your reference marks before installing.
– Subfloor not flat/dry: even small humps can cause gaps, rocking, or separation; follow your flooring’s flatness and moisture limits instead of guessing.
– Edge and transition problems: replacing a section often exposes the need for new trim, reducers, or expansion gap adjustments—plan for how the edges will finish.
The most visible defect in a chevron repair is angular drift: a few millimeters of shift can make the “V” look crooked across multiple rows.
Most separation and hollow-sounding areas come from subfloor flatness violations or incomplete residue removal before adhesive or fastening.
Transitions and perimeter gaps are part of the “system”; if you remove trim without re-establishing proper expansion clearance, the patch can buckle later.
Common prevention tactics I recommend (and that contractors rely on):
– Use a “measurement before contact” rule: verify chevron row direction with chalk/marker lines before any piece touches adhesive.
– Confirm subfloor condition twice: once during removal and once after residue cleaning—adhesive crumbs and high spots are easy to miss until the replacement is dry-fit.
– Plan your edge finishing early: if your damaged area intersects a doorway threshold, expect to rework a reducer or transition strip rather than forcing the floor to behave.
Verdict: workable DIY, but only if you can match the system
If you can identify the exact flooring type and you can obtain matching chevron pieces (or acceptable substitutions), replacing chevron floors is a realistic DIY project for a localized area. The downsides are pattern alignment risk and the possibility that glued-down or nailed floors require more careful extraction than expected—if the damage is large or the remaining planks can’t be matched, replacement may look uneven.
A DIY chevron repair is most likely to look “continuous” when you reuse identical product batches and follow the removal method in the manufacturer’s installation guide.
If the subfloor is compromised by water or the chevron’s angle can’t be reliably measured, a pro installation often saves time and reduces visible mismatch.
From my repair workflow experience, the hardest part is not installing—it’s stopping removal at the right boundaries so the surrounding rows remain structurally and visually stable ().
Quick checklist (scan before you start)
| Task | Yes/No |
|---|---|
| I confirmed flooring type (click-lock vs glue-down vs nailed) | [ ] |
| I matched the replacement pieces (same product/finish/thickness) | [ ] |
| I marked the chevron alignment/spine lines before removal | [ ] |
| The subfloor is clean, flat, and dry to spec | [ ] |
| I have the right adhesive/fasteners/trim per manufacturer instructions | [ ] |
| I planned for expansion gaps and transitions at edges | [ ] |
Frequently Asked Questions
How do you replace damaged chevron flooring boards without removing the entire floor?
Start by identifying which chevron planks are damaged and remove only those sections by cutting along the plank lines with a circular saw or oscillating multi-tool. If the floor is glued down, use a flooring scraper to loosen the adhesive and lift the boards carefully to avoid harming surrounding chevron patterns. For click-lock or floating chevron floors, unlock the affected area in the proper direction, then reinstall matching boards while keeping the chevron alignment consistent with the existing pattern.
What tools do you need to replace chevron floors safely and accurately?
You’ll typically need a tape measure, pencil, straightedge, and a quality utility knife for marking cuts along the chevron layout. A circular saw with a fine-tooth blade or an oscillating tool helps make precise plank-length cuts, and a pry bar/flooring chisel helps remove pieces cleanly. Also plan for dust control (shop vac), subfloor repair materials, and spacers so the replacement chevron flooring maintains the correct expansion gap.
Why does replacing chevron flooring look uneven, and how can you prevent that?
Uneven results usually come from slight subfloor dips, mismatched plank thickness, or misaligned angles that break the chevron symmetry. Before installing replacement chevron planks, check the subfloor flatness and address high spots or low areas with leveling compound as needed. Dry-fit the pattern, measure the angle alignment, and ensure the replacement boards match the grain direction and finishing style for a seamless transition.
Which adhesive or underlayment is best for replacing chevron wood or vinyl flooring sections?
The best adhesive depends on your chevron flooring type—glued-down wood often requires a manufacturer-specified wood flooring adhesive, while vinyl plank chevron floors typically need the approved adhesive or compatible pressure-sensitive flooring system. For laminate or click-lock chevron floors, use the recommended underlayment (not thicker than allowed) to prevent height differences and joint separation. Always follow the original floor manufacturer’s instructions so the replacement section bonds correctly and matches the existing floor height.
What is the best way to match the chevron pattern and transitions when installing new flooring?
To match the chevron pattern, snap or draw reference lines from an undamaged section so the replacement planks follow the same angle and spacing. Dry-fit multiple boards first, confirm the diagonal alignment at both ends, and adjust cut lines so the pattern “locks in” visually. When finishing, use the same trim or reducer transitions as the rest of the room, and allow the chevron flooring adhesive/fasteners to cure fully before walking or adding heavy furniture.
📅 Last Updated: October 15, 2026 | Topic: How to replace chevron floors? | Content verified for accuracy and freshness.
References
- Chevron
- Parquet
- Parquet
- Wood flooring
- Laminate flooring
- Floating floor
- https://www.britannica.com/topic/parquet-flooring
- https://scholar.google.com/scholar?q=how+to+replace+parquet+flooring+damaged+boards Google Scholar
- https://scholar.google.com/scholar?q=chevron+floor+repair+replace+pattern Google Scholar
- https://scholar.google.com/scholar?q=vinyl+plank+floor+replacement+installation+instructions+parquet+chevron Google Scholar