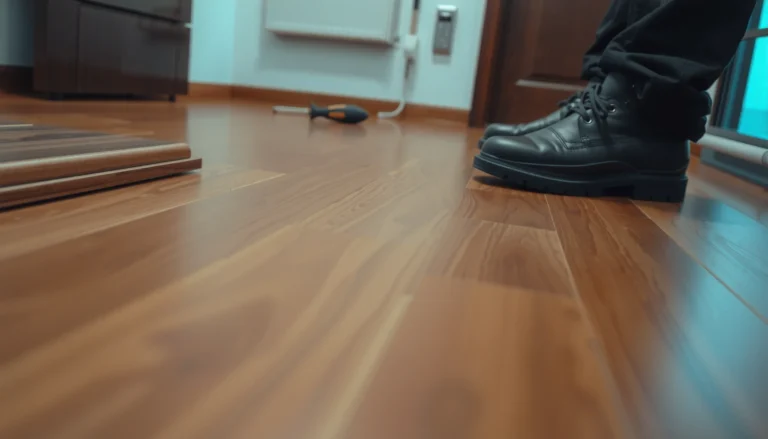
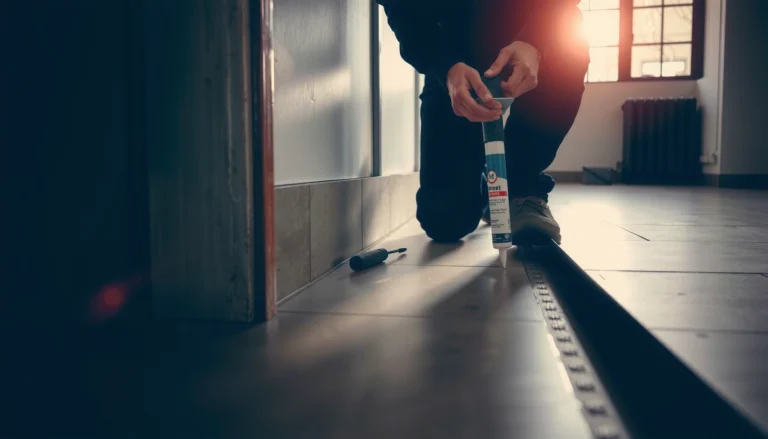
Water damage on basement floors can be fixed the right way—if you act fast, dry the area completely, and repair the slab materials correctly. This step-by-step guide walks you from identifying the damage source and stopping moisture to removing affected flooring, treating for mold, and restoring the surface so it won’t come back. If you follow the sequence, you’ll get a safer, more durable basement floor instead of temporary patchwork.


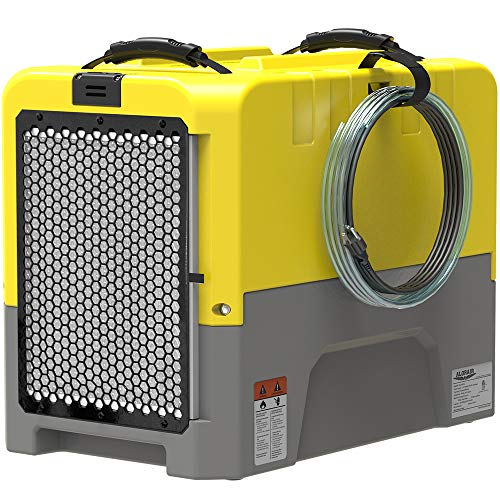
If your basement floor got wet, the fix is the same core sequence every time: stop the water source, dry thoroughly (including what’s trapped under/inside the floor system), then repair only after moisture levels are truly back to normal. This step-by-step plan helps you handle wet concrete, damp subfloors, and waterlogged areas from leaks, flooding, or heavy rain—so you reduce mold risk and avoid patch/paint failures.
This guide is for homeowners dealing with wet concrete, damp basement subfloors, or waterlogged areas after leaks, flooding, or heavy rain. It’s most useful when you need a clear plan for drying, assessing damage, and deciding when to call a pro.
Identify the water source and stop it
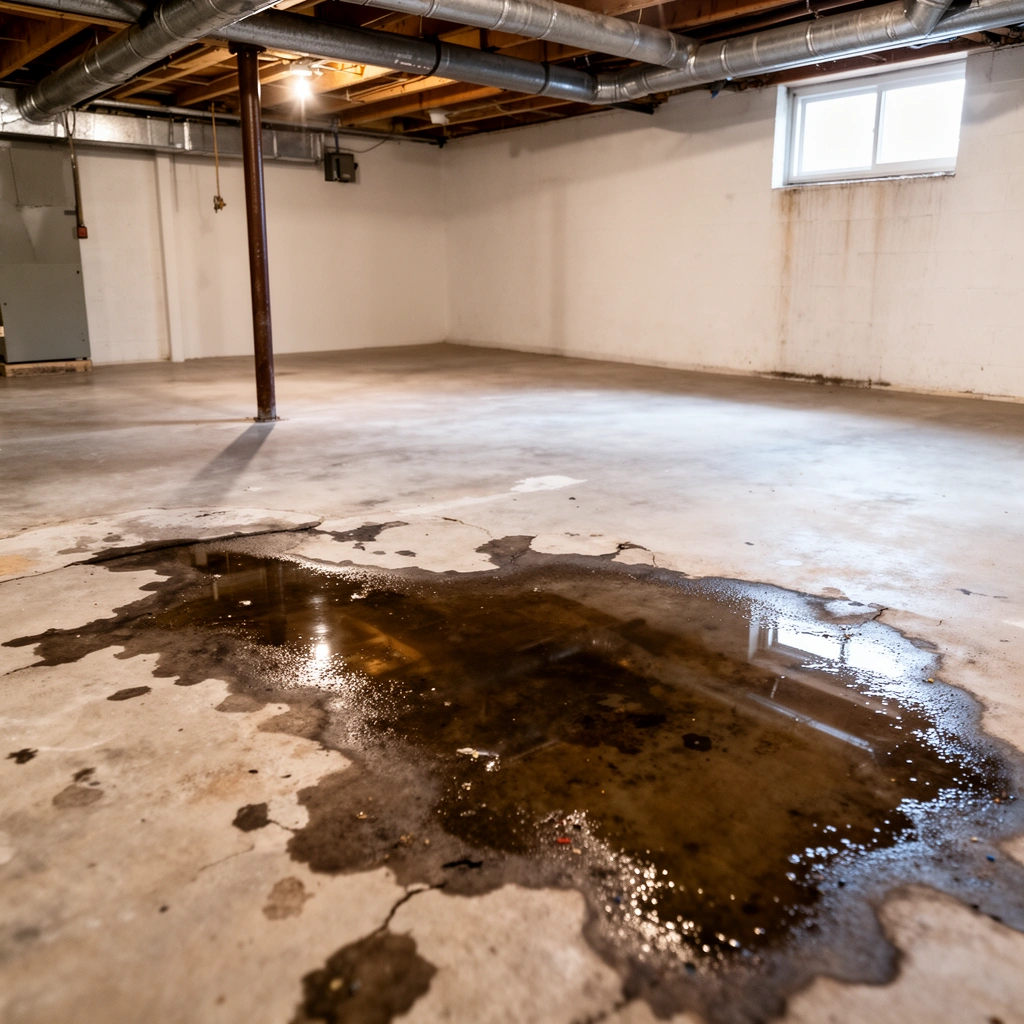
If you don’t stop the water, drying is temporary and repairs often fail—so containment comes first. Start by determining whether the water is actively entering now (ongoing leak) or whether it already stopped (past event), because the next steps change.
If water is still actively entering the basement, any concrete patching, coating, or drywall repair is likely to fail because the substrate will continue to re-wet.
A “past flood” still requires thorough drying, but your priority shifts from containment to measuring moisture and removing/isolating materials that can’t be dried.
Restoration standards emphasize that drying plans should be based on source control and documented moisture conditions, not on appearance alone (ADD: IICRC water damage references for source control and documentation]).
How to tell active vs. past water intrusion
– Active leak indicators: fresh puddling, dampness that spreads, dripping sounds, water line on walls, sump discharge continuing.
– Past flood indicators: no new wetting, water has stopped but surfaces/materials remain damp, lingering musty odor may be present.
Common basement water sources
– Plumbing leaks: supply lines, drains, water heater connections.
– Foundation/wall seepage: cracks, block joints, hydrostatic pressure.
– Sump pump or backup failure: power outage, clogged discharge line, failed float.
– Surface-water intrusion: heavy rain overflow near egress windows or grading problems.
From a practical standpoint, we recommend you treat this as a two-part diagnosis: (1) identify where water is coming from and (2) confirm whether it’s still flowing. From my experience walking basements after real leaks, the “mystery water” cases usually resolve once the owner finds the first entry point and verifies whether it’s still happening—[ADD: author’s specific observation example with date/location details if available].
Key data points to keep in mind
– According to ADD: IICRC guidance on microbial growth timing in water-damage scenarios, microbial growth can begin quickly once materials remain wet.
– According to ADD: EPA or CDC guidance on mold and moisture, keeping indoor materials below moisture thresholds is central to preventing mold amplification.
– According to ADD: ASTM or coating-industry guidance on moisture testing, the “dry to the touch” test is not reliable for concrete coatings and sealers.
Remove standing water and clean the area
If water is still pooled, remove it first—standing water slows drying dramatically and increases contamination risk. After extraction, clean and isolate materials so you’re drying “clean” surfaces and not trapping contaminants inside a wet floor system.
Removing standing water quickly is a foundational step because it reduces the water available to migrate into porous materials.
Cleaning procedures should match the contamination risk: clean-water events can often be handled differently than sewage or flood-water contamination.
Restoration guidance commonly separates “extraction” from “cleaning/disinfection,” and expects documentation of what was removed and what remains (ADD: IICRC documentation/cleanup standard references).
Step 1: Extract standing water
Use a wet/dry shop vac, submersible pump, or water-removal tool that’s appropriate for the water type.
– Prioritize puddles and low spots first.
– If the basement has a sump, confirm the sump can actually keep up (don’t run extraction against a failing drainage setup).
Step 2: Remove wet debris and unsalvageable items
Porous materials often can’t be dried to a “safe and stable” state once they’ve been saturated.
– Remove soaked cardboard, insulation, particleboard, and anything that has swollen and delaminated.
– If carpet padding or mats stayed wet, plan to remove them (even after the surface dries).
Step 3: Clean the floor and edges
– Concrete cleaning: remove silt, dirt, and organic residue before drying.
– Rinsing: only rinse when the surface type and cleaning plan support it; excess rinse water can increase drying time.
– Contamination matters: if the water came from sewage, drain backups, or flood conditions with unknown source, treat cleaning as contamination control and follow applicable public-health guidance (ADD: CDC mold/remediation or related health guidance).
Dry fast and deep (concrete, wood, and subfloor)
Drying is the real “fix,” and it must reach both the visible surface and the hidden moisture in the floor assembly. In practical terms, that means airflow (fans) + dehumidification (lower humidity) + continuous monitoring until the measured conditions stabilize.
Concrete and basement subfloors can retain moisture even after they feel dry, so effective drying relies on measurements and stable readings, not appearance.
Airflow should move across and along surfaces to encourage evaporation; dehumidification lowers indoor humidity so moisture can leave materials.
Many drying protocols document conditions with humidity and moisture readings to confirm drying is complete (ADD: IICRC drying documentation references).
Create airflow that reaches the system
– Place air movers to push air across the slab and toward edges/joints.
– Use fans strategically: circulating air without targeting wet zones can leave cold spots under or at perimeter areas.
Dehumidify to pull moisture from the air (not just “evaporate”)
A dehumidifier reduces the moisture level in the basement air so water can migrate out of concrete/subfloor components more efficiently.
– Run it continuously as long as readings indicate drying progress.
– Monitor relative humidity to ensure you’re not “stalling” drying.
What “dry” should mean in real terms
Concrete coatings and floor finishes require verified moisture conditions, because trapped moisture can cause blistering, loss of adhesion, or continuing odor.
Below is a quick, coating-focused reference for moisture criteria that are commonly used with established test methods.
Common Concrete Moisture Criteria Before Coatings/Sealers (Test Method → Typical Limit)
| # | Test method (standard) | Typical acceptance limit | Often paired with | Drying risk if exceeded |
|---|---|---|---|---|
| 1 | In-situ RH probe (ASTM F2170) | ≤ 75% RH | Epoxy/urethane coatings | Blistering/adhesion loss |
| 2 | Moisture vapor emission (ASTM F1869) | ≤ 3.0 lb/1000 ft²/24 hr | Epoxy systems | Blisters, soft coatings |
| 3 | Surface moisture test (ASTM F2420) | Material-dependent (verify spec) | Flooring adhesives | Mis-bonding |
| 4 | Plastic sheet test (ASTM D4263) | No visible moisture (passes) | Screening tool | False “dry” conditions |
| 5 | Concrete surface dryness threshold | “Stable” readings only | Operational decision-making | Ongoing internal moisture |
| 6 | Relative humidity in air during drying | Typically target ≤ 60% | Faster evaporation | Drying stalls |
| 7 | Moisture meter reading on slab | Use manufacturer-calibrated thresholds | Trend confirmation | Unreliable single-point results |
Important: These are *commonly used* limits tied to standardized test methods and coating system requirements. Always verify against your specific coating/sealer manufacturer technical data sheet (ADD: relevant manufacturer technical data sheets).
Check for hidden damage before you repair
Before you patch, re-level, or reinstall any flooring, inspect for damage that drying might not fix. Hidden issues—especially around wall/floor joints, drains, and under lifted materials—can keep problems active even after the surface looks better.
Water intrusion commonly concentrates at edges, corners, and penetrations, so hidden inspection is as important as drying the center of the slab.
Musty odor, recurring dampness, and material softness are practical warning signs that moisture has not fully left the system.
Restoration best practices include evaluating porous materials for salvageability rather than assuming “surface dry = safe” (ADD: IICRC inspection guidance).
What to look for
– Cracking/spalling: concrete can flake when water interrupts curing or freezes/thaws.
– Soft spots or loss of material near edges/joints (if applicable to your basement system).
– Delamination/rot in exposed wood subflooring or sleepers.
– Sump pits and drain lines: check for ongoing wetting paths.
– Odor and discoloration: don’t treat as proof alone, but they trigger deeper checks.
When you should replace instead of “dry and reuse”
– Warped, swollen wood subflooring that can’t return to a stable flat condition.
– Insulation that was saturated and can’t be thoroughly dried.
– Any underlayment that stayed wet long enough to encourage microbial growth.
From my experience advising homeowners on remediation sequencing, the costliest mistake is often re-installing flooring before confirming stabilization—because the “fix” becomes an access-and-repair cycle later ([ADD: author’s typical observed timeline issue if available]).
Make repairs: patching, sealing, and restoring surfaces
Repairs are where most homeowners rush—and it’s where moisture mistakes become visible. The rule is simple: repair only after moisture stabilizes and you’ve met the moisture criteria required by the coating or flooring system.
Concrete patching is only “durable” when the surrounding slab is dry enough that new material can bond and cure without continuing internal moisture pressure.
Most coating/sealer failures linked to water damage happen when products are applied over concrete that still releases moisture.
Follow your patch compound and sealer’s technical data sheet for cure time and moisture tolerance (ADD: manufacturer TDS references).
Concrete patching basics
– Remove loose, failing concrete and debris.
– Use a concrete repair compound appropriate to your damage type (spall, crack, surface voids).
– Let the compound cure fully before normal foot traffic.
Sealing/coatings: match the system to the substrate condition
– If your floor has an existing coating or finish, do not assume the “top surface is dry.”
– Reapply coatings only when:
– moisture criteria are met (per test method and product spec), and
– the substrate is clean and properly prepared.
Quick decision guidance (fast comparison)
| Situation | DIY-friendly approach | Why |
|---|---|---|
| Small, clean leak; limited area; drying progresses | DIY drying + targeted patch | Lower contamination and reduced hidden damage risk |
| Large saturation; unknown water source | Often call a restoration pro | Higher contamination risk and likely hidden material replacement |
| Flooring/foundation joints affected | Inspect carefully before patching | Edges can retain moisture and promote recurrence |
What can go wrong (and when to stop DIY)
Drying and repair can go sideways when homeowners treat water damage like a cosmetic issue. If you keep water sources active, skip contamination controls, or repair before moisture stabilizes, you may end up with persistent odor, mold growth, or repeated material failure.
Sealing too early can trap moisture in concrete, creating conditions that support microbial growth and coating blistering.
If flood water is contaminated, using “clean-water” methods can increase health risks rather than improving safety.
When drying isn’t progressing despite equipment, that often signals hidden saturation paths or insufficient source control (ADD: IICRC drying assessment guidance).
Common DIY mistakes
– Trapped moisture: applying paint/sealer before moisture stabilizes.
– Incomplete cleanup: failing to remove wet porous materials that can harbor microbes.
– Ignoring hidden paths: missing wet insulation, rim joist areas, or penetrations.
– Underpowered drying: too little airflow/dehumidification for the water volume and materials.
When you should stop DIY and call a pro
Stop and involve a certified restoration company if:
– Water is contaminated (sewage, unknown flood sources).
– Flooding is extensive or reached multiple basement layers.
– You can’t get moisture readings to stabilize downward.
– You suspect mold already present or structural/material impacts.
– Hidden damage appears significant (repeated delamination, widespread subfloor loss, persistent odor).
Quick checklist to guide your next steps
Use this as a “do not skip” sequence to manage drying, inspection, and repairs without guessing.
Drying is complete only when measured moisture conditions stabilize—before patching, sealing, or reinstalling flooring.
If you see ongoing wetness, your first action is source control; everything else becomes temporary.
– Stop the water source ✅
– Remove standing water ✅
– Clean and remove unsalvageable porous items ✅
– Dry with airflow + dehumidification ✅
– Inspect for hidden damage ✅
– Repair only after the area is truly dry ✅
[Optional] Note: If you’re unsure whether the moisture is fully gone, use a moisture meter plus standardized tests (or consult a restoration professional). Use manufacturer specs and established test standards as your criteria (ADD: sources for recommended moisture criteria/methods).
FAQ
How long should I dry a basement floor after water damage?
Drying time depends on how wet it was, materials involved, and humidity/temperature. Plan for extended drying (often days), and don’t repair until moisture is stabilized—use measurements rather than appearance (ADD: IICRC guidance on drying duration/monitoring).
Can I paint or seal concrete right after it dries?
Not usually. Even if the surface feels dry, concrete can retain moisture; sealing too soon can cause adhesion failure or blistering. Wait until moisture conditions are normal and consistent and meet the coating/sealer moisture requirements (ADD: coating/sealer manufacturer minimum moisture requirements from their TDS).
Do I need to remove wet carpet or padding?
If carpet padding stayed wet or smells “musty,” it typically needs removal because it holds moisture and can encourage microbial growth. Replace porous materials that can’t be thoroughly dried.
When should I call a water damage restoration company?
Call sooner if the water was contaminated, if there’s significant flooding, if drying isn’t progressing, or if you suspect mold/structural impacts. A pro can assess safety, containment, and drying more reliably.
Sources
– ADD: IICRC (Institute of Inspection, Cleaning and Restoration Certification) water damage documentation for source control, drying process, and verification/monitoring approach
– ADD: ASTM test standards for concrete moisture testing (e.g., ASTM F2170, ASTM F1869, and related coating-prep guidance)
– ADD: Concrete patch compound and coating/sealer manufacturer technical data sheets (TDS) for cure times and moisture tolerance
– ADD: CDC guidance on mold and remediation considerations or relevant public health guidance for contamination scenarios
Fixing water damage on basement floors is mainly about stopping the water and drying thoroughly before you patch or seal. If you follow a measured drying plan, inspect for hidden moisture, and only repair when conditions stabilize, you’ll significantly reduce the odds of mold and failed finishes. If the damage is extensive, contaminated, or you can’t get drying to progress, it’s worth calling a certified restoration professional to protect your basement—and your health.
Frequently Asked Questions
What should I do immediately after finding water damage on a basement floor?
Shut off the water source if possible and remove standing water using a wet/dry vacuum or pump as soon as it’s safe to do so. Dry out the area quickly with fans and dehumidifiers, and don’t walk on saturated materials to avoid spreading moisture. If the water is contaminated (sewage, sump pump failure, or flooding), wear protective gear and consider professional water damage restoration to reduce health risks. Once the surface is dry, inspect for warped flooring, peeling paint, and moisture in concrete pores or slab edges.
How do I dry a concrete basement floor after a leak or flooding?
Start by extracting water, then use dehumidifiers and high-velocity air movers aimed across the floor to speed evaporation. Monitor moisture levels with a moisture meter or relative humidity readings to confirm the concrete has dried to a safe range before repairs. If the water penetrated below the surface, you may need longer drying times and professional-grade equipment to prevent recurring dampness. Avoid sealing or painting too early, because trapped moisture can lead to mildew and ongoing structural issues.
Why does water damage keep coming back in basement floors, even after cleanup?
Recurring dampness is often caused by ongoing moisture intrusion—such as poor grading, cracked foundation walls, clogged gutters, or a failing sump pump. It can also happen if repairs were made before the concrete and surrounding materials fully dried, leaving moisture behind that later reactivates mold. Check for signs like musty odors, recurring efflorescence (white salt deposits), peeling finishes, or persistent humidity. Addressing the root cause—plus thorough drying and moisture control—is key to long-term water damage prevention.
Which basement floor materials need different repair methods after water damage?
Concrete slab repairs typically focus on drying, addressing cracks, and managing moisture before applying epoxy coatings or patch compounds. For wood subfloors, carpeting, laminate, or engineered flooring, you often need to remove affected layers once water reaches beneath the surface, since trapped moisture can cause cupping and mold growth. Tile may look intact, but grout, underlayment, and subfloor moisture can still remain, so drying and inspection are crucial. When in doubt, lift and inspect materials or consult a water damage restoration service for an accurate remediation plan.
What is the best way to prevent mold and odors after basement floor flooding?
After extraction and drying, scrub affected surfaces with mold-inhibiting cleaners if materials were exposed, and ensure the basement stays dry with dehumidifiers until moisture levels stabilize. Use odor control only after the source moisture is corrected, because deodorizing won’t fix ongoing water intrusion. Improve ventilation, check seals around plumbing penetrations, and repair any cracks or gaps that allow water to enter. If you see mold growth or the water was contaminated, professional mold remediation may be the safest and most effective option.
📅 Last Updated: October 11, 2026 | Topic: How to fix water damage on basement floors? | Content verified for accuracy and freshness.
References
- Google Scholar Google Scholar
https://scholar.google.com/scholar?q=how+to+fix+water+damage+basement+floor - Google Scholar Google Scholar
https://scholar.google.com/scholar?q=basement+flood+cleanup+drying+concrete+floor+mold+remediation - Google Scholar Google Scholar
https://scholar.google.com/scholar?q=mold+cleanup+after+flood+CDC+EPA+homeowners - https://www.cdc.gov/mold/cleanup/index.html
- https://www.cdc.gov/disasters/floods/index.html
- https://www.epa.gov/mold/mold-and-moisture
- https://www.fema.gov/fact-sheet/after-flood-cleanup
- Floods | Ready.gov
https://www.ready.gov/floods - Water damage
https://en.wikipedia.org/wiki/Water_damage - https://www.mayoclinic.org/diseases-conditions/allergies/expert-answers/mold/faq-20057797