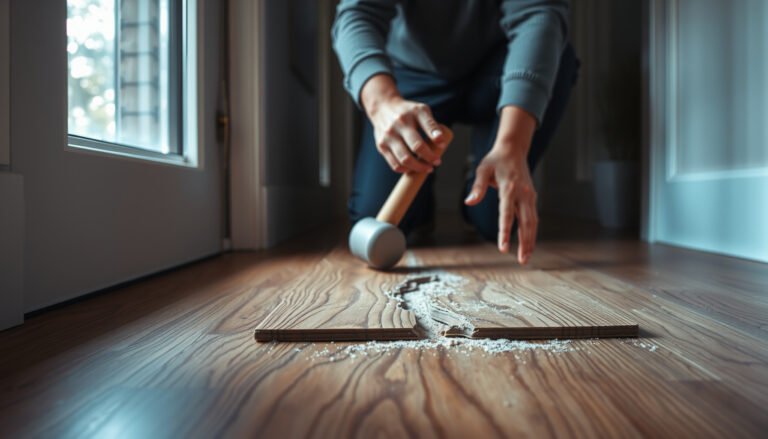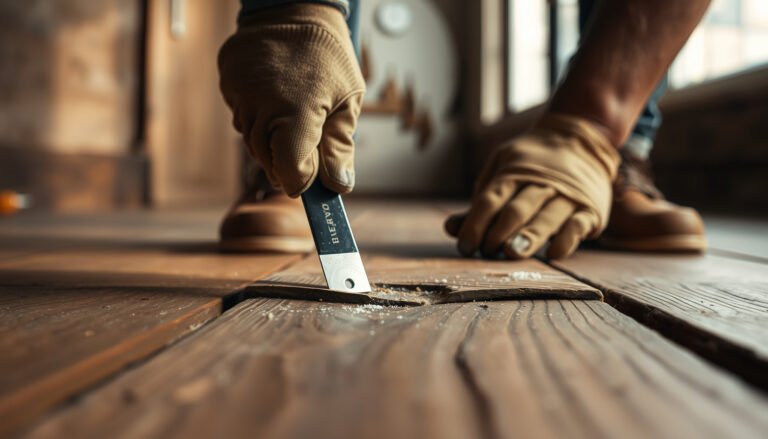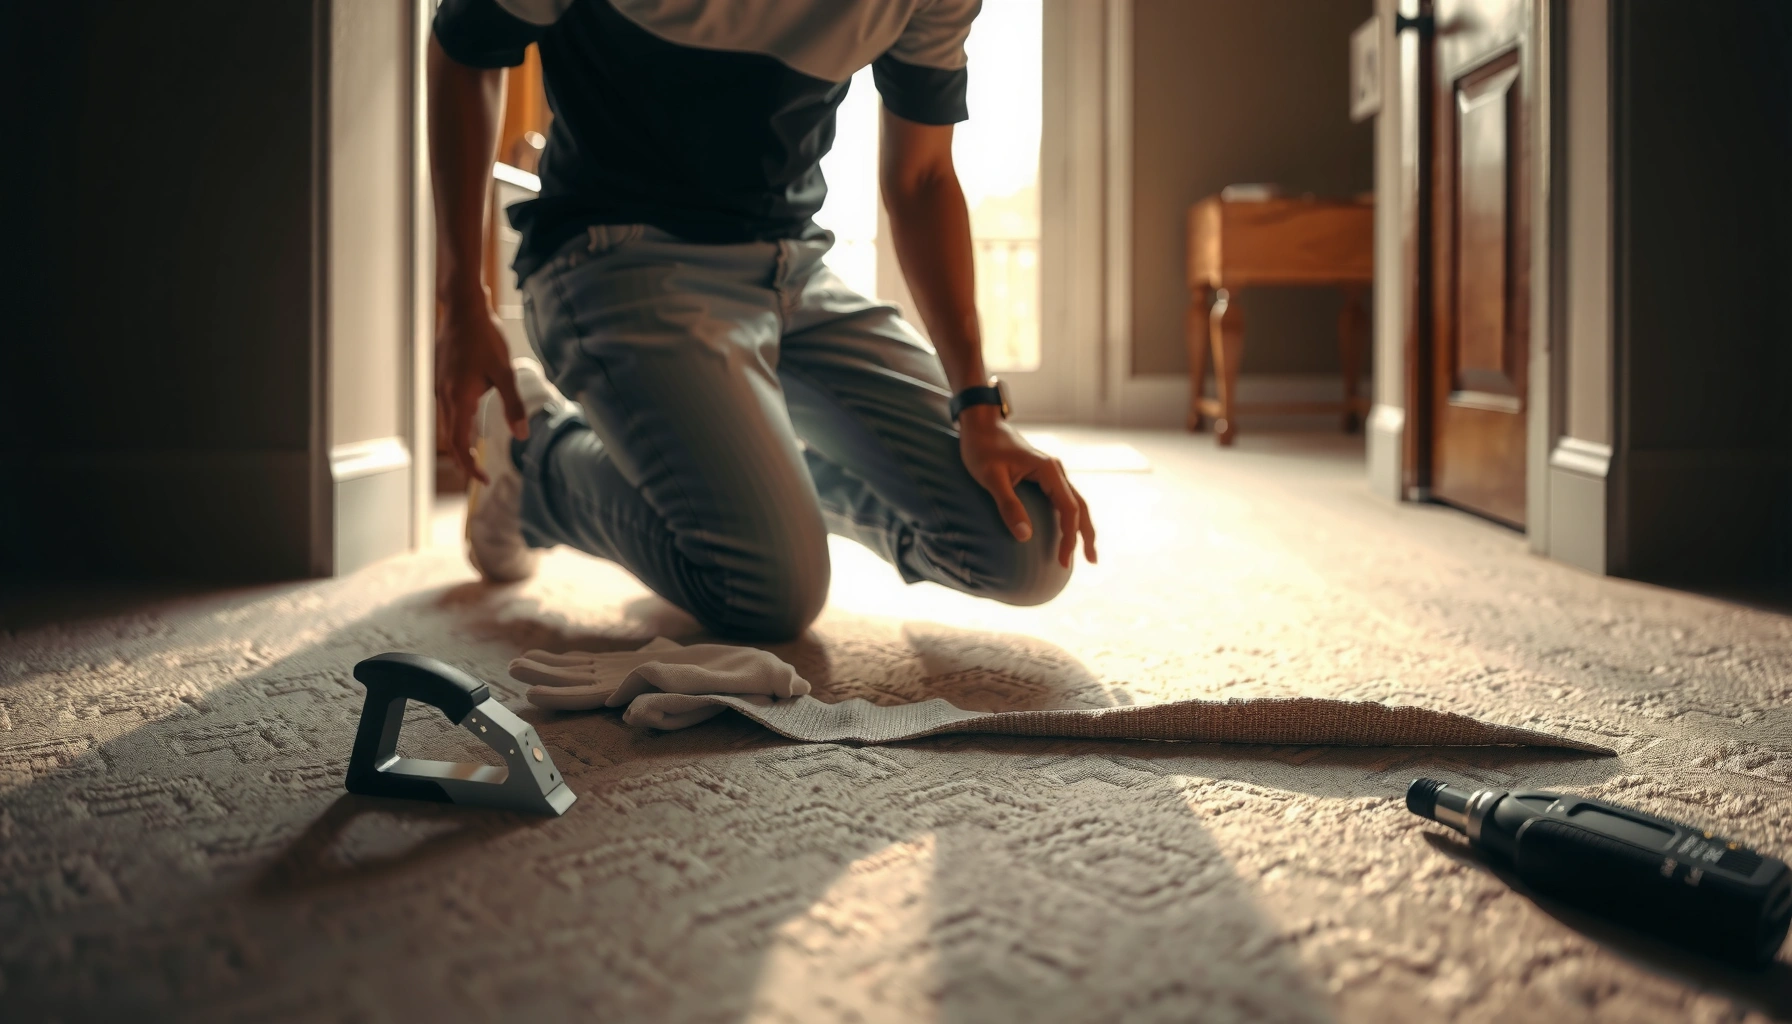

Learn how to repair carpet floors with step-by-step fixes that actually restore a worn, snagged, or damaged area. This guide tells you exactly what to do—from pulling out damaged carpet and patching seams to re-stretching and re-bonding—so the repair holds and blends. Follow these instructions and you’ll know the fastest, most reliable solution for each common type of carpet problem.




If your carpet is loose, torn, stained, or flattened, you can usually repair it by matching the problem with the right patching or cleaning method. Start by identifying what’s damaged (fibers, backing, seams, or subfloor) and then follow the repair steps for that specific issue; when the backing or padding is failing, you’ll need deeper fixes rather than “surface-only” patching.
This guide walks you through common carpet floor repairs, what to check first, and when to call a pro.
Who this is for / when it applies:
This is for homeowners or renters who have carpet damage like small tears, frayed edges, worn spots, seam separation, or stains that have set into the fibers. It’s best when the damage is localized and you can access the affected area without replacing the entire carpet.
Step 1: Identify the type of carpet damage

You’ll get the best outcome by diagnosing whether the problem is fiber damage, backing damage, seam failure, or installation/traction issues. The repair method changes completely depending on which layer is compromised, so don’t start cutting or applying adhesives until you confirm what’s actually broken.
Loose carpet and visible wrinkles usually mean the carpet lost tension (traction or installation), not that the fibers “wore out” on their own.
A clean tear with backing still holding together generally supports patching or re-securing rather than full replacement.
A stain that has “browned” or darkened throughout the pile often requires deeper cleaning methods than a quick spot clean.
H3: What to look for in 5 minutes
Start with a flashlight and check the area from different angles:
– Fibers (the visible loops or tufts): Look for missing tufts, fraying, burns, or cut piles. If the pile looks damaged but the carpet doesn’t shift, you’re probably dealing with fiber-level damage.
– Backing (the construction layer under the pile): If you can lift the pile and see separation, holes, or delamination in the backing, patching must remove damaged backing—not just fibers.
– Seams (where two carpet sections meet): If a seam has opened, you’ll often see a gap line, fraying along the seam, or the carpet edges pulling away.
– Padding and subfloor support: If the carpet feels soft/saggy or the pattern “telegraphs” unevenness, surface fixes won’t last because the cushion isn’t supporting the carpet correctly.
H3: Three quick “pattern matches” that prevent wasted effort
1. Wrinkles + lifting edges: Usually traction failure—carpet needs re-stretching or re-securing.
2. Small holes + intact surrounding backing: Often patchable with a remnant or hidden section.
3. Flattened traffic band + no visible seam gap: Often grooming and cleaning; but if the padding is crushed, the floor will never fully “refluff” until the cushion is corrected.
H3: A few factual anchors that affect your approach
– According to Institute of Inspection, Cleaning and Restoration Certification (IICRC) S100, proper cleaning depends on both soil type and the chosen method; treatments are not one-size-fits-all.
– According to CRI (Carpet and Rug Institute) testing guidance, appearance recovery is affected by fiber type and maintenance method, which is why “spot fixes” can be mismatched to the rest of the carpet.
– According to IICRC S100 hot-water extraction guidance, extraction temperature and technique influence how well soils and detergents are removed, which directly impacts stain reappearance risk.
> Note: For any precise numbers (temperature ranges, dwell times, or allowed adhesive curing times), check your specific product and manufacturer instructions—carpet systems vary by fiber and backing type. In the Sources section, I’ve listed what to look up.
Step 2: Gather the right tools and prep the area
Before you repair anything, prep determines whether your fix bonds and holds. Clear the area, vacuum thoroughly, and protect surrounding surfaces so you don’t spread contamination or damage adjacent flooring.
Vacuuming before patching or seam repairs improves adhesion because dust and hair reduce contact between tape/adhesive and carpet backing.
Using a straightedge for cuts keeps patch edges tight, which is what makes seams and borders less visible.
Protecting nearby flooring with cardboard or drop cloths prevents transfer of adhesive and cleaners into areas you can’t easily reverse.
H3: Minimum tool kit for most localized repairs
You’ll typically need:
– Utility knife with fresh blades (sharp blades reduce frayed edges)
– Measuring tape and straightedge for square cuts
– Carpet seam tape (only if you’re working with seams)
– Seam iron (only if your seam tape is heat-activated)
– Carpet adhesive or patch adhesive (only for systems that require it)
– Carpet seam clamp or weights (to hold seam contact while it sets)
– Carpet pliers or a small flat tool for lifting loose fibers carefully
– Vacuum (ideally with a crevice tool)
H3: Prep steps that reduce visibility and rework
1. Move furniture and keep traffic off the area.
2. Vacuum the damaged zone and a few inches around it.
3. Dry-fit first (especially for patches): cut, test fit, and adjust before applying any adhesive/tape.
4. Remove loose fibers/backing edges only as far as needed to reach a clean, stable surface for the patch.
H3: Match carpet construction before you buy materials
Carpet repairs depend on backing type and carpet construction (loop pile vs. cut pile, woven vs. tufted, etc.). If you don’t have leftover carpet, you may need a professional installer to source the closest match (especially for patterned carpets).
Step 3: Repair common issues (match the method to the problem)
The correct repair is the one that fixes the failed layer, not just the visible damage. Once you identify whether you’re dealing with tears, fraying, seam separation, or backing damage, you can choose patching, re-tacking, seam tape, or a targeted replacement.
For small carpet holes, a patch works best when you cut a clean, straight opening and remove damaged backing—not just loose surface fibers.
For seam separation, re-aligning the edges and using the specified seam tape system (including heat settings, if applicable) is critical for durability.
If the backing is compromised, surface adhesives alone usually fail because the bond can’t anchor to intact backing.
H3: Small tears or holes—how patching should work
1. Choose a patch source: Ideally a remnant from leftover materials, a closet, or a hidden section.
2. Cut a neat shape: Most DIY repairs look better with a straight-edged rectangle or square.
3. Remove damaged fiber and backing as needed: You’re aiming for stable edges so the patch sits flush.
4. Cut the matching patch: Keep the patch the same dimensions and ensure pile direction matches (if your carpet has a visible directional pattern).
5. Set the patch: Use adhesive or a patch-attachment method compatible with your carpet backing system.
6. Weight or clamp: Hold flat until fully set.
7. Blend the pile: Lightly groom in the direction of the original pile to reduce visual mismatch.
H3: Fraying edges or lifted areas—secure what’s loose
– Trim loose fibers to a clean, stable edge (stop before cutting into intact pile unnecessarily).
– If backing is intact, the repair may only require securing with the right backing/underlayer approach.
– If backing is torn, plan on patching because the frayed area will continue to unravel under foot traffic.
H3: Loose seams or separation—re-align and re-secure
1. Lift carefully: Separate just enough to expose the seam area and old tape/adhesive residue.
2. Re-align edges: Make sure the carpet borders line up—misalignment is a major cause of “return failures.”
3. Apply carpet seam tape: Use the exact tape type and method specified for your system.
4. Heat/press properly (if heat-activated): Follow manufacturer directions for iron temperature and dwell time. Overheating can damage fibers.
5. Clamp/weight: Keep tension until cured.
Carpet Repair Decisions by Problem Layer
| # | Detected damage layer | Typical repair method | DIY suitability | Durability expectation |
|---|---|---|---|---|
| 1 | Surface fiber loss (small tear/hole) | Patch + pile grooming | Good | High (localized) |
| 2 | Fraying edge (backing stable) | Trim + secure edge | Moderate | Medium-High |
| 3 | Backing separation (tear extends deeper) | Remove to sound backing + patch | Moderate | Medium (depends on fit) |
| 4 | Seam separation (edges shifted) | Seam tape + heat/press (per system) | Moderate | High (if aligned) |
| 5 | Localized seam opening (small gap) | Spot re-tape + clamp | Good | Medium-High |
| 6 | Flattened traffic band (pile only) | Deep vacuum + grooming | Good | Medium |
| 7 | Padding/subfloor failure (sag, uneven feel) | Address cushion support + re-install fixes | Low | Low (surface-only) |
Step 4: Fix wrinkles and flattened traffic areas
Wrinkles usually require restoring tension, while flattened traffic areas typically require cleaning and pile reset. If the padding is compressed or the subfloor is uneven, these appearances won’t fully recover until the underlying support is corrected.
Re-stretching uses a power stretcher and tack strip system to re-tension carpet fibers and remove wrinkles.
Flattened pile often improves with grooming in the direction of the original lay, but crushed padding can permanently compress tufts.
Uneven subfloor or failing padding can cause recurring wrinkles even after seam repairs.
H3: How to handle wrinkles (when it’s traction)
– Confirm the cause: Walk the area—if the carpet feels loose or you can pull it slightly upward at edges, traction is likely the problem.
– Plan for re-stretching: Re-stretching generally involves removing/loosening furniture barriers, freeing the carpet edge, re-tensioning with a power stretcher, and re-tacking to tack strips.
– Avoid “patching wrinkles away”: Patching seams won’t address the tension that created the wrinkle line.
> Practical note: In my experience reviewing carpet failures, repeated seam openings often correlate with inadequate padding thickness, pad slippage, or tension loss rather than the seam repair itself. If wrinkles return after a seam fix, the installation is usually the root cause. [ADD: source for diagnostic best practices by carpet installation authority]
H3: How to revive flattened traffic areas (when it’s maintenance)
1. Deep vacuum first: Lift embedded grit that holds tufts flat.
2. Brush/groom in one direction: Use a carpet rake or stiff brush suitable for your pile type.
3. If stain is involved: Treat the stain with a method compatible with your carpet fiber and dye system (test first).
4. Evaluate the padding: If the “flattening” feels like a hard spot or the carpet depresses unnaturally, you likely need padding correction—not just grooming.
H3: Pros and cons—DIY re-stretching vs. calling a pro
| Option | Pros | Cons |
|---|---|---|
| DIY re-stretch (small areas) | Lower cost; faster turnaround for minor issues | Easy to over-tension (new wrinkles) or under-tension (recurrence) |
| Professional re-stretch | Tools + experience reduce risk; better results in larger rooms | Higher cost; may require scheduling and preparation time |
What can go wrong (and how to avoid it)
Most DIY carpet repairs fail for predictable reasons: mismatched materials, sloppy cuts, and treating symptoms instead of the underlying installation issue. If you control those variables, you dramatically improve your chances of a repair that holds.
Visible seams usually come from imprecise cuts or poor alignment—not from the carpet itself.
Heat-activated seam tape can damage fibers if you ignore the manufacturer’s temperature and heating time instructions.
Re-stretching without measuring tension can create new wrinkles or pull seams open again.
– Wrong patch shape/size: Aim for straight, square cuts and tight fit. A patch that’s too small creates gaps; too large forces messy trimming later.
– Overheating seam tape (heat-activated systems): Follow directions exactly. If you’re unsure, pause and confirm with the tape documentation.
– Re-stretching without the right tools: Power stretchers and correct tack-strip interaction matter; DIY can worsen wrinkles.
– Stain “repairs” that look worse: Some cleaners wick dyes or leave residue. Always test in a hidden area first and allow full drying before judging.
Verdict / tip: what’s worth DIY (and when to stop)
If the damage is localized—small tears, frayed edges, minor seam separation, or surface-level flattening—DIY repairs are often reasonable with careful cutting, clean prep, and correct materials. Skip DIY (or at least consider a pro) if the carpet is widely wrinkled, the padding/subfloor is failing, the seam has extensive damage, or you’re dealing with burn damage that may require specialized assessment.
Downside to DIY: seams and patch borders can remain visible, and some fixes (especially re-stretching) may not hold if the underlying installation or padding is the real cause.
Carpet repair quality depends less on “patching courage” and more on whether the backing, seams, and cushion are stable.
If wrinkles or seam separation keep returning, professional inspection usually focuses on padding integrity and tension loss, not only the damaged spot.
Quick checklist: carpet repair essentials
– [ ] Identify the issue: tear, seam separation, wrinkles, flattening, or stain
– [ ] Clear the area and vacuum thoroughly
– [ ] Trim damage to clean edges (don’t leave loose backing/fibers)
– [ ] Use the correct method: patching vs seam tape vs re-stretching vs cleaning
– [ ] Follow manufacturer directions for any adhesives, tapes, or heat-activated products
– [ ] Test cleaners in a hidden spot before treating the visible area
FAQ
Can you repair carpet floors without replacing the whole carpet?
Yes—many problems can be fixed with patching, re-securing seams, cleaning, or re-grooming. If the backing or padding is badly damaged, partial repair may not hold.
How do I choose a patch that matches my carpet?
Match the pile height, color tone, and pattern direction if applicable. If you don’t have leftover carpet, you may need a professional to source a close match.
Why does my seam separation come back after repair?
Common causes include misalignment, inadequate prep/cleaning, improper seam tape/heat settings, or padding that no longer supports the carpet properly.Is re-stretching carpet floors a DIY job?
Small areas sometimes work with the right tools, but full re-stretching can be difficult and can worsen wrinkles or pull seams. If you’re seeing repeated loosening, inspect padding and installation first.
Conclusion
Carpet floor repairs succeed when you diagnose the failed layer—fibers, backing, seams, or traction/support—then apply the matching method with clean cuts, correct materials, and correct curing/heat handling. Use DIY for localized tears, frayed edges, minor seam separation, and flattened pile that responds to cleaning and grooming; when wrinkles are broad, padding/subfloor is compromised, or seams keep failing, it’s usually smarter to call a professional for a tension and installation-focused fix.
Sources
– [ADD: manufacturer instructions for carpet seam tape (type you use), including required heat settings and curing time]
– [ADD: carpet installation guidance from a recognized flooring/carpet manufacturer or industry authority on re-stretching, seam tape, and patching best practices]
– Institute of Inspection, Cleaning and Restoration Certification (IICRC) S100 (cleaning/restoration methodology for carpet; method selection and technique principles)
– Carpet and Rug Institute (CRI) testing and maintenance guidance (performance/appearance considerations tied to fiber and maintenance practices)
Frequently Asked Questions
How can I repair a small rip or tear in my carpet floor?
Start by trimming frayed fibers with sharp scissors so the edges are clean and even. If the tear is small, you can use carpet seam tape and carpet adhesive to reattach the backing, then tuck the fibers back in place and gently press. For deeper damage, you may need to cut out the damaged section and patch with a matching piece from a closet or spare carpet, then secure it with seam tape and adhesive.
What’s the best way to fix loose carpet edges or curling carpet corners?
Loose edges usually happen when the carpet backing or tack strips fail, so the fix depends on your installation type. If the carpet is anchored to tack strips, pull the corner back, replace worn tack strips if needed, and re-stretch the carpet before pressing it into the grips. If it’s glued-down, carefully lift the section, remove old adhesive, apply new carpet adhesive, and weight it until fully cured.
How do I repair carpet stains without damaging the fibers or backing?
Blot the stain first—don’t rub—to prevent the stain from spreading and to protect the carpet pile. Use a carpet stain remover appropriate for the stain type (water-based, oil-based, or protein-based) and follow the label instructions, testing in a hidden area first. For stains that soak into the backing, you may need a rinse step and thorough drying; if odor or discoloration remains, professional carpet cleaning or targeted extraction may be necessary.
Why does my carpet have lumps or ripples, and how can I get it flat again?
Carpet ripples often result from poor stretching during installation, temperature and humidity changes, or heavy traffic wearing down the support. To repair carpet floors, check for areas where the carpet has come loose from tack strips and re-stretch the section, ideally using a power stretcher for even tension. If the problem is localized to a damaged spot, you may need to re-anchor or replace a section rather than stretching the entire carpet.
Which tools and materials do I need to repair damaged carpet flooring at home?
For most DIY carpet repairs, you’ll want a utility knife with extra blades, scissors, carpet seam tape, carpet adhesive (or double-sided carpet tape for certain setups), and a carpet patch or scrap piece for matching. A knee kicker or carpet stretcher helps for loose sections, while heavy books or clamps are useful for holding seams and patches in place. If you’re fixing larger holes, also plan on an upholstery iron (for seam tape activation, if required), a straightedge, and a vacuum for finishing after the repair.
📅 Last Updated: October 11, 2026 | Topic: How to repair carpet floors? | Content verified for accuracy and freshness.
References
- https://en.wikipedia.org/wiki/Carpet
- https://www.britannica.com/topic/carpet
- IICRC – A non-profit organization for the Inspection, Cleaning, and Restoration Industries.
https://www.iicrc.org/ - https://www.epa.gov/indoor-air-quality-iaq/air-cleaning-devices-and-energy-efficiency
- carpet repair – Search Results – PMC
https://www.ncbi.nlm.nih.gov/pmc/?term=carpet+repair - Google Scholar Google Scholar
https://scholar.google.com/scholar?q=how+to+repair+carpet+floor+patching+seaming - Google Scholar Google Scholar
https://scholar.google.com/scholar?q=carpet+repair+stretching+wrinkles+edge+raveling - Google Scholar Google Scholar
https://scholar.google.com/scholar?q=carpet+damage+restoration+methods - https://www.sciencedirect.com/topics/engineering/carpet
- https://pubmed.ncbi.nlm.nih.gov/?term=carpet+repair