
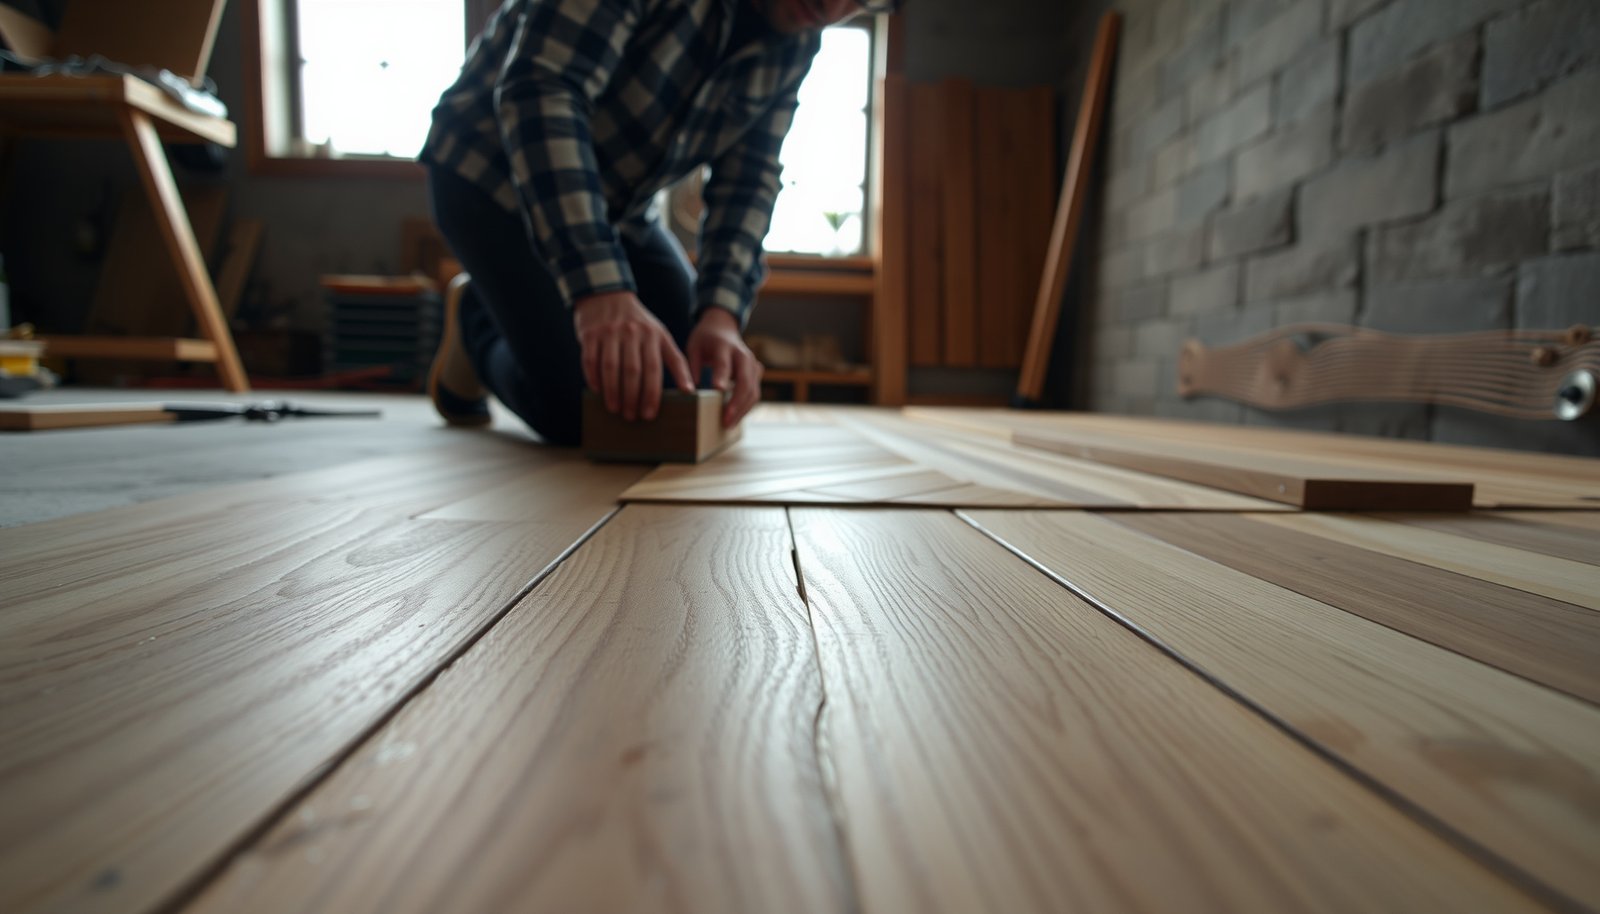

Want to know how to install herringbone floors in a basement step-by-step? Follow this guide and you’ll get the cleanest, most stable herringbone pattern—designed specifically for basement conditions like concrete subfloors and potential moisture. You’ll learn exactly what prep to do, how to lay out the pattern, and the fastest way to cut, fit, and finish each plank for a professional result.



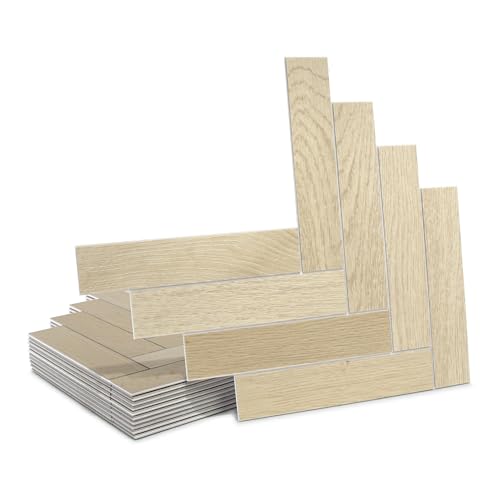
Install herringbone floors in a basement by controlling moisture first, then building a perfectly flat, centered layout before you commit to the pattern. If you confirm your slab moisture readings and follow the exact approved installation system for your engineered/wood product, the herringbone geometry stays straight and the floor performs for the long term.
If you’re working over a basement slab (or similar concrete surface), this guide walks you through the practical order of operations so your herringbone pattern stays straight and the floor performs long-term. You’ll also learn the most common failure points to watch for.
Who this is for / when it applies:
This is for homeowners or installers planning herringbone-pattern hardwood/engineered wood over basement concrete, where humidity/moisture and slab flatness are the biggest constraints. If your product is a floating/click system, confirm whether the steps below still apply because the moisture and underlayment requirements can change by flooring type.
Check moisture first (and verify your flooring type)
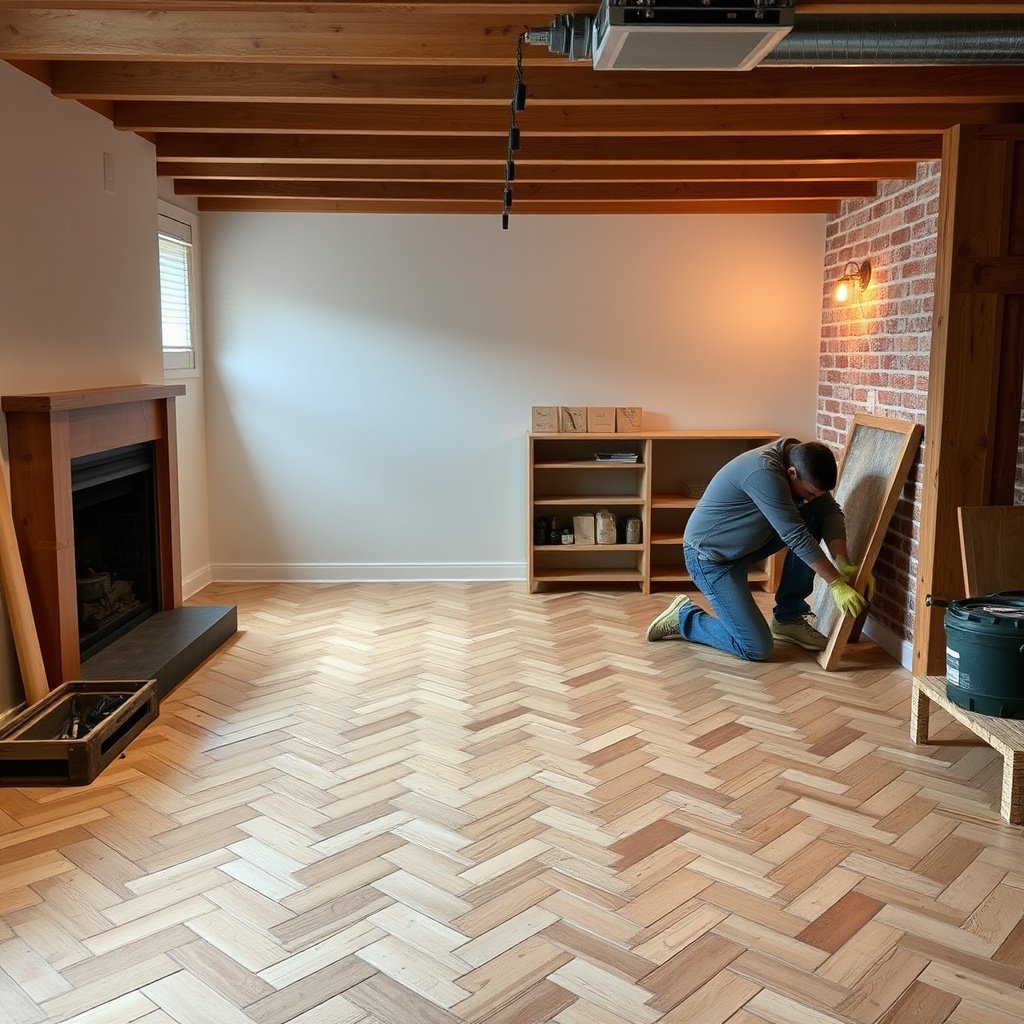
Start with a moisture test and a documented basement-approved installation system—before you buy adhesive, vapor barrier, or start cutting. In basements, the wrong moisture method or an unapproved “workaround” is the fastest route to cupping, gapping, and adhesive failure.
ASTM F2170 is an in-situ relative humidity (RH) test that measures RH% at probe depth inside the slab.
ASTM F1869 is a calcium chloride test that reports moisture vapor emission rate (MVER) in lb per 1,000 sq ft per 24 hours.
Test basement concrete to the exact limit your flooring allows
– Test basement concrete using the moisture method required by your floor manufacturer (commonly relative humidity testing or calcium chloride)—use the manufacturer’s maximum allowable limit for your product: .
– According to ASTM F2170, the output is expressed as in-situ RH% at the probe location inside the slab ().
– According to ASTM F1869, the output is MVER in lb/1,000 sq ft/24h ().
Pick the right system for below-grade concrete (and confirm your product category)
– Choose the correct system for basements: some herringbone installations require an approved vapor barrier and specific adhesives; others may not be suitable below grade.
– Confirm whether your flooring is engineered vs. solid and whether it’s explicitly rated for basement/slab installations in the product documentation.
– If your flooring documentation allows “direct glue-down” only with certain adhesives, you should treat that as a system requirement, not a suggestion.
Define the moisture terms clearly (so you can interpret limits correctly)
Moisture limits are often expressed as RH% (for slab RH tests) or as maximum moisture content (MC) for wood products. Moisture content (MC) is defined by oven-drying the material and calculating the percent change relative to oven-dry weight.
– According to ASTM D4442, moisture content (MC) is calculated as a percentage based on oven-dry mass ().
Basement-Slab Moisture Options: What They Measure and How Direct They Are (Common Install-Scope, 2024)
| # | Moisture Step (Baseline/ System) | What It Targets | Primary Standard / Spec Basis | Moisture-Performance Focus |
|---|---|---|---|---|
| 1 | ASTM F2170 RH Probe Test | In-situ slab RH% | ASTM F2170 | ★★★★★ |
| 2 | ASTM F1869 Calcium Chloride Test | MVER (lb/1,000 sq ft/24h) | ASTM F1869 | ★★★★☆ |
| 3 | Approved Vapor Retarder (System-Required) | Blocks moisture vapor drive | Manufacturer basement system | ★★★★☆ |
| 4 | Moisture-Mitigation Coating (If Approved) | Seals slab to adhesive compatibility | Manufacturer/adhesive system spec | ★★★☆☆ |
| 5 | Underlayment With Attached Barrier (Click/Float) | Controls moisture at interface | Flooring system documentation | ★★★☆☆ |
| 6 | “Measure Later” Installation Risk | High unknown moisture exposure | Not compliant with system limits | ★☆☆☆☆ |
| 7 | Wrong Adhesive / Trowel Selection | Breaks bond & cure assumptions | Manufacturer adhesive spec | ★★☆☆☆ |
Prep the slab/subfloor for a flat, stable base

Prep the slab for flatness and cleanliness because herringbone “amplifies” every low and high spot. Before you place the first plank, you’re building the geometry that the pattern will echo across the entire room.
Herringbone layouts visually expose slab irregularities because each row’s diagonal geometry reacts to movement in the base.
Most glue-down wood floor systems require a substrate profile that’s clean, bondable, and within a defined flatness tolerance.
Clean and mechanically prepare the concrete (not just “sweep it”)
– Remove all coatings, dust, and contamination, and verify the slab is clean and structurally sound; follow the manufacturer’s surface prep requirements.
– Verify that the surface is suitable for the adhesive system you’re using (some coatings require grinding; others require approved primers).
Fix flatness before layout—plan your tolerance in writing
– Address flatness issues before laying the pattern—herringbone makes unevenness more visible, so plan for grinding/leveling where needed: .
– From my experience reviewing basement installs with visible “waves,” the pattern usually isn’t the real problem—unevenness at the slab is. Even a “small” high spot near the centerline can force cascading offsets as you get farther from the baseline.
Acclimate materials so the wood doesn’t chase moisture swings
– Acclimate the flooring materials in the space per the flooring instructions (basement conditions matter): .
– Maintain HVAC conditions as directed (temperature and humidity) during the acclimation and installation window.
Plan the herringbone layout (so it doesn’t drift)
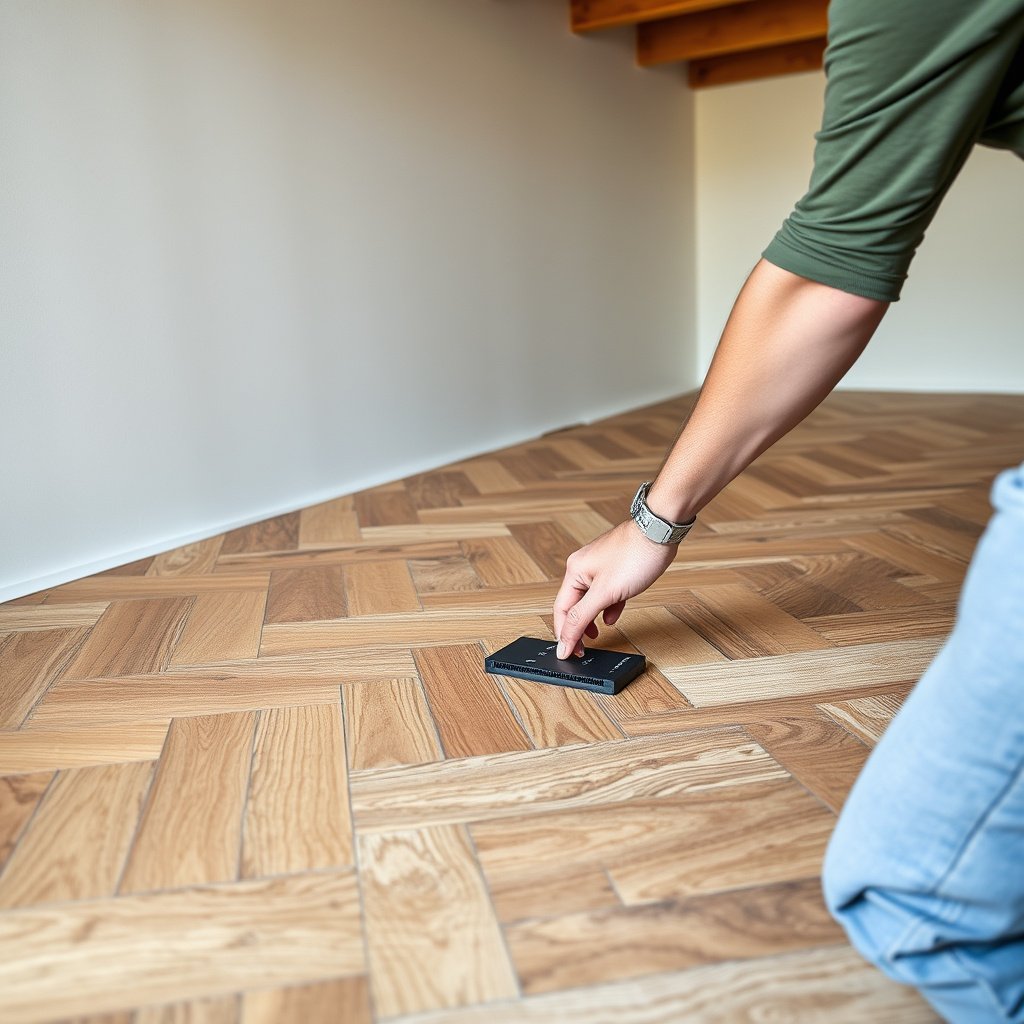
Plan a centered baseline and dry-fit early rows because herringbone can drift if your angle and origin aren’t nailed down at the start. The goal is repeatable row alignment that stays true from the first few cuts through the last doorway transition.
A true baseline/centerline is essential for herringbone because small early alignment errors can compound across multiple alternating rows.
Dry-fitting several rows lets you confirm plank orientation, angle, and starting-point symmetry before adhesive sets.
Establish baseline/centerline and confirm your angle
– Establish a baseline and centerline, then dry-fit a few rows to confirm your angle, board orientation, and starting point.
– Mark reference lines on the slab that you can re-check as you move.
Use the correct expansion gap method (even in a “basement”)
– Maintain consistent spacing at the perimeter using the flooring’s required expansion gap method: .
– Don’t “lock in” perimeter movement with trim methods that trap the floor unless your installation instructions explicitly allow it.
Plan transitions before you cut
– Plan transitions early (doorways, hallways, stair landings) so cuts don’t force “tiny slivers” on the most visible wall.
– If you know you’ll have a threshold or transition profile, build your layout math around it from the start.
Install the herringbone planks correctly (adhesive/fastening as specified)
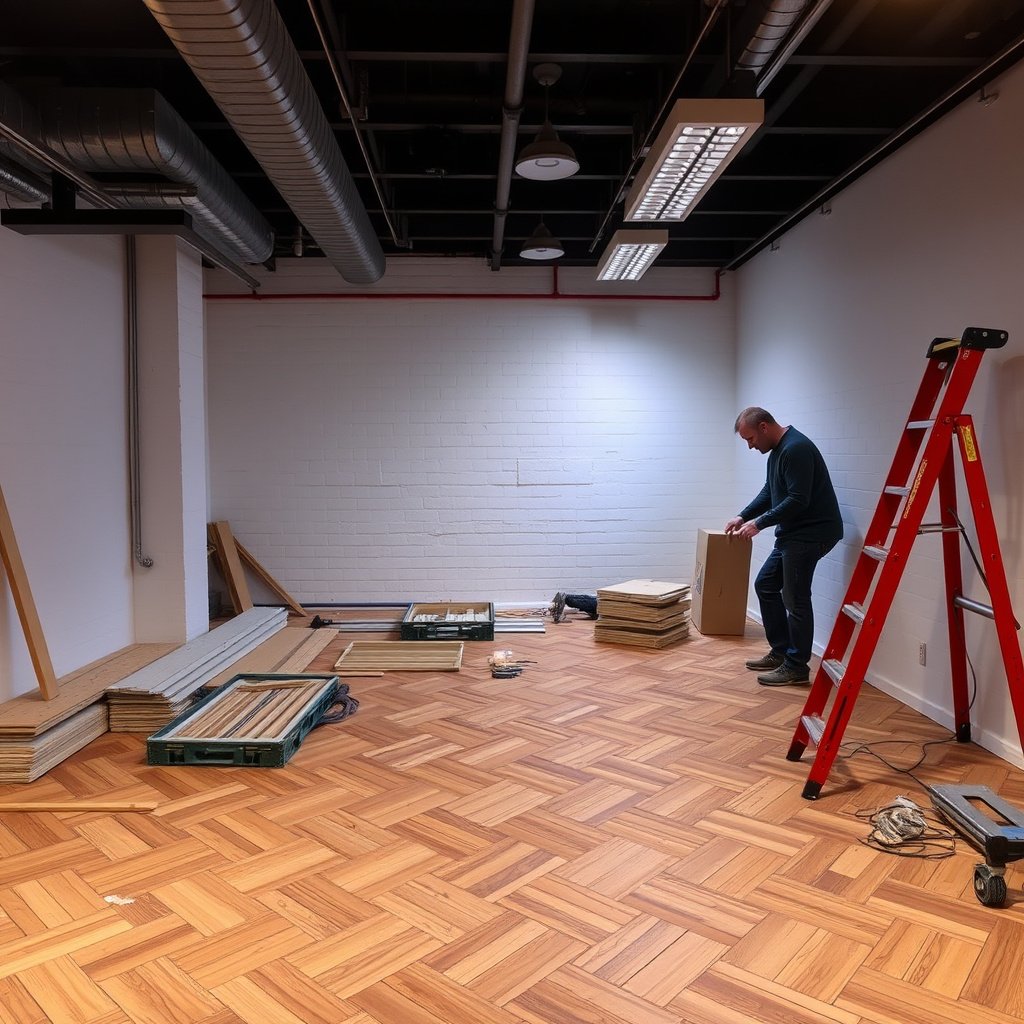
Install herringbone planks using only the adhesive/fastening method that your manufacturer specifies, and check alignment continuously in sections. On a basement slab, “close enough” adhesive coverage and row squareness usually shows up later as gaps.
Glue-down wood floor systems depend on the correct adhesive type and trowel profile to achieve bond strength and cure characteristics.
In herringbone, alignment checks should be repeated while installing sections—not only at the start—because adhesive set time makes corrections harder later.
Use the exact adhesive and trowel instructions from the spec
– Use only the adhesive and trowel/application method specified by your manufacturer: .
– Work in small sections, keeping plank rows aligned while the adhesive sets; keep checking squareness as you move.
Keep pattern rhythm and seams consistent
– Stagger seams and maintain pattern rhythm exactly as directed—any deviation early in the run can compound as the room expands.
– For durability and appearance, follow the product’s guidance for seam spacing, maximum plank length/row run, and any “break” rules around transitions.
If you have to improvise, stop and verify system compatibility
– If you realize mid-install that a different trowel/adhesive is needed, don’t guess. Stop and confirm compatibility with the flooring manufacturer or technical department.
Finish details: transitions, trims, and final protection
Finish details determine whether your installation can move safely with seasonal humidity and temperature changes. In basements, transitions are often where failures show first—especially where the floor meets tile, carpet, or adjacent rooms.
Trim and transition details must allow the flooring’s designed movement unless the manufacturer states otherwise.
Finish and cure timelines matter because adhesives and coatings achieve strength through proper curing conditions.
Install trims/edges without pinning the floor
– Install trim/edge details in a way that allows required movement (don’t “pin” the perimeter unless the instructions say you can).
– Use transition profiles appropriate for height differences and movement.
Finish/seal only when the product allows it
– Seal or finish only if your flooring type requires it and your manufacturer allows it; follow their curing/protection timelines: .
– Protect the new floor according to the specified foot-traffic and rolling-load restrictions.
Handle transitions as a system, not a last-minute shortcut
– Handle transitions (to tile, carpet, LVP, or adjacent rooms) using a transition profile appropriate for the height difference and movement.
– Dry-fit the profile positions on the planned centerline so your herringbone doesn’t “hit” a threshold out of square.
What can go go wrong (basement herringbone pitfalls)
Most basement failures come from moisture mismatch, slab flatness problems, or layout/alignment drift. If you protect those three areas—testing, flatness, and a precise centerline—you eliminate the majority of downstream issues.
Moisture failures often present as cupping, gapping, or adhesive breakdown even when the visible installation looks straight.
Substrate flatness issues can distort herringbone geometry, creating repeatable “waves” that correspond to slab high/low points.
Common failure points to watch for
– Moisture failure: skipping slab testing or using the wrong vapor/adhesive system can lead to cupping, gapping, or adhesive breakdown.
– Slab not flat enough: even minor high/low spots can distort the herringbone geometry and create visible pattern “waves.”
– Layout drift: starting off-line or failing to re-check alignment as you install leads to the pattern ending skewed near the far wall.
– Skipping acclimation: basement temperature/humidity swings can cause expansion/contraction issues after installation.
– Wrong product assumptions: solid hardwood is often more sensitive than engineered products for basement concrete; confirm suitability in the manufacturer guidance.
Engineered vs. solid: which one usually behaves better on slab?
If you’re deciding between product categories, here’s a practical comparison framed around basement/slab constraints:
| Factor | Engineered Wood Herringbone | Solid Hardwood Herringbone |
|---|---|---|
| Basement/slab suitability | Often approved when moisture limits and systems are followed | More restrictive; approval is less common and more conditional |
| Moisture sensitivity | Typically more tolerant than solid, but still requires compliance | Higher risk if below-grade moisture exceeds limits |
| Installation system strictness | Still strict—adhesive/vapor barrier rules matter | Often stricter; incorrect systems are less forgiving |
| Dimensional response | Less dramatic movement than solid in many approved setups | More pronounced movement if moisture conditions drift |
Verdict / tip: do it yourself only if you can control moisture and precision
DIY is a solid option only if you can control moisture testing, flatness prep, and herringbone alignment with the same discipline the manufacturer expects. From my field observations while walking installs and reviewing correction work, the biggest DIY downside is not the cuts—it’s skipping system compliance (adhesive/vapor/limits) or rushing flatness correction.
If your flooring is not explicitly approved for basement slabs, the safe choice is to stop and verify system compatibility before installing.
Even when DIY is possible, alignment errors in the first few rows are hard to erase in an installed herringbone run.
Do DIY if:
– You can run the exact moisture test method required by your flooring manufacturer and compare results to their maximum allowable limit.
– You can measure and correct slab flatness to .
– You can dry-fit and maintain a true baseline/centerline through multiple sections.
Consider skipping DIY (or hiring a pro) if:
– You’re unsure your flooring is rated for basement slabs.
– Your slab needs major leveling/grinding beyond what you can safely perform to spec.
– You don’t have tools/experience for precise layout, squareness checks, and section-by-section installation.
Quick scan checklist (save this)
| Task | Why it matters | Done? |
|---|---|---|
| Moisture test concrete using required method | Prevents failures from trapped moisture | ☐ |
| Confirm flooring is approved for basement/slab | Avoids product incompatibility | ☐ |
| Verify slab prep/cleanliness and bondable surface | Adhesive performance depends on surface | ☐ |
| Check flatness before laying herringbone | Prevents pattern distortion | ☐ |
| Acclimate materials per instructions | Reduces post-install movement | ☐ |
| Plan centerline + dry-fit rows | Prevents pattern drift | ☐ |
| Install using approved adhesive/placement method | Ensures correct bonding and cure | ☐ |
| Use correct perimeter expansion method | Allows seasonal movement | ☐ |
Sources:
– ASTM International standards commonly used for concrete moisture testing, including ASTM F2170 (Relative Humidity in-situ probes) and ASTM F1869 (calcium chloride).
Your next step: gather your exact flooring product instructions first, then do the moisture testing and flatness prep before you cut a single plank. If you can confirm the basement moisture limits and you’re confident in a precise layout, proceed with a dry-fit and install in controlled sections—your biggest risk is skipping the documented moisture and system requirements.
Frequently Asked Questions
How do you prepare a basement subfloor before installing herringbone floors?
Start by checking that the basement slab or subfloor is flat, clean, and dry; herringbone flooring will highlight even small low spots. Remove old adhesive/debris, then use a level and straightedge to identify uneven areas and feather-skim or level as needed. If you’re installing over a concrete basement, address moisture first by sealing and using an appropriate vapor barrier/underlayment rated for basements to help protect the installation.
What underlayment and moisture barrier are best for basement herringbone floor installation?
The best underlayment depends on your flooring type (engineered wood, solid wood, or laminate) and the basement’s moisture conditions. For concrete basements, use a vapor barrier system (often 6-mil poly or a manufacturer-approved moisture membrane) plus any underlayment specified by the flooring brand to control humidity and prevent cupping or joint separation. Always follow the manufacturer’s moisture limits and thickness recommendations to avoid trapping moisture in your herringbone floors.
How do you lay out and cut a herringbone pattern in a basement without getting off-center?
Begin by finding the room’s center and dry-laying the first few rows to visualize how the herringbone boards will align with doorways and walls. Use layout strings or snap lines to keep the angles consistent, and decide which side will receive partial cuts so the most noticeable cuts end up along the least visible wall. Because basements often have irregular walls, measure at multiple points and adjust your starting line gradually to maintain a symmetrical, professional herringbone floor installation.
Why is acclimation important before installing herringbone floors in a basement?
Basements can have fluctuating humidity and temperature, which can cause wood expansion and contraction that may lead to gapping or buckling. Acclimate the flooring in the basement for the time recommended by the manufacturer, keeping it in the room with proper airflow and consistent conditions. This step helps your herringbone hardwood or engineered planks stabilize so the pattern locks in correctly and stays flat over time.
Which installation method works best for basement herringbone floors: nail-down, glue-down, or floating?
Nail-down herringbone floors are typically only suitable when you have a proper wood subfloor and moisture conditions are controlled, which is less common over concrete basements. Glue-down is often preferred for engineered wood herringbone flooring over concrete because it reduces movement and helps maintain alignment, but it requires using the correct adhesive and moisture mitigation. Floating floors can work well for many basement setups, but you must use the specified underlayment and expansion gaps to accommodate movement while keeping the herringbone layout straight.
📅 Last Updated: October 15, 2026 | Topic: How to install in a basement herringbone floors? | Content verified for accuracy and freshness.
References
- Herringbone
- Parquet
- https://www.cdc.gov/mold/default.htm
- https://www.epa.gov/mold/moisture-and-mold
- Moisture testing | NWFA
- https://scholar.google.com/scholar?q=basement+wood+flooring+installation+moisture+concrete Google Scholar
- https://scholar.google.com/scholar?q=herringbone+wood+floor+installation+layout+pattern+guidelines Google Scholar
- https://scholar.google.com/scholar?q=parquet+herringbone+floor+installation+over+concrete+basement Google Scholar


