
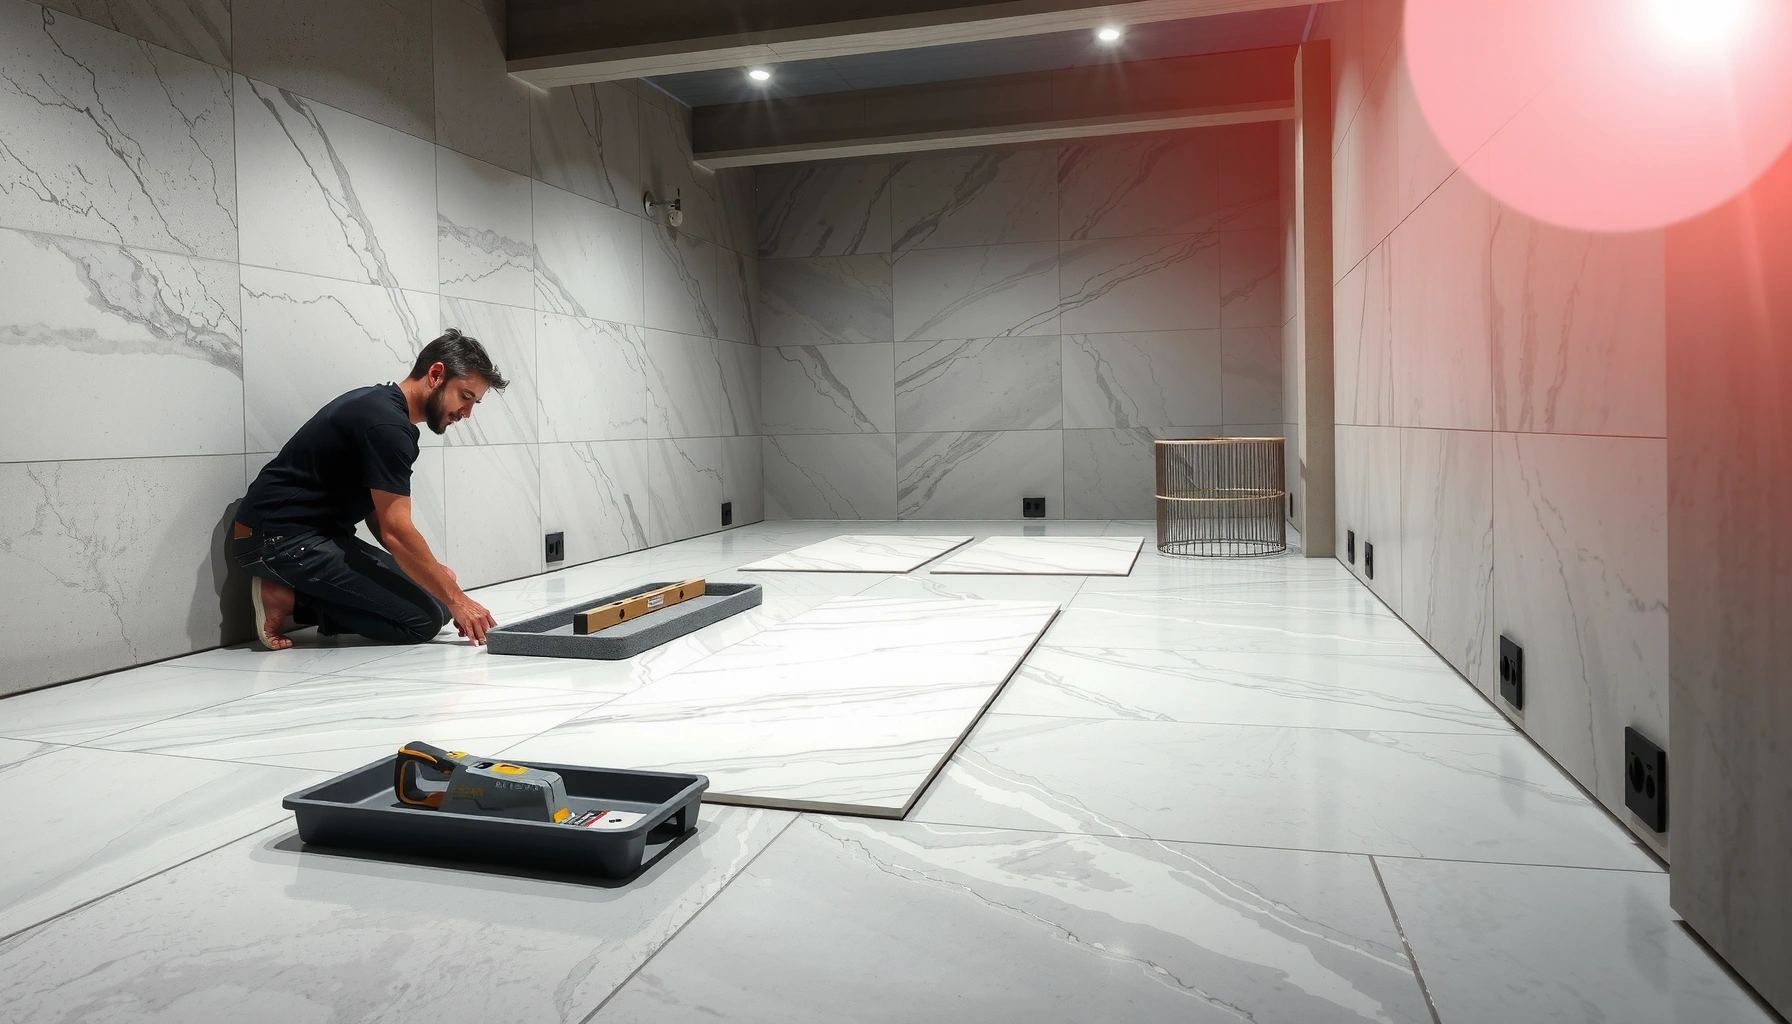

Wondering how to install marble floors in a basement and make them stay solid despite moisture and temperature swings? This guide walks you through the exact prep, waterproofing, underlayment, thinset setting, and grouting steps—so your marble doesn’t crack, curl, or develop stains. You’ll also get the best practices for leveling a basement slab and handling expansion gaps for a long-lasting, professional finish.




Controlling moisture and building a stable, properly prepared subfloor is the make-or-break step for installing marble in a basement. When the slab is dry and flat, marble sets beautifully—but if vapor or unevenness is unmanaged, the same rigid stone can crack, haze, or lift over time. This guide walks you through moisture checks, concrete preparation, layout, setting, grouting, and sealing so your basement floor stays beautiful through seasonal humidity swings.
If you’re planning a marble install over basement concrete (or a basement slab with prior flooring removed), this is for you. It’s especially relevant if you deal with damp corners, seasonal humidity swings, or past moisture problems that weren’t fully corrected.
Confirm moisture and stability before you set marble
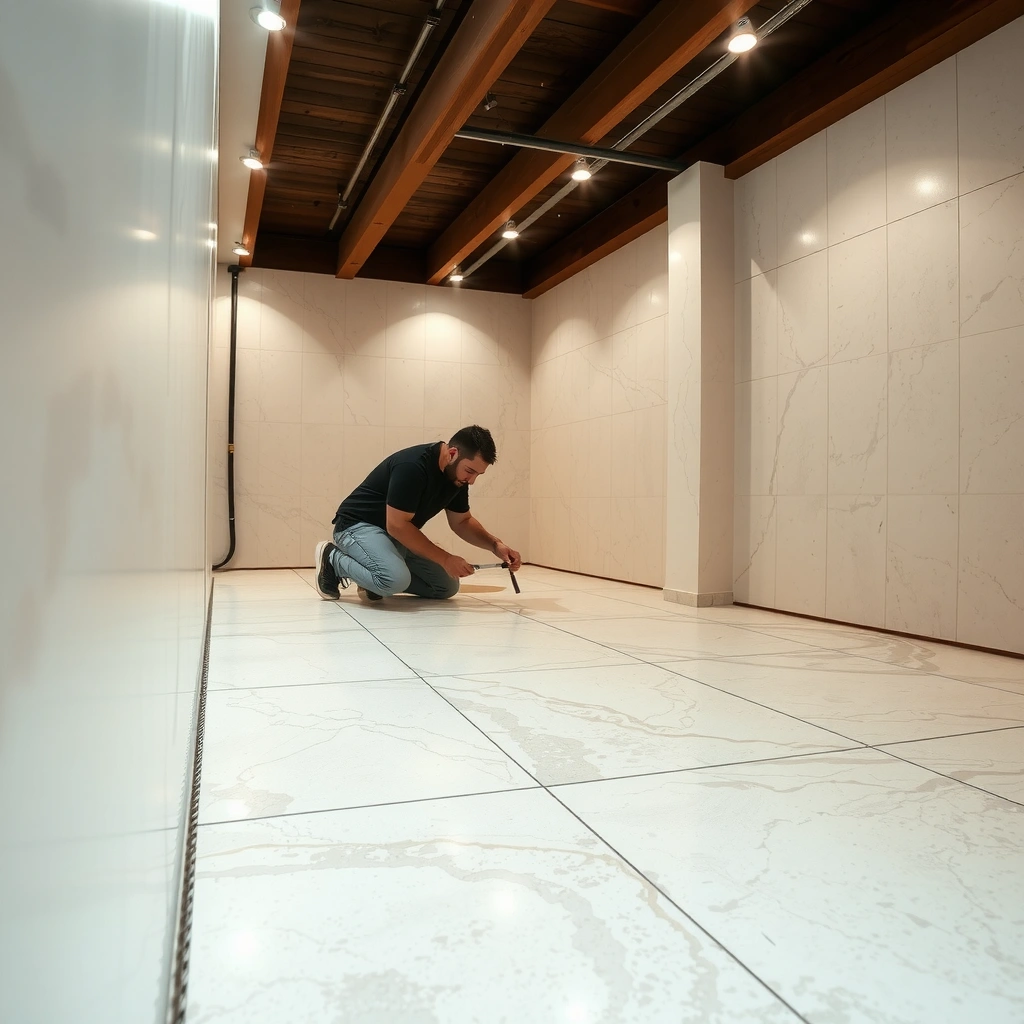
A marble basement floor can perform well when the slab is dry enough for tile bonding and structurally stable. The fastest way to avoid costly failures is to treat moisture control and flatness as prerequisites, not afterthoughts.
Basements are vulnerable to moisture migration, so you should address the water source and vapor drive before you install marble tile.
Marble is rigid and will telegraph concrete unevenness, which can lead to lippage (step-ups between tiles) and higher stress at weak points.
Testing and documenting slab moisture conditions helps you choose an installation system designed for concrete and wet-prone environments.
– Verify the basement slab is dry enough for stone installation; if you have recurring dampness, address the source first (drainage, vapor barrier, or waterproofing).
– Check for slab movement, cracks, or unevenness—marble is rigid and will highlight weak spots.
Key moisture indicators to look for (and why they matter)
Marble is not like many carpet or resilient flooring materials that can “tolerate” minor dampness. Stone is sensitive to moisture-related bond issues, discoloration, and surface haze when conditions persist under the tile assembly. Start with practical signs—musty odor, visible damp spots, recurring condensation on concrete, or efflorescence (white salt deposits)—then verify with testing methods recommended by your chosen installation system.
For humidity management, use measurable indoor conditions rather than guesswork. According to the U.S. Environmental Protection Agency, indoor relative humidity is often recommended around 30–50% to reduce moisture problems in buildings (EPA, guidance on indoor humidity). Also, ASHRAE guidance commonly frames 60% RH as a threshold where condensation and moisture-related risks become more likely for many building materials (ASHRAE, moisture control guidance). If your basement routinely runs above those ranges—especially in winter or during storms—you should plan on controlled dehumidification before and after the installation.
Stability checks that prevent “surprise” failures
Even if the slab looks clean and solid, marble will reveal problems hidden under old coatings or thin leveling materials. Look for:
– Cracks that indicate active movement (not just old shrinkage).
– Lippage caused by uneven high/low areas.
– Soft or hollow-sounding areas from delamination under previous floor systems.
In my own workflow planning, I’ve found that photographing crack locations before demo (and again after slab cleaning) helps crews avoid re-installing over zones that later shift. If you’re seeing active dampness, stop and correct it first; setting marble onto a continuously wet path is usually where projects start going wrong.
Prepare the concrete subfloor for marble
A strong marble installation depends on a clean, sound, and appropriately flattened concrete surface. Before any thinset goes down, remove contaminants and then correct the slab profile to within the tolerances your installer system expects.
Thinset performance depends on bond to the substrate, so concrete must be clean, free of paint/adhesives/coatings, and properly prepared.
Marble tile is unforgiving: flattening high spots and filling low areas reduces lippage and helps keep the tile assembly under controlled stress.
– Remove paint, adhesives, and any coatings, then clean thoroughly so thinset bonds properly.
– Flatten high spots and fill low areas with the correct leveling/repair materials rated for floors (follow the manufacturer instructions for thickness and cure time).
Cleaning and removal: “sound concrete” must be real concrete
Concrete that looks “okay” can still have bond-killing layers:
– Old mastic or adhesive remnants
– Paint overspray
– Sealers or curing compounds
– Dusty or chalky surfaces
Use the mechanical methods described by your thinset/stone system documentation—typically grinding and/or scraping—then vacuum thoroughly. The goal is not just cleanliness; it’s consistent substrate texture so mortar keys in and forms the bond you’re depending on.
Flattening: treat it as part of the stone system
For marble, flatness is everything because the tile assembly is rigid. Your leveling/patch material must be:
– Rated for floor use
– Compatible with concrete and your installation system
– Applied within the allowed thickness and cured per manufacturer instructions
If you’re unsure which repair/leveler matches your thinset, check the thinset system documentation first; many manufacturers specify acceptable patch products and prep steps to maintain warranty coverage.
Plan the layout and dry-fit your pattern
The right layout reduces small sliver tiles, keeps grout lines straight, and helps you hit stable cut sizes at doorways and along walls. A dry-fit also lets you confirm the tile field will remain visually consistent even if the room isn’t perfectly square.
A dry layout lets you verify that tile joints will align cleanly and that you won’t be forced into narrow slivers at walls or transitions.
Reference lines and careful alignment reduce the risk of compound errors that are difficult to correct once marble is set.
– Choose how you’ll run tiles (including transitions at doorways) and confirm you can end with workable cut sizes along walls.
– Mark reference lines and dry-fit a few rows to check alignment and ensure joints look straight once the floor is tiled.
Layout choices that matter in basements
Basements often have:
– Irregular wall shapes
– Doorways that break visual continuity
– Nearby posts/columns or HVAC penetrations
When planning, decide where your “feature lines” go—commonly along the longest continuous wall or the most visible axis. Then plan transitions so door clearances and tread alignments stay clean.
Also, plan for marble’s natural variation. Veining direction and shade shifts can read as “lippage” from a distance even when the installation is flat. Dry-fitting helps you place high-contrast pieces where they’ll look intentional rather than accidental.
Install marble tile using the right setting materials
Using the correct mortar system is non-negotiable: marble needs a compatible thinset/setting mortar, and basement concrete needs an installation approach that accounts for moisture exposure. When you match materials properly, you protect bond strength and reduce discoloration risks.
Marble installation typically requires a thinset mortar system specified as suitable for marble and for the substrate conditions (like concrete and wet-prone environments).
Consistent coverage and correct trowel technique affect bond quality, which directly impacts crack resistance and long-term tile performance.
– Use a cement-based thinset/mortar system specifically suitable for marble and for the substrate you’re tiling (basement concrete).
– Keep consistent tile spacing, use proper back-buttering if required by your thinset system, and periodically check flatness with a straightedge.
Thinset selection: match stone + substrate + environment
Marble is sensitive to installation chemistry. The thinset system should be:
– Specifically suitable for marble tile (not just “natural stone” in general)
– Compatible with concrete
– Designed for the moisture conditions you expect in your basement
Concrete moisture testing isn’t only academic. ASTM standards used for moisture evaluation are often referenced in flooring systems, such as:
– ASTM F1869 (calcium chloride method; units are typically lb/1000 sq ft/24 hr)
– ASTM F2170 (in-slab relative humidity via sensors)
Those methods quantify moisture conditions so you can choose the right system and, where needed, the right vapor control strategy (ASTM International, ASTM F1869 and ASTM F2170). Many tile and stone manufacturers also reference acceptable moisture parameters in their installation instructions—so your best “source of truth” is still your chosen thinset/mortar documentation.
Trowel technique and coverage
Proper trowel size and technique affect:
– Bond strength
– Even support under marble
– Reduced risk of hollow spots that lead to cracking
Back-buttering may be required by your thinset system (especially for better coverage on natural stone). Periodically check flatness with a straightedge, because correcting lippage while the thinset is fresh is far easier than grinding dried stone later.
Grout and movement joints: don’t skip the details
Grout choice and joint strategy protect both the appearance and the structural integrity of the tile assembly. Basements need careful movement-joint mapping because concrete can expand/contract with seasonal moisture and temperature shifts.
Expansion/movement joints in the tile assembly must be respected, mapped correctly, and carried through to avoid stress cracking.
Grout should be selected for natural stone compatibility and cured under conditions recommended by the grout manufacturer before exposing it to higher moisture.
– Select grout that matches your joint width and is appropriate for stone; follow curing times before exposing grout to heavy moisture.
– Respect expansion/movement joints (and map them correctly in the field) so the stone assembly can handle minor slab movement.
Grout selection: match the stone and the environment
Marble grout requirements can differ from ceramic tile because marble can react visually and physically to certain materials. Make sure your grout is:
– Compatible with natural stone
– Compatible with wet conditions if the basement experiences periodic high humidity
– Installed using the correct mixing and curing schedule
Movement joints: the “failure insurance” for concrete slabs
Movement joints are not optional. If you ignore them, hairline cracking often appears along predictable stress lines. In your field mapping, identify existing slab control joints and detail how they should be treated in the tile assembly per your system guidance.
Seal marble and manage moisture long-term
Sealing helps protect marble from staining and surface issues because marble is porous. In a basement, sealing alone isn’t enough—humidity control is what keeps moisture-related problems from returning.
Marble typically requires sealing because it’s porous and can absorb liquids that lead to darkening or staining.
Even after sealing, controlling basement humidity and preventing ongoing vapor drive are key to preventing long-term stone discoloration and bond issues.
– Marble is porous, so sealing is typically required; re-seal on the schedule recommended by the sealer manufacturer.
– Control humidity after installation—use ventilation/dehumidification strategies sized to your basement conditions.
A realistic maintenance plan
Sealing is a maintenance cycle, not a one-time task. Follow the sealer manufacturer’s instructions for:
– Application method and coverage rate
– Dry/cure time before foot traffic or cleaning
– Re-seal interval based on exposure (including humidity level)
Also, plan a humidity strategy you can sustain. In 2026, the typical approach is continuous or seasonal dehumidification and monitoring indoor RH levels. If you already track basement RH, keep doing it—because your floor’s best protection is the environment staying within your target range.
What can go wrong (and how to avoid it)
Even with correct tile setting technique, marble floors can fail if moisture management, flatness, or material compatibility is off. The good news is that most issues trace back to a small number of root causes you can prevent with the right system.
Moisture under tile can cause lifting and efflorescence, so any active dampness path must be corrected before installation.
Uneven substrates create uneven stress distribution in rigid tile assemblies, increasing crack and lippage risk.
– Moisture problems under the tile: Lifting, efflorescence, or grout discoloration often point to moisture/vapor issues that weren’t corrected before installation.
– Uneven slab: Marble can telegraph lippage and create stress points that lead to cracked tiles.
– Skipping sealing or using the wrong products: Some sealers or cleaners can dull marble or cause staining; always follow the product label guidance.
– Wrong thinset for marble: Using a system not intended for marble can reduce bond quality or increase staining risks.
– Overlooking movement joints: Cracks can form when the tile field is too rigidly tied to a slab that moves.
Quick comparison: common basement risk vs. prevention
Here’s how failures usually map to causes—use it as a diagnostic lens before you commit to setting:
| Basement issue pattern | What it often indicates | Prevention step |
|---|---|---|
| Darkening appears first near corners or exterior walls | Ongoing vapor migration | Fix water source + plan vapor control; verify conditions before setting |
| Hairline cracks follow control joints | Movement joints ignored | Map and honor movement joints in the tile assembly |
| Grout turns cloudy/hazy | Moisture + curing/cleaning mismatch | Follow grout cure timing and use approved cleaning methods |
| Marble edges look “stepped” | Substrate not flat enough | Flatten/patch before installation; verify flatness during setting |
Verdict / tip
A basement marble floor can look incredible, but only if you treat moisture control and subfloor preparation as the main project—not just the tile setting. If you’re currently seeing active dampness or you don’t know the slab’s moisture condition, pause and get that handled first; marble over an unmanaged damp slab is where problems usually start. If your basement is dry, the concrete is properly flattened, and you’re comfortable following manufacturer installation instructions for your thinset, grout, and sealer, then this approach is a solid path—though it does demand careful planning, documentation, and maintenance.
Quick scan checklist (save this)
– Moisture issue fixed? (not just cleaned/covered)
– Slab cleaned, sound, and flattened?
– Correct thinset for marble + concrete substrate?
– Layout planned with straight reference lines?
– Movement joints honored where needed?
– Grout chosen and cured per instructions?
– Marble sealed and re-sealed per sealer directions?
– Basement humidity managed after install?
Basement Stone-Install Risk Controls (Typical Fit by Need)
| # | Moisture/Stability Control Step | Typical When You Need It | Strength of Benefit | Installer Adoption | Score |
|---|---|---|---|---|---|
| 1 | Slab moisture testing (ASTM methods) | Before committing to setting | High | Common in spec jobs | ★★★★★ |
| 2 | Concrete surface prep (remove coatings/adhesives) | Always, for bond | High | Universal requirement | ★★★★★ |
| 3 | Flatness correction (patch/level) | When highs/lows exceed tolerances | High | Common on older slabs | ★★★★☆ |
| 4 | Vapor strategy (when needed) | Damp basements / high vapor drive | High | Conditional; spec-driven | ★★★★☆ |
| 5 | Thinset chosen for marble + substrate | Always, for chemistry and bond | High | Common but often mis-matched | ★★★★☆ |
| 6 | Movement joints honored | Rooms with control joints or larger fields | Medium–High | Often missed | ★★★☆☆ |
| 7 | Sealing + humidity maintenance plan | Always after grout cures | Medium | Moderately common | ★★★☆☆ |
FAQ
Do I need to seal marble in a basement?
Most marble products require sealing because marble is porous. Use a sealer recommended for natural stone and follow the manufacturer’s application and re-seal schedule.
Can I install marble over existing concrete with old adhesive?
Only if the surface is properly prepared so thinset can bond to it. In many cases, you’ll need to remove residues/coatings that prevent adhesion and then clean thoroughly—[ADD: source for surface preparation method based on your thinset/system].
What thinset should be used for marble on basement concrete?
Use a mortar system intended for marble tile and compatible with concrete slabs. The exact thinset choice should come from the thinset manufacturer’s instructions for marble and substrate conditions—[ADD: source for compatible mortar/thinset spec once you pick your product].
What’s the biggest reason basement marble fails?
Uncontrolled moisture/vapor and uneven concrete are the most common root causes—leading to bond failure, staining, or cracking.
Should I use a vapor barrier?
Often, yes, but it depends on your basement moisture conditions, slab type, and the installation system you’re using. Check the thinset/grout/sealer and any concrete vapor barrier guidance from manufacturers—[ADD: source for your selected system’s vapor barrier requirement].
Sources
– ASTM International, ASTM F1869 (Standard Test Method for Measuring Moisture Vapor Emission Rate of Concrete Subfloor Using Anhydrous Calcium Chloride)
– ASTM International, ASTM F2170 (Standard Test Method for Determining Relative Humidity in Concrete Floor Slabs Using in situ Probes)
– U.S. Environmental Protection Agency (EPA), guidance on indoor humidity for moisture control
– ASHRAE, moisture control/building moisture guidance relevant to indoor humidity risk
– [ADD: manufacturer installation instructions for the specific thinset/mortar system you choose—especially sections covering marble tile and concrete substrate requirements]
– [ADD: grout manufacturer installation/cure guidance for natural stone]
– [ADD: marble sealer manufacturer instructions for application and re-sealing intervals]
– [ADD: concrete moisture/vapor guidance from a relevant industry primary source (e.g., concrete/joint/vapor barrier technical publication) once you identify your slab conditions]
Frequently Asked Questions
What’s the best way to prepare a basement floor before installing marble tile?
Start by checking that the concrete slab is sound, level, and crack-free, then remove all paint, sealers, and adhesive residue. Test for moisture (especially if the basement is below grade) and address any leaks before you begin, because marble is sensitive to water damage and staining. Finally, clean thoroughly and consider a flatness check—marble installation usually needs a very even substrate to prevent lippage.
How do I prevent moisture problems when installing marble floors in a basement?
Use a basement-appropriate moisture mitigation system, such as a vapor barrier or a moisture-resistant underlayment, based on your moisture test results. If there’s active seepage or recurring dampness, fix the source first (gutters, grading, waterproofing membrane) rather than relying solely on flooring materials. Proper sealing after installation and using the correct mortar and grout also help reduce water intrusion into marble.
How should I install marble tile on a basement concrete slab—thinset, leveling, or underlayment?
For most basement concrete applications, use a high-quality thinset mortar suitable for marble and install on a properly prepared, level slab. If your floor has dips or uneven areas, use a cementitious self-leveling underlayment or floor patch to meet tile-flatness requirements before setting stone. Avoid soft or overly flexible underlayment systems that can increase the risk of cracking or grout failure with heavy marble.
Why is sealing marble important in a basement, and when should I apply it?
Sealing is important because marble is porous and can absorb moisture and organic stains, which are more common in basements. Apply an appropriate marble sealer after the tile and grout cure fully, and follow the manufacturer’s instructions for reapplication intervals. This step improves stain resistance and helps protect the surface while you maintain good ventilation and control humidity in the basement.
Which grout and installation materials are best for basement marble floors to minimize staining and cracking?
Choose grout formulated for natural stone—commonly a sandless grout for smoother joints and strong stain resistance, or a grout recommended specifically for marble. Use a mortar designed for stone tile and the correct setting thickness, and consider polymer-modified thinset for better bonding on concrete. For the safest results, also ensure proper spacing, back-buttering techniques as needed, and a careful wet-mop/cleaning routine to keep marble floors looking clean in high-moisture environments.
📅 Last Updated: October 09, 2026 | Topic: How to install in a basement marble floors? | Content verified for accuracy and freshness.
References
- Marble
https://en.wikipedia.org/wiki/Marble - https://en.wikipedia.org/wiki/Floor_tiling
- Thinset
https://en.wikipedia.org/wiki/Thinset_mortar - https://www.epa.gov/mold/mold-basements
- https://www.epa.gov/indoor-air-quality-iaq/what-know-about-mold
- https://www.cdc.gov/mold/default.htm
- https://www.britannica.com/technology/stone-flooring
- Google Scholar Google Scholar
https://scholar.google.com/scholar?q=basement+marble+tile+installation+moisture+mitigation - Google Scholar Google Scholar
https://scholar.google.com/scholar?q=marble+tile+installation+thinset+underlayment+cement+board - Google Scholar Google Scholar
https://scholar.google.com/scholar?q=marble+floor+installation+basement+vapor+barrier+sealing



[…] you commit to the pattern. If you confirm your slab moisture readings and follow the exact approved installation system for your engineered/wood product, the herringbone geometry stays straight and the floor performs […]