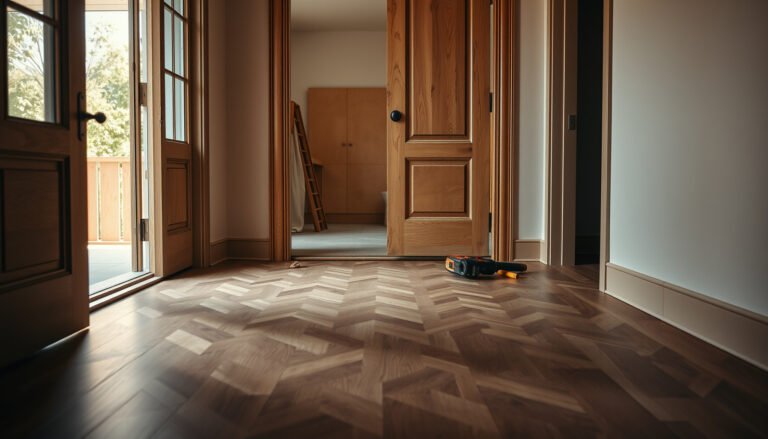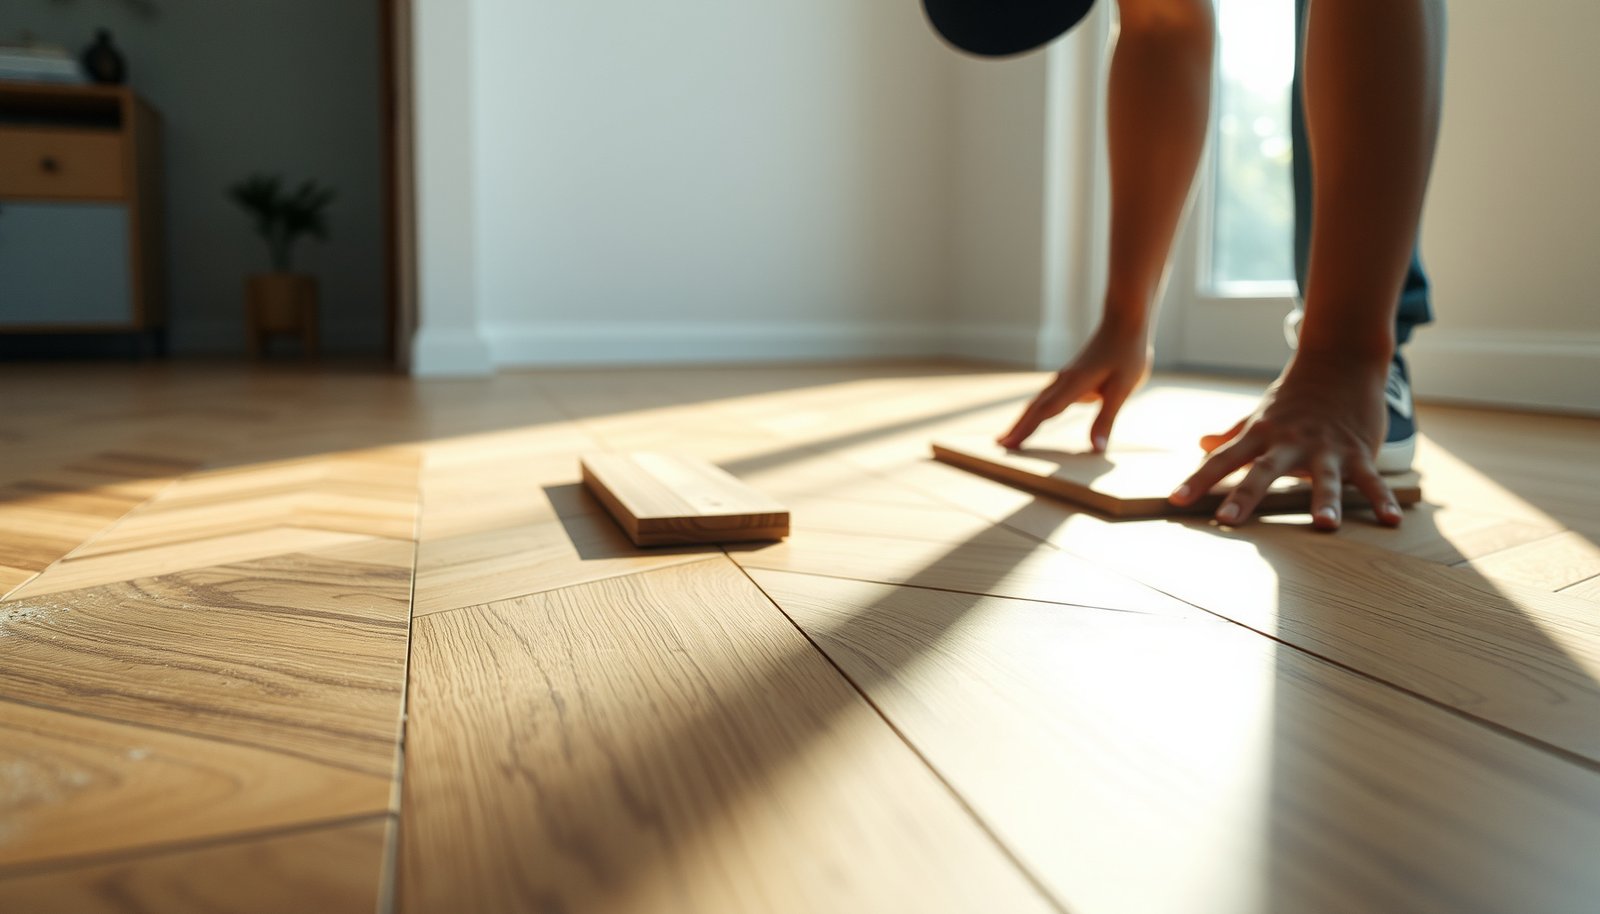

Want to install new flooring over existing herringbone floors without lifting what’s already down? This guide tells you when an over-the-top install is a smart, durable option—specifically if the herringbone is solid, flat, and securely bonded. You’ll learn the exact prep, underlayment, and fastening approach needed to avoid gaps, squeaks, and telegraphing through the new surface.




If your existing herringbone floor is sound, flat enough, and dry enough, you can install new herringbone flooring over it—typically using an approved underlayment and the right installation method (often floating or glue-down, depending on the new product). If the old floor is loose, cupped, or too uneven, the best move is to remove it first; “installing over” usually fails because the base moves. This guide walks you through what to check, how to prep, and which common mistakes to avoid.
If you’re thinking about upgrading worn herringbone wood to a new herringbone look without tearing everything out, this is for you—especially for existing wood floors, where the surface still holds solid. It’s also for DIYers deciding whether to float, glue, or nail down, based on the new planks’ installation instructions.
Step 1: Confirm the existing herringbone floor is actually a good base

You can only install new herringbone over an existing herringbone floor when the base is stable, sufficiently flat, and moisture-safe; otherwise, the new joints will fail. Your job in this step is to prove the existing floor won’t move and won’t actively change shape.
According to the National Wood Flooring Association (NWFA), subfloors should meet a flatness target of 3/16″ over 10 ft (about 4.76 mm over 3.05 m) for hardwood flooring installations.
In wood flooring, visible cupping/crowning, changing gaps, and water-damage staining are moisture red flags that typically make “install over” unsafe unless the manufacturer explicitly approves it.
– Inspect for loose boards, squeaks, and any areas that shift when you press or walk on them. If any section flexes, herringbone will “show” that movement faster than straight plank layouts.
– Check for moisture-related issues like cupping, crowning, gaps that are actively changing, or signs of water damage—if these exist, installing over is risky. Also look for recent patchwork (dark seams, raised edges, or new fasteners) that can indicate an unstable moisture history.
– Measure flatness against the new flooring manufacturer’s requirement (use their stated tolerance, not guesswork). If you don’t have that spec yet, plan on .
– Confirm the surface is dry and consistent. In practice, you’re trying to ensure the existing herringbone floor is already near “service moisture conditions,” not still drying or continuing to move seasonally.
Flatness target equivalencies for installing wood flooring over an existing substrate (from 3/16" over 10 ft)
| # | Straightedge length | Max deviation (in) | Max deviation (mm) | Flatness confidence |
|---|---|---|---|---|
| 1 | 2 ft | 0.0375 | 0.95 | ★★★★★ |
| 2 | 3 ft | 0.05625 | 1.43 | ★★★★★ |
| 3 | 4 ft | 0.075 | 1.91 | ★★★★★ |
| 4 | 6 ft | 0.1125 | 2.86 | ★★★★★ |
| 5 | 8 ft | 0.15 | 3.81 | ★★★★★ |
| 6 | 10 ft | 0.1875 | 4.76 | ★★★★★ |
| 7 | 12 ft | 0.225 | 5.72 | ★★★★★ |
Step 2: Prep the surface (leveling, cleaning, and smoothing)

If the existing herringbone floor checks out, the next question is whether you can bring it to a surface prep standard the new product will tolerate. In most “install over” failures, prep is skipped: dust remains, residue blocks bonding (for glue-down), or high points cause rocking (for click-and-lock systems).
For wood flooring, surface contaminants such as wax, paint overspray, or sealing compounds can interfere with adhesion in glue-down installations; manufacturers usually require removal and cleaning to their prep spec.
NWFA guidance emphasizes correcting high spots and maintaining adequate flatness because even minor unevenness can lead to movement and joint failure over time.
– Remove wax, paint overspray, sealers, or anything that could prevent adhesion; follow the new flooring’s surface-prep instructions. With an existing herringbone floor, remnants of older finishes are common—especially if the previous owners tried to “refresh” the surface.
– Sand down high spots and address dents so the new planks don’t rock or create weak points. Herringbone layouts are visually unforgiving: a small crown becomes a repeating pattern shift as you move down the room.
– Fill minor gaps/imperfections only if the manufacturer allows it; otherwise, treat problem areas as “base failure” and fix before you continue.
– If your install method is glue-down, plan prep around adhesion and moisture control (not just smoothness). A sealed or partially sealed existing herringbone floor can change how moisture and adhesive interact.
– Re-check flatness after prep. It’s common to correct a high spot and accidentally introduce a new low area at the edges—especially when sanding worn wood.
Step 3: Choose the right install method for your “over existing” situation
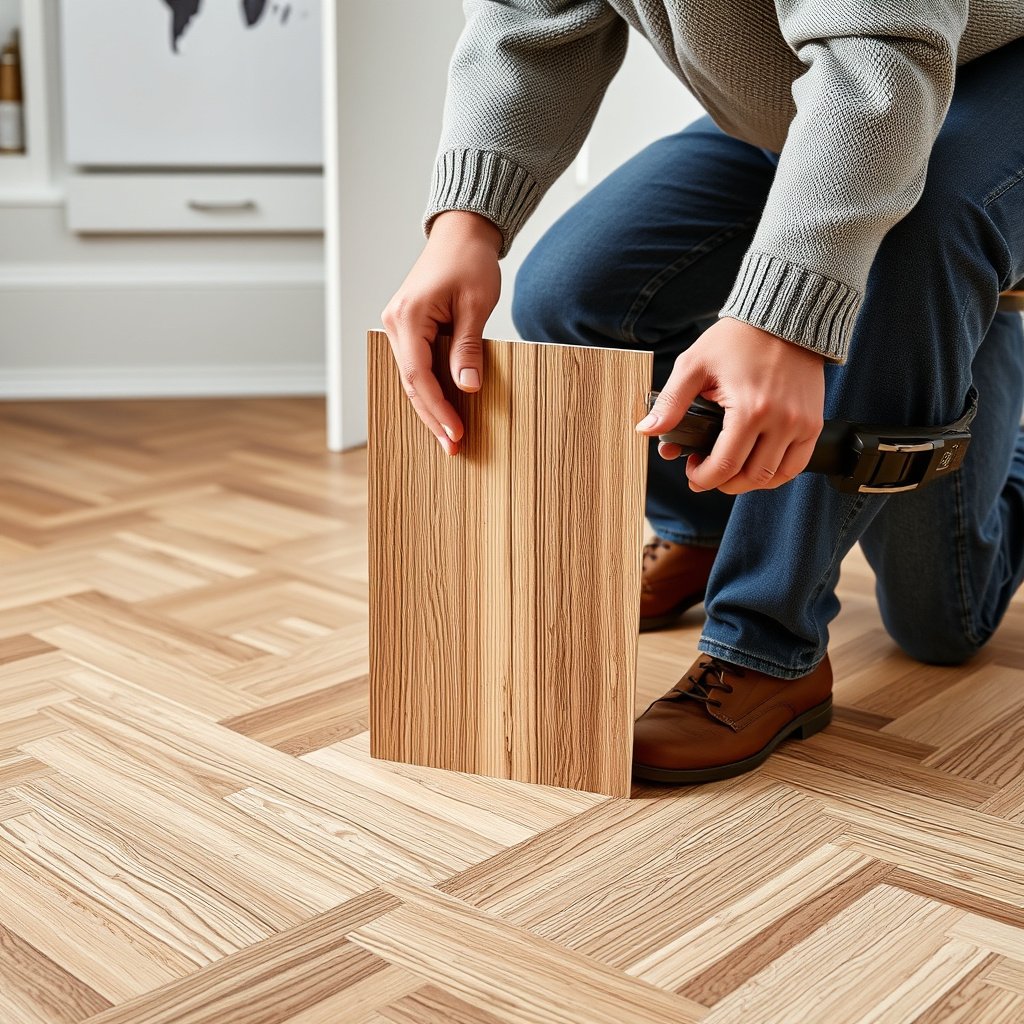
Yes—you can usually pick floating, glue-down, or sometimes nail-down, but only if the new flooring’s installation instructions explicitly approve that method over an existing herringbone floor. The install method determines what the underlayment can (and cannot) do, and whether your existing floor must be treated as a “substrate” or just a walking surface.
Your new flooring product’s installation instructions control whether “install over existing flooring” is approved, including whether floating or glue-down is permitted over wood substrates.
In moisture-prone conditions, “underlayment vapor control” can be the difference between seasonal movement and long-term stability for wood and engineered flooring systems (follow the approved vapor barrier guidance).
– Follow the installation instructions for your new herringbone product—some systems are designed for floating installation over existing floors, while others require a specific substrate and may not be approved for “over” applications.
– Select underlayment only if it’s explicitly compatible with the new flooring and the existing surface (for example, vapor barrier rules matter if moisture is a concern). Underlayment that’s “allowed” for one flooring line can be wrong for another.
– Plan transitions and perimeter gaps using the flooring manufacturer’s clearance guidance; most failures happen when movement isn’t accounted for.
Floating vs glue-down vs nail-down (what usually changes)
| Install method | Best fit over an existing herringbone floor when… | Pros | Watch-outs |
|---|---|---|---|
| Floating (click-lock) | The base is stable/flat and the product allows “over” installs | Faster, less adhesive complexity, forgiving if fasteners aren’t needed | Joints can fail if the existing herringbone floor flexes or underlayment isn’t approved |
| Glue-down | You can remove finish/residue and meet adhesive + moisture requirements | More rigid feel, fewer floating joint issues | Surface prep and open-time discipline are critical; wrong underlayment/vapor plan can backfire |
| Nail-down (only if approved) | The existing herringbone floor supports fasteners safely | Mechanical hold can improve stability | Many “over” scenarios don’t allow it; incorrect fastening can cause squeaks or hollow spots |
Step 4: Acclimate, lay out, and build the herringbone pattern carefully

Yes—you can protect the final geometry by treating acclimation and layout as structural steps, not “nice-to-have.” With an existing herringbone floor, the herringbone pattern exaggerates any alignment or flatness issues, so planning prevents rework.
NWFA states that flooring should be acclimated to expected indoor conditions; many installations reference maintaining approximately 60–80°F and 35–55% RH (verify with your specific manufacturer).
NWFA commonly references acclimation timeframes of at least 72 hours prior to installation, but the manufacturer’s published instructions for your product control.
– Acclimate the new flooring per the manufacturer’s conditions (temperature/humidity and time window). If you don’t have those values, use .
– Start with a proper layout: snap lines, verify your room is square, and do a dry fit to confirm the herringbone geometry before any planks are permanently installed. For an existing herringbone floor, pay extra attention to transitions and any subtle high/low areas—herringbone makes them visible.
– Maintain consistent spacing and alignment at the pattern “knees” (the repeating corners where the stagger creates visual alignment). Minor base unevenness becomes obvious fast in herringbone.
– Plan for doorways and fixed elements early. The herringbone “pinwheel” look depends on consistent plank angles and repeat counts; last-minute cuts near walls can throw off the pattern rhythm.
Quick practical layout tip
If you notice that the existing herringbone floor has localized dips or crowns, you’ll often see them as repeatable “wiggles” in the visual lines—so stop early, correct the surface, then continue. This is cheaper than ripping out 20+ feet of newly installed herringbone.
Step 5: Install in the correct sequence and protect the finished floor
Yes—sequence and technique matter because herringbone systems punish mistakes at seams and corners. Once you’ve confirmed stability and prepped the existing herringbone floor, follow the installation method exactly so the new planks lock, bond, or fasten as designed.
For floating floors, proper tongue-and-groove locking and removal of debris before engagement are essential because trapped particles prevent full click/lock contact.
For glue-down floors, the adhesive type and trowel notch size must match the manufacturer’s instructions, and adhesive spread must stay within the stated open time.
– For floating installs: interlock properly (no forced clicking), keep joints clean, and avoid debris in the tongue-and-groove before locking.
– For glue-down installs: use the exact adhesive type and trowel guidance listed by the manufacturer, and spread only what you can work within the open time (follow the label/spec).
– For nail-down installs (only if approved for your product and base): nail/screw pattern and fastening method must match the manufacturer’s spec—don’t improvise.
– Protect the finished floor immediately. Even the “correct” installation can be damaged by heavy traffic too soon, rolling loads without protection, or sweeping grit across the surface.
What can go wrong (and how to prevent it)
Installing over existing herringbone can work, but the failure modes are predictable: movement, moisture imbalance, and pattern/spacing mistakes. If you prevent those issues up front, the “install over” approach becomes a cost-effective upgrade rather than a repeat demolition project.
The most common wood flooring failures after “install over” are linked to substrate movement (squeaks, flex, loose boards) and inadequate flatness, both of which stress joints and cause separation.
Herringbone layouts amplify small alignment issues; dry layout and repeated line checks reduce pattern drift near walls, doorways, and fixed trim.
– Loose or flexing base: If the old herringbone can move, the new floor will telegraph movement—leading to joint failure, squeaks, or separation. Fix base stability first.
– Too much unevenness: Even small high/low areas can cause rocking and gaps in a herringbone layout. Use flatness checks and address issues before installing.
– Wrong underlayment/vapor control: “Over” installs can trap moisture or reduce performance if you choose underlayment that isn’t approved. Match your underlayment to both the new flooring and your substrate.
– Skipping acclimation: Wood moves with humidity. Without acclimation, the floor may buckle, cup, or open gaps after installation.
– Pattern mistakes: Herringbone shows base problems more clearly. Dry fitting and line checks reduce rework—especially near doorways and walls.
Pros/cons reality check
A practical way to decide is to compare “labor saved” versus “risk tolerance” for existing herringbone floor conditions:
– Pros of installing over (when allowed): less demolition, faster schedule, lower dust/repair cost, often simpler transitions.
– Cons of installing over (when conditions are marginal): hidden base movement, trapped moisture risk, and harder diagnostics after the new herringbone is installed.
Verdict: when installing over existing herringbone makes sense (and when to skip)
Installing over existing herringbone floors makes sense only when the old floor is solid, reasonably flat, and the new herringbone system is explicitly approved for that kind of “existing floor” application. If you’re seeing loose boards, significant unevenness, active moisture problems, or you can’t confirm the manufacturer’s approved method for your setup, removal and proper subfloor prep is the more reliable path.
Good fit for “install over”
– The existing floor is stable (no movement), clean, and within the new product’s flatness/moisture requirements.
– The new flooring installation instructions allow installation over an existing floor of this type.
Skip “install over” if
– The existing surface is rocking/loose, damaged by water, or out of flatness spec.
– You can’t confirm the correct installation method (floating vs glue-down vs nail-down) from manufacturer documentation.
As of 2026, flooring manufacturers still treat substrate suitability and approved underlayment as warranty-critical details, meaning “over” installs should follow the written instructions exactly.
If the existing herringbone floor fails stability or flatness requirements, the new herringbone floor typically experiences stress at joints, which can lead to separation, noise, or visible pattern drift.
Quick scan checklist (save this)
| Check | What to do | Pass/Fail |
|---|---|---|
| Base stability | Press/walk test for movement; repair loose areas | [ ] |
| Flatness | Measure to the new flooring manufacturer’s tolerance | [ ] |
| Moisture condition | Look for cupping/crowning and any water damage; follow the wood’s moisture requirements | [ ] |
| Surface cleanliness | Remove contaminants/old residue per instructions | [ ] |
| Compatibility | Confirm the new flooring allows “over existing herringbone” | [ ] |
| Underlayment/vapor | Use only what’s approved for your new system | [ ] |
| Acclimation | Acclimate per manufacturer (use their time/temp/humidity) | [ ] |
| Layout | Dry fit and verify squareness before final installs | [ ] |
| Perimeter gaps | Maintain manufacturer-required expansion spacing | [ ] |
Sources
– National Wood Flooring Association (NWFA), Wood Floor Installation Guidelines (use for general best practices on substrate prep and moisture considerations).
– ASTM standards commonly referenced for moisture testing of subfloors (use your chosen test method’s ASTM designation as required by the flooring guidance): .
– ASTM E96, Standard Test Methods for Water Vapor Transmission of Materials (commonly referenced when discussing vapor retarder/underlayment performance).
In summary, you can install new herringbone over existing herringbone floors only when the old base is stable, flat enough, and moisture-safe—and when the new product explicitly allows that “over” scenario. If you confirm compatibility, prep the surface properly, follow the correct install method, and protect the layout with thorough acclimation and dry-fitting, you’ll get the upgrade without inheriting the old floor’s problems. If any one of those checks fails, the most cost-effective decision in 2026 is usually removal and a properly prepared substrate.
Frequently Asked Questions
What preparation steps are required before installing new flooring over existing herringbone floors?
Start by thoroughly cleaning the herringbone surface to remove dust, wax, paint, and debris. Check for loose boards or tiles, then repair any raised edges, broken sections, or hollow spots so the subfloor is flat. If the existing surface is glossy or sealed, scuff-sand or use the recommended primer so adhesive and underlayment bond properly. Finally, confirm the floor height change won’t prevent doors from closing and that you can maintain proper transitions at doorways.
How do you install new flooring over existing herringbone floors without creating uneven seams?
Measure and verify the flatness of the existing herringbone floor using a straightedge—small height differences are usually manageable, but larger dips or humps can telegraph through. If you’re laying click-lock laminate or engineered wood, use an appropriate underlayment and consider a leveling compound only where needed to create a smooth base. For tile or vinyl plank, use a compatible thinset/adhesive system and ensure the surface is stable and consistent. Installing over imperfect herringbone patterns often requires extra attention to edges and transitions between boards or tiles.
Why is subfloor flatness critical when installing over existing herringbone flooring?
Herringbone floors can have natural variation in height where the pattern intersects, which may lead to gaps, squeaks, or locking-joint stress in floating floors. Thin materials like vinyl plank can show ridges, while rigid products like tile can crack if the base isn’t level. By correcting high spots and filling low areas before installation, you reduce the risk of movement and improve the durability of your new flooring. Proper flatness also helps keep your installation looking straight and professional.
Which underlayment or leveling method works best for specific flooring types installed over herringbone floors?
For click-lock laminate or floating engineered wood, choose an underlayment rated for your conditions (including moisture barriers where required) and only use leveling products that won’t interfere with the system’s click mechanism. For glue-down vinyl plank, a smooth, sound surface is essential—use the manufacturer-approved primer or patch to stabilize the herringbone texture. For tile installations, you typically need a level, rigid substrate and may require underlayment boards or floor patching so thinset can spread evenly. Always follow the flooring manufacturer’s instructions for maximum allowable subfloor variation and approved prep materials.
What tools and materials do you need to install new flooring over existing herringbone floors?
Plan to use a scraper or floor grinder (as needed) for cleaning and scuffing, along with a straightedge/level for checking flatness. You’ll likely need repair materials like patch compound for low spots, plus shims or grinding tools for high areas, depending on the condition of the herringbone floor. For installation, have the correct adhesive or thinset (if required), transition strips, spacers, and proper underlayment for your new flooring type. Finally, use molding and seam-finished transition pieces to cover pattern changes and ensure a clean, safe finish around doorways and walls.
📅 Last Updated: October 15, 2026 | Topic: How to install over existing flooring herringbone floors? | Content verified for accuracy and freshness.
References
- Lead Renovation, Repair and Painting Program | US EPA
- Asbestos | US EPA
- https://www.cdc.gov/asbestos/
- Parquet
- Herringbone
- Wood flooring
- Resources | NWFA
- https://scholar.google.com/scholar?q=install+engineered+wood+flooring+over+existing+floor+subfloor+herringbone Google Scholar
- https://scholar.google.com/scholar?q=herringbone+parquet+floor+installation+guidelines+over+existing+flooring Google Scholar
- https://scholar.google.com/scholar?q=hardwood+floor+installation+over+existing+floor+recommended+substrate+preparation Google Scholar