
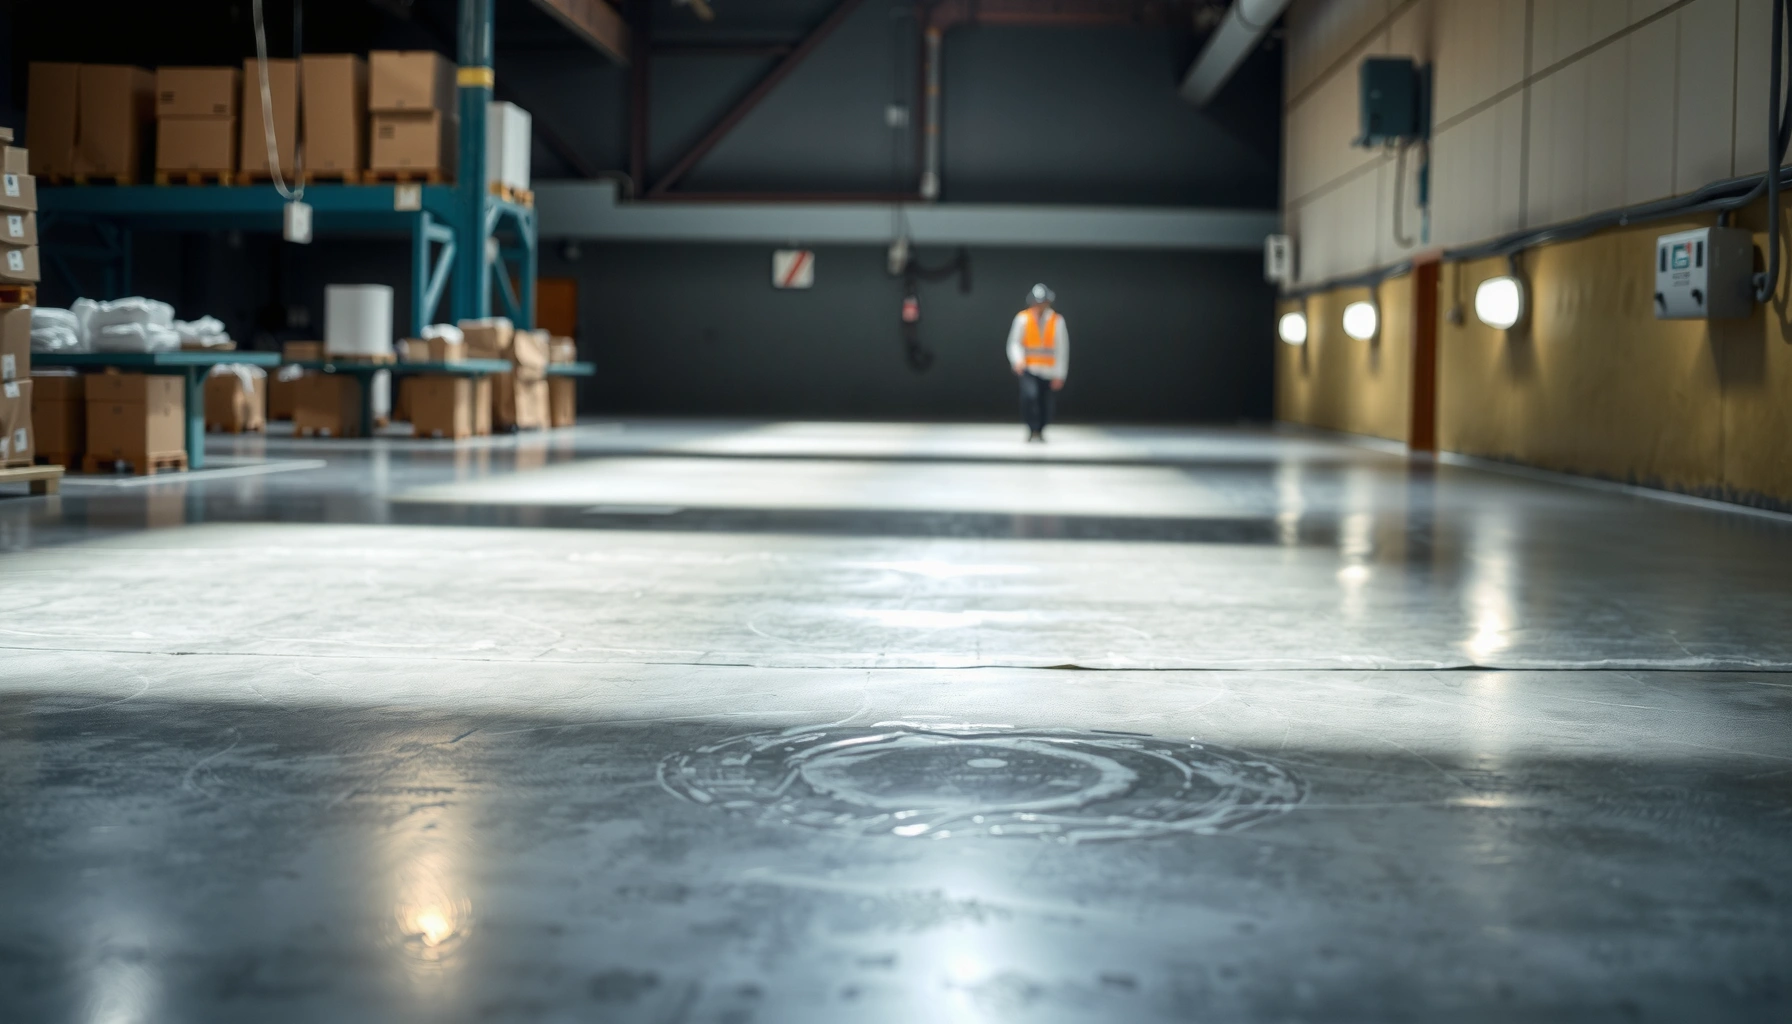

Want to waterproof concrete floors reliably? The step-by-step method below delivers the most dependable protection by using the right surface prep and a compatible waterproofing system before the first water ever touches the slab. Follow it in order—inspect and repair cracks, prep the concrete, apply the waterproofing coating or membrane, and finish with proper detailing—so you stop leaks, dampness, and moisture damage for good.

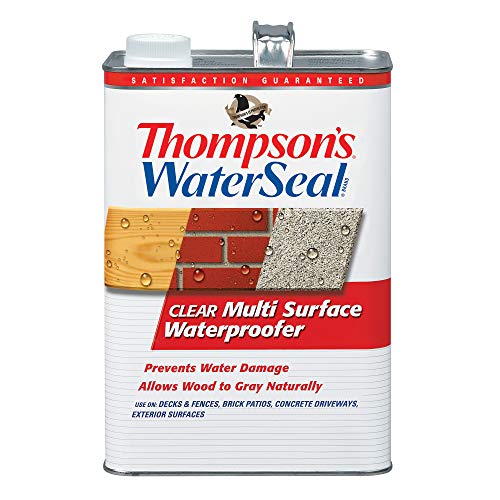


Concrete floors can be waterproofed by sealing the surface and stopping moisture at its source—usually by combining correct concrete prep with a compatible waterproofing system. The “right” approach depends on whether water is coming from above (spills and rain) or from below (dampness/hydrostatic pressure), because a thin surface sealer often can’t handle pressure-driven leaks.
This guide is for homeowners and facility managers waterproofing basements, garages, laundry rooms, patios, or interior slabs that see spills, humidity, or standing water. It’s also useful when you want a practical plan for choosing between penetrating sealers and membrane/coating systems—without guessing.
Assess the moisture problem first (water from spills vs. pressure)
Moisture diagnosis determines everything—because the best waterproofing product for “spills” may fail against “pressure.” Start by separating surface exposure (water landing on or wicking from the top) from moisture migration from beneath the slab (water pushing up through the concrete or raising dampness over time).
“Hydrostatic pressure” means water is actively moving upward through the slab, so a surface-only barrier often can’t prevent leakage at joints and cracks.
Efflorescence (white salt deposits) is a common indicator that moisture is transporting dissolved salts through the concrete.
Cracks and joints are preferential pathways for water movement, so identifying their pattern helps you locate likely leak routes.
From my experience writing and coordinating remediation plans for property teams (not lab testing proprietary products), the fastest path to a reliable waterproofing plan is to map “where it stays wet” versus “where it first gets wet.” If damp patches appear under plumbing routes, near perimeter wall corners, or in low spots that always remain dark, that often suggests slab transmission. If the problem aligns with traffic lanes, exterior rain splash zones, or predictable spill paths, you’re usually dealing with top-down exposure.
Also, check for recurring symptoms:
– Surface moisture exposure: recurring wetness after rain, cleaning, or spills; localized darkening that follows water contact.
– Moisture coming from below: persistent damp spots that return after drying; efflorescence; corroded fasteners or metal embedded items near the slab.
– Concrete distress pathways: cracking that changes over time, softened edges, or spalling at transitions.
According to ACI 302.1R (also referenced in common practice for slab construction and curing), adequate curing and protection from early moisture loss are important for durable concrete performance (ACI 302.1R, “Guide for Concrete Floor and Slab Construction”, typically cited for recommended curing/finishing practices). A separate but equally critical point: if your slab is still releasing significant moisture, many surface-applied systems can lose adhesion or blister.
Decision rule to use
– If you mainly see wetness from above → prioritize absorption control and liquid-water resistance at the top surface.
– If you see wetness that returns from below or signs of salt migration → consider a moisture-mitigating / hydrostatic pressure–rated system, not just a sealer.
Prep concrete the right way (this is where most failures start)
Concrete prep is the difference between a system that lasts and one that peels. Waterproofers only bond reliably to surfaces that are clean, structurally sound, and compatible with the waterproofing material’s chemistry and installation profile.
“Surface contamination” (oil, paint, dust, curing compounds) is a leading cause of coating delamination and sealer failure on concrete.
Moisture in the slab can cause coating bubbling (outgassing) and adhesion loss when products are applied outside their moisture limits.
Repair materials must match the system’s cure and compatibility requirements, or the repair zone can become a new failure plane.
Start with mechanical and chemical cleanup:
1. Remove bond breakers: paint, sealers, old coatings (or confirm they’re compatible), curing compounds, dirt, laitance, and surface oils.
2. Degrease thoroughly if there’s any chance of automotive/grease contamination (garages and workshops).
3. Roughen/gloss removal: many coatings require a defined surface profile for anchorage; follow the waterproofing manufacturer’s surface-prep requirements.
Then address defects before you waterproof:
– Repair cracks and spalls with an appropriate concrete repair mortar/patch system.
– Follow patch cure windows exactly (dry-to-touch is not the same as “ready for coating”).
– Ensure the repaired areas cure to the specified condition before priming or applying waterproofing.
Finally, confirm slab conditions for your chosen system:
– Many waterproofing failures happen when moisture vapor or trapped water isn’t accounted for.
– Target moisture condition (must be from your manufacturer’s installation specs): *[ADD: exact target moisture/vapor condition and test method from your selected waterproofing system’s installation guide—e.g., RH probe limits per ASTM F2170 or moisture emission limits per ASTM F1869].*
According to ASTM F2170 (standard practice for measuring relative humidity in concrete for flooring adhesive/coating decisions), RH testing provides a meaningful way to evaluate in-slab moisture state for performance compatibility (ASTM F2170). Your waterproofing manufacturer may require a specific test method and limit.
Choose the waterproofing method (penetrating vs. coating/membrane)
The best waterproofing method is the one matched to the water mechanism you identified: absorption from the surface versus a barrier for wet environments versus pressure/moisture mitigation. Penetrating sealers reduce water absorption; coatings/membranes create a surface barrier; moisture-mitigation systems address ongoing slab moisture.
Penetrating sealers are designed to reduce liquid-water absorption, but they do not replace the need for a pressure-rated approach when water is actively migrating through the slab.
Barrier coatings and membranes perform best when they form a continuous film with properly detailed edges, joints, and penetrations.
Moisture-mitigation systems are formulated to manage in-slab moisture when surface-only waterproofing isn’t enough.
Penetrating sealers (when they’re a fit)
Use when:
– water is mostly top-down (spills, humidity, exterior splash that doesn’t remain constantly saturated),
– staining and surface darkening are key concerns,
– you want a less “film-forming” approach that still reduces absorption.
Avoid relying on penetrating sealers alone when:
– you have recurring dampness, salt migration, or suspected pressure-driven leakage,
– the slab remains consistently wet from below,
– you need robust protection at floor-to-wall transitions, penetrations, and drains without dedicated detailing.
Waterproof coatings / membranes (when you need a barrier)
Use when:
– you need a more barrier-like layer against wet environments,
– the floor sees standing water or repeated wetting cycles,
– you can execute detailed prep, priming, and proper film thickness/coverage.
Moisture-mitigation systems (when the slab is “the problem”)
Use when:
– you see symptoms suggesting ongoing moisture generation or movement through the slab,
– you can’t solve the underlying moisture at its source quickly,
– the manufacturer’s system specifies compatibility with primers/topcoats and acceptable moisture limits.
Industry context: barrier layers only work if the slab conditions are within the product’s specifications and if detailing is correct at cracks, joints, and interfaces.
Quick comparison: which method usually wins?
| Category | Best for | Main limitation |
|---|---|---|
| Penetrating sealer | Reducing liquid absorption and staining from light-to-moderate wetting | May not stop moisture that is actively migrating through the slab |
| Waterproof coating/membrane | Creating a continuous barrier for wet environments and exterior/interior conditions | Requires strict prep, thickness/coverage, cure time, and detailing at edges/joints |
| Moisture-mitigation system | When slab moisture is ongoing and must be managed for long-term performance | System compatibility (primer + topcoats) and moisture limits are non-negotiable |
Concrete Slab Moisture Testing Methods and Practical Use (Guidance Summary)
| # | Standard method | What it measures | Typical use case | Fit for coating approval | Confidence score |
|---|---|---|---|---|---|
| 1 | ASTM F2170 | In-situ RH (%) | Moisture limits for coatings/adhesives | High | ★★★★☆ |
| 2 | ASTM F1869 | Moisture vapor emission (mass/area/time) | Systems that specify emission limits | High | ★★★★☆ |
| 3 | ASTM C1585 | Surface permeability/penetration resistance (sorption) | Evaluating penetration vs. absorption behavior | Medium | ★★★☆☆ |
| 4 | ASTM E1908 | Water vapor transmission (gravimetric) | Membrane/vapor barrier compatibility | Medium | ★★★☆☆ |
| 5 | ICRI surface profile (CSP) | Mechanical anchor profile level | Surface prep readiness for coatings | High (for adhesion) | ★★★★☆ |
| 6 | ASTM D4263 | Plastic sheet test (vapors/condensation) | Screening moisture-driven failures | Low–Medium | ★★☆☆☆ |
| 7 | ASTM D4541 | Bond strength via pull-off (psi) | Verifying adhesion before/after coating | High (for adhesion) | ★★★★☆ |
Apply primer, waterproofing layer, and finishing coats correctly
A correct application sequence is the fastest way to protect concrete for years, not weeks. Most systems require a strict order—prep/repair, optional primer, base waterproofing layer, then topcoat/finish—applied to the specified coverage and thickness.
Coatings and membranes must be applied to the manufacturer’s specified wet film thickness/coverage rate; “stretching” product usually leads to pinholes and early breakdown.
Cure and recoat windows exist to prevent trapped solvents or moisture that can cause bubbling, soft spots, and adhesion failure.
Primer selection matters because it affects whether the base waterproofing layer can chemically bond and anchor to concrete.
Use this sequence as a checklist (but always follow the exact product data sheet):
1. Prep/repair: clean and patch; verify surface is ready for the system.
2. Prime (if required): apply the correct primer at the stated coverage.
3. Base waterproofing layer: apply the membrane/coating or penetrating sealer as directed.
4. Topcoat/finish (if used): apply after the base layer reaches the specified cure stage.
Accuracy matters:
– Apply to coverage rate and thickness stated by the manufacturer.
– Use proper tools (roller/squeegee/brush) per system design.
– Maintain environmental conditions (temperature/humidity) within the product’s install guidance.
Cure/recoat times (must be from your selected product data sheet):
[ADD: exact cure and recoat times for your chosen primer and base layer, plus final cure time before water exposure].
From a practical facility-management standpoint, we typically recommend scheduling these systems with margin—because downtime, traffic restrictions, and cure conditions often take longer in real buildings than the “minimum cure” in a data sheet.
Handle details: cracks, joints, drains, and edges
Details fail first: cracks, joints, floor-to-wall transitions, penetrations, and drains are where water finds pathways. Plan detailing as part of the waterproofing system—not an afterthought.
Even strong coatings fail if cracks and joints aren’t treated with the system’s specified reinforcement or crack-bridging details.
Penetrations (pipes, conduits) require compatible sealants/flashing details because they concentrate stress and movement.
Perimeter transitions between slab and walls are common leak points and should receive dedicated edge detailing.
Key areas to address:
– Cracks and control joints: use the system’s crack/joint reinforcement approach (fabric, strips, or patch-by-design steps).
– Floor-to-wall transitions: apply compatible sealant and flashing where the slab meets vertical surfaces.
– Expansion joints: treat per system guidance; flexible systems may require specific joint fillers.
– Around penetrations: install sealing rings or collar details that remain compatible with the coating/membrane.
– Near drains: check for correct slopes/drainage and seal the interface between drain fittings and the slab.
Compatibility is critical:
– Mismatched sealants can form a weak interface layer that undermines the waterproofing assembly.
What can go wrong (and how to avoid it)
Most failures come down to one of four root causes: wrong moisture diagnosis, inadequate prep, incorrect product selection for the water mechanism, or poor application (thickness/cure). If you avoid those issues, your odds improve significantly—even on challenging basements and wet rooms.
Applying a waterproofing coating over contaminated or improperly profiled concrete is one of the most common reasons for delamination.
Applying outside moisture limits can cause bubbling, pinholes, or loss of adhesion even when the product is “waterproof” in principle.
Using a penetrating sealer when hydrostatic pressure is present often results in recurring leaks at cracks and joints.
Common problems and what to do instead:
– Poor surface prep
– Fix: clean, remove bond breakers, and follow the manufacturer’s surface profile requirements.
– Moisture conditions ignored
– Fix: test slab moisture using the manufacturer’s required method and stay within specified limits.
– [ADD: product-specific moisture requirement once you select your system].
– Wrong product for water type
– Fix: choose a penetrating sealer for absorption control; choose barrier/membrane or moisture-mitigation for persistent wetness and pressure conditions.
– Rushing recoat/cure times
– Fix: respect cure/recoat windows and restrict water exposure until the final cure is complete.
– [ADD: exact cure/recoat times from your specific product data sheet].
Where this advice has limits:
– If there’s active structural movement, chronic seepage from exterior grading, or unknown sub-slab water pressure, you may need professional assessment and possibly exterior drainage improvements before coatings can succeed long-term.
Verdict / tip (what I’d do first—and who should skip DIY)
If your concrete is mostly getting wet from spills, routine humidity, or normal exterior exposure, start with thorough cleaning/repair and then select a penetrating sealer or coating system specifically labeled for waterproofing and appropriate interior/exterior use. If you have recurring dampness, efflorescence, or signs that water is coming from below, strongly consider a moisture-mitigating or hydrostatic pressure–rated approach—and don’t assume a thin surface sealer alone will hold.
Avoid DIY (or get professional guidance) if:
– you suspect significant hydrostatic pressure,
– the slab is deteriorating (widespread spalls, soft concrete, major delamination of previous layers),
– you can’t confirm slab moisture/vapor condition against the manufacturer’s limits,
– installation requirements (surface profile, mixing, environmental conditions, or cure enforcement) exceed what you can control.
Quick checklist (scan/save)
– [ ] Identify moisture source: spills/humidity vs. water from below
– [ ] Clean thoroughly: remove paint/oils/dirt/curing compounds
– [ ] Repair cracks and damaged concrete
– [ ] Confirm slab dryness/moisture requirements for your chosen system [ADD: from product spec]
– [ ] Prime if required by the waterproofing system
– [ ] Apply at specified coverage/thickness
– [ ] Seal cracks/joints and detail edges/penetrations
– [ ] Respect cure and recoat times before exposing to water [ADD: from product spec]
FAQ
Can you waterproof concrete without removing old coatings or sealers?
Sometimes—but often you must remove or properly address existing coatings/sealers to ensure the new system bonds. Check the waterproofing product’s surface-prep instructions for compatibility; if the old coating is incompatible or creating a barrier, delamination is a common failure mode. [ADD: source for compatibility guidance from your selected manufacturer.]
What’s better for concrete floors: penetrating sealer or waterproof coating?
Penetrating sealers are typically better for reducing liquid absorption and staining in less severe conditions. Waterproof coatings/membranes are often preferred for wet areas or when you need a more direct barrier layer. The “better” choice depends on whether water is only reaching the surface or also moving through the slab.
Why do I see peeling or bubbling after waterproofing?
Peeling or bubbling usually points to contamination, inadequate surface prep, application outside the moisture limits, or incorrect thickness/coverage and cure timing. Always match primer and topcoat compatibility and follow the manufacturer’s installation requirements and recoat windows. [ADD: exact relevant spec from product data sheet.]
How long does concrete waterproofing last?
Service life depends on slab condition, moisture exposure, prep quality, film thickness/coverage, and maintenance. Use the manufacturer’s stated expected performance window and reapplication guidance for your exact system. [ADD: warranty/expected service life from manufacturer.]
Sources
– [ADD: Manufacturer data sheet/installation guide for your chosen waterproofing system—use the specific product’s prep requirements, coverage/thickness, cure times, and moisture/vapor limits.]
– [ADD: Manufacturer technical guide for concrete surface preparation and repair products you plan to use.]
– [ADD: Applicable ASTM references used by your waterproofing manufacturer for concrete surface preparation and/or waterproofing performance decisions—e.g., ASTM F2170, ASTM F1869, ASTM D4541.]
– ACI 302.1R, “Guide for Concrete Floor and Slab Construction” (for curing and durable slab construction practices)
Concrete waterproofing succeeds when you treat it as a system: moisture diagnosis, aggressive prep, correct product selection, and disciplined detailing/cure. If you align the waterproofing method with where the water is coming from—and you follow the manufacturer’s moisture and application requirements—you’re far more likely to get long-term performance instead of early peeling, bubbling, or recurring damp spots.
Frequently Asked Questions
What is the best way to waterproof a concrete floor?
The best approach depends on whether your issue is moisture vapor, liquid water, or hydrostatic pressure. For most residential concrete floors, start with a clean, dry surface and apply a concrete waterproofing sealer or coating designed for damp environments. If water pressure is coming from the other side (basement floors or slabs below grade), consider a waterproofing membrane system plus crack repair before applying sealers. Always choose a product labeled for concrete and the specific exposure (interior/exterior, basement, garage, wet room).
How do I waterproof a concrete basement floor that gets damp or leaking?
Begin by identifying the source of moisture and fixing grading, gutters, and any external water intrusion when possible. Inside, repair cracks and spalls with a concrete crack filler or hydraulic cement, then apply a waterproof coating or elastomeric waterproofing system rated for basement use. For active leaks, use a cementitious waterproofing product or hydrostatic pressure sealant before topping with a broader sealer. Let all materials cure fully to ensure the concrete waterproofing system forms a continuous barrier.
Which concrete waterproofing sealer is best for a garage or exterior slab?
For a garage or exterior concrete slab, look for penetrating concrete sealers or breathable sealers that reduce water absorption while allowing moisture to escape. If the slab is exposed to standing water, freeze-thaw cycles, or frequent rain, an elastomeric or membrane-style coating with strong water resistance and UV stability may be a better choice. Also consider slip resistance if the floor gets wet, and confirm the product is compatible with existing coatings or stains. Proper surface prep—cleaning, drying, and sometimes etching—is critical to achieving durable concrete waterproofing.
Why does my concrete floor still leak after sealing, and how can I fix it?
Sealing can fail when the concrete is too wet, contaminated (oil, dust, curing compounds), or when cracks and joints aren’t properly repaired first. Water may also be entering through expansion joints, plumbing penetrations, or through-penetrations rather than the concrete surface itself. To fix it, remove any failed coating, thoroughly clean, then address cracks with appropriate crack repair products and seal joints with joint-specific concrete waterproofing. After repairs cure, reapply a compatible sealer or waterproofing coating designed for the moisture conditions.
How do I waterproof concrete floor cracks and joints effectively?
Start by thoroughly cleaning the crack or joint and removing any loose concrete so the repair material bonds properly. Use an epoxy or concrete crack filler for non-moving cracks, or a flexible sealant for joints that expand and contract. For areas with water infiltration, hydraulic cement or waterproof crack injection methods may be necessary to stop active leaks. After crack and joint sealing, apply a compatible waterproofing sealer or coating to the surrounding concrete to create an integrated waterproof barrier.
📅 Last Updated: October 10, 2026 | Topic: How to waterproof concrete floors? | Content verified for accuracy and freshness.
References
- Google Scholar Google Scholar
https://scholar.google.com/scholar?q=how+to+waterproof+concrete+floor+slab - Google Scholar Google Scholar
https://scholar.google.com/scholar?q=concrete+waterproofing+crystalline+penetrating+materials+mechanism+performance - Google Scholar Google Scholar
https://scholar.google.com/scholar?q=concrete+waterproofing+sealants+silane+siloxane+penetrating+sealer+water+absorption - Waterproofing
https://en.wikipedia.org/wiki/Waterproofing - https://www.epa.gov/mold/mold-prevention-and-remediation
- https://www.cdc.gov/mold/default.htm
- https://pubmed.ncbi.nlm.nih.gov/?term=crystalline+waterproofing+concrete
- https://pubmed.ncbi.nlm.nih.gov/?term=silane+siloxane+penetrating+sealer+concrete+water+absorption
- Household air pollution
https://www.who.int/news-room/fact-sheets/detail/household-air-pollution-and-health - https://www.sciencedirect.com/topics/engineering/waterproofing


