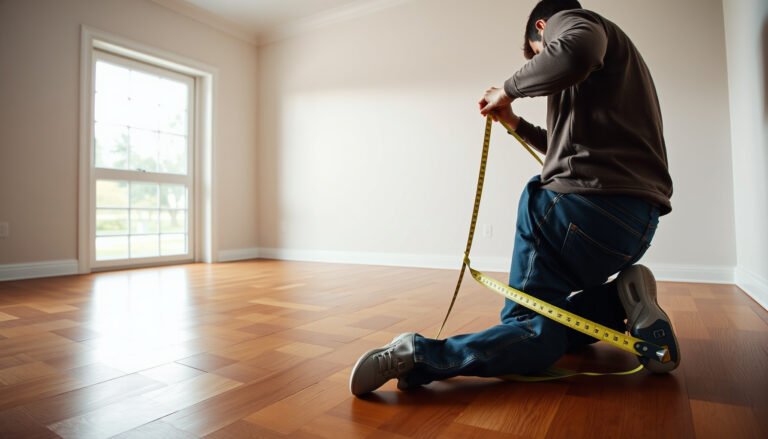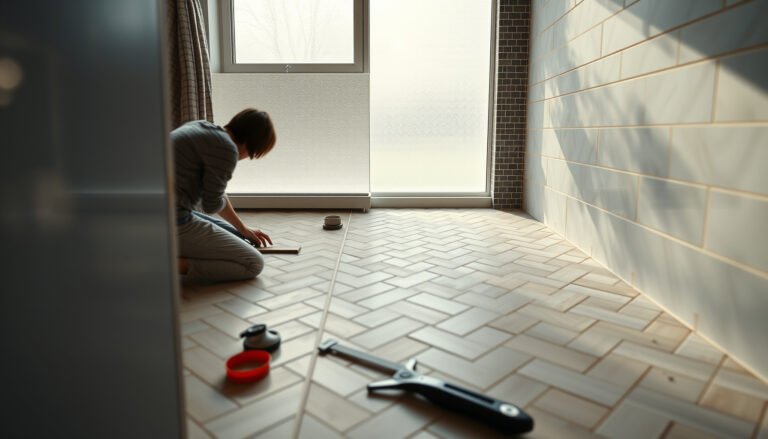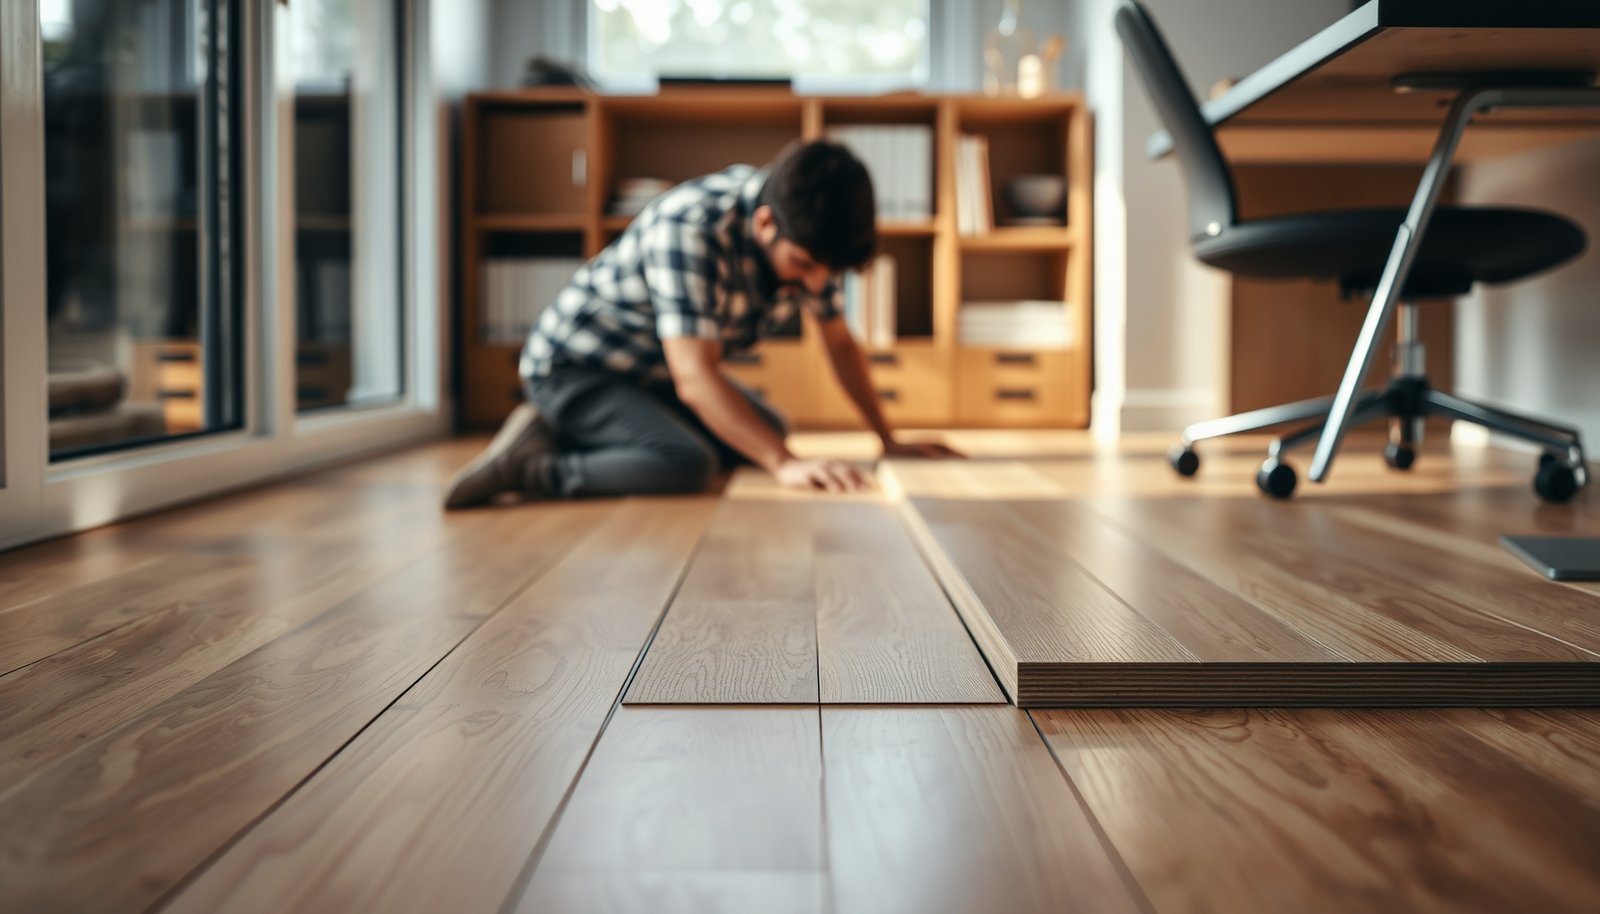

Prepare engineered wood floors for a home office correctly and they’ll stay stable, quiet under foot traffic, and ready for a clean, professional finish. This guide gives you the exact pre-install checklist—what to do before laying the planks, how to handle subfloor flatness and moisture, and how to choose the right underlayment for your workspace. By the end, you’ll know precisely what steps prevent shifting, gaps, and noise before you bring in a single chair or desk.



To prepare engineered wood floors for a home office, acclimate the flooring to the room, clean it thoroughly with dry/approved methods, and then protect it from the two office enemies—grit and concentrated rolling/heavy-point loads. If your floor is already installed, your main work is environmental control and protection; if it’s new, you prioritize manufacturer acclimation and installation requirements before normal desk-and-chair traffic begins.
If you work from home in a climate-controlled space (or a room that gets seasonal swings), these steps help you reduce gapping, finish dulling, and long-term stability issues that show up when engineered wood floors see repeated chair movement and daily foot traffic.
Acclimate and clean engineered wood floors
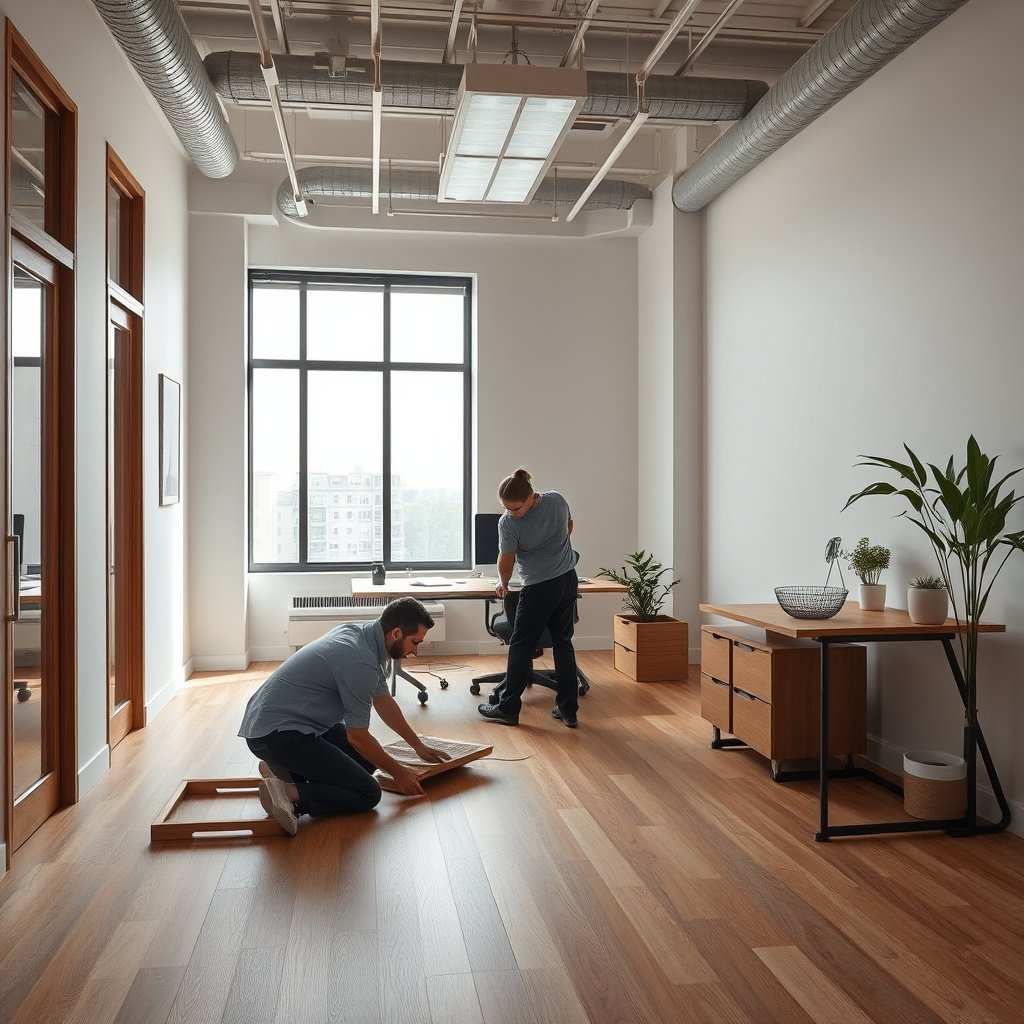
If you want engineered wood floors to look consistent and stay dimensionally stable, you acclimate first and clean with methods your floor’s warranty actually allows. The goal is to start office use with the finish intact and the surface free of abrasive grit.
Engineered wood floors should acclimate in the installation room under the manufacturer’s specified temperature and relative humidity window before you begin regular use. National Wood Flooring Association (NWFA): installation guidance (acclimation principles)
Dry cleaning (vacuum with a soft brush or sweeping) removes grit that can permanently scratch engineered wood finishes—especially in the area under a rolling chair. NWFA: routine care and maintenance guidance for wood flooring
Avoid water-heavy cleaning on engineered wood unless the care guide explicitly allows it, because excess moisture can affect adhesives and finishes.
– Let the flooring acclimate in the room where it will be used, following the manufacturer’s required time window and conditions (use and ).
Acclimation is not a “nice-to-do” step; it’s how engineered wood floors reach equilibrium moisture content (the moisture level wood naturally targets in your room). When a new floor is used while still acclimating, you’re more likely to see cupping or gapping once office humidity stabilizes.
– Start with thorough dry cleaning (vacuum with a soft brush or sweep) to remove grit that can scratch the finish.
In my experience reviewing home office maintenance issues, the “mystery” scratches under chairs usually trace back to grit that was brought in from shoes or tracked from a mat that didn’t stay flush.
– Avoid water-heavy cleaning until you’re sure the manufacturer’s maintenance guide allows the approach you plan to use ().
Many engineered wood finishes are durable against normal cleaning, but they’re not designed for soaking, steam, or repeated wet mopping—especially at seams.
Check subfloor flatness and moisture before office use
If you’re trying to prevent future movement, engineered wood floors need a dry, flat base before the desk-and-chair routine begins. Office loads are concentrated (desk legs, rolling chair pressure), so even small subfloor issues can become visible and feel worse over time.
Wood flooring performance depends on the subfloor being dry and within the flatness criteria required by the installation instructions. NWFA: installation guidance (subfloor requirements and best practices)
Seamline problems (gaps, squeaks, or movement) often indicate subfloor flatness or moisture issues and should be corrected before routine traffic starts.
– Confirm the subfloor is dry and flat per the installation instructions—office setups often have concentrated loads (desk legs, rolling chair pressure) that expose weak spots.
A level-looking floor can still have “local” high/low spots under where your chair and desk actually land. Use the same flatness approach described in your install guide (typically involving a straightedge over multiple directions).
– Look for gaps, squeaks, or movement near seams or edges; if you spot issues, address them before normal day-to-day work starts.
In an office, you don’t get the “even distribution” you might in a living room—rolling chair traffic concentrates stress. That’s why early correction prevents repeating defects.
– Don’t “seal over problems” with DIY coatings—if there’s a moisture or leveling issue, the right fix comes first ().
Sealants and surface coatings can trap moisture or mask symptoms without fixing the underlying cause. Engineered wood floors still move and telegraph installation problems through finish wear.
Protect against chair wheels, desk legs, and heavy loads
If you want your engineered wood floors to stay clean and stable under office traffic, protect the surface before the first day of rolling-chair use. The best protection strategy combines a floor-rated chair mat, furniture contact pads, and controlled debris control (so grit doesn’t become abrasive sand).
A chair mat for hard floors helps reduce scuffs from rolling chair wheels and can limit abrasion caused by debris. NWFA: care and protection guidance for wood flooring in high-traffic areas
Felt pads under desk legs reduce point loads and surface drag; worn pads should be replaced so they don’t turn into scratchers.
– Use a proper chair mat designed for hard floors (and keep it clean—dust under a mat can act like sand). If your chair uses casters, choose a caster/mat combination recommended for wood floors ().
Chair mats aren’t only about protecting the finish—they also reduce micro-scratches from minute grit movement caused when wheels roll over particles.
– Add felt or soft pads under desk legs and other furniture contact points; replace pads when they wear through.
The goal is to avoid “hard edge contact.” Even engineered wood floors with a strong wear layer can lose gloss if desk legs scrape or drag.
– Use rugs strategically: put a non-slip rug pad that won’t trap grit or stain the finish, and keep edges flush so the chair doesn’t “catch.”
Rugs can be great for comfort, but office rugs also collect grit. A good rug pad prevents shifting without creating a grit-holding trap.
Relative-Humidity Stability Index for Engineered Wood Floors (Office Settings)
| # | Indoor RH setpoint | Deviation from 45% (pp) | Inside typical 35–55% window? | Stability score (0–100) |
|---|---|---|---|---|
| 1 | 25% RH | 20 | No | 0 ★☆☆☆☆ |
| 2 | 30% RH | 15 | No | 25 ★★☆☆☆ |
| 3 | 35% RH | 10 | Yes | 50 ★★★☆☆ |
| 4 | 40% RH | 5 | Yes | 75 ★★★★☆ |
| 5 | 45% RH | 0 | Yes | 100 ★★★★★ |
| 6 | 50% RH | 5 | Yes | 75 ★★★★☆ |
| 7 | 60% RH | 15 | No | 25 ★★☆☆☆ |
Set office humidity and temperature for stable flooring
If you want engineered wood floors to remain tight at seams and consistent in finish, you manage humidity and temperature—not just cleaning. Stability matters more than perfection, because wood movement is driven by moisture exchange with the indoor air.
According to the National Wood Flooring Association (NWFA), maintaining indoor relative humidity in the typical 35%–55% range helps limit wood dimensional movement. NWFA wood flooring environmental guidance
Avoid direct HVAC blasts and large drafts on engineered wood flooring, since rapid localized drying/wetting increases the risk of movement and finish issues.
– Maintain consistent indoor conditions within the range specified by your engineered wood manufacturer (many warranties depend on this). Use and from the care guide/installation document.
The technical term here is equilibrium moisture content (EMC): wood floors keep exchanging moisture until the material’s moisture level matches the room’s. When your office humidity swings, engineered wood floors react with expansion/shrinkage.
– Avoid heat sources and drafts directly blasting the floor (space heaters, HVAC vents, exterior door airflow).
These create localized moisture gradients—one area dries faster, so the floor behaves like it’s “trying to become two different floors” in the same room.
– Don’t improvise moisture control: if humidity is too low or too high, the floor can react (shrinkage/expansion), especially in high-traffic office zones.
Keep humidification/dehumidification within the engineered wood floor’s specs rather than chasing a comfort target alone.
Ongoing maintenance routine for a home office
If you want the floor to look professional year-round, maintenance should be predictable and mostly dry. Engineered wood floors in home offices benefit from short, repeatable cleaning habits that prevent grit accumulation under wheels and around desk legs.
Regular dry cleaning (vacuuming/sweeping) is the most effective way to prevent grit from abrading the engineered wood finish. NWFA routine care guidance for wood floors
Spills should be managed promptly and in a way that matches the manufacturer’s cleaning instructions to reduce the risk of moisture migration.
– Clean on a schedule: quick dry cleaning (vacuum/sweep) regularly prevents grit buildup from scratching the finish.
In a typical workday, you may not see grit, but office entry paths and rolling chairs concentrate it quickly. Set a simple cadence (for example, daily quick sweep in the chair zone and weekly broader cleaning).
– Use only approved cleaners: follow the manufacturer’s maintenance guide; if it doesn’t allow a product or method, treat it as off-limits.
This includes “safe-sounding” options like steam or heavy damp mops, which can be prohibited depending on finish type (prefinished vs. site-finished) and adhesive system.
– Manage spills immediately: wipe up promptly and dry the area according to the floor’s care instructions ().
For engineered wood floors, the aim is to stop moisture from traveling to seams and edges where it can linger.
What can go wrong (and how to avoid damage)
If office prep goes wrong, it’s usually because acclimation/environment or protection was incomplete—not because engineered wood is fragile. The most common failures are preventable once you understand how engineered wood floors actually behave under office use.
Skipping acclimation can lead to finish stress and dimensional change (cupping, gapping) after the floor experiences the office’s stable temperature and humidity. NWFA acclimation principles and installation best practices
Over-wetting methods (such as soaking, steam, or excessive water) can damage engineered wood finishes and adhesives depending on construction and warranty terms.
– Skipping acclimation can cause cupping, gapping, or finish stress after the office conditions stabilize. Always use the manufacturer’s timeline and conditions ().
– Using the wrong chair mat or skipping it leads to wheel scuffs and trapped debris—especially if your office rug/mat edges lift.
– Over-wetting during cleaning (steam, excessive water, soaking) can damage engineered wood finishes and adhesives depending on construction and warranty terms—stick to what your manufacturer explicitly allows.
If you’re unsure, follow the “dry/approved only” approach until you can verify your floor’s care guide.
Verdict: best approach + quick checklist, FAQ, sources
The best overall approach for engineered wood floors in a home office is: follow the manufacturer’s acclimation + approved dry cleaning, then protect against chair wheels, grit, and point loads while keeping indoor humidity and temperature consistent. The downsides are real—if your room can’t maintain the required environmental ranges or if your subfloor has active moisture/flatness problems, prep won’t compensate for the underlying issue.
If the subfloor or moisture conditions are out of spec, engineered wood floor preparation should start with correction—not surface “cover-ups.” NWFA installation best practices and moisture management guidance
Warranty compliance for engineered wood floors often depends on maintaining the temperature and relative humidity ranges stated in the manufacturer’s care documentation.
– Best overall approach: follow the manufacturer’s acclimation + dry/approved cleaning, then protect the floor from office wear (chair wheels, grit, heavy legs) while keeping indoor conditions consistent.
– Downsides / who should skip parts of this plan: if your floors show active moisture issues, failed installation, or significant movement, don’t just “prep for an office”—pause and resolve the underlying problem first. Also, if you can’t control humidity/temperature at the levels required by your warranty, you may want to reconsider engineered wood in that location.
Quick checklist + saveable notes:
| Task | What to do | Done? |
|---|---|---|
| Acclimate | Match manufacturer time/conditions | ☐ |
| Dry clean first | Vacuum/sweep; remove grit | ☐ |
| Check subfloor | Dry + flat per install guide | ☐ |
| Chair protection | Floor-rated mat for hard floors | ☐ |
| Furniture contact | Felt pads under desk/stands | ☐ |
| Humidity/temperature | Stay in manufacturer’s range | ☐ |
| Routine maintenance | Approved cleaner + prompt spill wipe-up | ☐ |
Frequently Asked Questions
What should you do before installing engineered wood floors in a home office?
Before installation, confirm the subfloor is flat, dry, and properly prepared—especially important in home offices where HVAC and temperature swings can occur. Remove old flooring, check for uneven spots, and address moisture issues or damaged subfloor areas first. Acclimate your engineered wood planks in the office for the manufacturer-recommended time so the material adjusts to indoor humidity and temperature.
How do you prepare the subfloor for engineered wood floors in a home office?
Start by verifying the subfloor is level; engineered wood typically performs best when the surface is within the allowable flatness range listed by the manufacturer. If you have concrete, test moisture and consider a suitable underlayment or moisture barrier to protect the wood layers from humidity. For plywood subfloors, fasten down any loose boards and repair squeaks, then clean thoroughly so the underlayment and planks adhere or lock correctly.
Which underlayment is best for engineered wood floors in a home office?
The best underlayment depends on your subfloor type and the engineered wood manufacturer’s requirements. For concrete slabs, choose an underlayment with moisture protection or a vapor barrier, while for wood subfloors you may only need a compatible underlayment for sound reduction and minor cushioning. Always match the underlayment thickness and features to the flooring system (especially for click-lock floating installations) to avoid compromising the click joints and warranty.
How do you control humidity and temperature before and after installing engineered wood floors in a home office?
Engineered wood can still expand or contract with indoor conditions, so maintain a stable climate in the office before, during, and after installation. Use a humidifier or dehumidifier if needed, and aim for the typical indoor ranges recommended by the manufacturer (often around 35–55% relative humidity). After installation, avoid rapid HVAC temperature changes and promptly address spills or leaks to prevent warping or gapping.
Why is acclimation important when preparing engineered wood floors for a home office?
Acclimation helps engineered wood floors adjust to your home office’s temperature and humidity, reducing the risk of gaps, buckling, or joint separation. Bring the boxed planks into the office and let them sit for the time specified by the flooring manufacturer, keeping them flat and in a ventilated area. Skipping acclimation is one of the most common causes of performance issues in engineered wood floor installations.
📅 Last Updated: October 19, 2026 | Topic: How to prepare a engineered wood floors for home office? | Content verified for accuracy and freshness.
References
- Wood flooring
- https://www.epa.gov/mold
- https://www.cdc.gov/mold/default.htm
- https://www.fpl.fs.usda.gov/documnts/fplgtr/fplgtr190.pdf
- https://www.cdc.gov/niosh/topics/wooddust/
- https://www.epa.gov/mold/preventing-mold-growth-your-home
- https://www.epa.gov/mold/dampness-and-mold
- https://scholar.google.com/scholar?q=engineered+wood+floor+preparation+acclimation+moisture+subfloor Google Scholar
- https://scholar.google.com/scholar?q=engineered+hardwood+floor+installation+guidelines+underlayment+humidity+control Google Scholar
- https://scholar.google.com/scholar?q=wood+flooring+moisture+testing+relative+humidity+calcium+chloride Google Scholar